My first quilt – the 9-patch!

It’s been 13 years since I completed my first quilt and I still love this little 9-patch. It’s a doll-size quilt as you can see….

Our puppy, Cooper, is curious about the new visitor (Baby Bitsy).
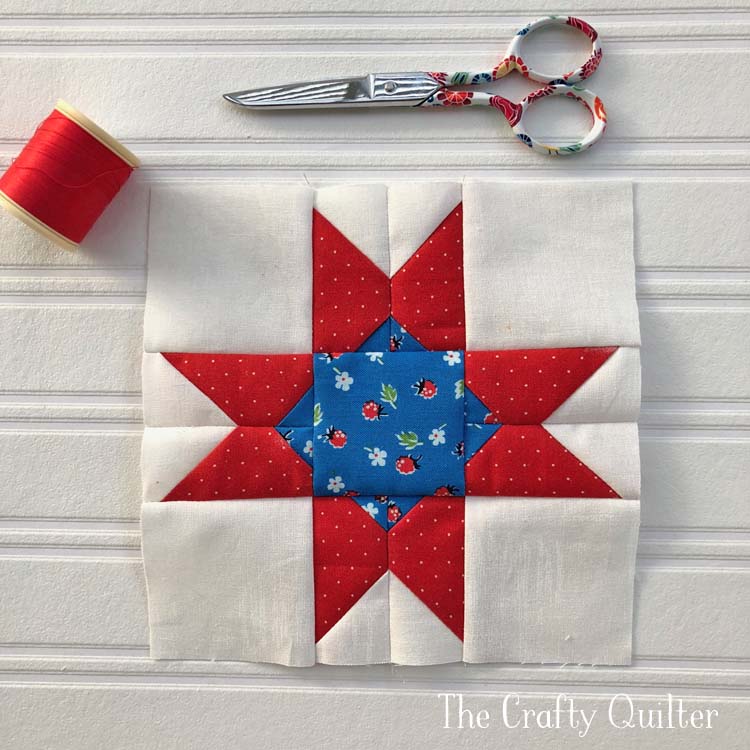
Here’s a new 9-patch block that I’m working on with my beginning quilting students:

I thought I would share a few tips on making this one. I started with (3) 2 1/2″ wide strips of blue fabric and (3) 2 1/2″ wide strips of yellow fabric. I sewed them into strip sets and pressed towards the darker fabric.


Then I subcut them into 2 1/2″ wide segments and laid them out to form the 9-patch.

I placed the first two segments right sides together and pinned the seam intersections on both sides of the seam. You can also use just one pin and pin it at a diagonal.

You want really snug intersections so that you get this:

Then you stitch the remaining segment onto the other side just like before and you will press your seams toward the outside.

Your block should measure 6 1/2″ square. If it’s bigger than that, then your seam allowance is too scant and if it’s smaller than 6 1/2″ square, then your seam allowance is too big. Also check to make sure that you have pressed your seams flat. You can see my tutorial on the perfect 1/4″ seam allowance for more information.
I made a total of five 9-patch blocks. I alternated them with (4) 6 1/2″ (unfinished size) plain blocks. Here’s what it looks like after stitching the rows together:

I pressed my seams toward the plain squares. Then I stitched my rows together and added a 2 1/2″ wide border to all sides.

When adding borders, you want to make sure you cut your borders to fit your quilt top rather than sewing on a long strip and cutting off the excess as shown in this picture:

The “proper” way to add borders is to measure your quilt top through the middle and along both edges and then take an average of those three measurements. Cut your first two borders to that measurement. This step helps to keep your quilt top “square” and prevents your borders from becoming wavy.
Since this is a small quilt, I chose to cheat a bit. Rather than taking actual measurements, I laid my border strips across the center of my quilt top and cut the borders even with both edges.

After sewing the first two borders on, repeat for the remaining two border strips.

I pinned my borders in place and then stitched. If you have a big quilt, it’s a good idea to mark the center of your border strip and the center of your quilt top and match both centers and pin. Match the ends and pin, and pin in between as necessary. Press towards the outer border.

After adding the dark blue borders, I added the final border (4 1/2″ wide).

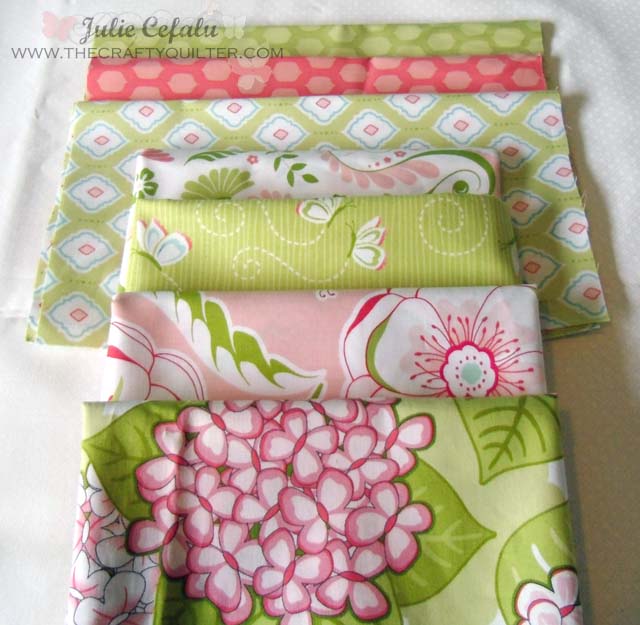
I love the butterfly fabric, don’t you? It’s been in my stash for a while. Love using up my stash!
Next step: basting the quilt top, batting, and backing together! I’ll be back to share my favorite way to baste soon.

I realy liked your nine patch block. Very well explained. I work full time and I dont have much time to quilt I am also partially dyslexic so quilting is a real challenge for me. Your instructions are easy to follow Diane