Turned Edge Applique Tutorial (May Day Basket) Part 2
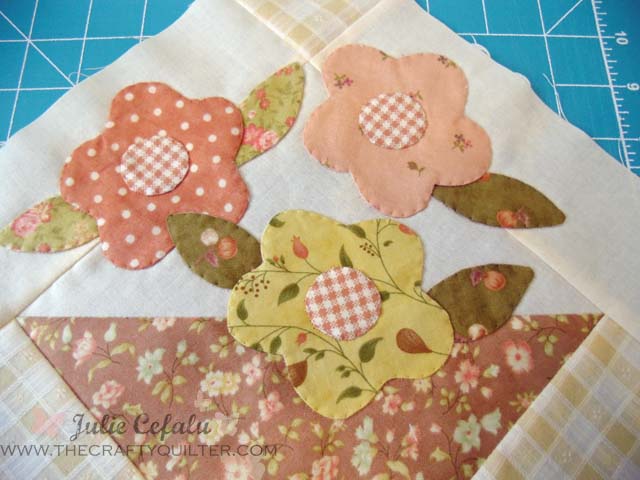
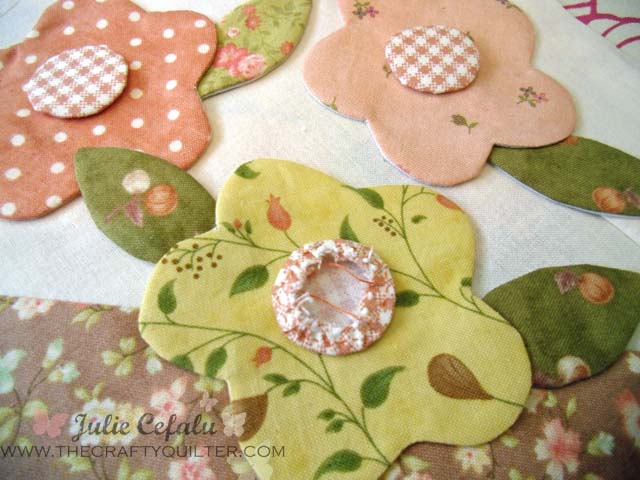
Today, I have a turned edge applique tutorial to share that I used for this project. This is turned edge applique as opposed to raw edge applique. With turned edge applique, you don’t need to finish the edges of your applique shapes with a blanket stitch or satin stitch. But, you do need to stitch it down to the background and this can be done by hand or machine. I chose machine stitching using a stitch that is very similar to a blind hem. I’ll get to that in a bit.
You can find Part 1 of this project here and Part 3 is here.
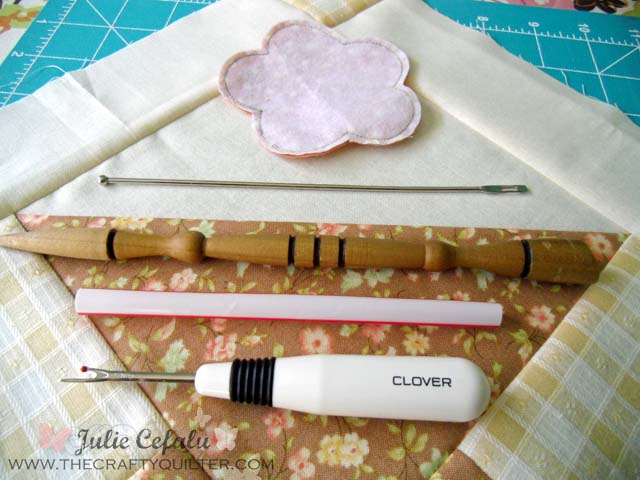
Here are the tools you’ll need for the applique:
- Fabric scraps
- Fusible lightweight interfacing
- Straw (the wider the better)
- Ball point bodkin (yep, that’s not a typo)
- Seam ripper
- Wooden pressing tool
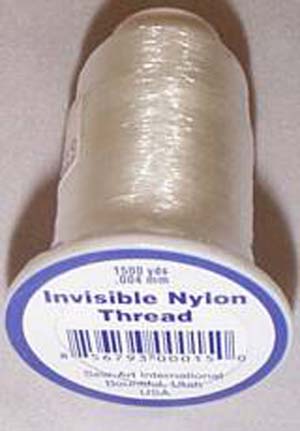
- Monofilament or “invisible” thread
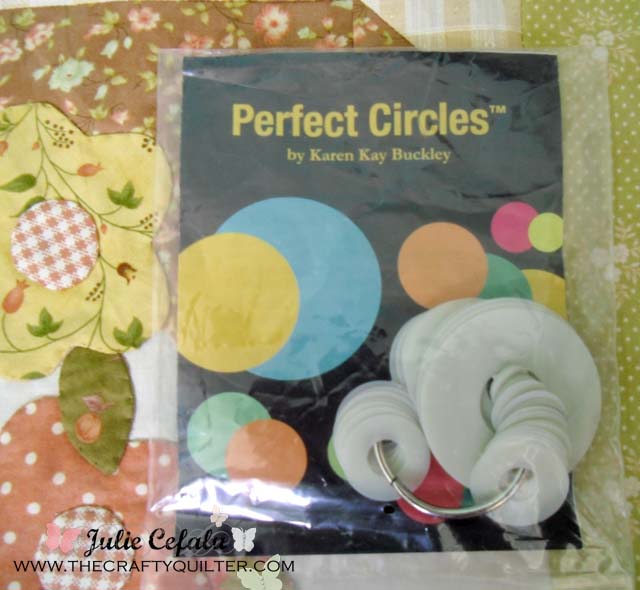
- Perfect Circles
, by Karen Kay Buckley (optional)
- Flower Placement Diagram
A Ball Point Bodkin is the tool shown at the top of the picture above. This one is made by Dritz, but you could also use a small crochet hook or even a plastic swizzle stick (martini anyone?)
Steps for making turned edge applique shapes with fusible interfacing:
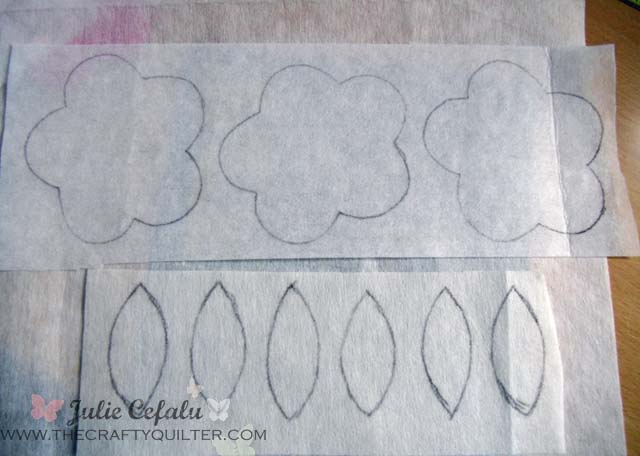
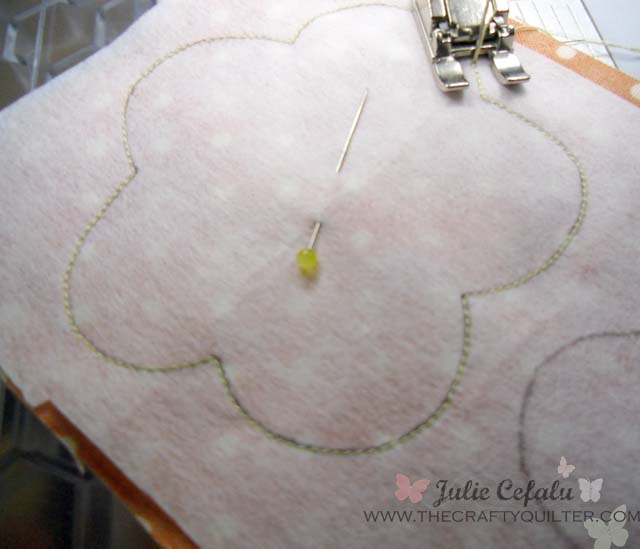
1. Print out the Flower Placement Diagram and trace applique shapes onto smooth side of fusible interfacing using a pencil:
2. Layer right side of fabric to fusible (rough) side of interfacing. Stitch on drawn line using a short stitch length – 1.5 to 1.8. Make sure your curves are smooth as this is what determines how smooth your finished shape will be. Pivot frequently!
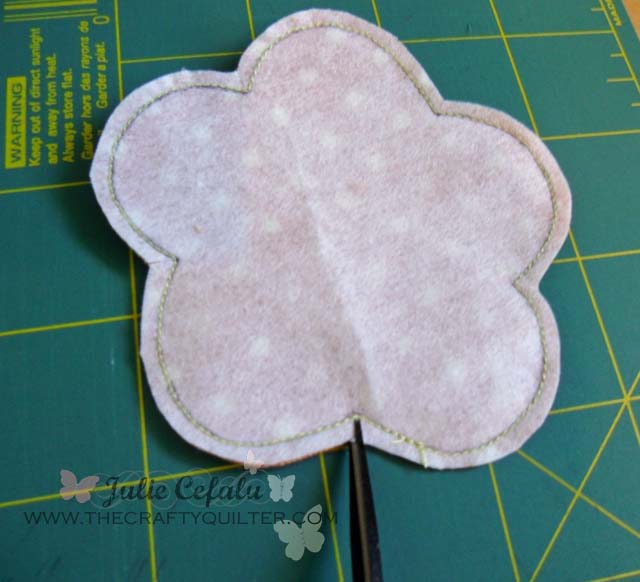
3. Trim 1/8″ away from stitching. Clip just to the stitching on inside points:
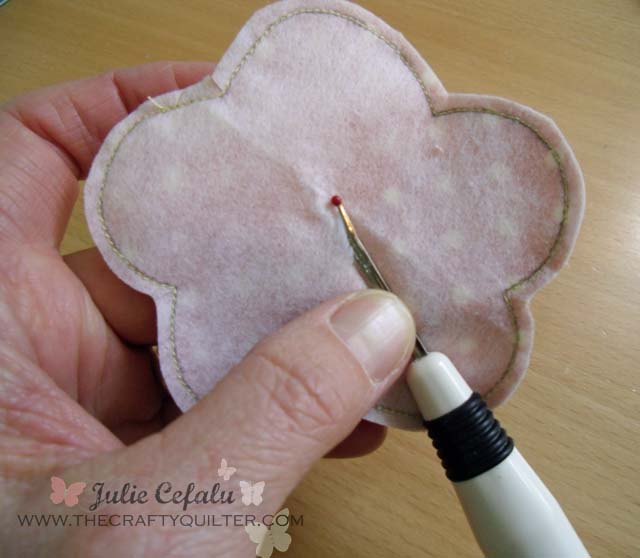
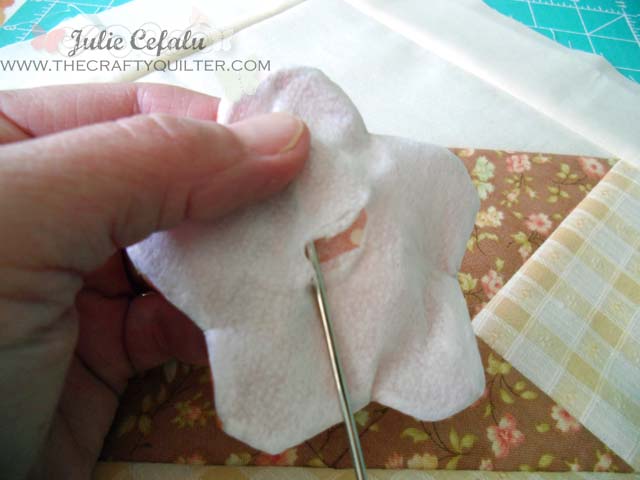
4. Using a seam ripper, carefully make a 1/2″ slash in the center of the interfacing:
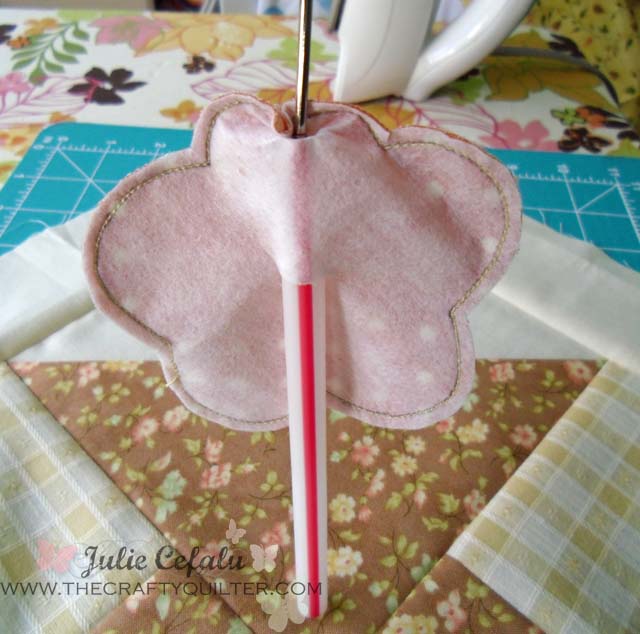
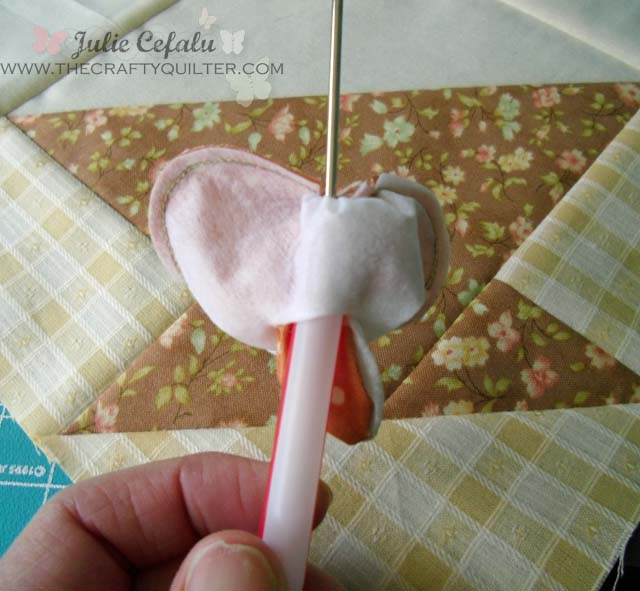
5. Next, you need to turn the shape right side out. Here is an easy way to do that without having to create an enormous hole in the interfacing. Insert the straw through the opening until you reach the stitching. Next, use the ball point bodkin or similar tool to push the applique shape into the straw (a picture speaks a thousand words):
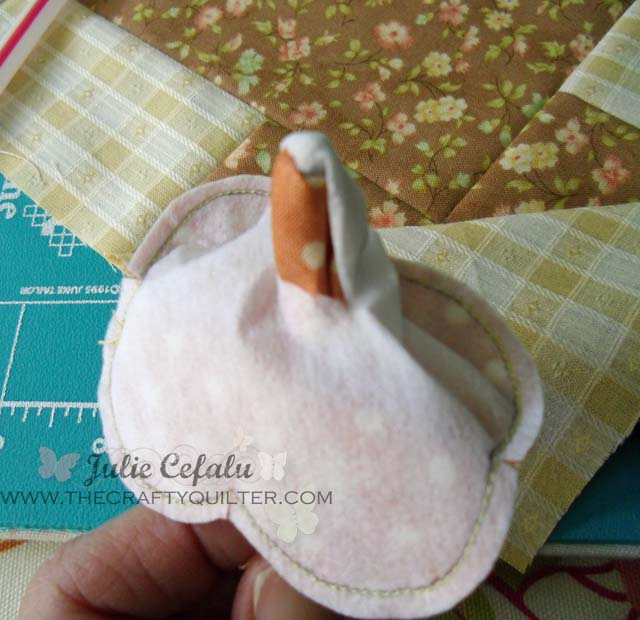
6. Remove the straw. Now you have an edge of the applique turning through the hole:
7. Repeat the same process, but going up to the other edge of the applique:
8. At this point you should be able to turn the entire shape right side out. Use the ball point bodkin to smooth the edges from the inside (through the same hole).
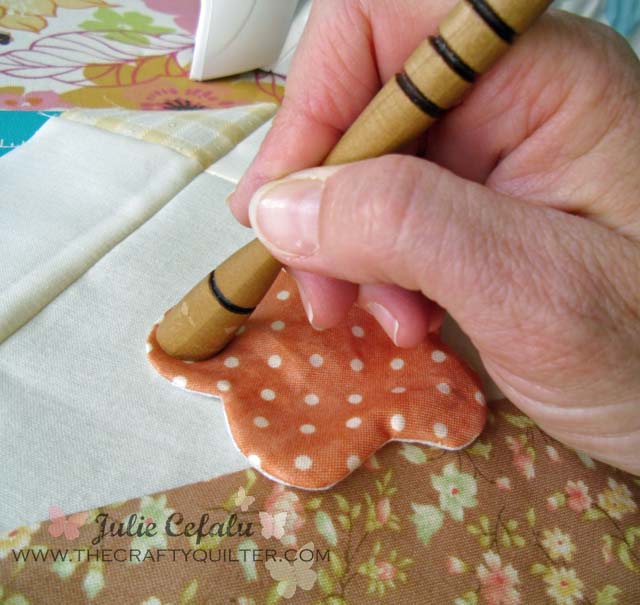
9. Because there is fusible interfacing on the back of the applique shape, you will need to use a wooden pressing tool or your fingers to smooth out the edges from the top/outside:
10. Repeat the above steps for the remaining flowers and leaves. Now you’re ready to press your shapes onto the background fabric. Using the applique placement diagram as a guide, arrange shapes on the basket block and press with a hot iron. Press again from the back side.
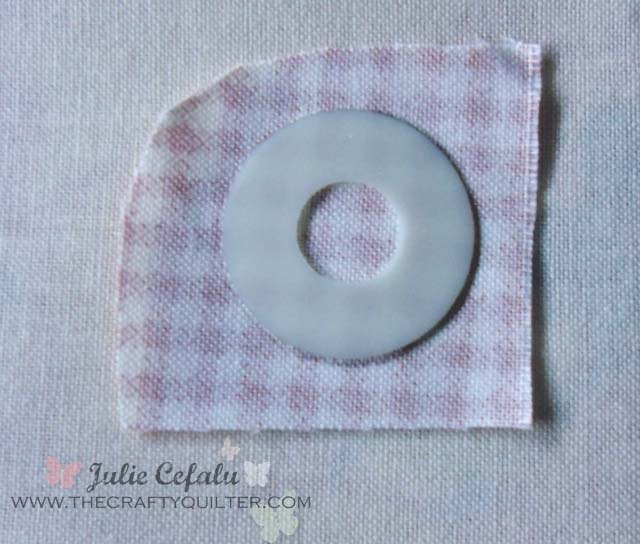
11. The circles for the flower centers can be made with a variety of techniques. For this project, I used a template circle from Perfect Circles and traced it onto the wrong side of the fabric. You can also use a file folder or similar heavy paper for a template.
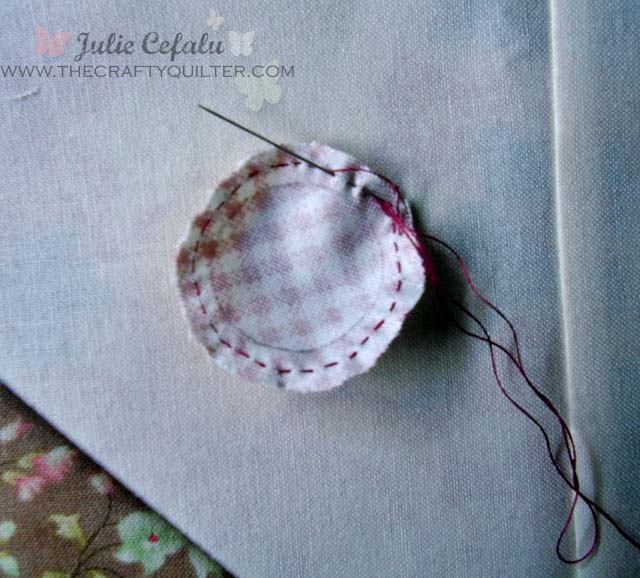
12. Trim 1/4″ away from drawn line. Using a needle and thread, make running stitches in the seam allowance. Leave a thread tail at the end:
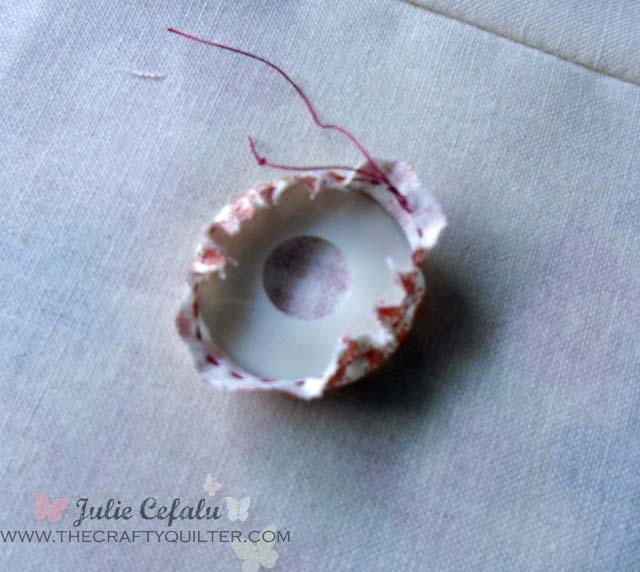
13. Insert the plastic circle template into the middle of your circle and pull the thread tails to form a circle. Press. (The template is made out of heat-resistant plastic).
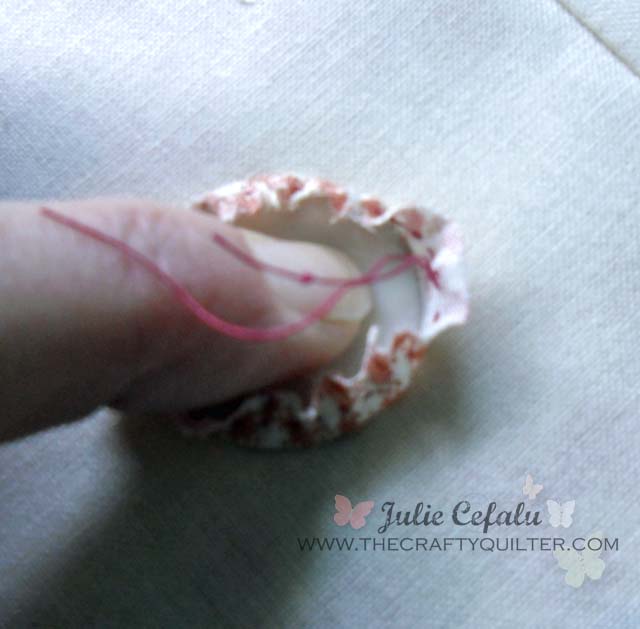 Sorry for the blurry picture. Here’s another one:
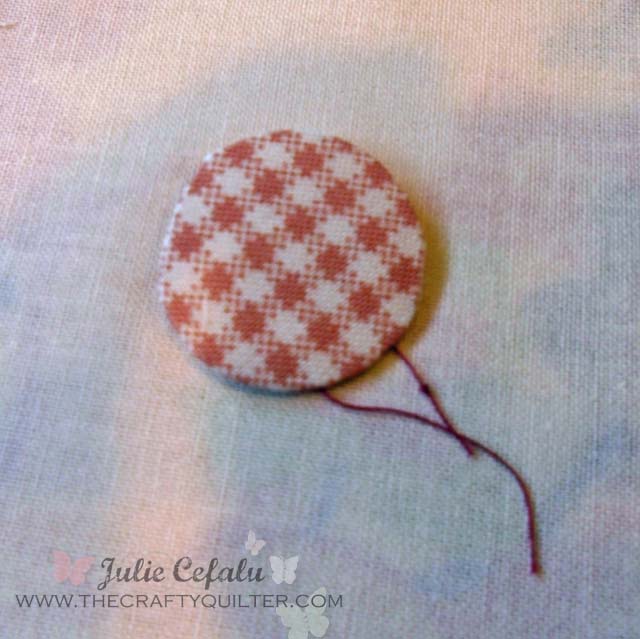
14. Loosen the thread tails just enough to remove the plastic circle and then re-tighten and press again from the front:
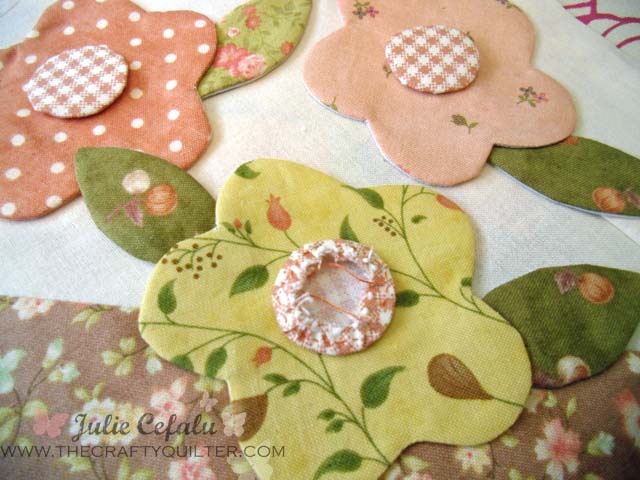
15. You can trim the thread tails at this point. To adhere the circle onto the flower, use a basting glue such as Roxanne Glue Baste It. Just place a little glue near the seam allowance. You can barely see the white dots of glue in the picture below:
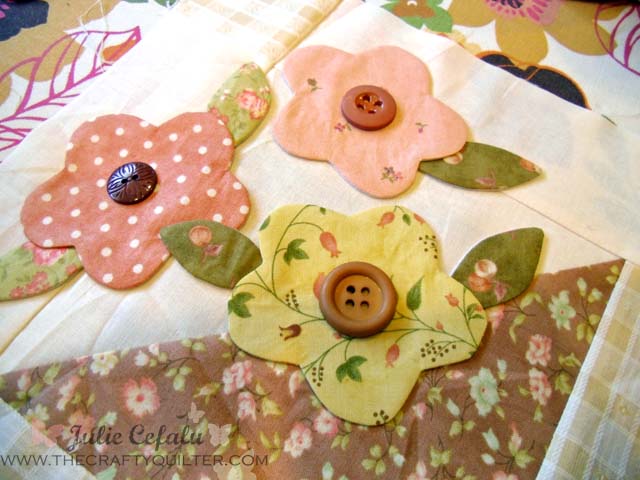
If making circles seems like too much trouble, you could always use buttons – just as cute!
16. Now you get to stitch this all down! When I use this technique, I’m aiming for an invisible looking stitch. I’ve even had people think that it was done by hand (that’s a great compliment!)
I think the key to achieving this look is using “invisible” or monofilament thread in the top of your machine. (I use a cotton bobbin thread that matches my background fabric). I have used many brands of invisible thread: YLI, Superior Mono-poly, and Sew Art International. These are all good choices, but only Superior is made out of polyester – the others are made out of nylon. This doesn’t matter too much, except when and if you iron your applique, you need to make sure you’re NOT using a hot iron or you could melt the monofilament thread. Use a medium heat setting instead.
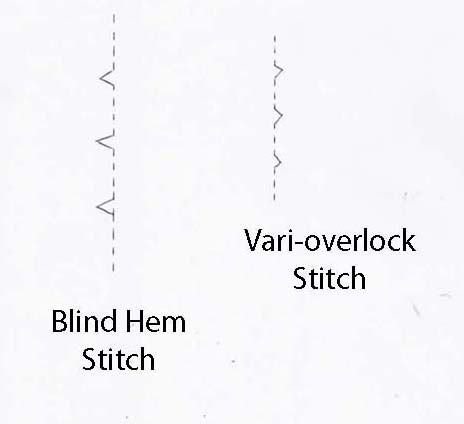
The other key to this technique is using the correct stitch on your machine. I usually use the vari-overlock stitch on my Bernina. Not all machines have this stitch, but it’s very similar to a blind-hem stitch only it’s reversed and it has fewer straight stitches in between the “v”. I mirror image the stitch and then it works for me.
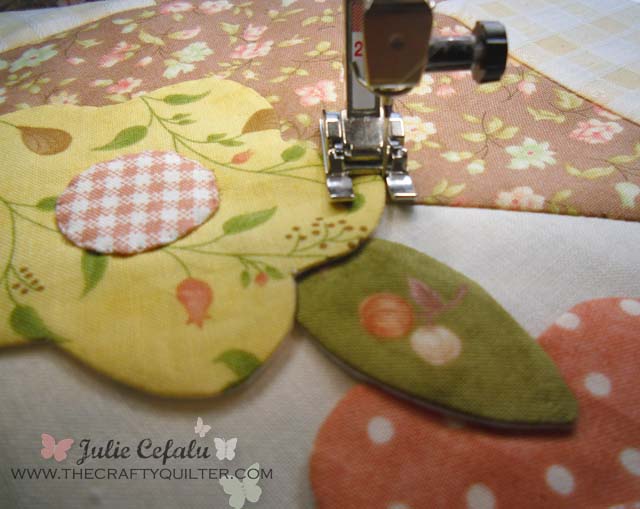
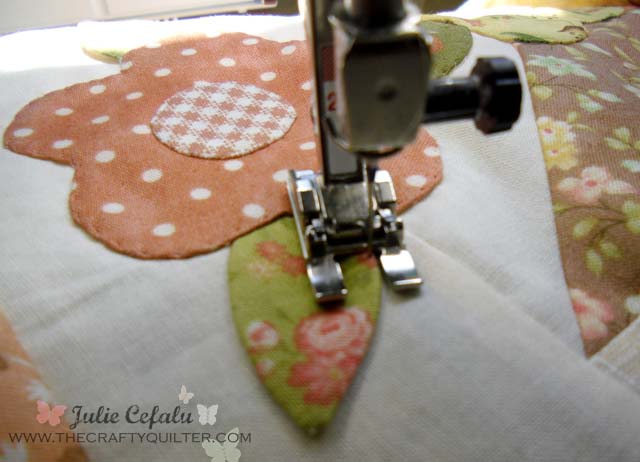
You want the straight stitches to fall in the background fabric right next to the applique and the bite or “v” to go just inside your applique shape. The bites should be spaced about 1/4″ apart.
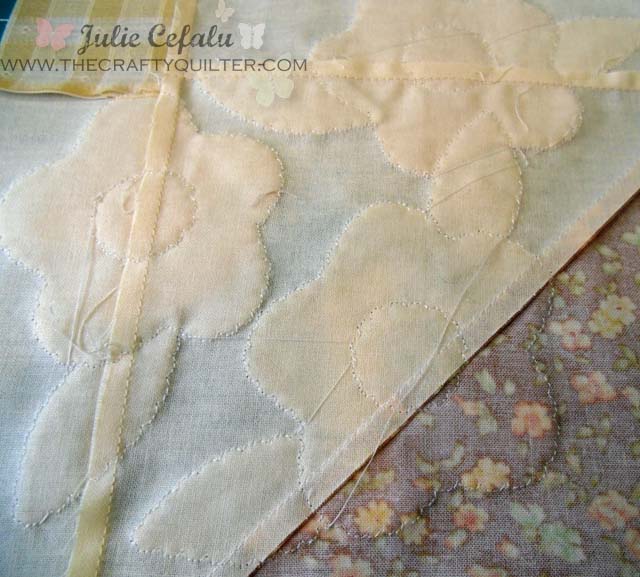
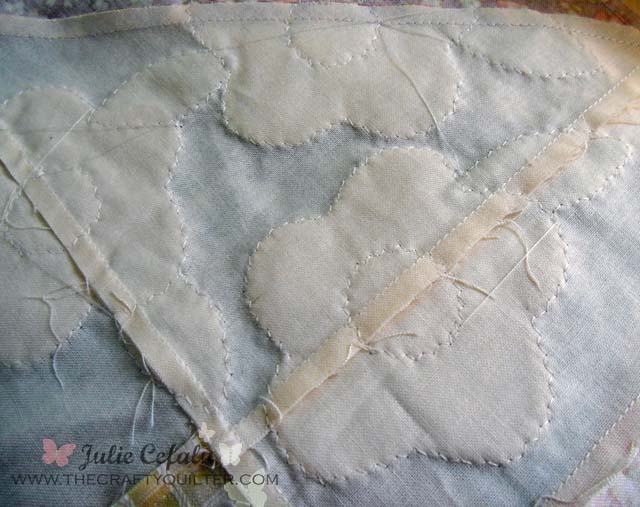
In the above picture, the needle is taking a straight stitch just next to the flower and then it will take one zig zag stitch to the left, into the flower. This is what it looks like from the back:
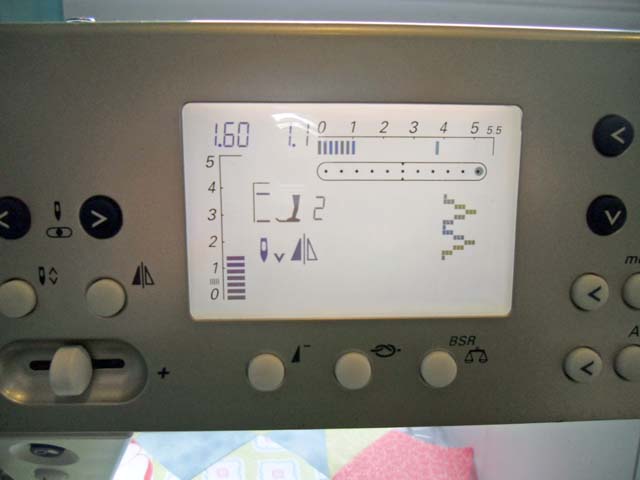
My stitches are pretty small and the setting on my sewing machine is at 1.6 stitch length and 1.1 stitch width.
If your sewing machine does not have a blind hem or vari-overlock stitch, you can use a zig zag stitch with great results. You’ll want the width to be as narrow as possible and the length should be longer than “normal”. I don’t remember what my settings were on my machine, but I finished one of my basket block appliques with this stitch and it came out great.
Here’s what the back of it looks like:
The front should look pretty good too!
Because of the invisible thread used on top, you really can’t see the stitches from the front. Some people like invisible thread for this reason – it’s very forgiving. But, it’s also hard to see as you’re working with it, so be patient.
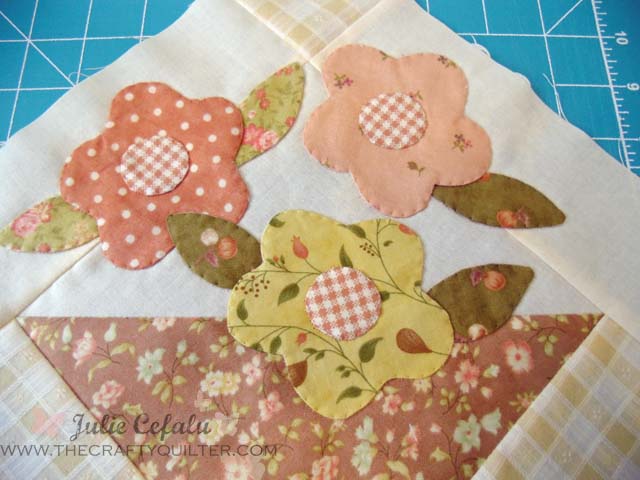
This type of applique is great for projects with larger and simpler shapes. I hope you give it a try!
I’ll be back with Part 3 – putting it all together with sashing and borders.
Let me know if you have any questions!

Hello hello, I look your appliqué tutorial and I would like to know where could I buy the wooden pressing tool, and the ball point bodkin, and what exactly number is the fusible lightweight interfacing because Joann have them but there’s is 944ff and different numbers and letters is kind of confused.
But the more important item is the wooden pressing tool I love it
Thank you so much
Daly’s
Thank you so much, I love reading your tutorials as you are so clear and good with the pics, too. I have a Husqvarna but will use your stitches and threads !
I have never tried this before but I am going try today thank you for showing me how to sew kie this .
Cheers Janice
What brand of interfacing do you use?
This is JUST what I needed with my new Bernina 770. Hope you’re loving yours too. Am interested in what stitch tension and presser foot pressure you select, please, when working on these cotton projects with that thickness and with monofilament thread, or different thickness threads. And which needle???etc etc etc. Maybe will there be a BSR foot technique tutorial too? Brilliant help. Many thanks.
It looks like you moved your needle to the right and used the right inside edge of your foot to help guide your stitching. Is this what you did? Do you have some trick to help your stitches bite just right? I have been reading both this post and your applique series in preparation for a quilt I am starting on. Any advice you have on getting stitches lined up just right with the edge of the applique would be helpful. Thanks! I have enjoyed your posts.
THANK you so very much for all yor tutorials on machine appllique. I took out a fan Dresden quilt I have been working on for over 5 years. I wasn’t sure how to appliqe the fans onto the blocks. I used yor invisible thread technique and am on a real roll to finish all the blocks. You are truly an inspiration. I also appreciate the detailed machine settings, as I have a 440 also.
Why didn’t I know about using the straw before? What a great tip!
I’m going to try it right away.
Just found you…love your tutorials…thanks so much for your time and effort you have put into sharing them!
Hi Julie! I know this post is not new, but I just want to let you know that whenever I google search for help with a project, I always land on your blog! :). Thank you for taking time to post such clear and easy to follow tutorials. I should know better by now, and just come directly to your blog to search for help!
Gracias no sabia como pegar las aplicaciones.
adorei!!!!! Nunca fiz flores desse modo!!! Achei super fino o trabalho final. Parabéns pela didática da explicação. Não há nenhum segredo escondido!!! Estou começando na costura e entendí perfeitamente. Obrigada!!!! Lau
Adorei!!!
Thank for all your tips
I would be great full if you can tell me the best way sew enbrodery on my fist quilt do I use the same colour over every thing or do I try do the coulour of the martial though the front very bright back cream
Thank you for your help Marian
Fabulous tutorial. I have recently tried using several invisible threads YLI and Superior Mono-Poly because I like the looks but hate the prickly feeling I get when the thread is cut at the beginning and end of an appliqué. I have decided to go back to a cotton or polyester thread. It is soft. Doesn’t anyone else complain about it? Is there something I should be doing to avoid the prickles?
Ty for the lovely tutorial.God Bless
I have never had any luck with turned applique, but when I next try, I’ll give your method a go. Hope you don’t mind but I’ve pinned. Your flowers look fabulous.
I have only attempted applique twice with very poor results. With your tutorial I can actually see and understand what I should have been doing. Thank you so much! I will be trying applique again and I can tell the results will be much better. Can’t wait to get going.
Desertdebbe
The best applique tutorial I’ve seen (and I’ve seen a few!), I especially love the tip with the straw: very ingenious. Thank you x
Hi Julie – I just took your machine applique class last night and on your recommendation read your tutorial for machine turned applique. What a terrific tutorial! It is written so clearly, has so many “little” tips (the kind that we learn only by sewing and and sewing and sewing), and great photos. Thank you so much for making this available to all of us.
With much appreciation, Caren
Thanks, Caren! I’m so glad you found it helpful!
Hello again and sorry I left this out on my comment. What size and type of machine needle do you use with the monofilament?
Leslie from Alberta.
Hi Leslie, Thanks for the nice comment below. I’m glad you like this technique! I use a Microtex Sharp needle, size 70/10 (by Schmetz)when I’m working with monofilament thread.
Hello,
I haven’t used Part 1
Part 2 – Extremely well written and all inclusive instructions. Helpful and lovely pictures wish I had a colour printer.
I would much rather turn the appliques inside out than try to press a 1/4″ seam over to the back, particularily on smaller pieces. Personally I don’t care for the glue, starch or freezer paper methods either. You have just added the best new idea I’ve seen that will relieve a time consuming step. Thank you so much.
Leslie fom Alberta
P.S. And, you allow it to be printed. Double Kudo’s
You are amazing! I love these tutorials! =-)
wow!! I cannot wait until I try this tutorial. I cannot believe such labor. I need fingers and talent to make this project. Thanks for sharing!!