The Details of a Wedding Shower
As I mentioned in a previous post, my two youngest daughters and I threw a wedding shower for my oldest daughter. I’d like to share some of the details that made it a little special. And it might take a while…
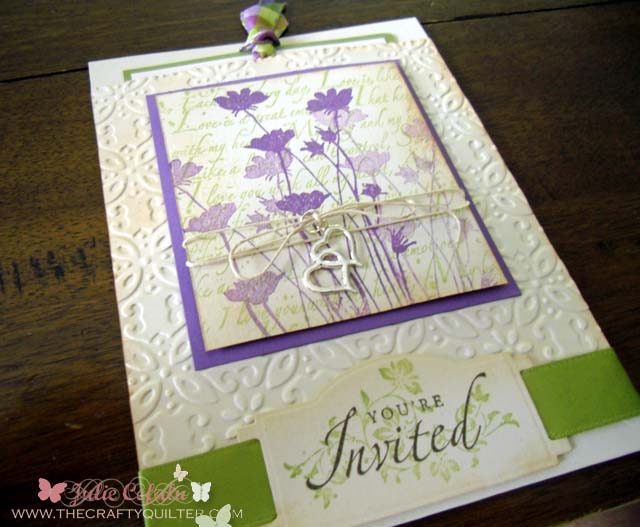
It all started with the invitation. I love to make cards – they’re kind of like mini-quilts (only much faster to make)! Here is the finished invitation:
Sometimes I start with paper and color and other times I start with the layout. This time I started with purple, green and ivory cardstock. I chose to make it a pocket-style card, so the “meat” of the invitation is on a separate insert.
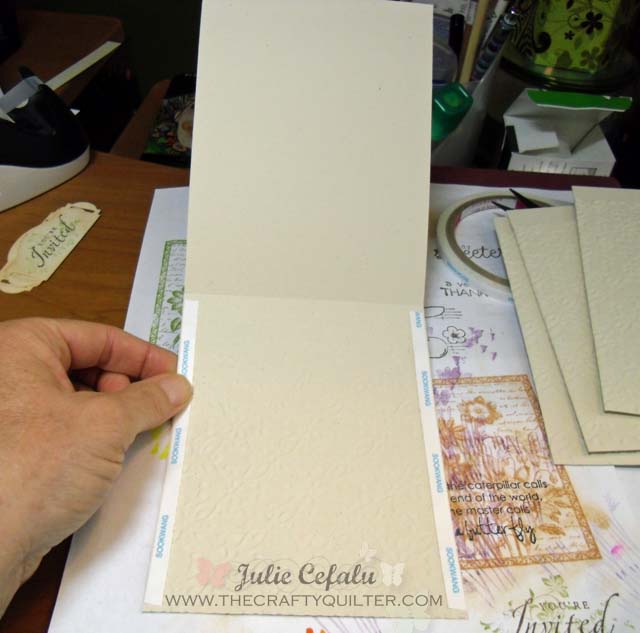
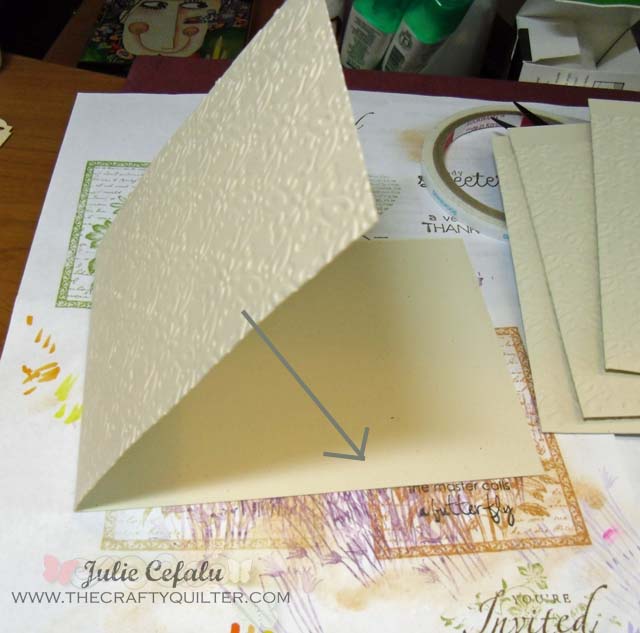
The base is a rectangle folded in half and adhered along both long sides:
I embossed the front first and then I used double-sided tape to adhere the edges.
I applied Distress Ink with a sponge to the card front to give it an aged look:
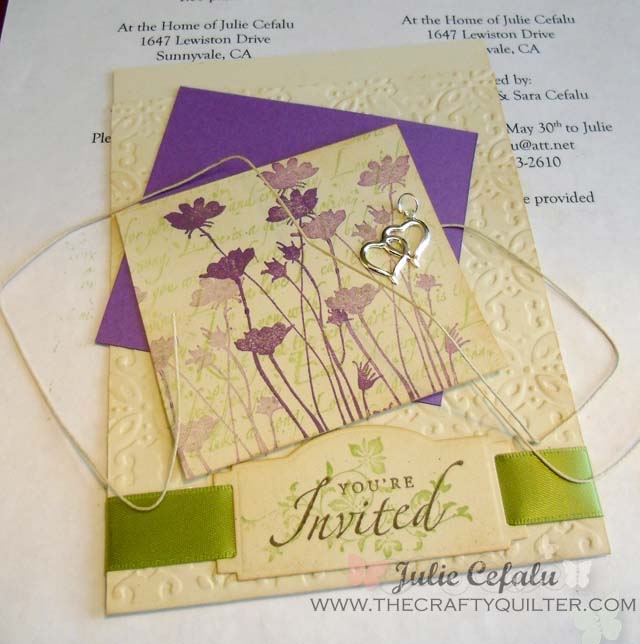
The other components that get added next are the “You’re Invited” tab with ribbon and a stamped floral panel with twine and hearts charm:
Here are the assembled parts ready to go:
On the left in the picture above are the pocket insert bases. I didn’t get any pictures of the insert alone, but here it is ready to be assembled:
I printed out the basic information onto vellum (a translucent paper) and used spray adhesive to attach it to the base which I stamped with a pretty swirl design. On a separate piece of cardstock, I printed out the bridal registry information and adhered that to the back of the insert. Finally I punched a hole through the top of the insert and knotted some ribbon through it.
This is what it looks like once it’s assembled:
I know, the Martha Stewart in me got to play when I was making these babies! It was a lot of work, but so much fun.
Next up, I thought I would try my hand at making some bunting which is all over Pinterest right now. Not bunting savvy? Think of it as a string of colorful pennants tied together and used as decoration.
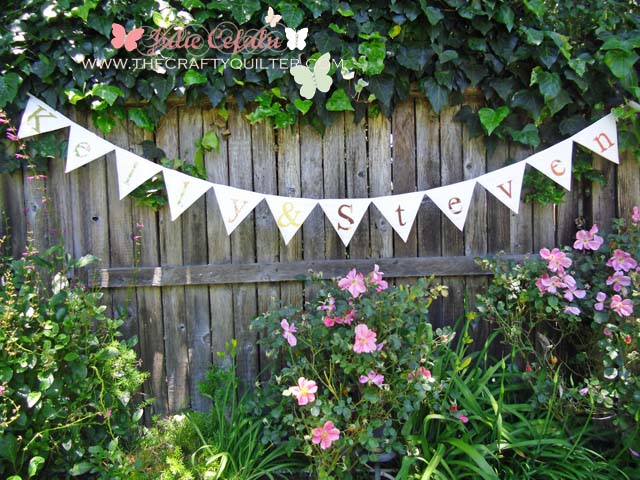
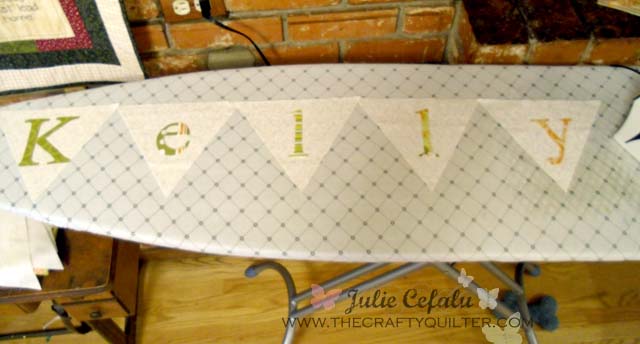
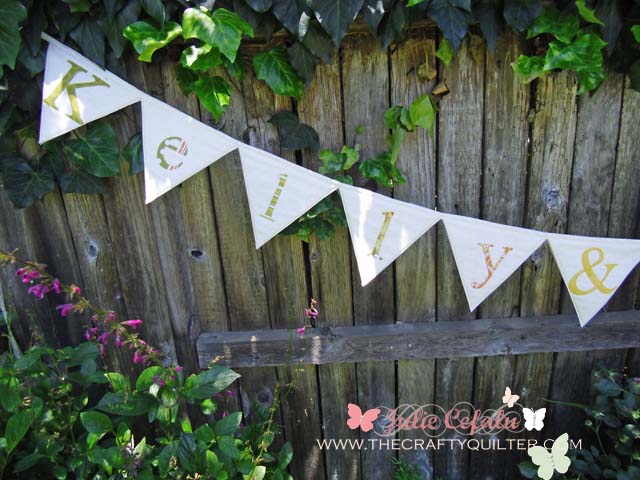
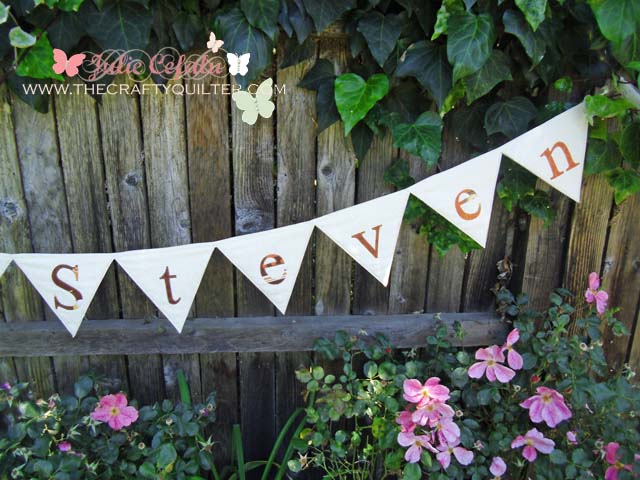
I wanted it to be personalized, so I appliqued “Kelly & Steven” on one side and I made it reversible. It says “Just Married” on the other side since we’re going to use it at the wedding reception too. Twice as nice!
Here are the basic supplies you’ll need:
- 1/2 yard fabric for front
- 1/2 yard fabric for back
- Fabric scraps or charm squares for applique
- Paper-backed fusible web (I used Heat ‘n Bond Ultra)
- Batting scraps (I used cotton)
- Double-fold bias tape
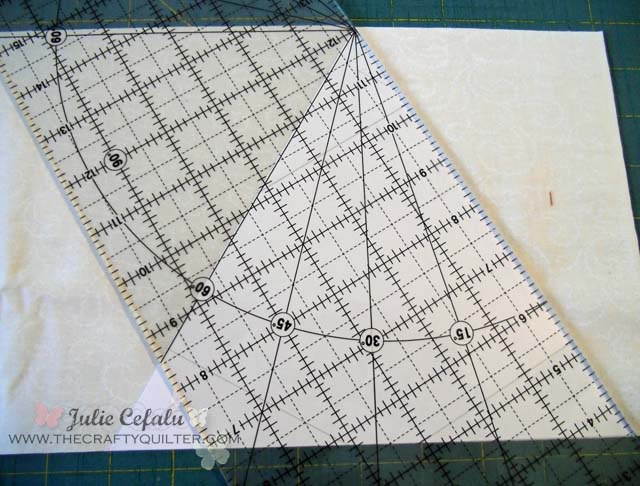
Prepare triangles for bunting. From both front and back fabrics and batting, cut strips that are 7″ wide. Then cut triangles from the strips – I made a paper template for the triangles and all three sides measured 8 1/2″. You can also use the 60 degree line on your ruler for accuracy:
Determine how many triangles you want your bunting to have. Mine depended on the letters needed, so I cut 12 triangles.
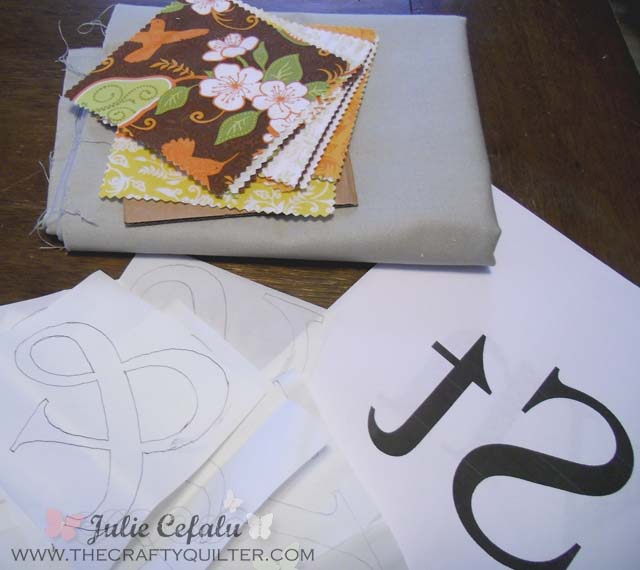
Applique letters: I used Microsoft Word to make the letter templates. I mirror imaged them and printed onto paper.
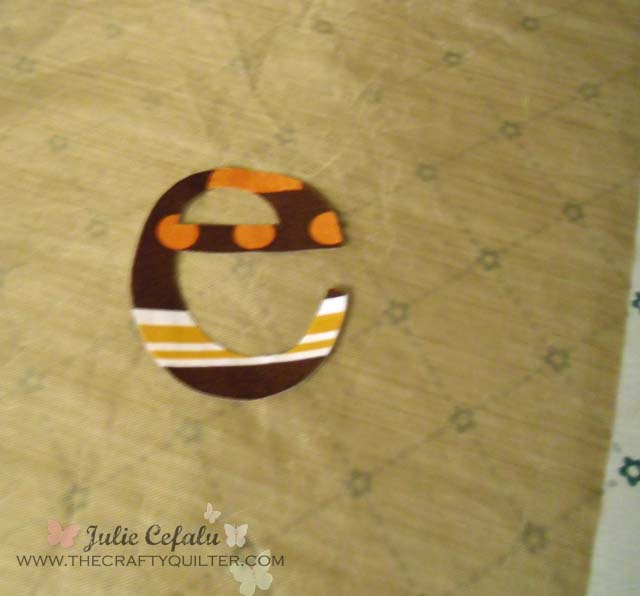
The letters were traced onto paper-backed fusible web (Heat n Bond ultra) and ironed onto the wrong side of the fabric scraps. Cut out the letters on the drawn line.
Peel off paper backing from letters and center onto triangles. Press and fuse in place (the amount of pressing time depends on the type of fusible used).
Stitch applique: If you are using letters on both sides of the triangle, one side will have batting attached before stitching and the other side will not. For the front side, I layered the triangles and batting together and then stitched around each letter with a straight stitch and free motion. You could also use a satin or blanket stitch, but I wanted to be quick about it. Sorry, no picture of this step – I guess I was being too quick!
The back side triangles were done the same way minus the batting.
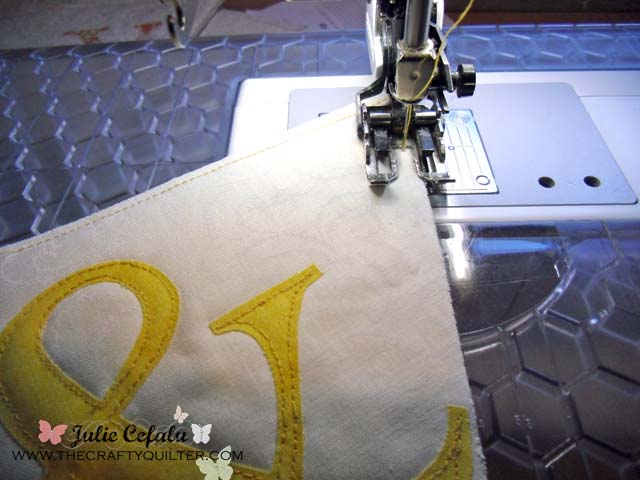
Layer and stitch edges: You will need to layer the front triangles (with batting) and back triangles together and stitch around the edges. I did not bother to baste first and I used a walking foot and sewed close to all three sides.
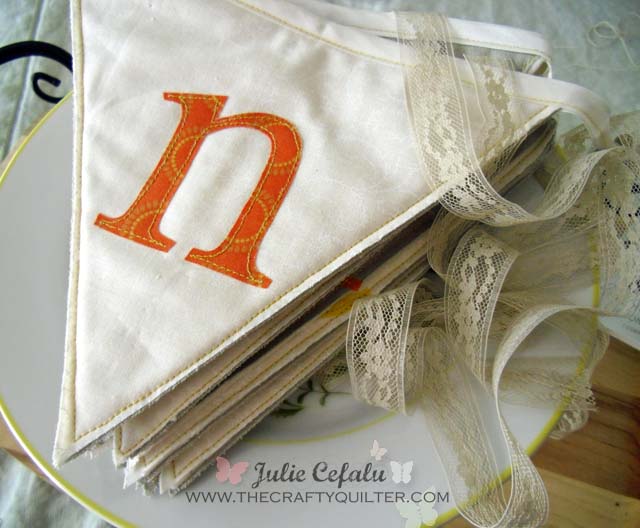
Final Assembly: Place triangles in correct order (if you’re spelling out a word). Open up double-fold bias tape and place top edge of triangle up to center crease. Allow additional bias tape at the beginning and end of triangles to hang it with. Make sure to overlap triangles about 1/4″ for added stability. Sandwich with top of bias tape. Stitch close to folded edge of bias tape using a walking foot and starting at beginning of tape and going to the end.
I didn’t leave a long enough tail at the ends, so I had to tie some lace hem tape to each end. It gave it a nice feminine touch, don’t you think?
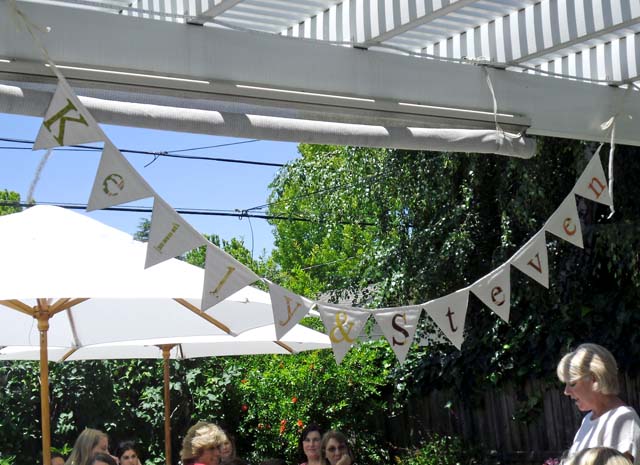
It was a little breezy during the party, but we managed to tie it to the backyard awning:
I think it looks better along the fence, though:
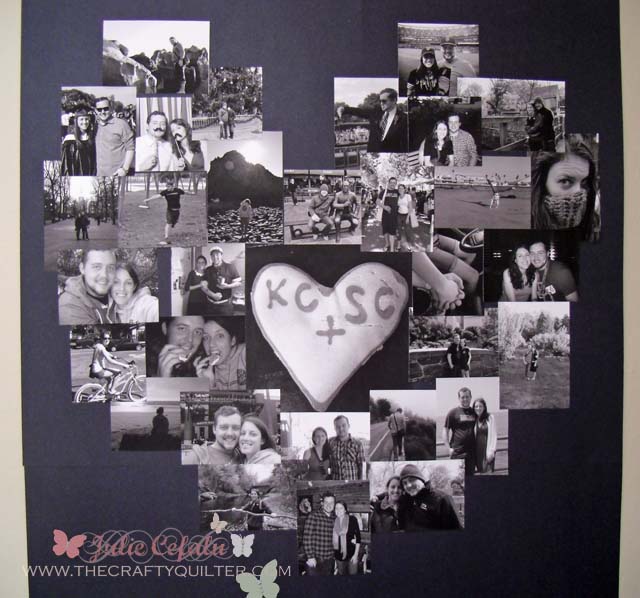
Next, I came up with the idea of making a collage of pictures of the bride and groom (to be) in the shape of a heart. My daughter, Nicole, found photos from Facebook and our own collection and we printed them out in black and white on cardstock.
We arranged them around a large picture of a heart-shaped cookie with their initials on top; Kelly made it for Steven and, lucky for us, took a picture of it.
We cropped the photos and placed them on black poster board. When we were happy with the arrangement, we glued them down, which was tricky with all of the overlapping and underlapping going on.
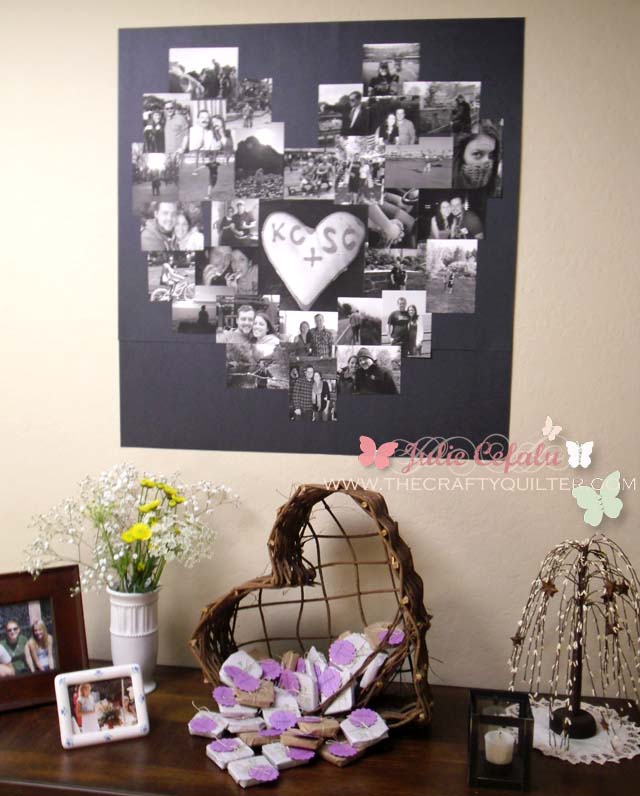
Here is the final collage:
We hung this in the entryway above a table holding party favors in a heart-shaped basket (which we found at the Goodwill – love it!) and a picture of me at my wedding shower 28 years ago (gasp!)
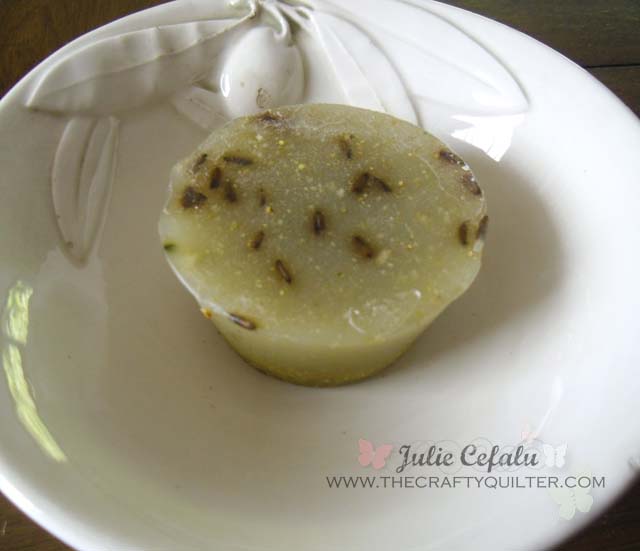
Let’s get back to those party favors. I was going for a garden theme, so we made gardener’s hand soap. I purchased the supplies from Bramble & Berry, and found the “recipe” here. The approximate cost was $1 each.
Sorry, but I didn’t take any pictures of the soap-making process. I had a lot on my plate and just wanted to get this checked off my list!
It was easier than I thought. You just microwave the soap base for a few minutes until it’s melted and add the following ingredients: lavender essential oil, pumice, corn meal, bentonite clay and dried lavender. Stir and pour into molds and allow to cool and solidify.
My mom says that it looks like ants on top. Oh well, it’s still organic in nature.
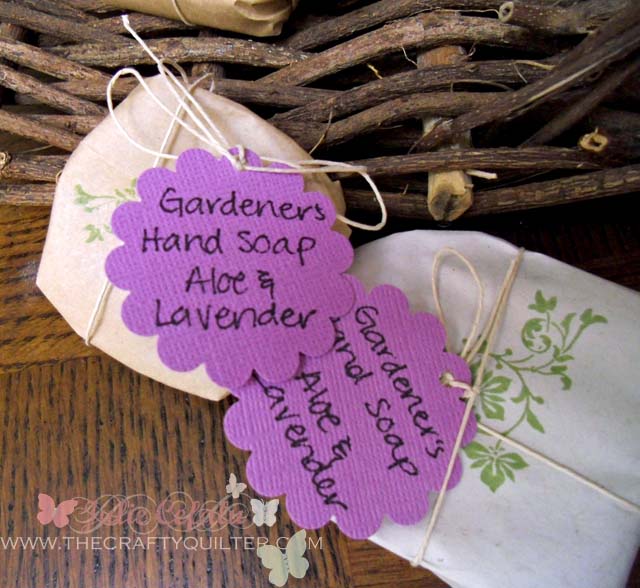
We wrapped them in some recycled paper and added a tag which was stamped with a lavender stamp and “thank you” on one side, and we hand-wrote “Gardener’s Hand Soap” on the other. Lastly, we tied some twine around it to finish it off.
Yes, there was food served as well, but I didn’t get any pictures of that. Actually, my volunteer photographer did get a picture of some desserts – the girl has her priorities. Thanks Emma!
Let me tell you what was on the menu:
- Tortellini Caesar Salad – it’s so good, trust me.
- Asian-inspired salad – lettuce, mango, red bell pepper, cilantro, avocado, peanuts, wonton strips and Newman’s Own Low-fat Sesame Ginger Dressing.
- Fruit Salad
- Bread rolls
- Chocolate-covered strawberries
- Chocolate Mousse cups – from my sister. I’ll have to beg her for the recipe.
- Cosmopolitan Champagne Cocktails – yes, we like our pink drinks!
- Iced tea, Lemonade – well, not everybody.
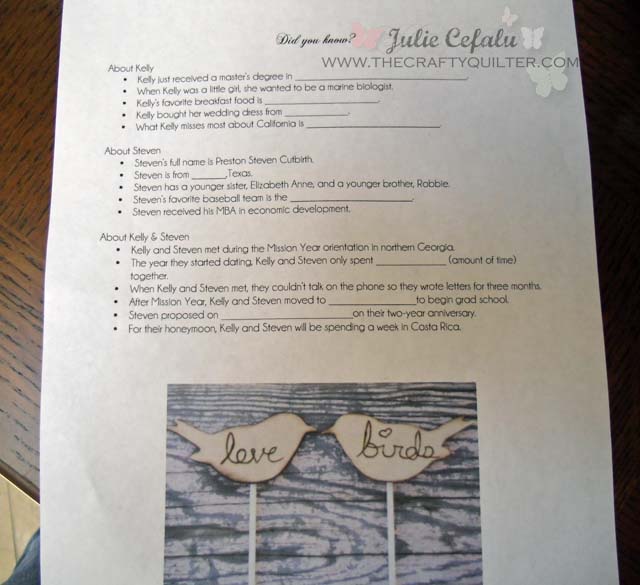
There were no games played at this particular shower, but we did have a fun fact sheet to hand out to each table:
There were facts about the “Love Birds” and some fill in the blanks. I took the stage for a bit and gave everyone a brief history of Kelly and Steven because a lot of the guests had not met the groom yet.
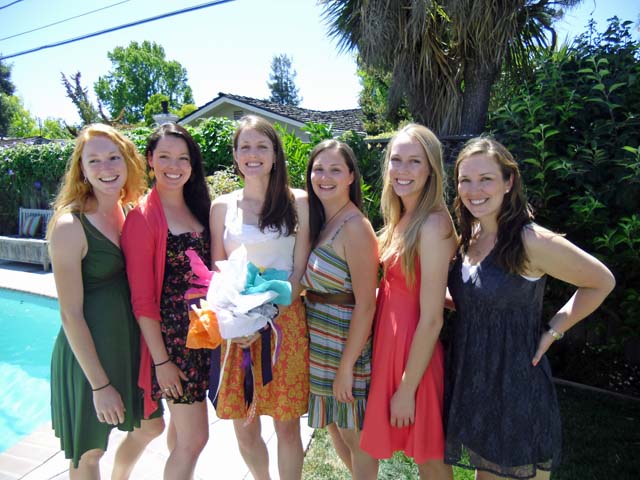
Here is my daughter, Kelly, with 5 of her 7 bridesmaids:
A quick thank you to the bridesmaids for helping us put everything together!
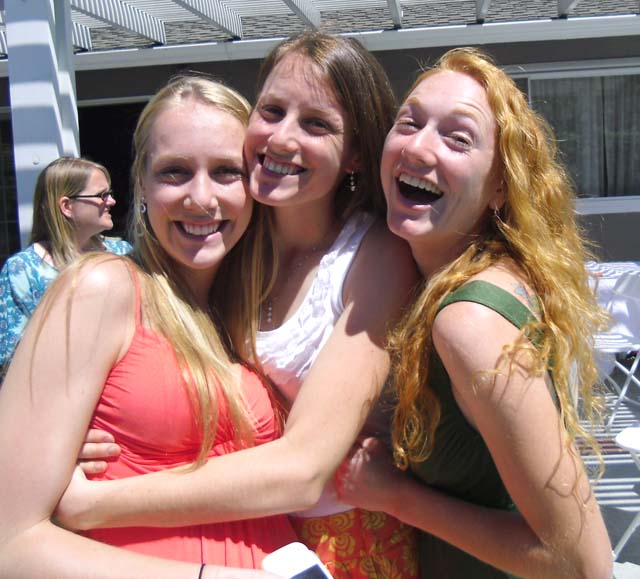
And my co-hosts, Sara and Nicole, with Kelly in the middle:
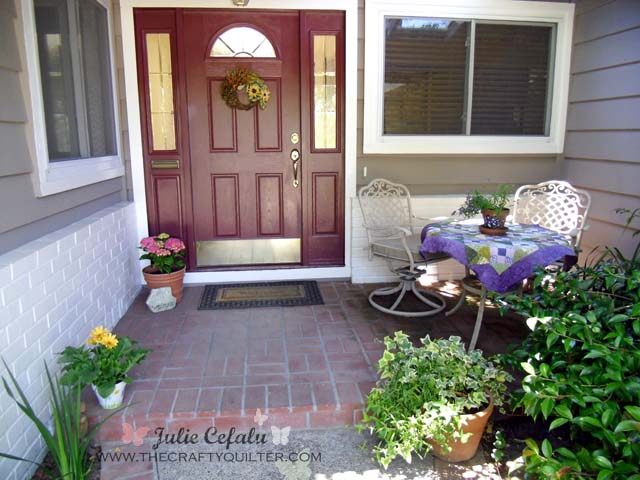
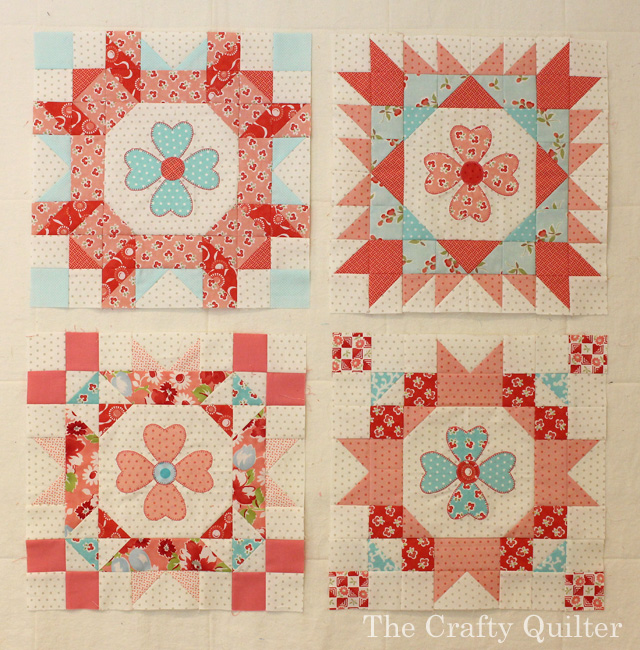
And last but not least, a picture of a quilt that was on the front porch welcoming our guests:
I hope you’ve enjoyed this little tour of my daughter’s wedding shower. Many of these ideas can be transferred to any type of party – birthday, anniversary, baby shower, etc. Maybe you’ll be inspired the next time you throw a party!
~ Julie









Julie! I am in awe of all your talents! The shower looked like it was so beautiful, I can tell no detail was overlooked 🙂 I only wish I could have been there to help and celebrate with you all. Congrats on being featured on craft gossip.com! See you in a few weeks… 🙂
What a memorable day you made this special occasion to be with all the sweet details of the party. Love the bunting and the invitation- thank you so much for showing us how it was done!! Beautiful girls!
Oh my goodness this is fabulous! I especially love the banner!
Oh My Goodness Julie … there is no end to your talents! I am in awe! From quilter/teacher/rubber-stamper/card-maker/crafter/soap-maker/co-ordinator/presenter … you should be an event organiser! btw I love your lavender coloured theme. I am learning so much. 🙂
Patricia
Everything looks so pretty and the girls all look so happy. Well done Julie! (And I think you should teach a bunting class at The Granary- will you please?)