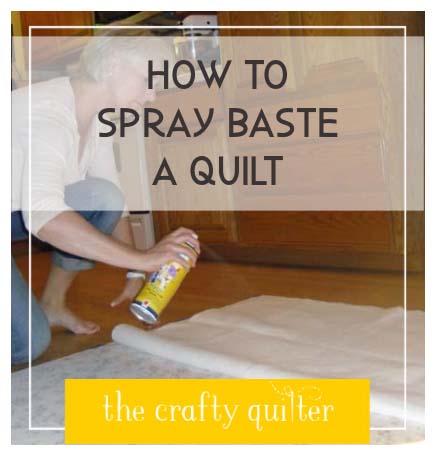
How to spray baste a quilt
Today I’m going to show you how to spray baste a quilt. Many quilters use basting spray to hold the layers of their quilt together, and of course, there are many ways to go about it. Hopefully you’ll find something you like about the way I do it, or you might find a tip that helps you improve your own method. Either way, it’s always good to see what other techniques people are using!
How to Spray Baste a Quilt
I’m going to “borrow” from an older blog post I did about spray basting. Towards the end of this blog post, I included a 5 minute video that I recorded (FOUR years ago) so you can watch me in action.
So, what is spray basting? It’s a method of basting the quilt layers together using a temporary spray adhesive.
Advantages:
- Super fast!
- No pins to avoid while quilting.
- It’s repositionable.
- Doesn’t add additional weight or drag to the quilt.
- No pin holes are made and nothing to snag on while quilting.
- It’s temporary. It will (mostly) wash out when you’re finished – see FAQ’s.
- Did I mention how fast it is?
Disadvantages:
- It can gum up your needle while quilting (easy to clean with an alcohol swab).
- It’s an aerosol adhesive that you don’t want to breath into your lungs (open a window and wear a mask).
- The over-spray can get surrounding areas sticky (just clean with soap and water).
Supplies
- Temporary spray adhesive – my favorite brand is 505 Spray & Fix.
- Blue painters tape or masking tape
- Safety pins (optional) – sometimes I’ll add a few safety pins on larger quilts for added security.
Steps
The following information has been updated from my 2012 blog post. Pardon the poor photography which has not been updated.
- To get started, you will need to lay your backing right side down on a smooth surface. I use my kitchen table for smaller quilts and my hardwood floor for larger quilts. You want to smooth your backing out and tape the middle of one side and then the opposite side. Do the same thing to the remaining two sides. Now secure the corners with tape. Depending on the size of your backing, you will need to add tape about every 12 inches. Always smooth from the center out to the edges. You want the backing to be smooth and flat, but not tight. See the before and after pictures below.

- Next you will lay your batting on top of the backing and smooth it out. They should both be about the same size (which should be 2 – 3 inches larger than your quilt top on all four sides).
- Peel back half of the batting and spray the batting with temporary spray adhesive. Hold the can about 12 inches away and spray an even layer. Optimally you want to use as little adhesive as possible to do the job. I gauge this by the type of batting I use.
- For 100% cotton batting, use spray sparingly.
- For cotton blends and wool, use a little more.
- For other types of batting, you’ll need to test for adhesion. Try a little, then add more if needed.

- Lift the batting that just got sprayed and smooth it down over the backing as it touches down. Since it’s temporary and re-positionable, you can readjust if any wrinkles form while doing this. This is easier to do with two people – one holding each corner of the batting. However, I usually do this on my own, so I work with one corner/side at a time.

- Repeat steps 3 and 4 for the other half of the batting.

- Lay the quilt top over the batting/backing layer and smooth it out. I try to smooth it out with the fabric grain so that nothing stretches or distorts.

- Peel back half of the quilt top and spray the exposed batting side using the same method as before. You will always be spraying the batting rather than the fabric. This gives you a more even spray and better adhesion since you don’t have seam allowances and thread getting in the way.

- Carefully lower the quilt top over the sprayed batting. Make sure you don’t pull the corners or edges as you’re smoothing it down. This can distort the quilt top. Use one hand to hold the corner up and the other hand to smooth the quilt top from the center out to the sides. If you’re working alone, repeat with the other corner/side.

- Repeat steps 7 and 8 for the other half of the quilt.

- If you have a large quilt, you can add safety pins about 12″ apart for additional security.
- Remove the painters tape.
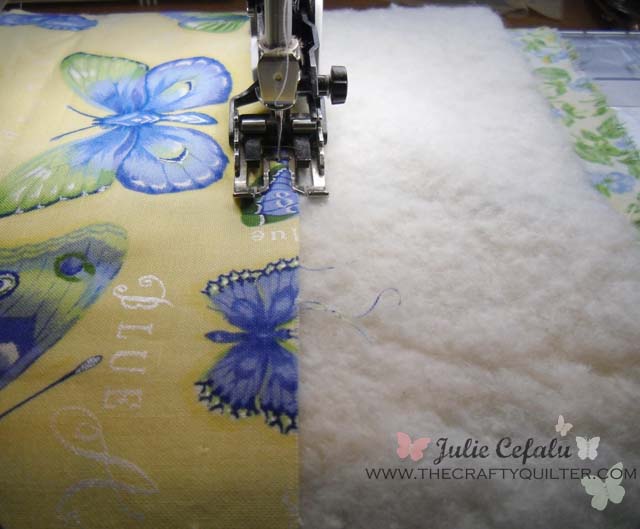
- Next, I like to baste the edges of the quilt top using my sewing machine with the walking foot attached. This gives added stability to the outside edges which tend to get manipulated a bunch during the quilting process.
FAQ’s
The answers below are specific to 505 Spray & Fix. I don’t have any experience with other basting sprays.
Q: Does the adhesive wash out of the quilt?
A: Not entirely. I’ve had mixed emotions about this ever since I learned that the adhesive does not wash out 100%. The website says that “the bond will release when washed”. Hmmm, carefully worded. Check out this blog post for a thorough read.
Q: Do you need to iron the layers to get a better adhesion?
A: I, personally, do not iron the quilt after basting. It sticks together just fine without it. Some people like to use an iron to make it really flat and remove any bubbles. There’s certainly no harm in this step.
Q: How long will the adhesive last?
A: I’ve had quilts basted for years and they’re still stuck together! However, the official word is 6 months.
Q: Will the spray harm the fabric if left in too long?
A: 505 Spray & Fix is acid free so it won’t harm or discolor fabric.
Video of How I Spray Baste a Quilt
This video has been sitting in the archives for a few years, and I finally did a little editing so that it’s presentable. I haven’t changed my process one bit, so it’s still very relevant. Only my hairstyle and weight have changed (both for the better I think)!
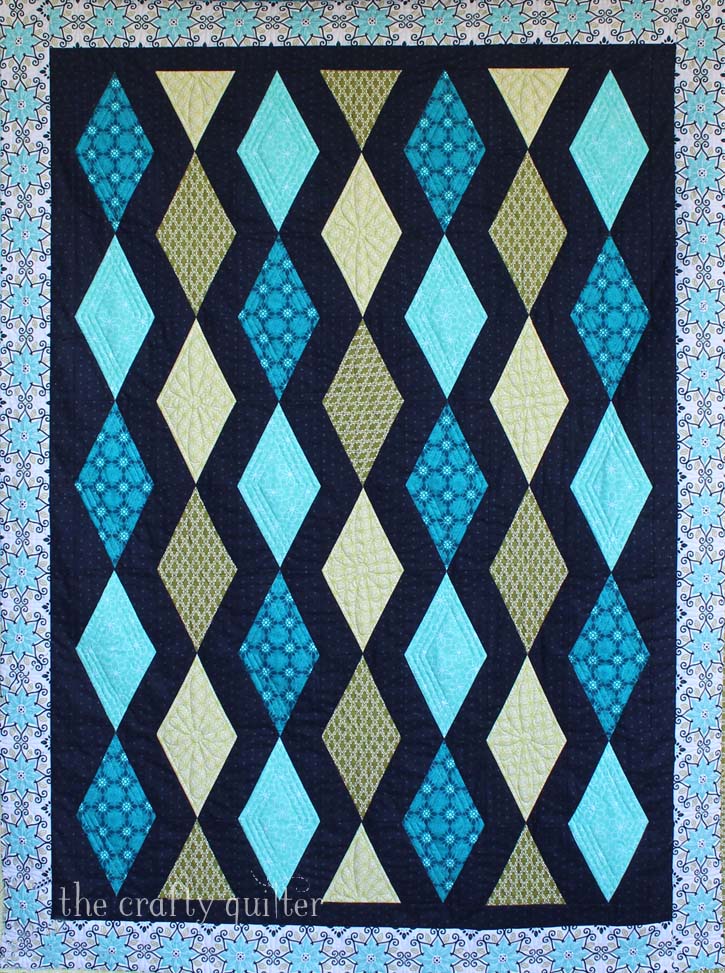
The quilt in the video
I suspect there might be questions about the quilt I basted in the video. I was asked to participate in a blog hop to promote the release of Shelley Cavanna’s fabric line, Gloaming. You can read my blog hop post here for more information and photos. I absolutely love this fabric collection and I wish it were still available, but that was back in 2018!
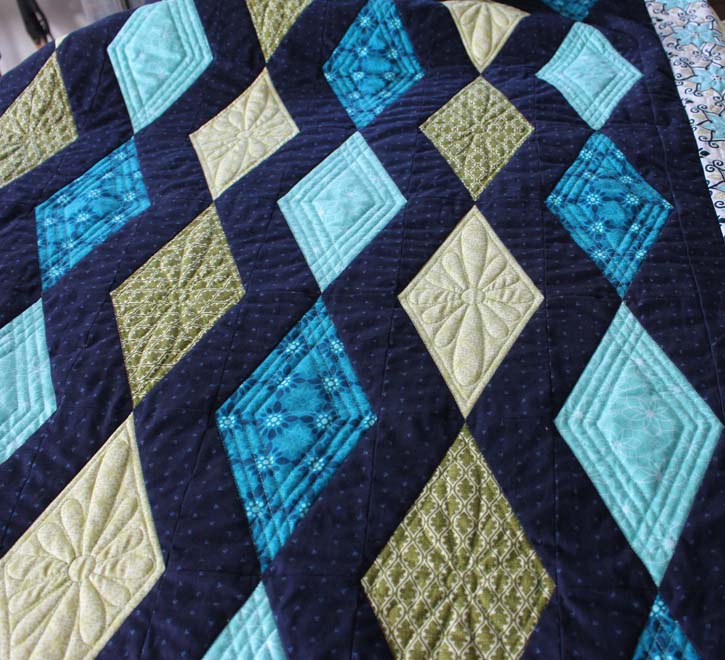
I named this quilt Diamond Twilight. It measures 45″ x 60″. I really wanted to make something that showcased the fabric well, and so I came up with this staggered diamond design. The blocks are large”ish” (5″ x 10″) and easy to make using the Diamond Rects – Quilting Tool by Studio 180 Design. I never did write a pattern, but I think I’ll definitely put this one in the que.
Spray basting has become more popular over the years. I use this technique most of the time and it works well for me. I’ve seen other methods of using a wall instead of the floor to baste with spray and using a sheet underneath the backing fabric to catch the overspray (great idea). I love how Allison at Cluck Cluck Sew folds her quilt layers when spray basting. I’m definitely going to try that on my next quilt.
I hope you enjoyed this lesson on how to spray baste a quilt. Leave a comment if you have any questions or experiences to share.
Happy Quilting!


Kim from Chatterbox Quilts posted a recipe for a DIY basting spray. No harmful chemicals, easy to make, washes out, works wonderfully. Give that a try, using your same process, instead of 505.
Well, I learned something new today…I always thought it washed out. I have used the 505 for years. I don’t use it as much now, and more for things like table runners than quilts, but I will rethink it. I have to think about whether the solve is a good substitute….or just use the 505 as I have recently, sparingly and on small or table sized pieces not going on the quilting frame. This is a great tutorial for those who have never done it!
testing
this is a test