
JOIN MY NEWSLETTER TO RECEIVE…
My free Season Reflections quilt pattern!
Welcome to
The Crafty Quilter
Hey there! I’m Julie Cefalu, and I’m a quilter, teacher, pattern designer and quilting correspondent (aka blogger). I’m also a wife, mom and grandma who loves to read, hike, garden and cook.
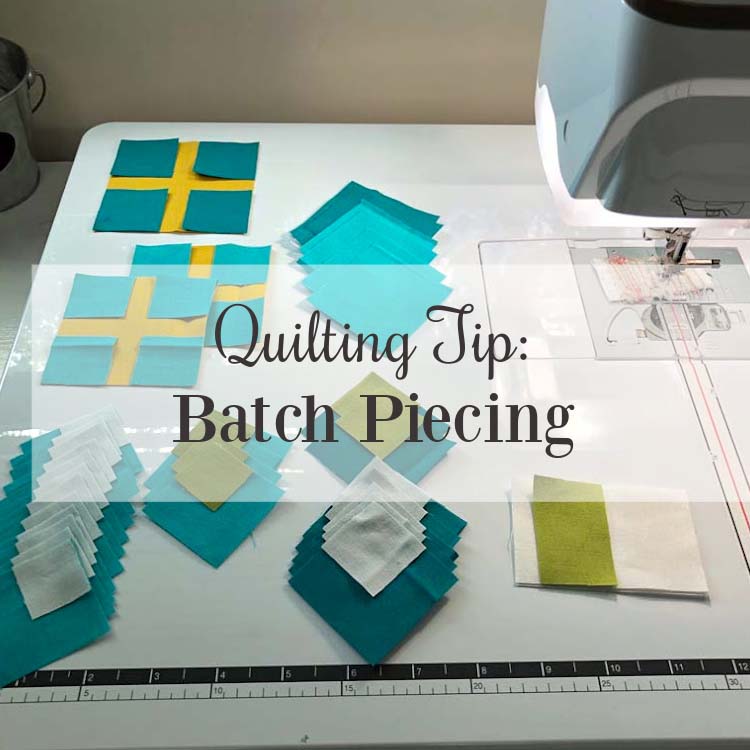
This space is my creative sanctuary. I love to share quilting tips and tutorials along with the latest creative happenings in the blogging world.
Thanks for visiting, and I hope you come back soon!
Latest blog posts…
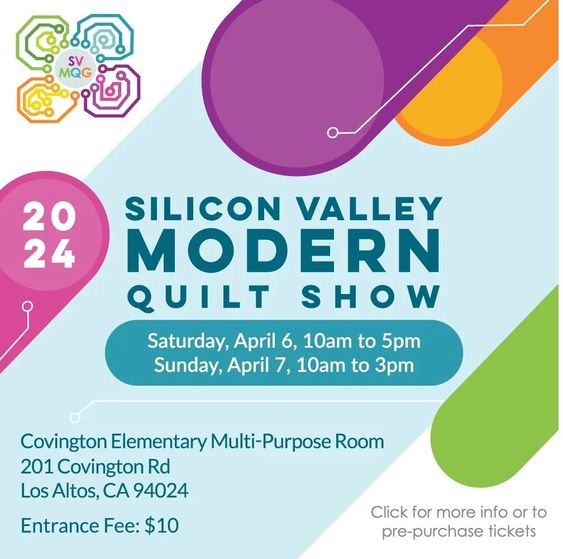
Silicon Valley Modern Quilt Show photos
In April, I visited the Silicon Valley Modern Quilt Show in Los Altos, California. I really enjoyed seeing all of the quilts on display, running into old friends and visiting the vendor booths. I took photos of many of the quilts and I’d love to share them with you. Get ready for a peek at…

Mother’s Day gifts to sew & my trip to Austin
Can you believe the month of May is right around the corner? It’s the perfect time to whip something up for Mom, and I have some great ideas for Mother’s Day gifts to sew! I also just returned from a visit to Austin to see my grandkids. I have just a few pictures to share,…
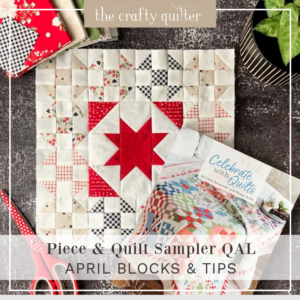
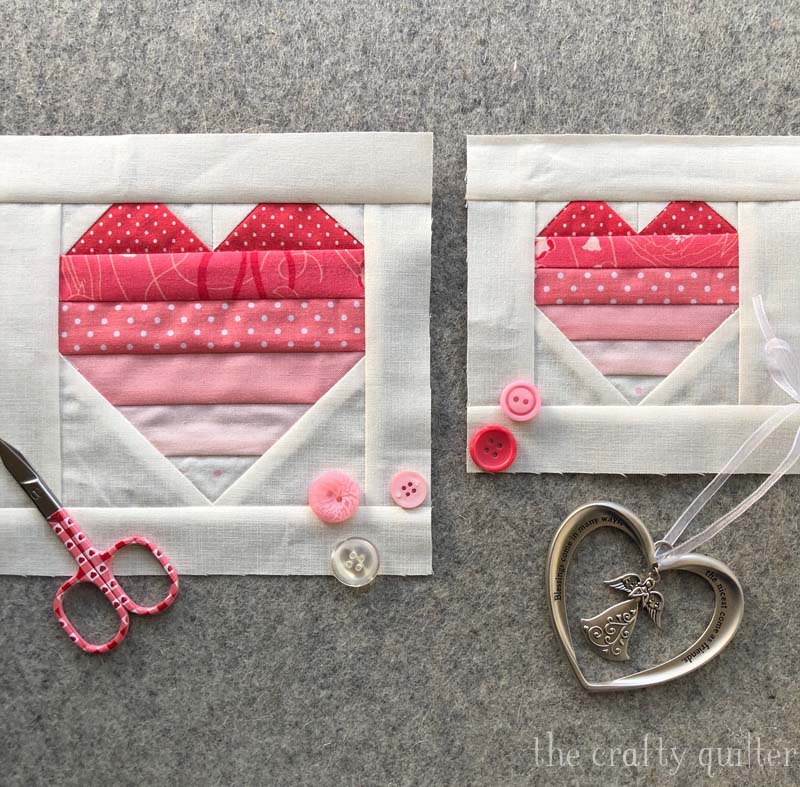
Piece & Quilt Sampler tips for April
Hey everyone! I know many of you are following along with Fat Quarter Shop’s Piece & Quilt Sampler Quilt Along. Today, I’m sharing the blocks for April along with a few tips. If you’re not participating, you’ll still find these tips helpful because they can be applied to most of your piecing projects. There’s still…
