
JOIN MY NEWSLETTER TO RECEIVE…
My free Season Reflections quilt pattern!

Welcome to
The Crafty Quilter
Hey there! I’m Julie Cefalu, and I’m a quilter, teacher, pattern designer and quilting correspondent (aka blogger). I’m also a wife, mom and grandma who loves to read, hike, garden and cook.
This space is my creative sanctuary. I love to share quilting tips and tutorials along with the latest creative happenings in the blogging world.
Thanks for visiting, and I hope you come back soon!
Latest blog posts…
-
Summer Projects and Tip For Stack-wound Thread
I have been enjoying my summer so much – to the point of feeling a little guilty. Not that I’ve gone on any extravagant vacations or that I’ve been sitting by the pool day after day. No, this is the kind of “take each day as it comes” in a luxuriously lazy way. No big…

-
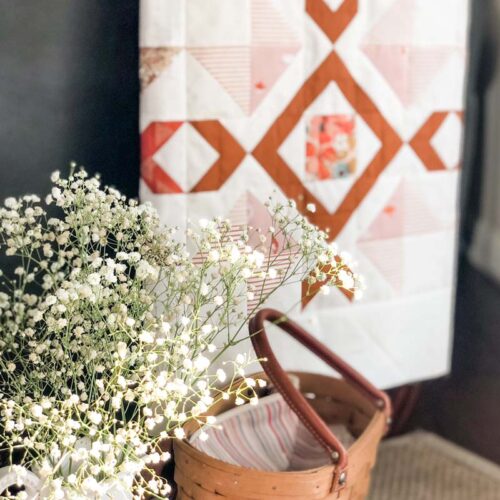
Double Sawtooth Star Quilt Block Tips + Free Pattern
If there’s one thing quilters can agree on, it’s that star quilt blocks never go out of style! With so many beautiful variations to choose from, there’s always another star to add to your quilting bucket list. Today, I’m sharing one of my favorites, the Double Sawtooth Star quilt block. It can be made with…
-
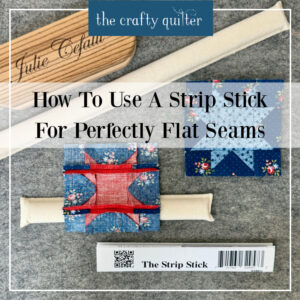
How to Use a Strip Stick (Pressing Bar) for Perfectly Pressed Seams
Once you’ve cut your pieces accurately and you’ve sewn a perfect 1/4″ seam, pressing might seem like the easy part. It can be – until you run into those bulky seam allowances. This is when having the right tool for the job will make the task so much easier. One of these tools is a…