
JOIN MY NEWSLETTER TO RECEIVE…
My free Season Reflections quilt pattern!
Welcome to
The Crafty Quilter
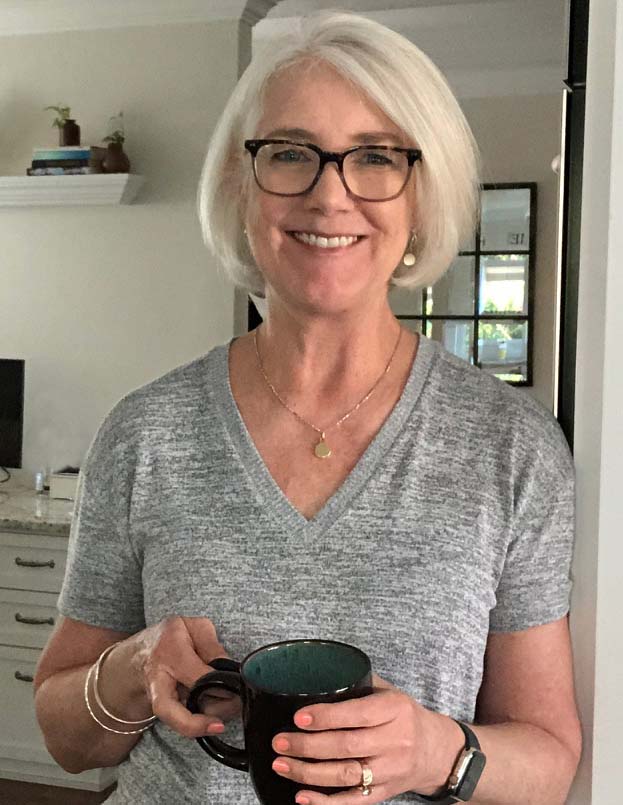
Hey there! I’m Julie Cefalu, and I’m a quilter, teacher, pattern designer and quilting correspondent (aka blogger). I’m also a wife, mom and grandma who loves to read, hike, garden and cook.
This space is my creative sanctuary. I love to share quilting tips and tutorials along with the latest creative happenings in the blogging world.
Thanks for visiting, and I hope you come back soon!
Latest blog posts…
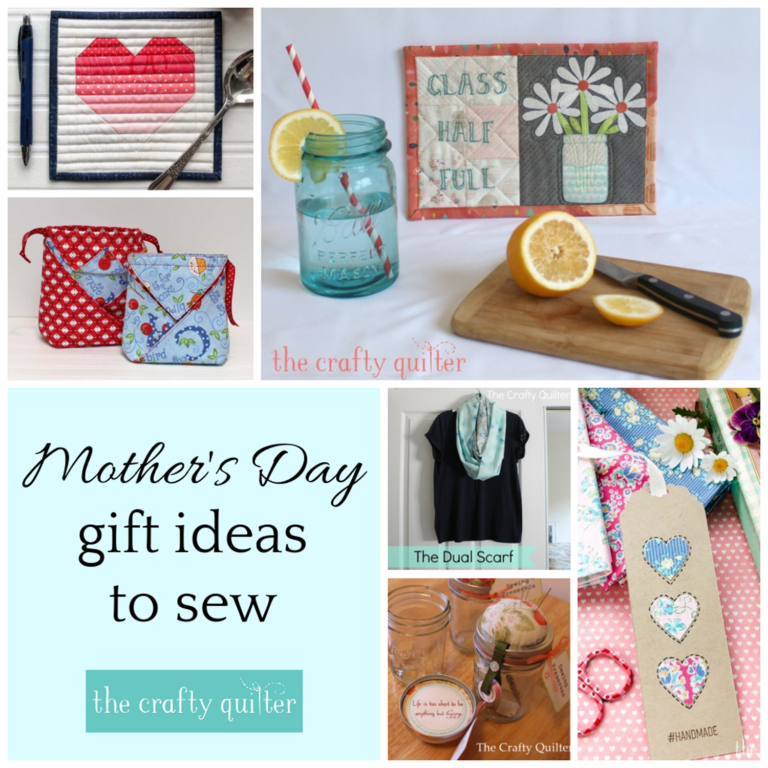
Mother’s Day gifts to sew & my trip to Austin
Can you believe the month of May is right around the corner? It’s the perfect time to whip something up for Mom, and I have some great ideas for Mother’s Day gifts to sew! I also just returned from a visit to Austin to see my grandkids. I have just a few pictures to share,…
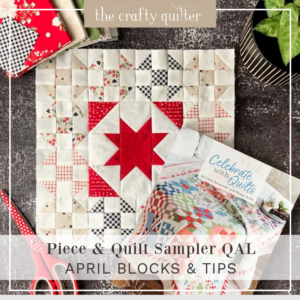
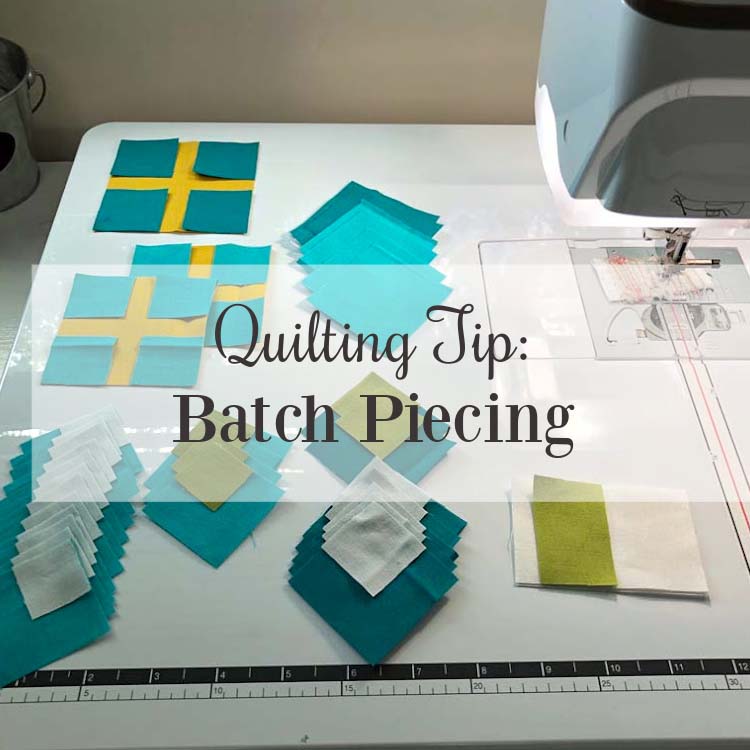
Piece & Quilt Sampler tips for April
Hey everyone! I know many of you are following along with Fat Quarter Shop’s Piece & Quilt Sampler Quilt Along. Today, I’m sharing the blocks for April along with a few tips. If you’re not participating, you’ll still find these tips helpful because they can be applied to most of your piecing projects. There’s still…
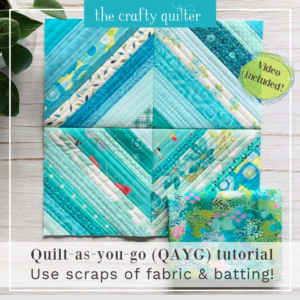
QAYG tutorial using fabric strips
I’m delving into the world of QAYG (quilt as you go), and I’m very excited to share a QAYG tutorial using fabric strips! I’ve always wanted to try this technique and I absolutely love it! I’m sure you will too. If you’ve never tried QAYG, I think you’re in for a treat. You can go…
