
Fantasy Flying Geese Sampler Quilt – Free Pattern
About The Sampler Quilt
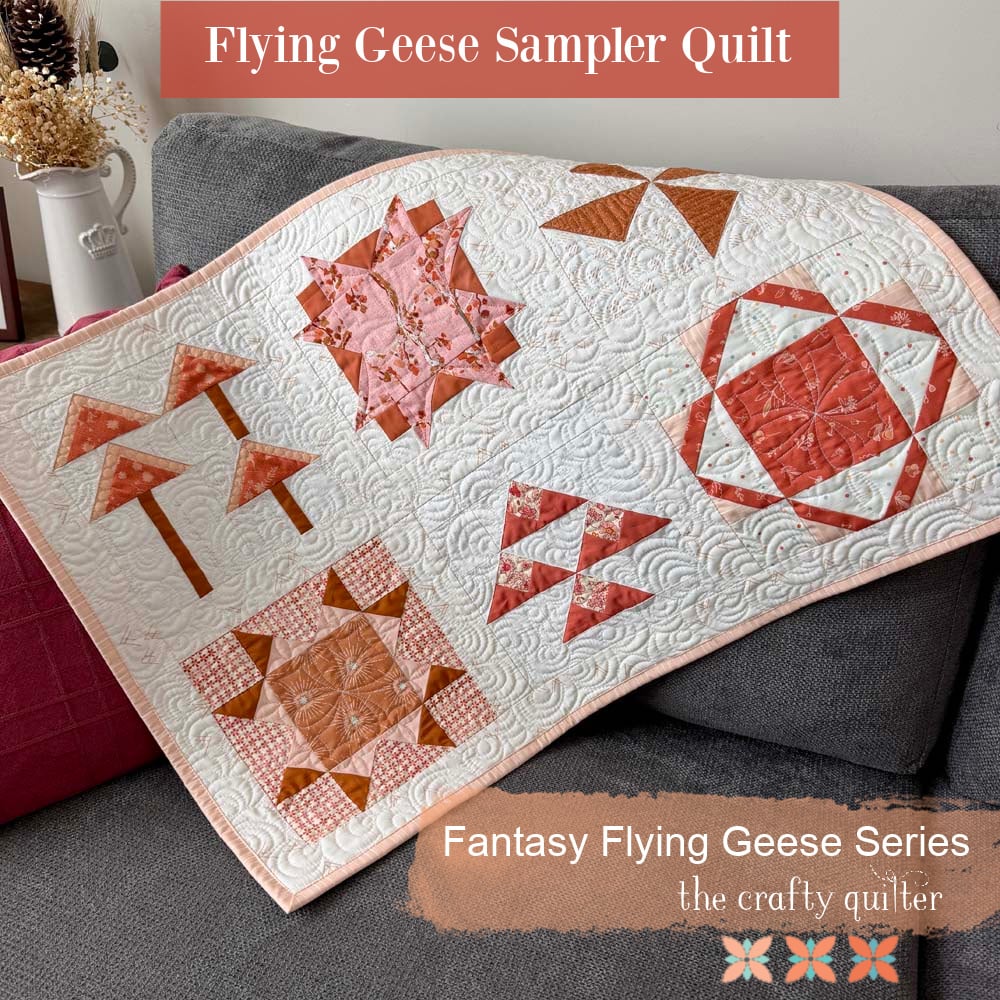
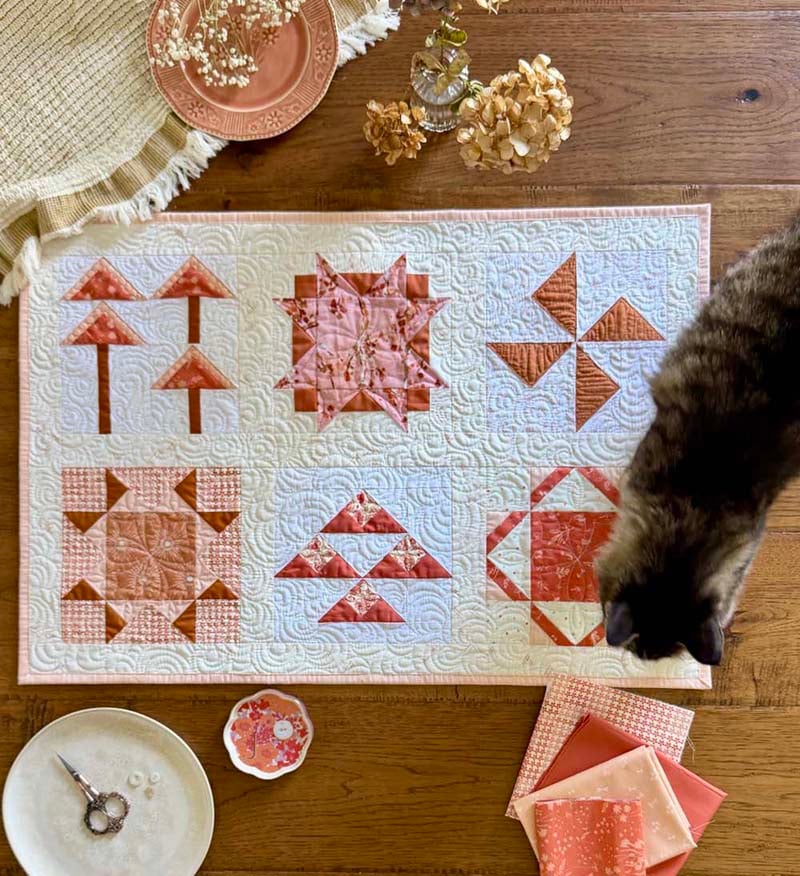
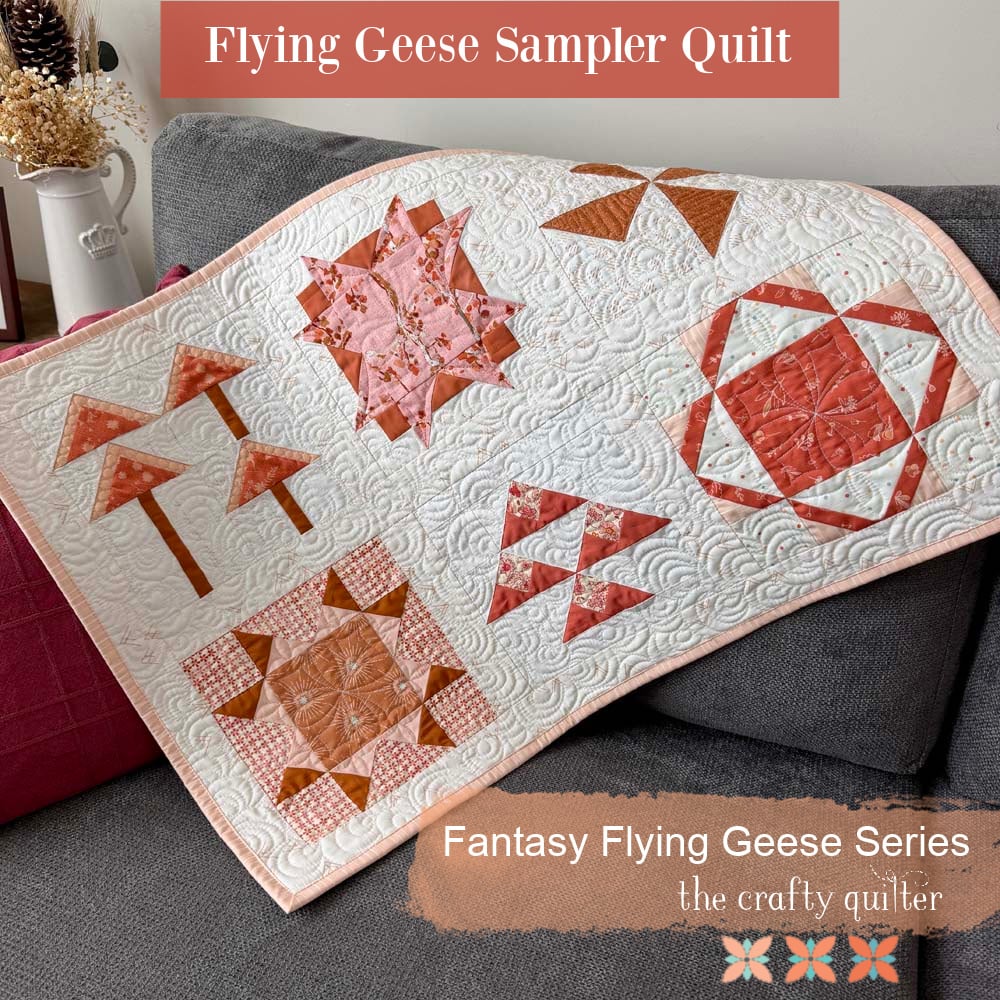
I’ve had so much fun creating this flying geese sampler quilt! Each quilt block finishes at 8″ square and the quilt top measures 30″ x 20.5″. It’s a small quilt – perfect for a wall hanging – and if you’ve been keeping up, you’ve already done the hard part of making all of those flying geese units! The rest comes together easily with straightforward piecing and simple assembly instructions.
New to this series? Catch up below.
- Introduction Post – Start here to get all of the basic details.
- Week 1 – Capped Flying Geese
- Week 2 – One Seam Flying Geese
- Week 3 – Cat Ears Flying Geese
- Week 4 – Stroked Flying Geese
- Week 5 – Ribbon Flying Geese
- Week 6 – Mountain Top Flying Geese
Fabric supplies for the sampler
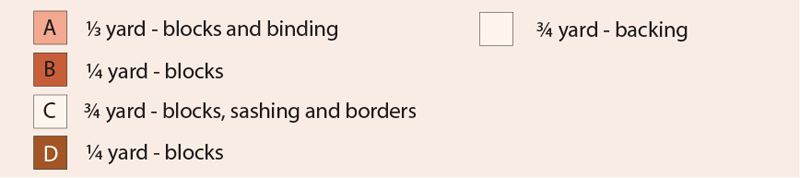
If you’ve already made your flying geese units, then you’ll need an extra 1/2 yard of background fabric for the blocks, sashing and border. Other fabric requirements are minimal – a few large scraps or a fat quarter will be enough. The largest cut piece is a 4 1/2″ square for the center of three of the blocks.
If you’re starting from scratch, you need 3/4 yard of background fabric to make all of the flying geese variations as well. Refer to the chart below for total fabric requirements.
About The Sampler Blocks
As I played with different designs for the sampler blocks, I wanted to include a variety of styles to showcase the versatility of flying geese. The beauty of this sampler is that you can mix and match the block designs or choose a favorite and use it for all six variations. It’s a great opportunity to get creative and make this little quilt your own!
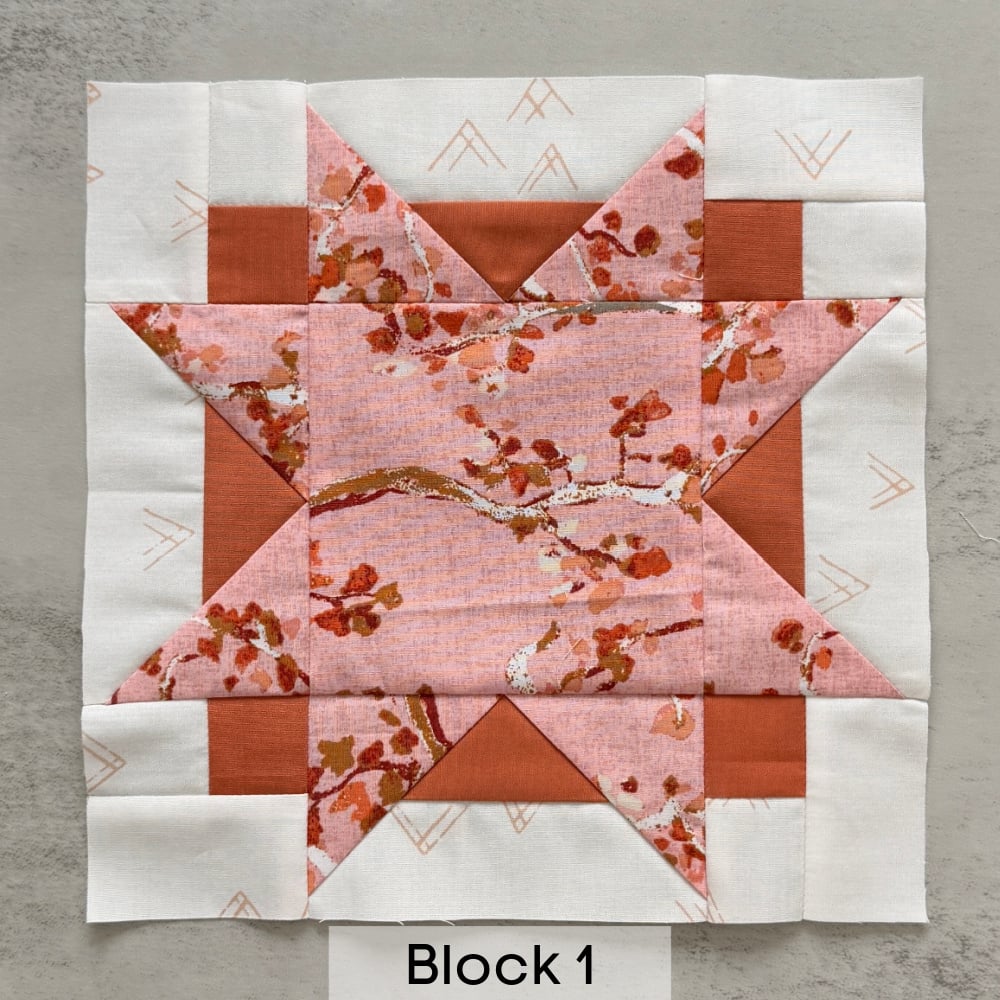
Block 1 – Capped Flying Geese
The first block uses four Capped Flying Geese in a fairly traditional block style. I love how this block gives the illusion of a star floating on top of a square. The corner units are the key to making this design work.
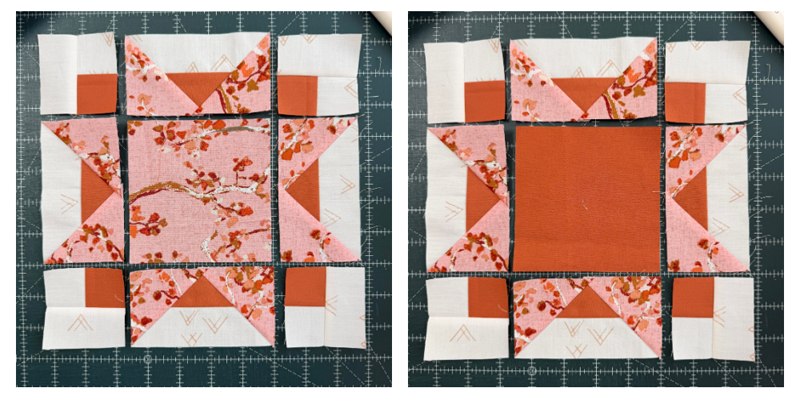
Play with color
The color used for the center square in this block can change the look from a star on top of a square to a square interlaced with the star points.
Block 2 – One Seam Flying Geese
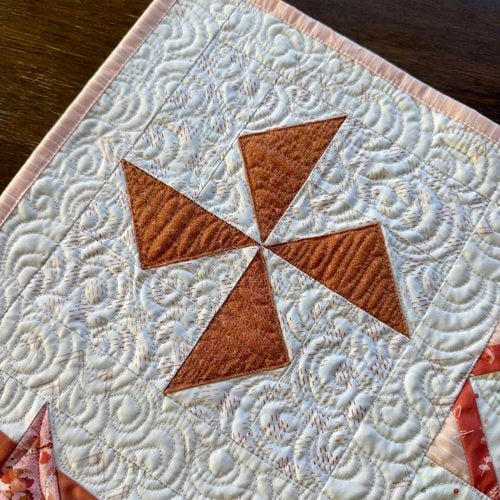
This block has the simplest construction with each One-Seam FG sewn to a rectangle of the same size. The units are arranged so that a pinwheel is formed with nesting seams to get a perfect center.
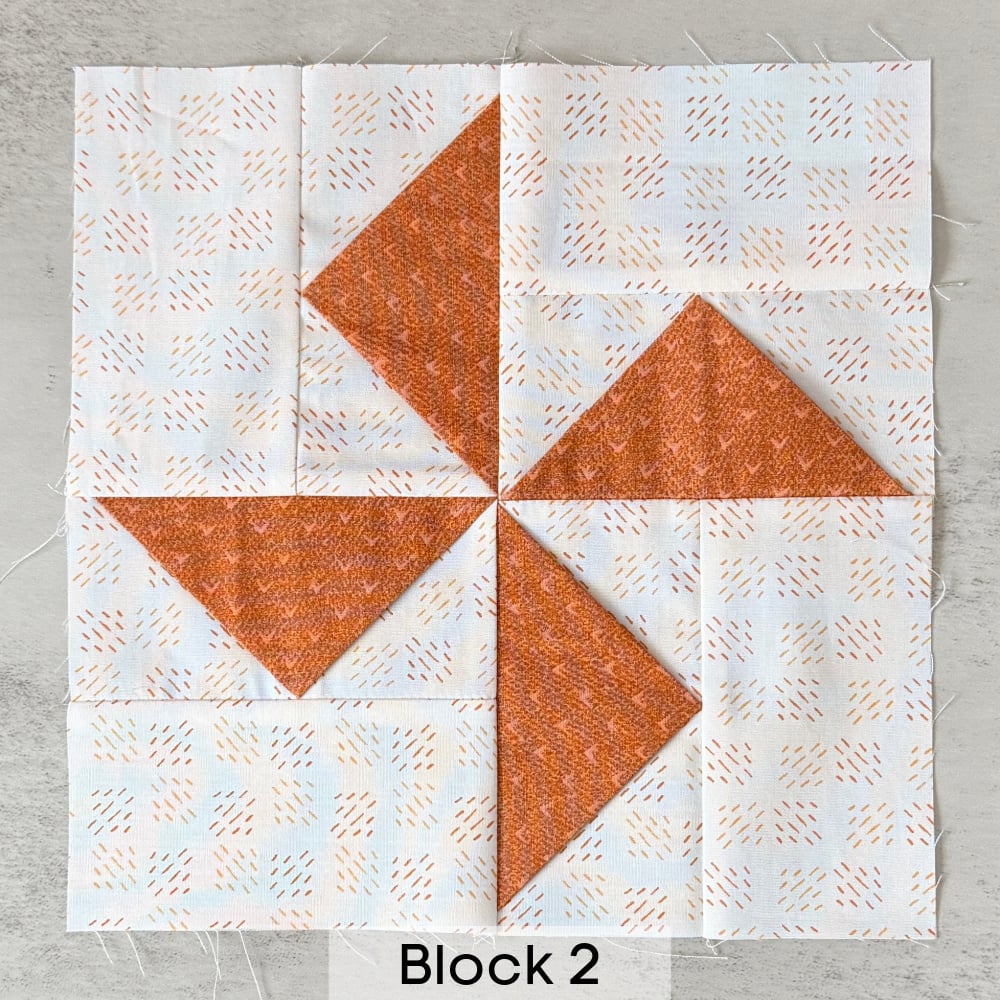
Tip for block 2
As you may know, one-seam flying geese are easy to make, but the resulting pockets formed with this technique can create havoc when quilting the layers of a quilt. I suggest stitching down the diagonal folds of the FG before you sew it into the quilt top. I wish I had done this myself, because I kept catching both the iron and my FMQ foot later on.
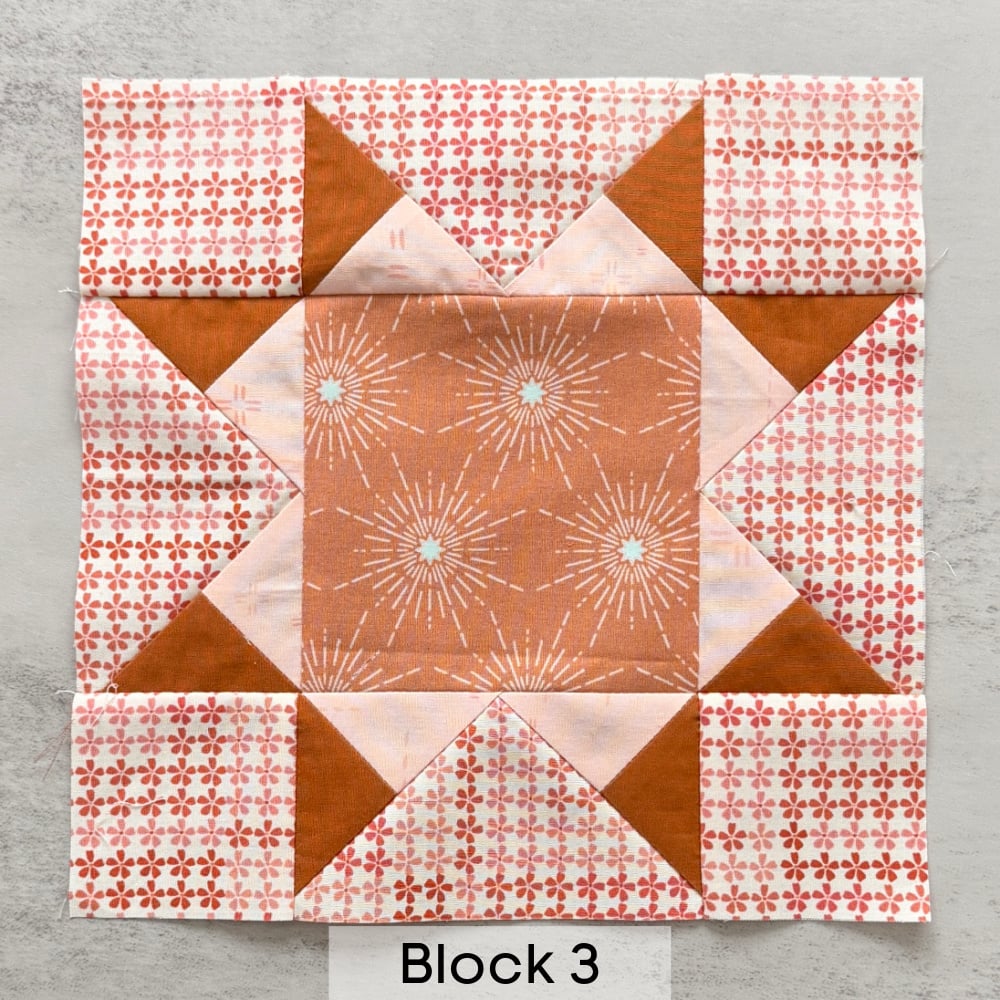
Block 3 – Cat Ears Flying Geese
There are so many fun ways to use the Cat Ears FG! In order to make them fit into a 8″ square, I chose a traditional star block design. This FG variation gives it extra sparkle!
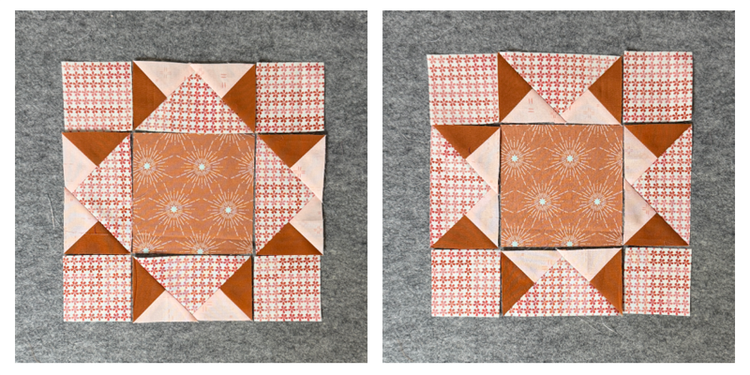
Rotating the FG Units
When you rotate the flying geese units in this block, you get a slightly different look. You could also play with color to give even more changes to the look.
Block 4 – Stroked Flying Geese
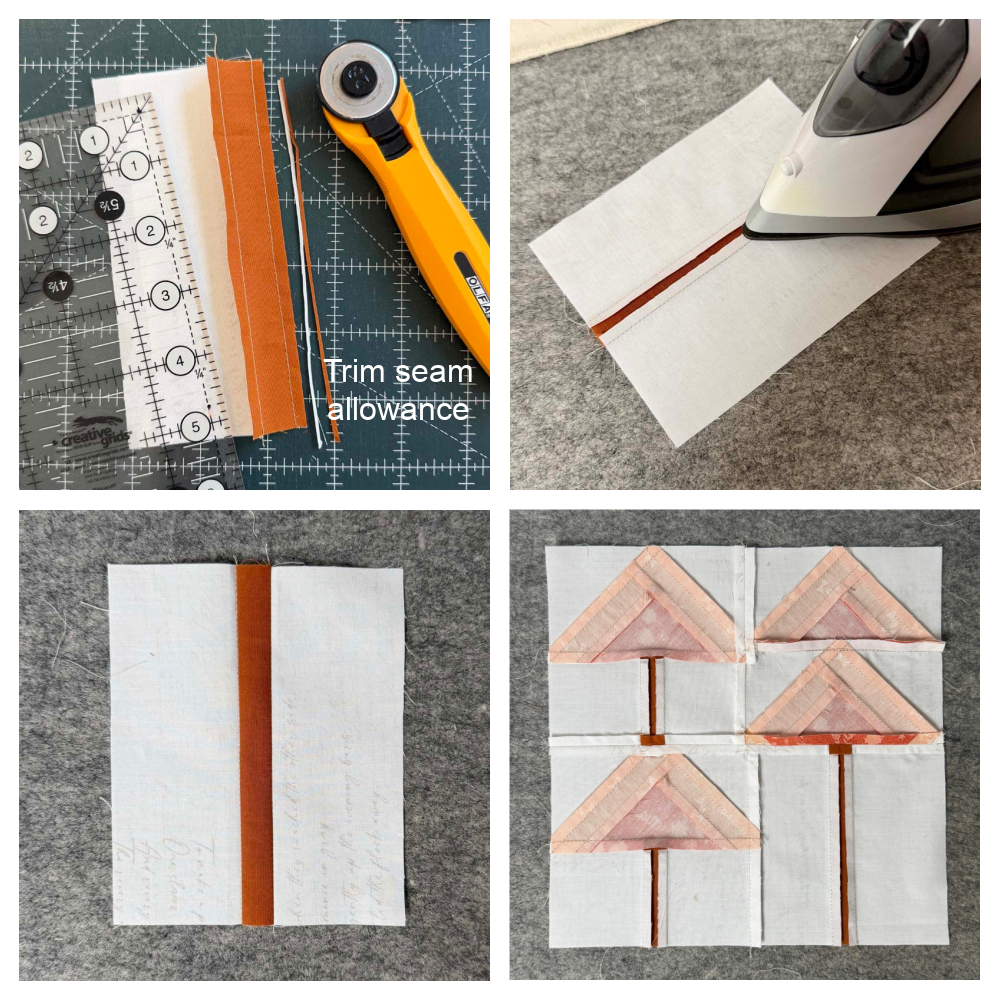
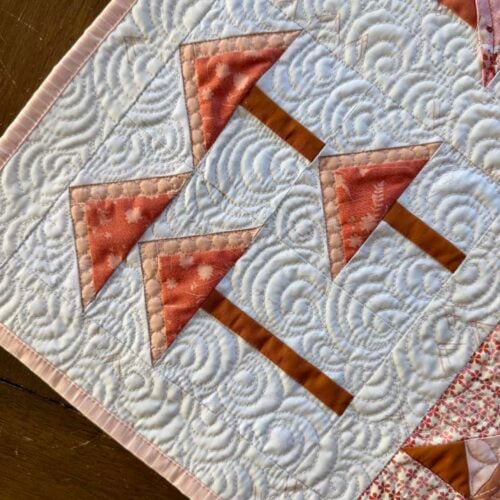
I knew I wanted to make a tree block with one of the variations, and this one is it! The four Stroked FG have been transformed into two short trees and one tall tree. It’s another simple block to make!
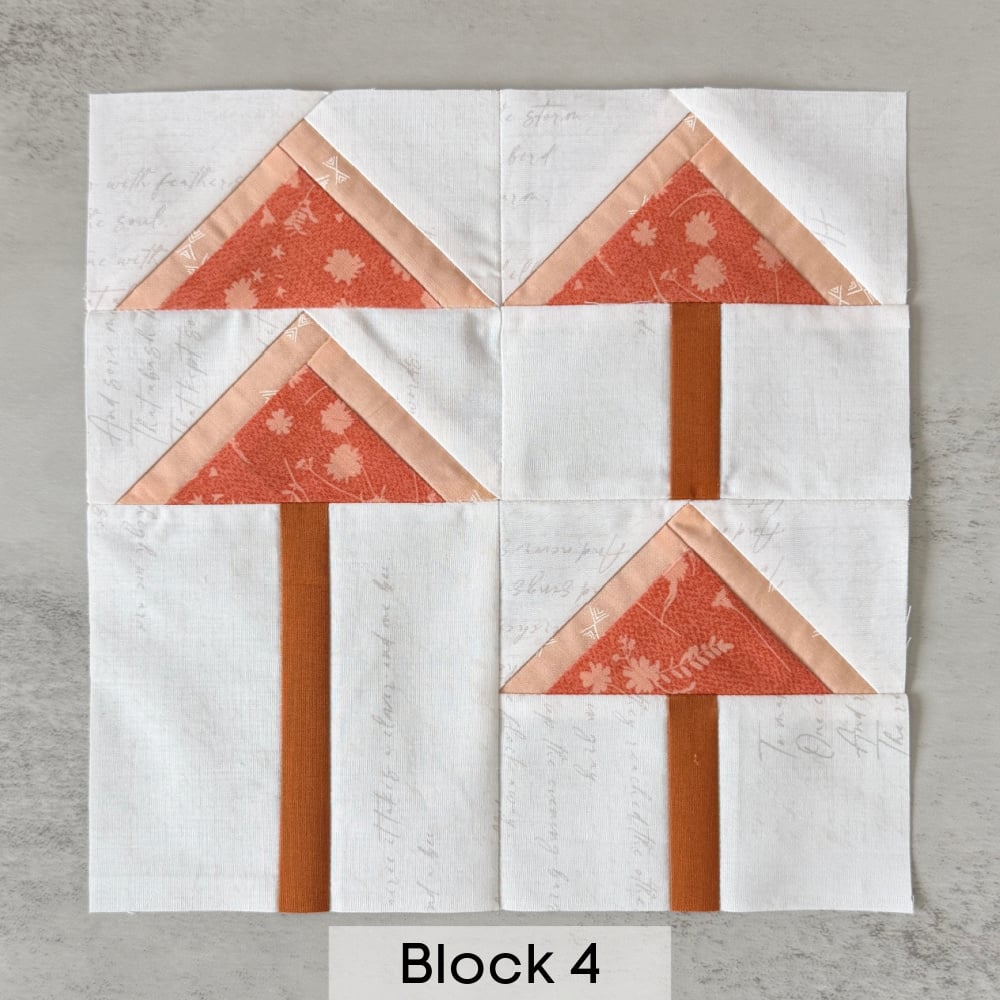
Tip for Block 4
I like the tree trunks to have a little “lift” from the seam allowances. Because this is a narrow trunk, it’s difficult to press the seams toward the trunk without the seam allowances overlapping. Simply, trim a little off each seam allowance so everything fits nicely in that space.
Block 5 – Ribbon Flying Geese
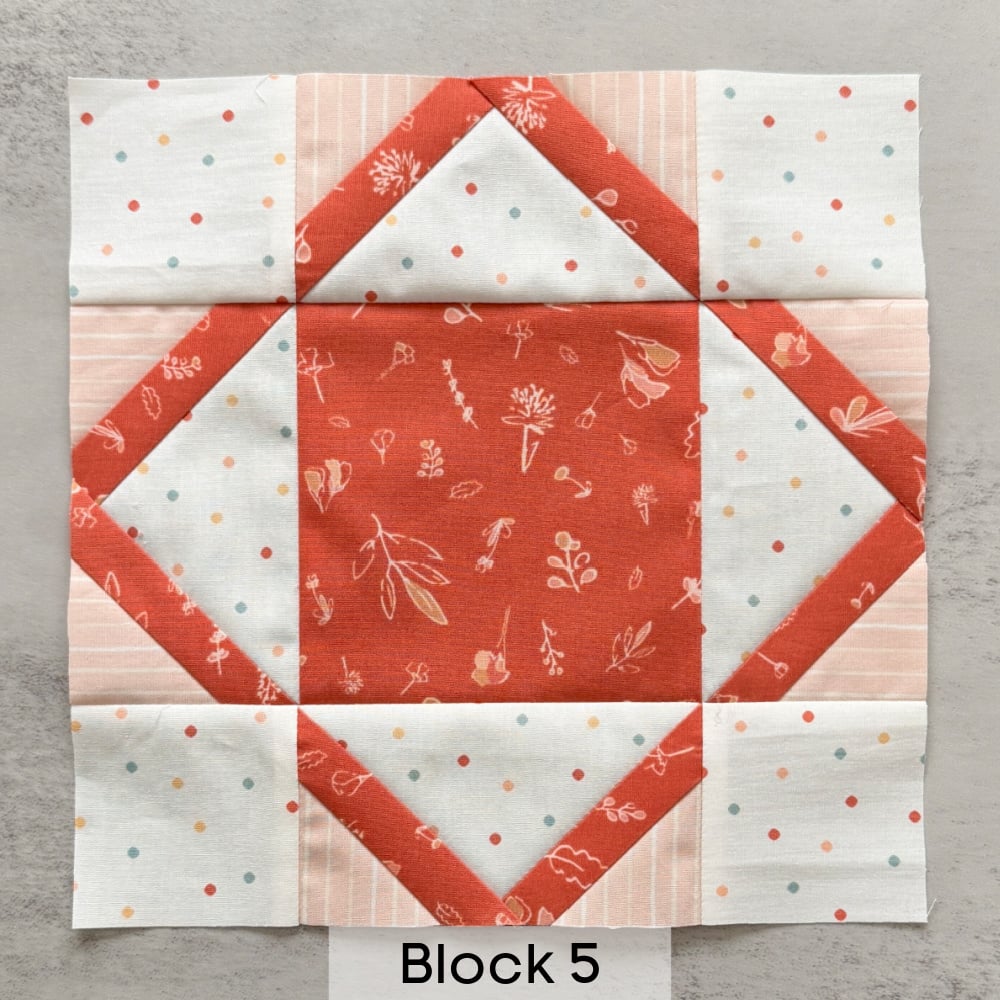
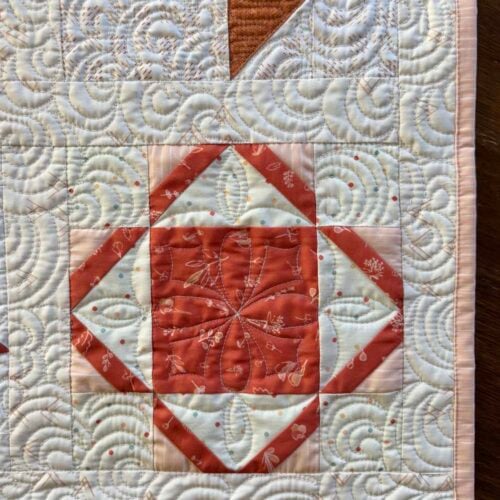
This was one of my favorite blocks to make – using four Ribbon FG in a traditional setting. I chose to rotate the flying geese units so the wings are on the outside of the block.
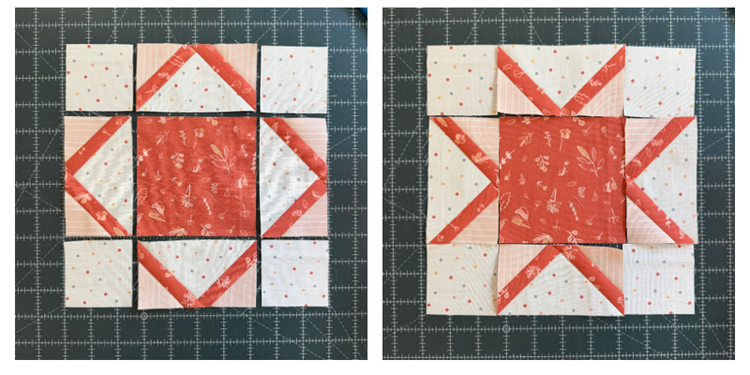
Rotating the FG Units
When you rotate the flying geese units in this block, you get a very different look. The ribbons are really striking in both options.
Block 6 – Mountain Top Flying Geese
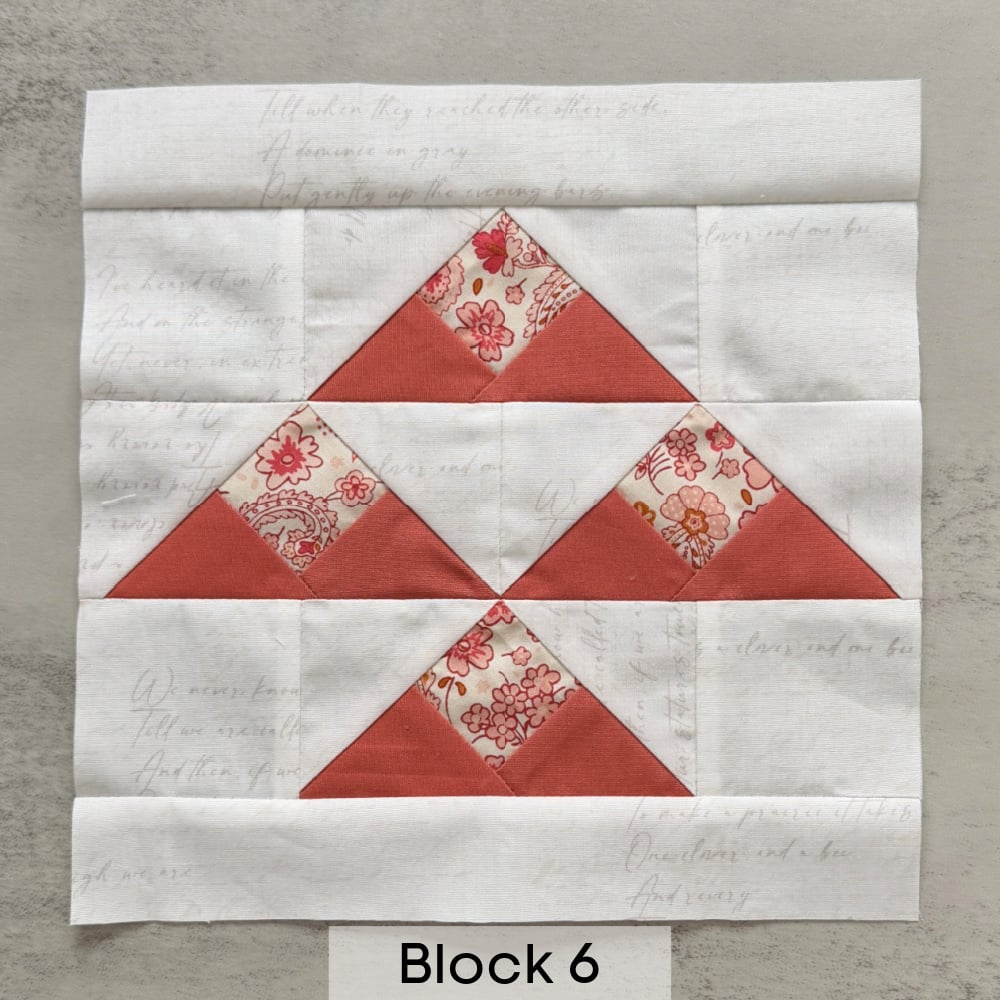
Because this block uses four Mountain Top FG, I thought a quilt block that resembled a mountain range would be the ticket. Well, depending on how you look at it, you might see a large fish instead! I think a few color changes in the wings would have given me the effect I was going for, but that’s okay!
General Tips For Success
Matching Diagonal Seams
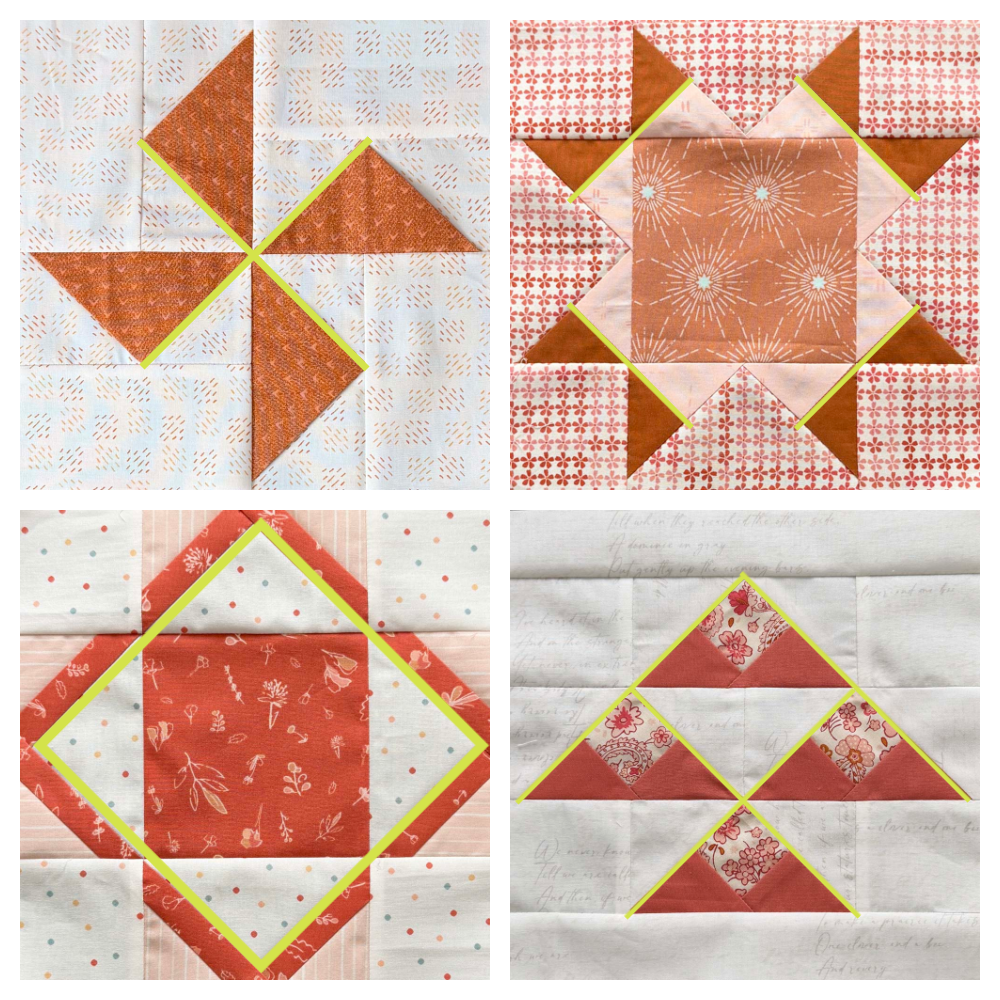
When working with units inside a quilt block that have diagonal seams, they often intersect with each other to form a longer diagonal line (seam) when rows are sewn together. This is true of four blocks in our sampler quilt. I call these “hot spots” and you can see them clearly below.
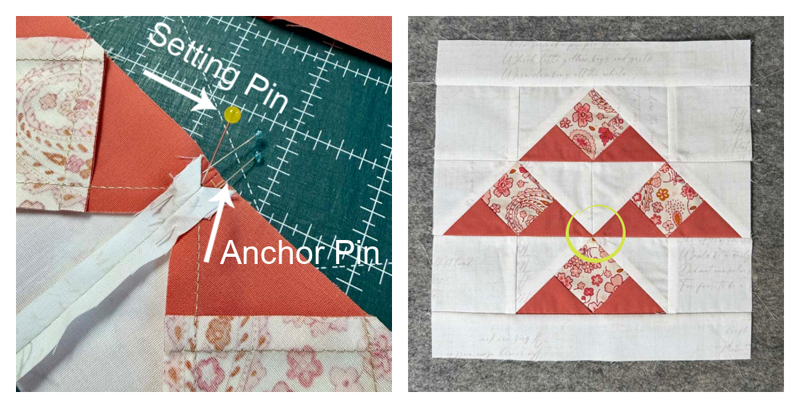
Diagonal seam lines form an “x” where they intersect. I use a “setting pin” to keep everything aligned. The pin goes down through the “x” of the top seam and down through the “x” of the bottom seam. Keep this pin straight up (perpendicular to the seam) and then use an anchor pin on each side. Once the anchor pins are in place, remove the setting pin.
Stitch slowly through these intersections and leave the pins in place as long as you can. If you’re stitching slow enough, you can even sew over the pins because the sewing machine will have enough time to nudge the pin out of the way. (But every machine is different – so proceed with that idea cautiously).
Pressing Bulky Seams
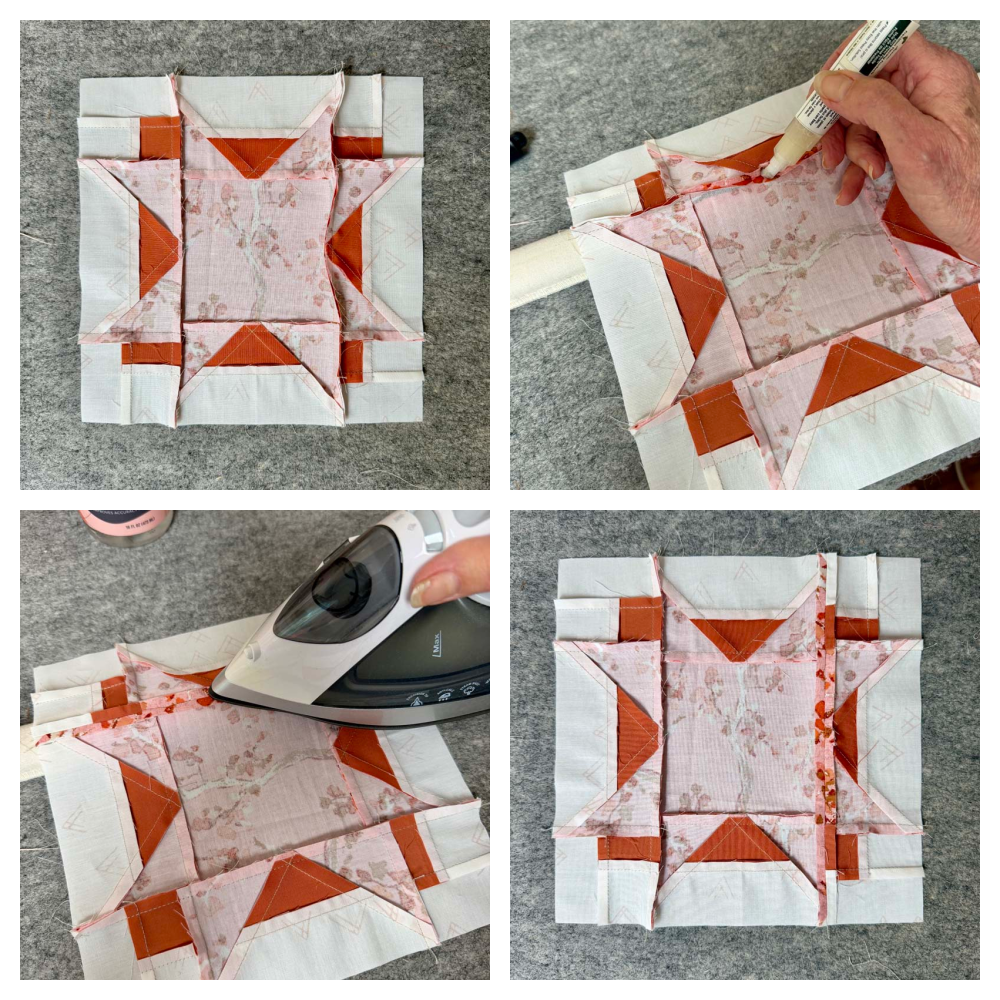
When using flying geese in a quilt block, you’ll notice they create a lot of bulk in the seam allowance, especially in the row seams. Pressing these seams open is the best way to reduce the bulk. Here are some helpful tips for pressing seams open.
- Use a dab of starch directly on the bulky seam area. I love Acorn Precision Piecing products for this. It comes with a pressing pen that puts the starch solution exactly where you want it. The other products in this trio are also helpful for precision piecing.
- A Strip Stick is helpful to press the seam open and flat without disturbing the other seams in the block. I have a blog post here dedicated to this little tool.
Below, the top left photo shows one row seam (left) that has been pressed to the side (the other seam hasn’t been pressed yet.) You can see the result of pressing the seam flat in the bottom right photo.
Sampler Quilt Color Ideas
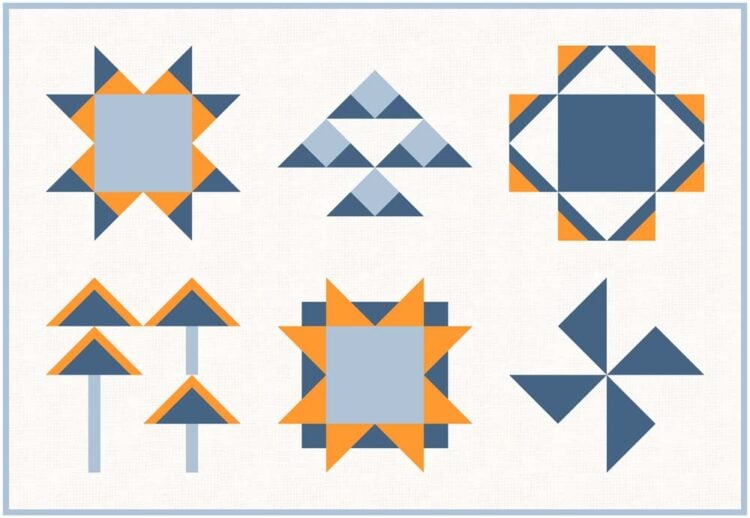
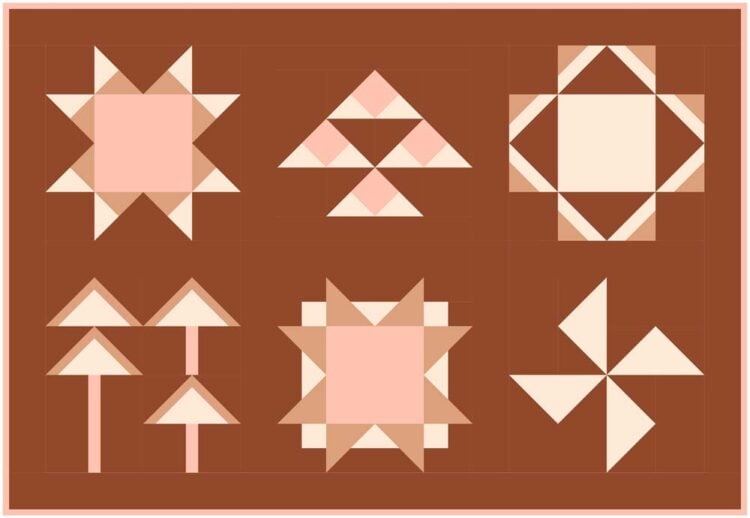
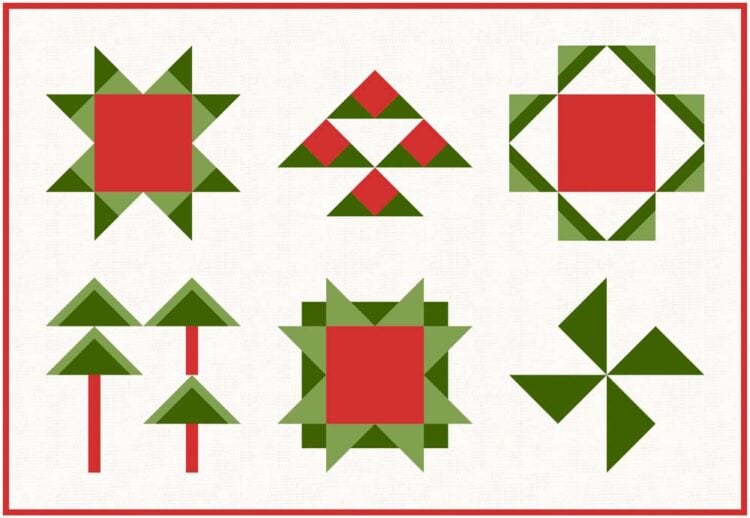
It’s always fun to see how a quilt changes with different fabric colors. From the background fabric to the individual units, color and contrast make for big, beautiful changes!
 Charming One from AGF
- Blue & Cheddar – classic
- Brown, taupe & pink
- Green & red – holiday
Quilt Layout Options
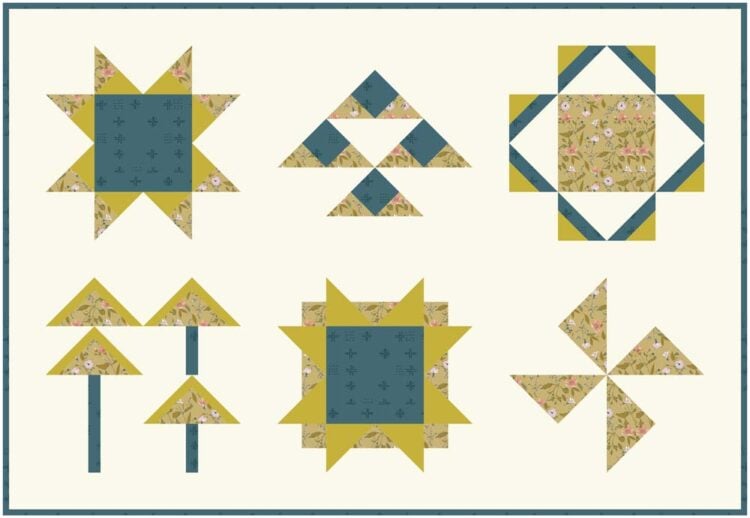
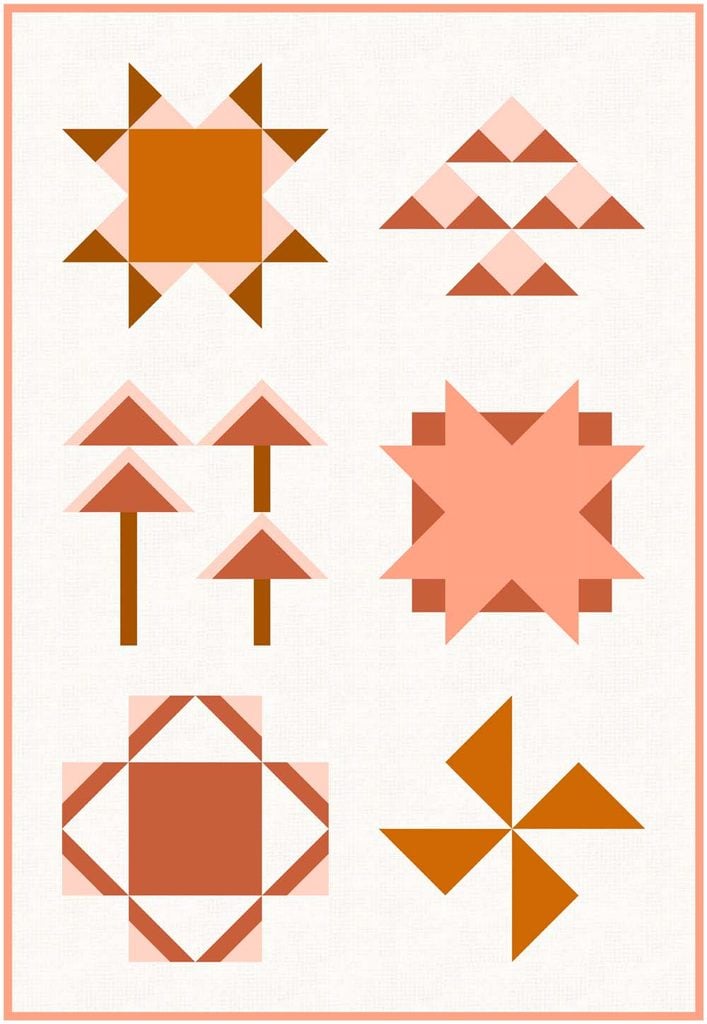
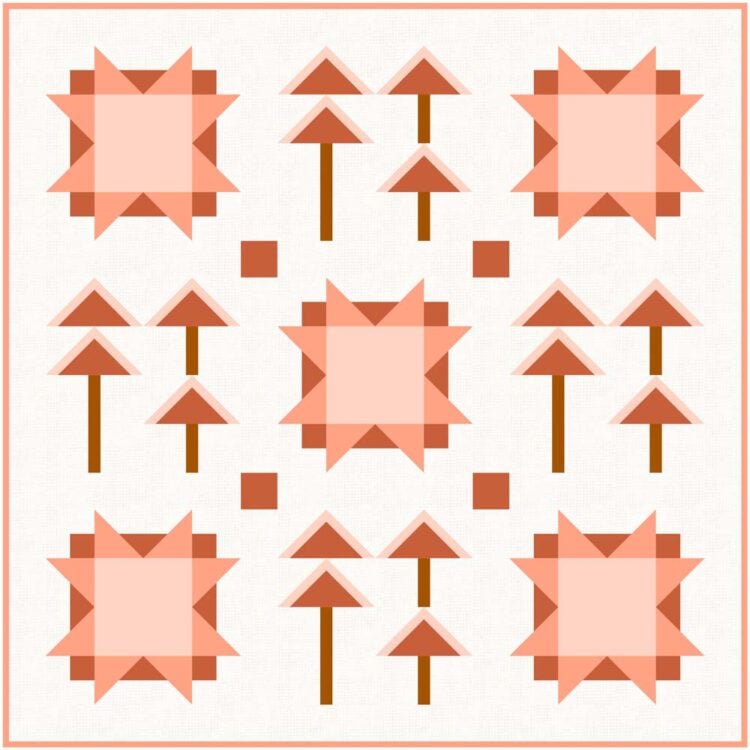
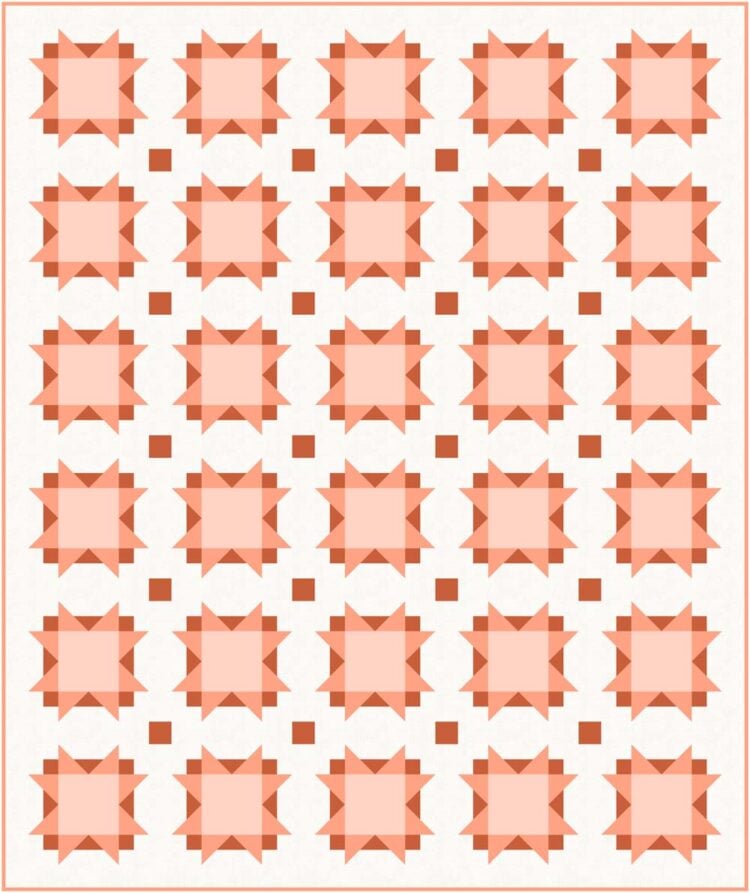
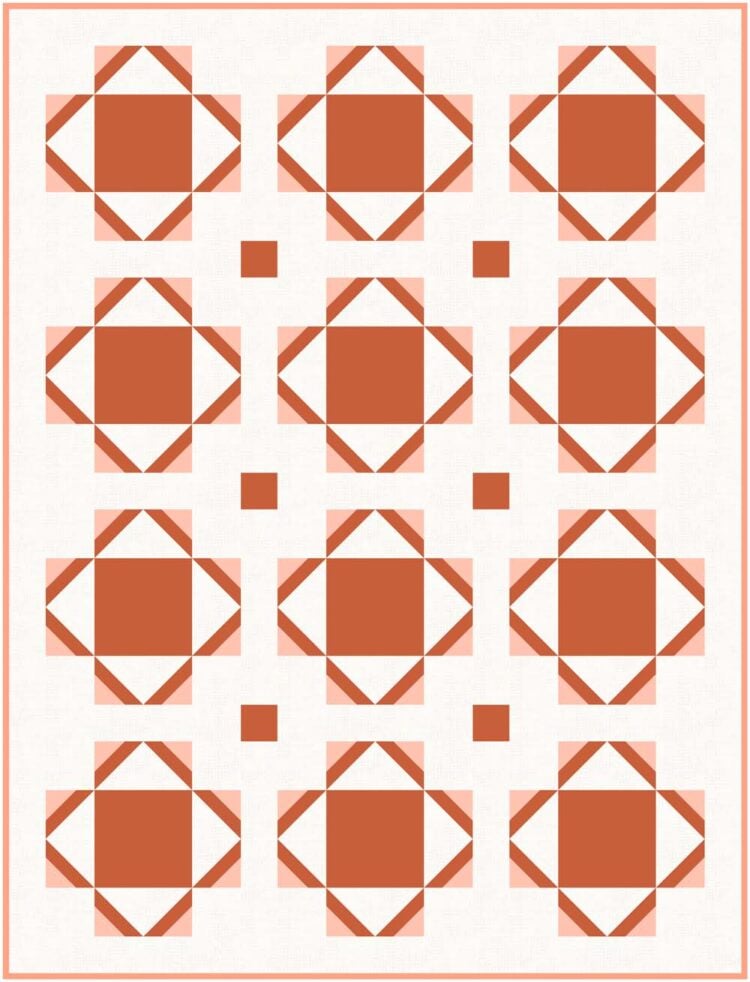
I wanted the sampler quilt to be something that I could hang on a wall and perhaps reference the individual flying geese variations when designing other quilts. You may want a quilt that’s long and narrow for a table runner, or larger for a lap quilt.
You can also play with using one or two of the same blocks and making them into a larger quilt. The images below are not to scale, but they give you an idea of the possibilities.

A Design Opportunity
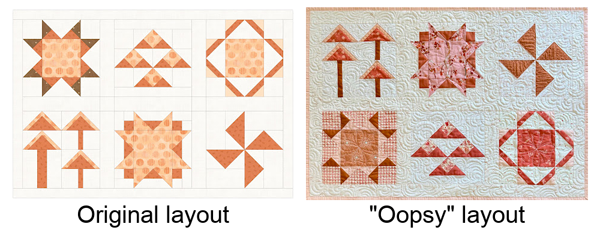
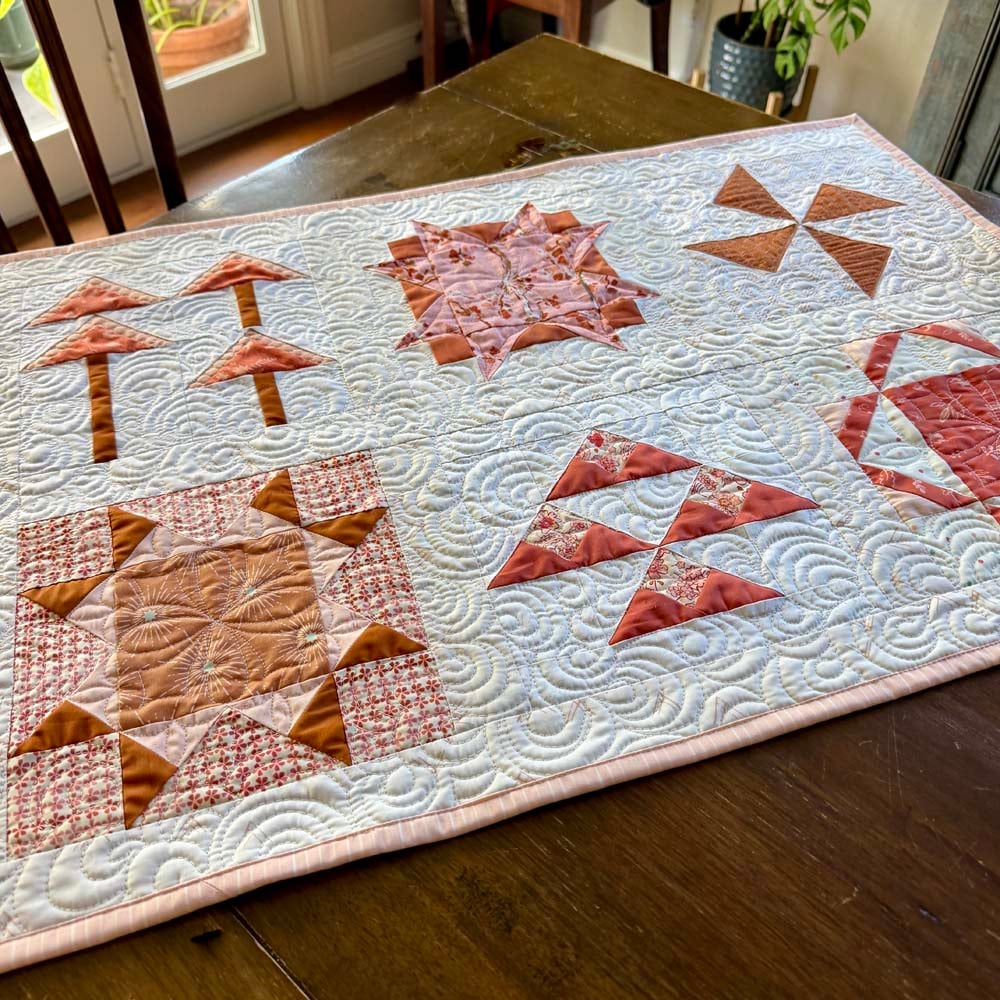
The block order of my Fantasy Flying Geese Sampler are different from the pattern. I accidentally reversed the rows and didn’t notice until the end. I suppose it was meant to be! We call this a design opportunity in quilting.
Quilting
The final decision to make for the flying geese sampler quilt is how to quilt it. I know, that’s always the big question. I think this quilt would look great with simple grid or cross-hatch quilting evenly throughout.
I was under a time constraint, and I didn’t want to mark many lines. I chose an allover free motion swirl pattern in the background fabric. After that, I added quilting to each block. It was a rush job, but it turned out okay!
Quilt Label
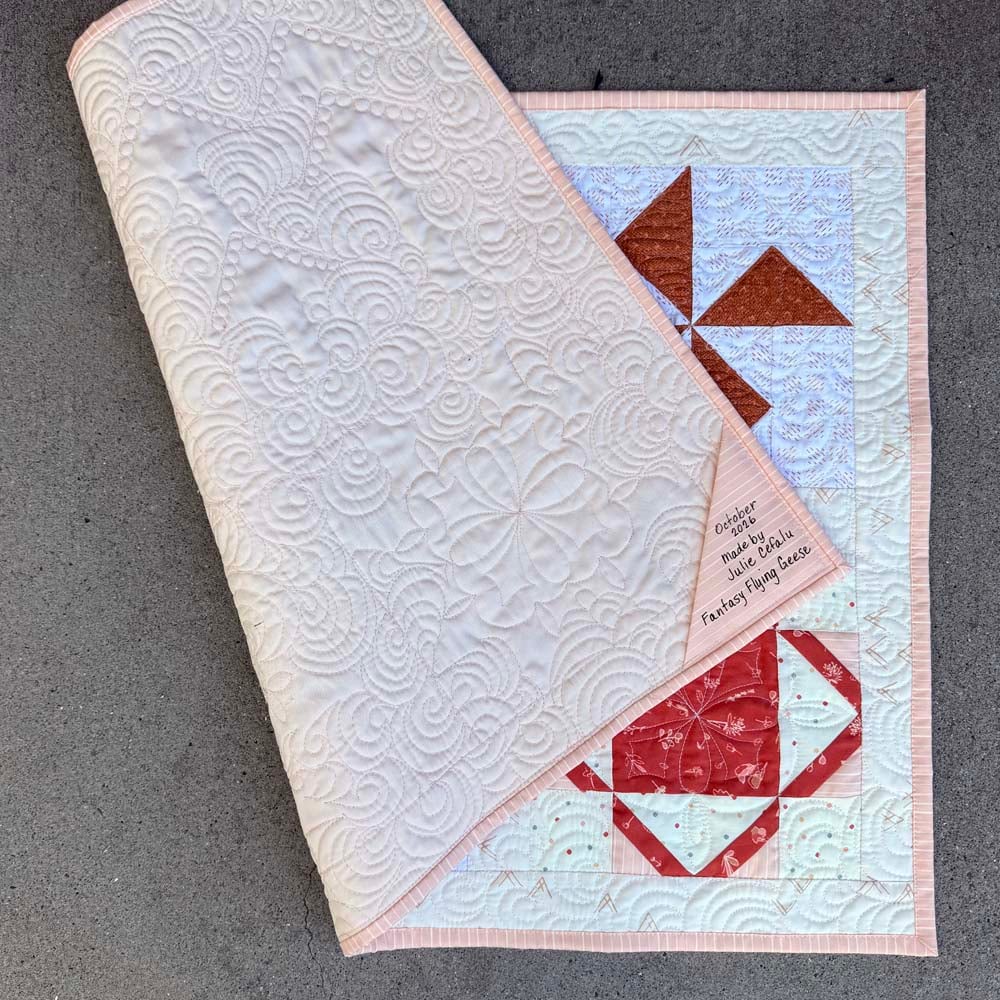
Don’t forget the quilt label! I make my labels by folding a 5″ square diagonally, wrong sides together creating a triangle. I use a Frixion pen to write the label details and then go over it with a permanent pen. Then I baste this triangle onto the bottom corner of the quilt back. The raw edges get stitched down when I sew the binding on. Fast and easy!
Printable Instructions
You can download the pdf below.
NOTE: this is a free pattern and has not been tested for accuracy. If you find any errors or discrepancies, please send me an email and I’ll look into it as soon as possible.
Conclusion
What a fun adventure this has been! I hope this Fantasy Flying Geese Series has inspired you to look at traditional flying geese in a whole new way. There are so many creative possibilities with this classic quilt unit, and we’ve only scratched the surface! Whether you make the entire sampler quilt or incorporate a few of these variations into your own projects, I hope you’ll have fun experimenting. Thank you for sewing along with me these past six weeks.
I would love to see what you create! For social media, use the hashtag #fantasyflyinggeese and tag me @thecraftyquilter so I can be sure to see it. You can also send me an email and attach a photo.
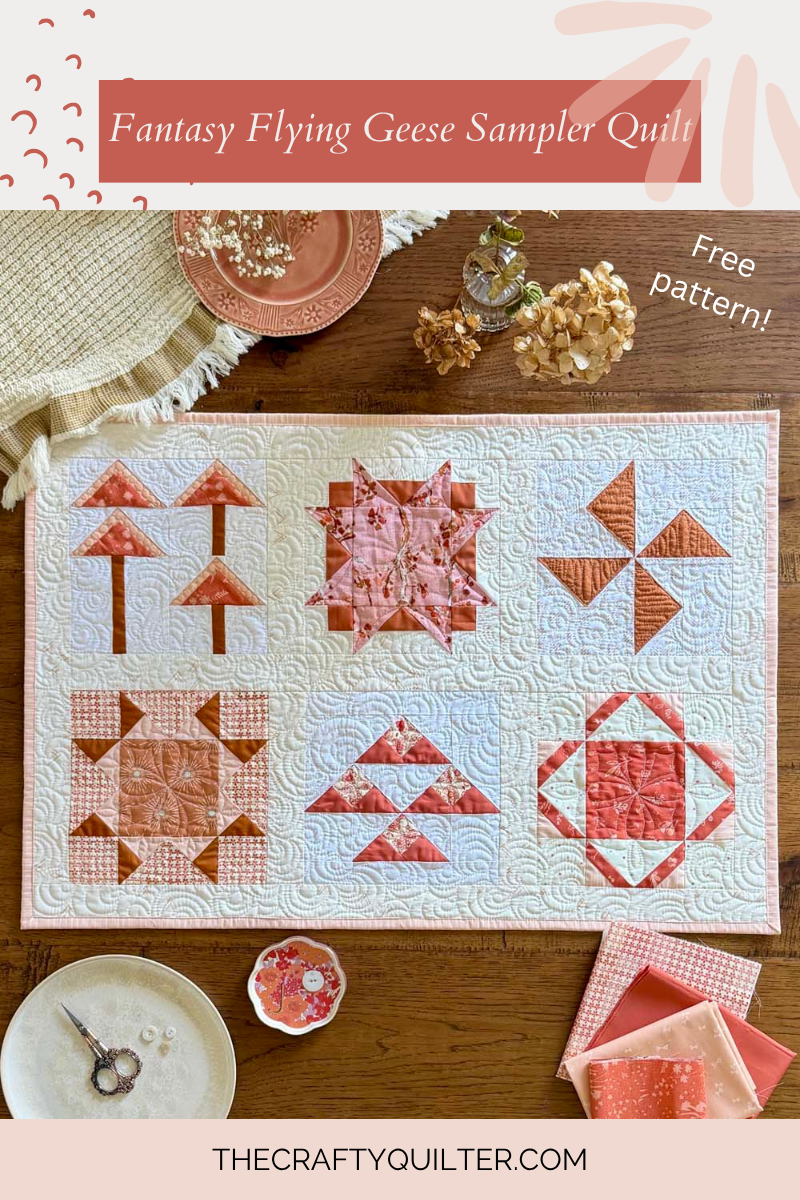
Make sure to Pin the image below so you can find it when you need it!


Discover more from The Crafty Quilter
Subscribe to get the latest posts sent to your email.
Thanks so much for this series, Julie! It’s been great. And, thanks for the pattern as well. I can see a lot of fun projects using these geese! Enjoy the time with your grands. They grow up way too quickly.
Thank you so much for this. I haven’t been able to work along due to other obligations, but I will now do it. And I’m kind of glad I waited. After seeing the final pattern I’m going to change my color plan.