
How To Make One Seam Flying Geese | Fantasy Flying Geese Week 2
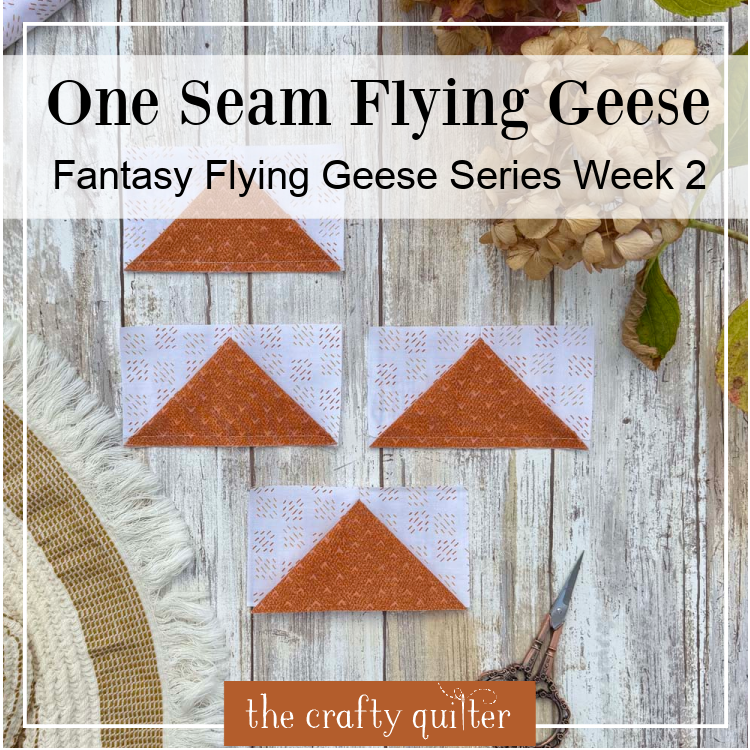
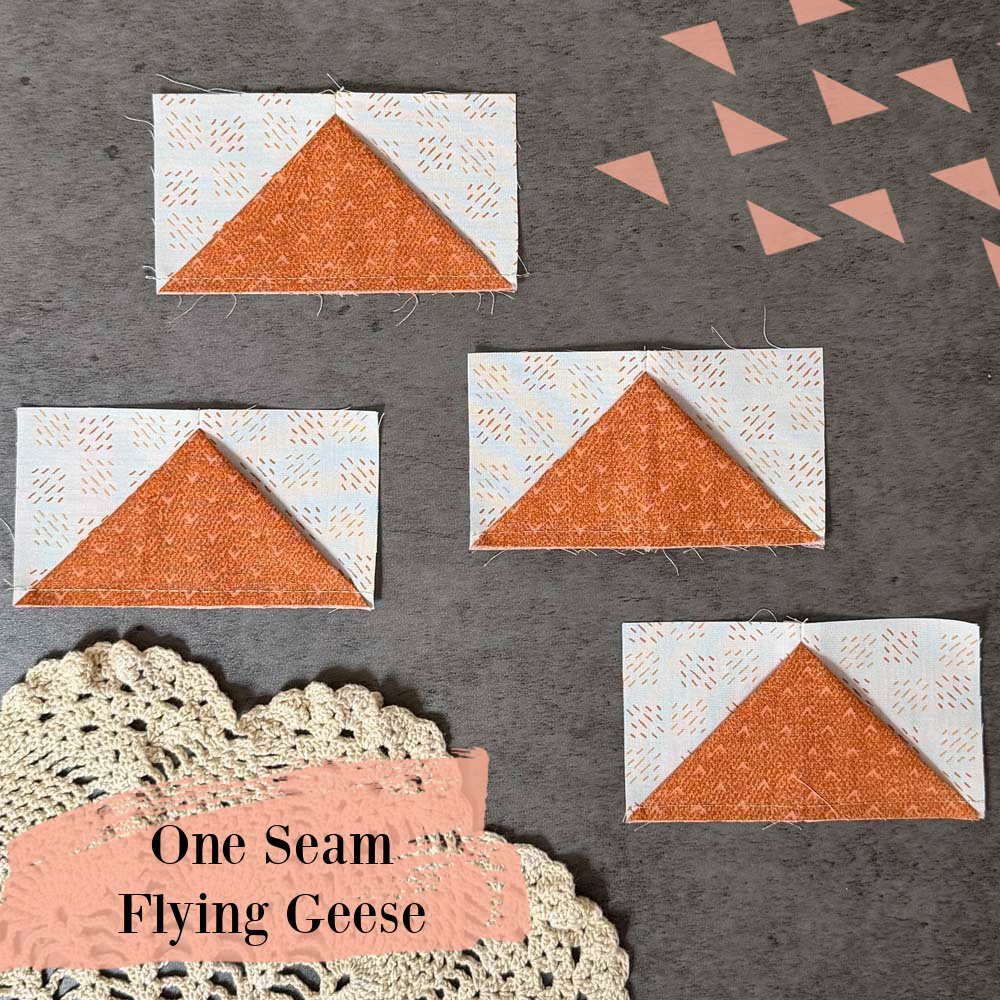
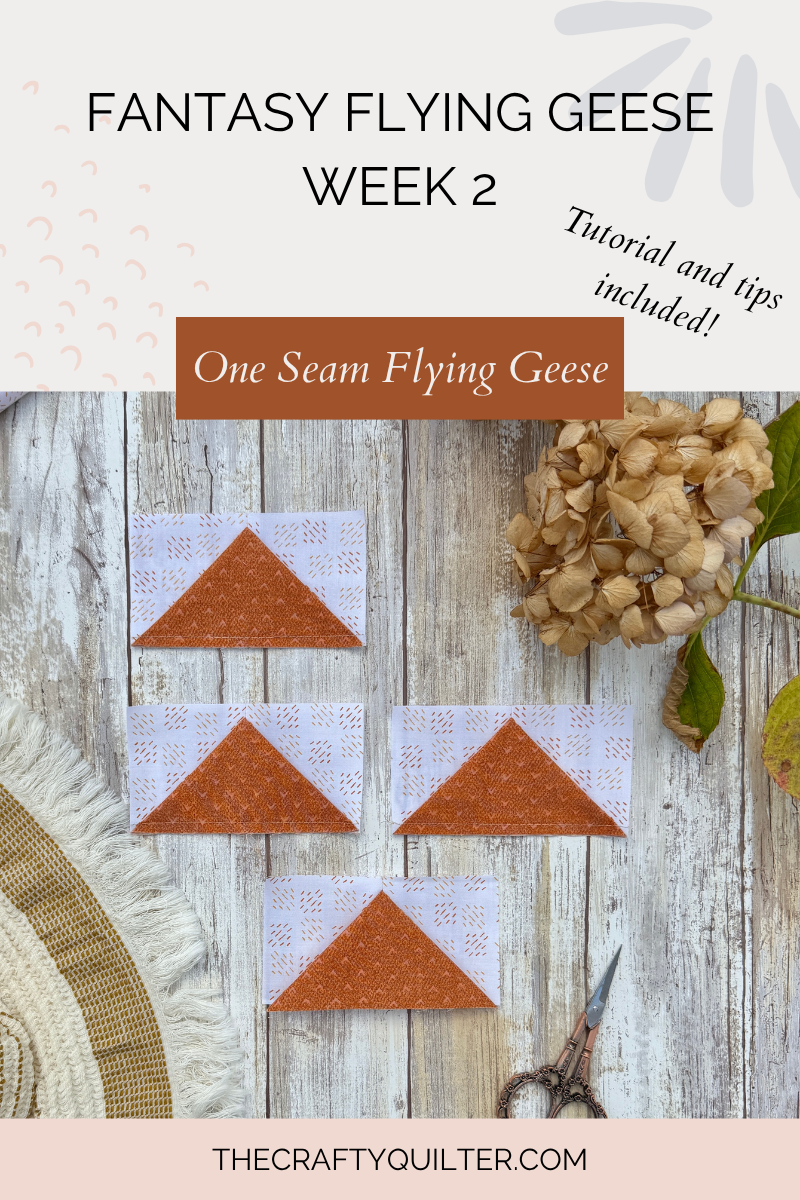
I’m really excited to show you how to make One Seam Flying Geese in week 2 of my Fantasy Flying Geese Series! It sounds impossible, but this flying geese variation is easier than you think. Once made, you’ll end up with a block that looks like a traditional flying geese block but has a little dimension to it!
New to this series? You can find the Introduction Post here with all of the details.
About One Seam Flying Geese
Making flying geese has never been easier than with the One Seam Flying Geese technique! It starts with just two squares and one rectangle, but instead of sewing along diagonal lines, the rectangle is folded in half and sandwiched between the two squares. The folding technique is a little like origami and creates a dimensional flying geese unit with just one seam. And a big bonus – there are no diagonal lines to draw!
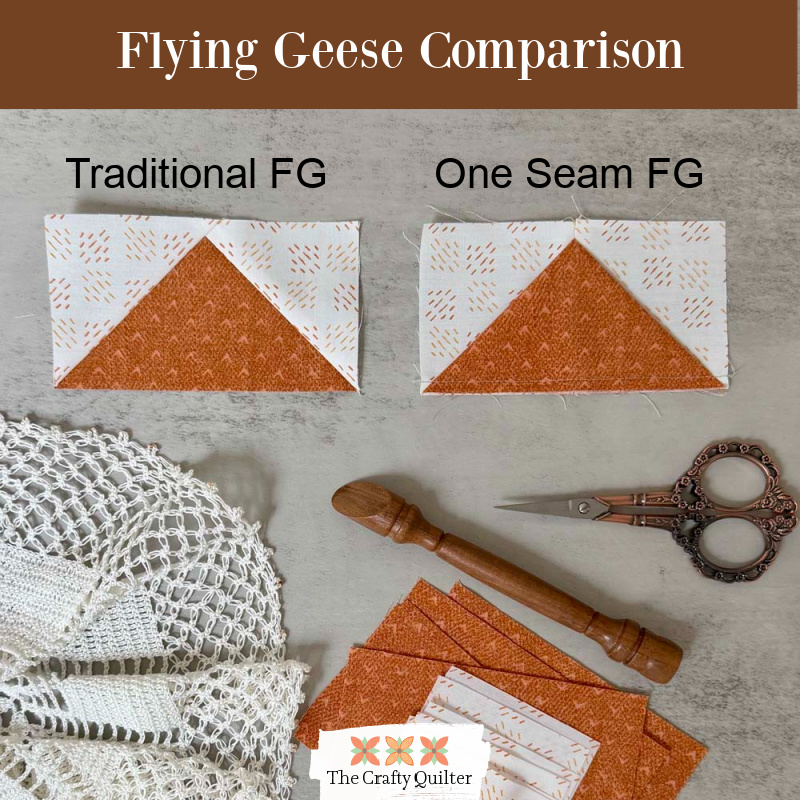
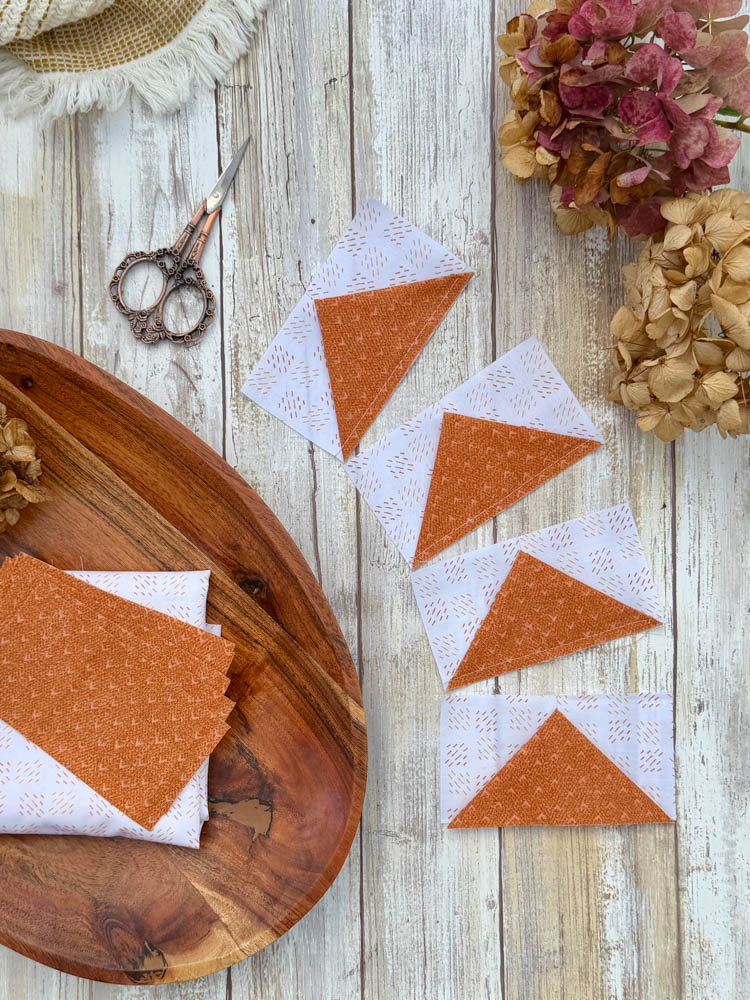
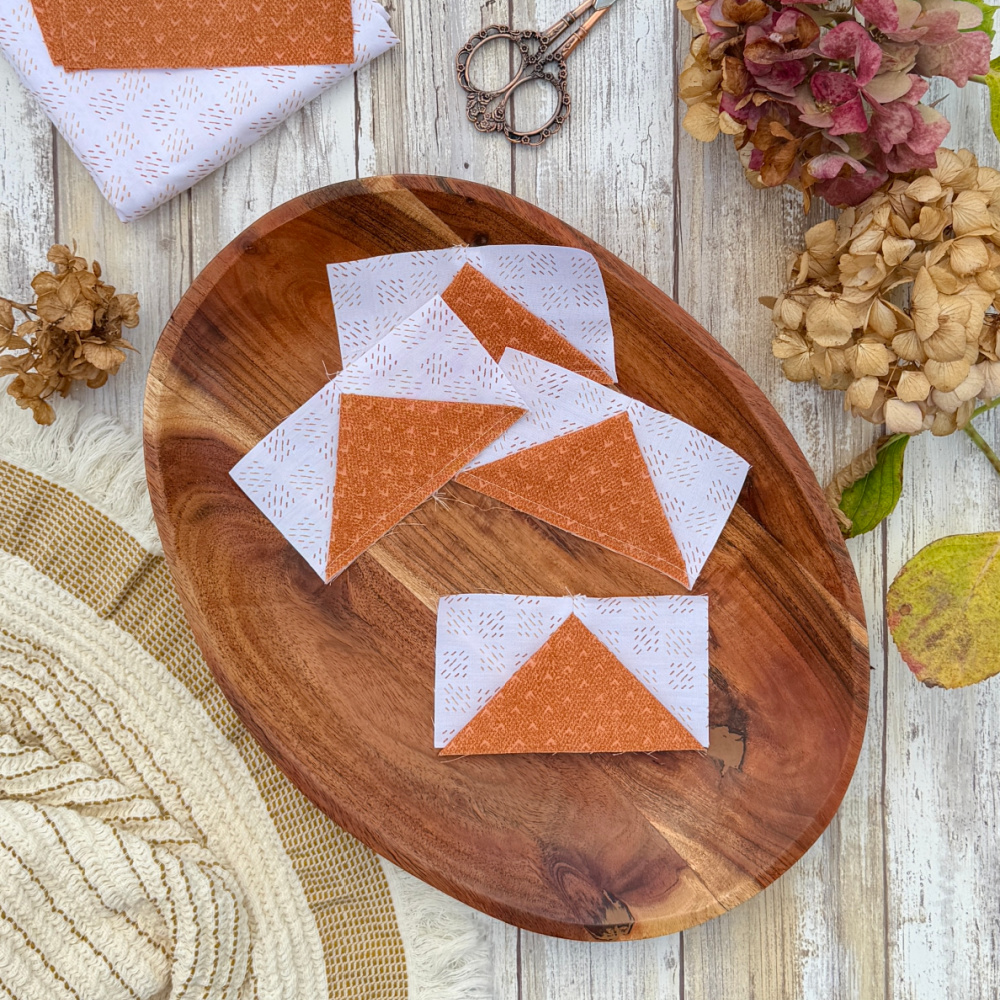
Below you can see a comparison between a traditional flying geese block and one made with the one seam technique. They’re very similar, but in the traditional version, the geese body recedes to the back, whereas it sits on top in the one seam variation.
General Things To Know
- Makes four One Seam Flying Geese that measure 2″ x 4″ FINISHED.
- Fabric: One light and one medium/dark fabric. Use large scraps or 1/8 yard each.
- All seams are 1/4″
- RST = right sides together
- WST = wrong sides together
One Seam Flying Geese Instructions
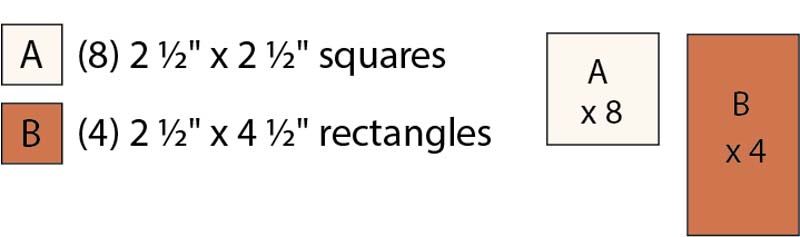
Cutting Instructions
Assembly
- Fold the B rectangle in half, WST (wrong sides together). It should measure 2 1/2″ x 2 1/4″.
- Place the folded B piece onto the right side of an A square with the folded edge on top. It should be 1/4″ down from the top of the A square, and the left, bottom and right raw edges should be aligned.
- Pin in place.
- Place another A square RST on top of the folded B rectangle, forming a sandwich. Pin in place.
- Stitch the layers together with 1/4″ seam.
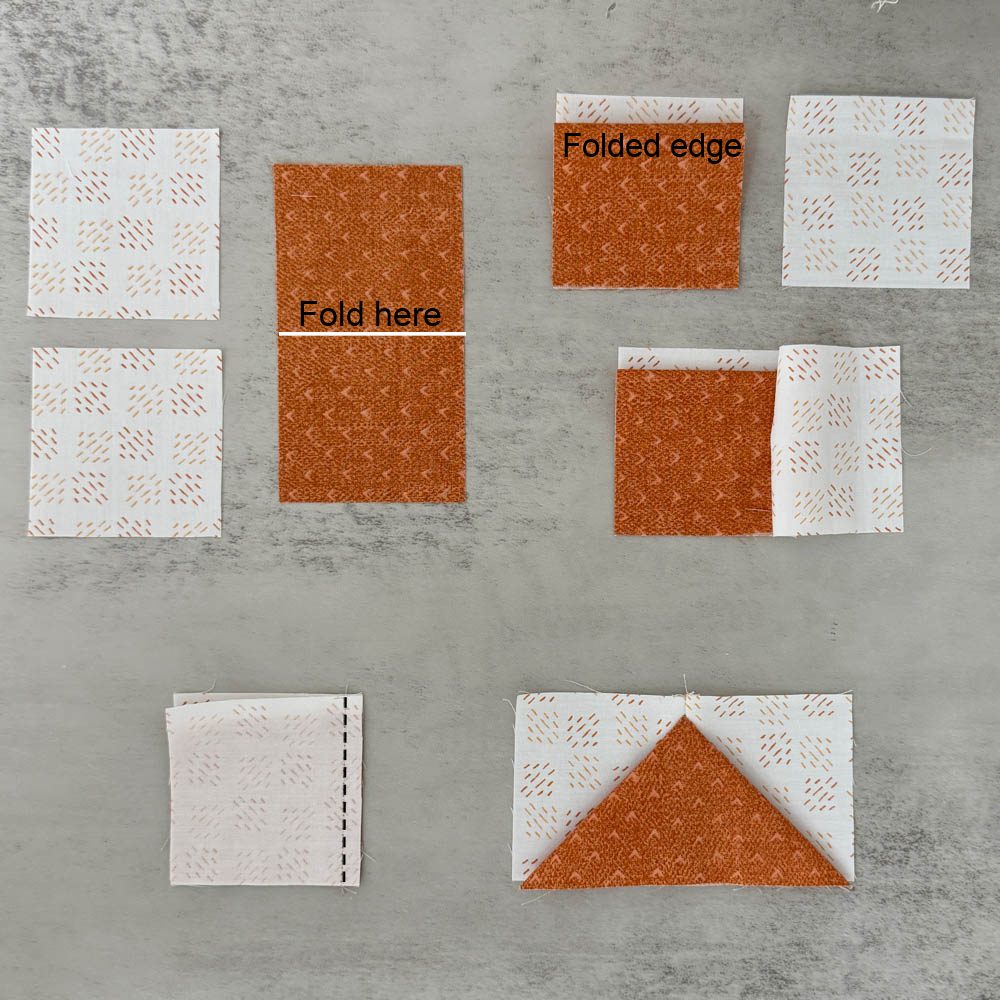
- Press the seam open from the back. You’ll need to clip the folded edge of the rectangle inside the seam allowance to get that section to press open.
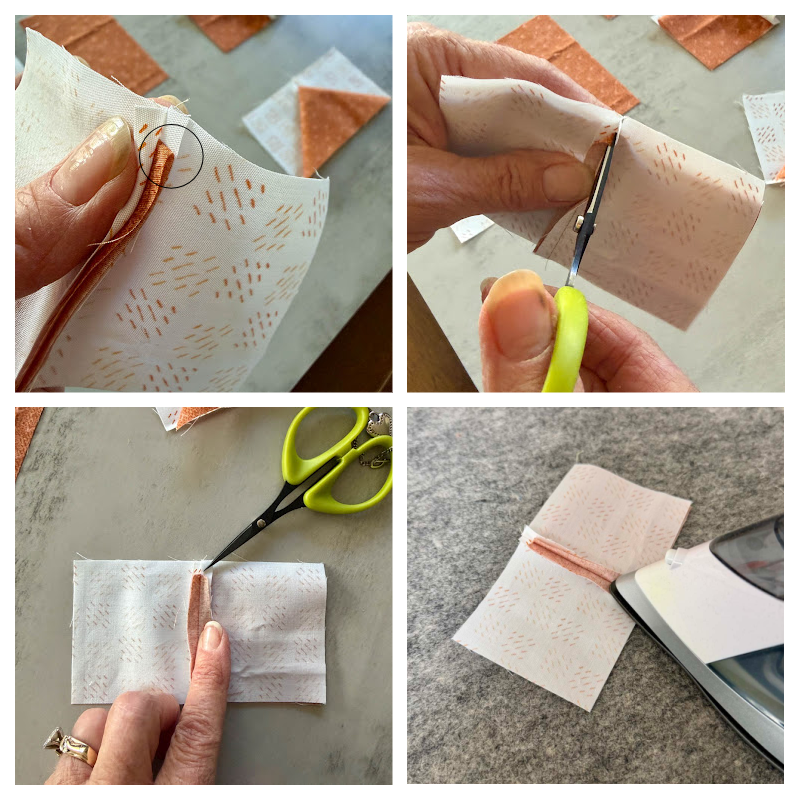
- On the front side, use your fingers to open up the folded rectangle. There should be a crease at the center of the rectangle; make sure it lines up with the seam.
- You can use the nose of an iron to press the seam from inside the large triangle.
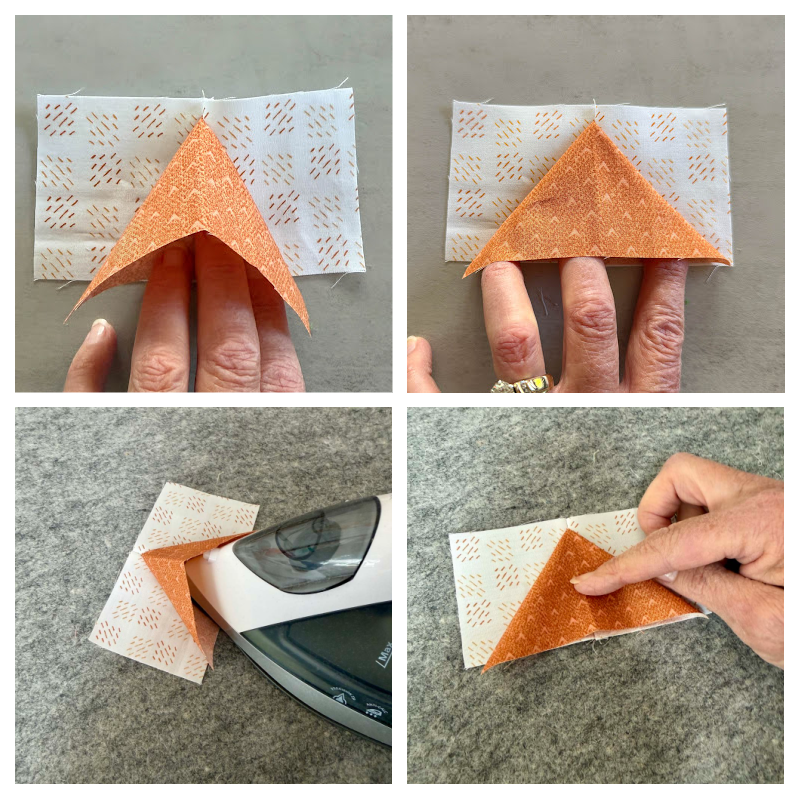
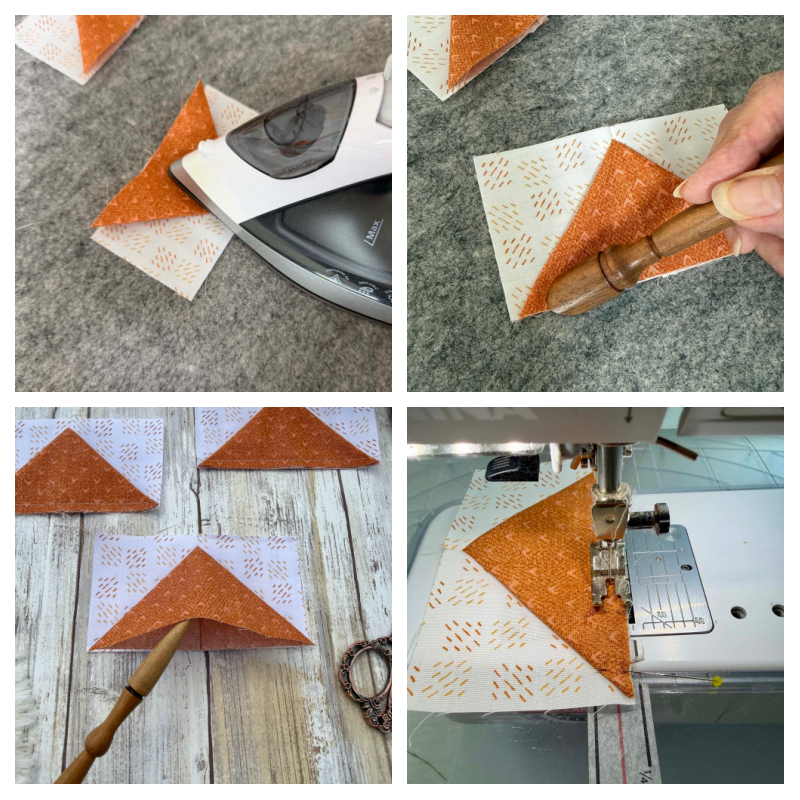
- Press again from the front. The bottom corners of the large triangle should line up with the corners of the rectangle. TIP: Press from the top point down and out to the corners.
- The top point of the triangle should be 1/4″ down from the top edge.
- Baste through all layers along the bottom edge of the flying geese unit.
- Repeat all steps to make four One Seam Flying Geese blocks.
TIPS for success
- Make one test block to get familiar with the technique.
- Be certain to fold the rectangle wrong sides together.
- Ensure the folded edge of the rectangle is facing the top.
- Pin through all layers before stitching.
- Since you’re sewing through four layers of fabric, take your time. If needed, use a walking foot.
- Check your 1/4″ seam allowance. I find a scant 1/4″ works best.
Common Mistakes And How To Fix Them
The bottom corners of the large triangle don’t reach the corners of the unit.
- Check your seam allowance. It could be that your 1/4″ is too generous. Try making it smaller.
- Verify the size of your cut pieces.
- Make sure you’re pressing the seam flat from both sides.
My top point is cut off
- Make sure to pin the layers before stitching. Any shifting will cause a shift in the points.
- Verify the size of the folded rectangle. When placed on the 2 1/2″ A square, it should lie 1/4″ down from the top.
Pros and Cons of One Seam Flying Geese
Pros
- Only one seam!
- No diagonal lines to draw.
- No trimming required.
- Construction is simple.
- Added dimension.
Cons
- It can be tricky to remember how the pieces are assembled.
- Care needs to be taken when quilting. The presser foot could get caught in the open folds of the flying geese.
- May require additional cost for longarm quilting due to the reason above.
- Additional layer of fabric in the large triangle may be undesirable.
Printable Instructions
You can download the (corrected) pdf below. The instructions include a bonus chart with additional sizes!
Video
I made a short process video on Instagram if you want to see it in action. I’ll try to get it uploaded onto YouTube soon, so it will be available to all.
Conclusion
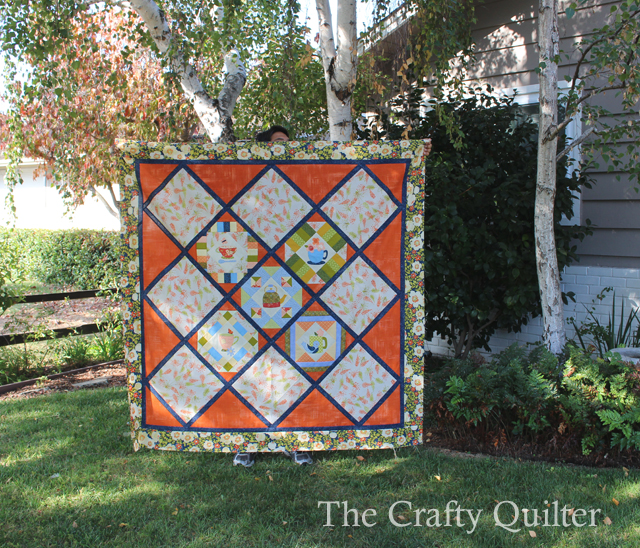
This is a fun and easy way to make flying geese blocks. It may take a little practice to get the technique down – but once you’ve got it – you’re off to the races! If you’re interested in making the sampler quilt at the end, you’ll need to make four One Seam Flying Geese blocks. Instructions on how to put them together will be given in the final week.
Remember, you can share your flying geese variations in two ways. For social media, use the hashtag #fantasyflyinggeese and tag me @thecraftyquilter so I can be sure to see it. You can also send me an email and attach a photo.
Next week, we’ll be making a variation I’ve named Cat Ears Flying Geese. Yep, the name says it all!


Discover more from The Crafty Quilter
Subscribe to get the latest posts sent to your email.


I can’t wait to try this method ! I’m thinking of a mix of a slightly larger group of these, with the more highlighted body section, with the smaller wings to the top. My imagination is whirling.
Very cool! Thanks
Hello, in the printable download instructions. I noticed a line missing in the instructions..it should be 1/4 DOWN FROM THE TOP OF A SQUARE….Teresa ( thank you)
Thanks for pointing that out, Teresa. That’s an important distinction and I’ll correct it asap.
What fun this series is starting out to be! Yes, I’ve made thousands of flying geese in my quilting history. This is just plain a fun delve into making them…and I’m excited to put together the mini quilt at the end. Thank you, Julie, again for your thoughtful lessons and tutorials.
I have never wanted to make flying geese until now. Thank you for this tutorial. One question: If I want to make them double the size do I just double the fabric cuttings? I may just try it and see.