Maple Pecan Granola recipe
One thing you can count on in my kitchen pantry is granola and today, I’m sharing my Maple Pecan Granola recipe with you. I’ve been eating store-bought granola for the past ten years, but a few months ago that all changed. My daughter brought home some granola she purchased at the farmer’s market and it was so good! I thought, how hard can it be to make my own? It turns out not hard at all!
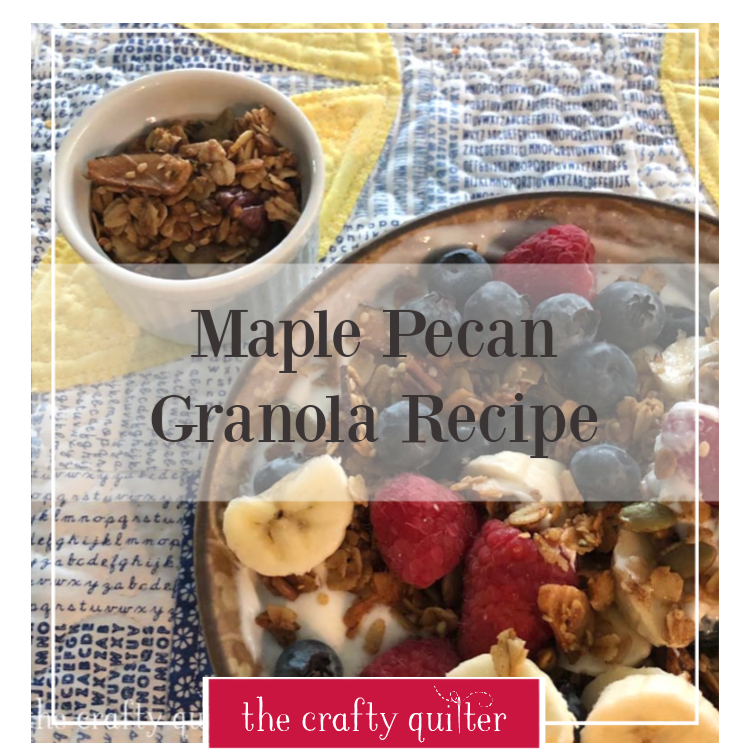
This granola is not too sweet and it has a tiny bit of salty to it. It’s also got just the right amount of crunch when you bite into it. My sister-in-law says it tastes great on ice cream. My favorite breakfast, seriously every day, is my Maple Pecan Granola on top of plain, nonfat Greek yogurt. And not just any old Greek yogurt.
I love Straus Organic Nonfat Greek Yogurt because it’s creamier and not as thick as most Greek yogurt. And because I can’t tolerate the sour taste of plain yogurt, I sweeten mine with Born Sweet Zing Baking Blend. It only takes one teaspoon to sweeten my yogurt and it adds just ten calories. And don’t forget to add fresh fruit in season. It’s all in the details!

The wonderful thing about this recipe is that you can substitute ingredients and customize it to your heart’s content. Also, it makes a lot of granola – over seven cups. I always end up giving some away, and it makes a great gift once you add a cute little label.
Ingredients
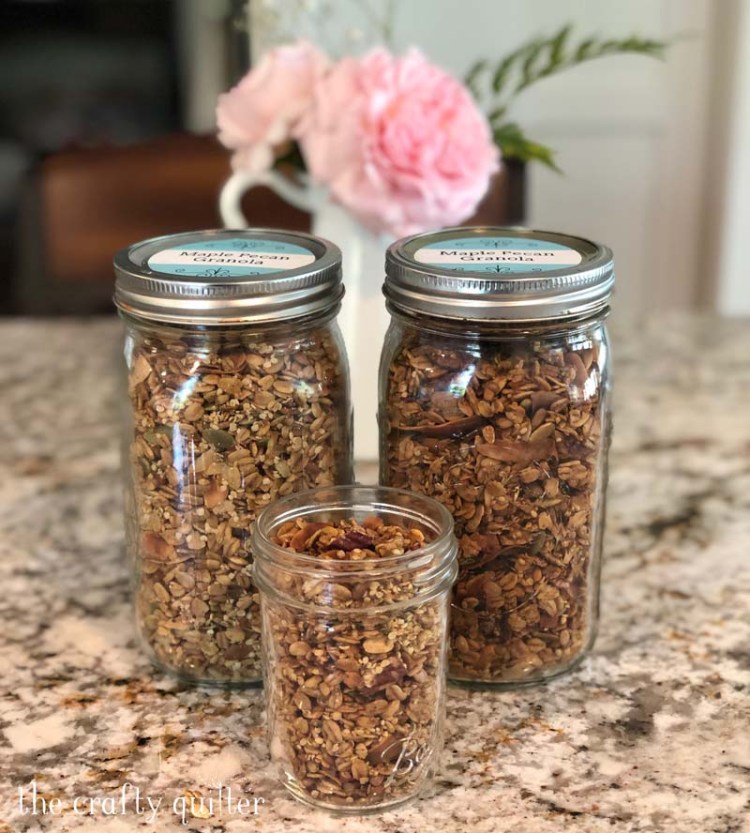
Let’s talk about the ingredients. I use old fashioned oats or rolled oats (not quick), raw pecans, raw or un-toasted coconut chips, raw sunflower seeds, raw pumpkin seeds, hemp seeds (optional), cinnamon, salt, avocado oil and maple syrup. I try to use organic ingredients when possible. Costco is a great place to buy in bulk, and I found the perfect (read inexpensive) coconut chips at Trader Joe’s (not pictured).

Raw or un-toasted ingredients are recommended simply because they will toast during cooking and they may brown too much if they’re already toasted. I found that out when I used toasted coconut chips. I had to discard as many as I could after baking because they were close to burnt.
The beauty about this recipe and probably any granola recipe is that you can use what you have, omit something such as one of the seeds and substitute ingredients such as olive oil for the avocado oil. If you don’t like coconut, leave it out. If you have walnuts and not pecans, switch to those. If you want to add dried fruit, go for it (after baking)!
Instructions
Once you have all of your ingredients on hand, you just measure them out and add the dry ingredients into a large bowl and mix with a spoon. Then you whisk together the wet ingredients and toss it all together.

Spread the mixture onto two rimmed baking sheets that have been lined with parchment paper (if you have it). I only have one such baking sheet, so I cook the granola in two separate batches. Bake in a 325 degree oven for 10 minutes, remove from the oven and give everything a good stir. Bake for an additional 10 minutes or until everything is nicely browned.


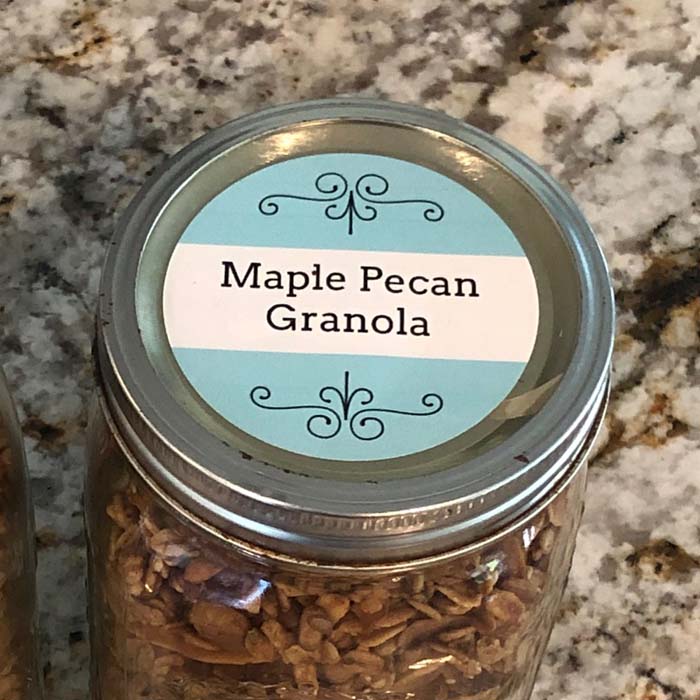
I like to store my granola in quart size glass jars. You could also divide it into smaller mason jars if you want to gift them to others. I ordered 2 1/2″ round labels from Avery and used their online template to design my own labels. It’s really easy to use and adds a nice finishing touch to the jars.

Are you ready to make your own Maple Pecan Granola? I’m sure you’re going to love it!
Maple Pecan Granola
Equipment
- Rimmed baking sheet
- Oven
Ingredients
- 4 cups old fashioned oats
- 1 cup raw pecans chopped
- 3/4 cup coconut chips un-toasted
- 1/2 cup sunflower seeds
- 1/2 cup pumpkin seeds
- 1/2 cup hemp seeds (optional)
- 2 tsp cinnamon
- 1 tsp salt
- 1/2 cup maple syrup
- 1/2 cup avocado oil
Instructions
- Preheat oven to 325° F. Line two rimmed baking sheets with parchment paper.
- In a large mixing bowl, stir together the dry ingredients: oats, pecans, coconut chips, sunflower seeds, pumpkin seeds, hemp seeds, cinnamon and salt.
- In a small bowl, whisk together the maple syrup and avocado oil. Add to the dry ingredients and stir until evenly combined.
- Divide the granola between the two baking sheets and spread evenly.
- Bake for 10 minutes, remove from the oven and stir the granola. Return to the oven and bake for an additional 10 minutes or until nicely browned.
- Allow to cool before transferring to an airtight container.
Notes
Thanks for stopping by and have a wonderful day!



I have made your granola several times and it is now a breakfast staple! I’ve given it as hostess gift along with the recipe and it was a huge hit! Thank you again for sharing a healthy and delicious recipe!
This is delicious, Julie. Made a batch last week and both my daughter and I are enjoying it for breakfast. Also tastes great on frozen chocolate yoghurt for an evening treat! Thanks for sharing.
Julie, Thank you for a great recipe. Have now made this twice and love it. I used to make granola years ago when the children were younger and at home, but got out of the habit once they left. I really like your recipe as it is not as sweet as my old recipe.
Hi Julie! I made a batch of this granola recipe you provided, added almonds and some cranberries after baking done, and have had it for the past few days for breakfast with yogurt and fresh fruit! I absolutely love it – like you mentioned crunchiness and a bit of salty last along with the sweetness of all the nuts and yogurt!! I am hooked now!
Nanci S.
Thank you Julie. I have my shopping list made out.
Thank you! We have a wonderful store near us called We Are Nuts (they roast nuts) with all the fresh ingredients for plenty of options.
Thank you for sharing your recipe Julie. It looks very good and I eat yogurt most days.
Thanks so much, Julie! I have got to try this! 🙂
Hi Julie this looks yummy. I am using a walmart house brand granola with almonds and honey but once its gone, I’ll give this a try. Thanks
Sounds delicious! I’m off to give it a try.
I’m with you on the taste of yogurt. I think it tastes like sour milk. I do want to try the granola though. Thanks for the receipt.
Thank you for this recipe! I’ve been wanting to make my own granola for a long time and you’ve inspired me to finally do it.
One of my favorite breakfasts is berries, chia seeds, yogurt and granola. I typically use a frozen triple berry mix that I microwave for about two minutes and then let cool for a bit (coolint time depends on how hungry I am!). Then I mix in a small amount of chia seeds (about 1/2 Tbsp, I think) and Chobani plain Greek yogurt. Finally I add a GENEROUS portion of granola. Lately I been using Nature Valley Big & Crunchy Oats & Dark Chocolate. I also don’t really care for sourness of plain yogurt, but the berries and the granola seem to add enough sweetness for me.
I used to make my own granola, but I haven’t made the time for a while. I think your post might inspire me.
Here’s the recipe that I started with
https://sallysbakingaddiction.com/triple-chocolate-crunch-granola/
And here are my changes:
Use mini chocolate chips instead of regular size because they melt better.
Don’t use chocolate covered raisins because, while I like them, I don’t like them in granola.
Bake at a lower temperature. (I think I used 325 degrees).
At some point I want to try out the recipe using steel cut oats, rather than rolled oats. I like the texture of steel cut when I’m making oatmeal and I’m curious to see if the texture is better in granola, as well.
Thank you for sharing this recipe Julie! I will be trying it this week. Looks so yummy!!
Will try this granola recipe. I usually make 100 Days of Real Food granola, but will welcome something different! Thanks
Thank you for the wonderful recipe! I’m sure everyone appreciates the time you take to make all of us happy!
Thanks Julie!
I’m going to make this and use it on top of my apple Crisp, that my family loves, as the crunch!
I also love the idea of being able to share this, especially since we have been leaving care packages on neighbors’ doorsteps.
Thanks so much for sharing!
Have a great day!
Oh YUM! I make granola bars for my hubby, as he doesn’t like “cereal”! But I love granola and yogurt, so this sounds perfect just for me!! Thank you, Julie!
-Jean
I have never considered making granola but your recipe looks so good and simple. Thank you for sharing!
Hello Julie, This looks wonderful! What is the shelf life of this granola? Also, have you ever tried to freeze it?
Thanks for sharing.
Great questions! Mine never lasts longer than two weeks because it gets eaten or gifted. But based on other recipes I’ve seen, it should last one month in a sealed container. I have not tried freezing it, but I would guess that it should freeze fine. It might require a little crisping in the over after it thaws.