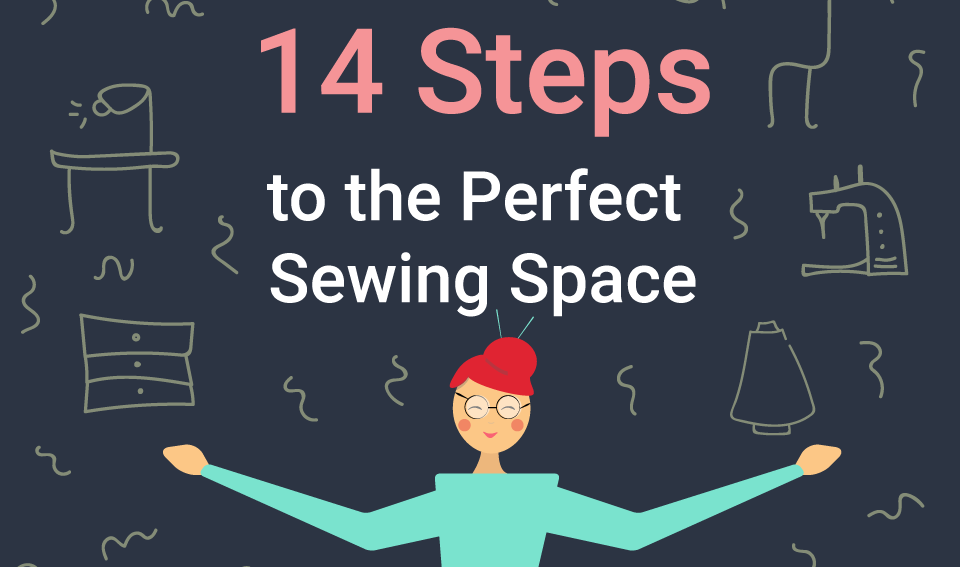
14 Steps to the Perfect Sewing Space
Today, I have a guest on my blog! I’d like to introduce you to Annabelle Short. She is a writer, mom and craft lover (my kind of gal). She also works with Wunderlabel, and she has come up with some great ideas for making the most out of your sewing space. Take it away, Annabelle.
14 Steps to the Perfect Sewing Space
As a student, you probably heard several times that you should not study with your phone next to you. Or, you should not study with the television turned on – even if you think you can multitask. Or, maybe you were always told that you shouldn’t study in bed with headphones on.
The idea behind adults always telling you that you shouldn’t do those things while studying is because those factors do not create an environment that is conducive for learning…
They can act as distractions, therefore hindering your ability to focus and your ability to learn the new material.
Well, it only makes sense that the same goes for crafting, right?
Sure, you might be able to sew your new personally designed labels on while watching television and lying in bed, but that is probably not where or when you will do some of your best work.
Your best work will happen in a space that is conducive for creativity – the perfect sewing space.
One of the key components to the perfect sewing space is an idea board. As you begin to brainstorm ideas for your next project or things you would like to try, it is easy to forget a few of your ideas or where you got them from.
Jotting down your ideas as you think of them not only helps you remember, but it can also foster even more creativity. Writing things down and seeing the idea on paper might bring up other ideas or ways you could improve that idea.
Keep reading to find out the remaining 13 steps to creating the perfect sewing space, an infographic designed by Wunderlabel.




I agree with you…. prefer picture tutorials. You can’t always have sound on. Also, the pictures and instructions allow you to go at your own pace with rewinding, etc.
Thank you for your awesome blog. Very inspirational! Beautiful work.
[email protected]
Julie, I prefer video tutorials please. Rosemarie
I prefer video tutorials.
I have ordered personalized labels for my projects (towels, pillows, etc that i don’t embroider labels for) from WUNDERLABEL! yeah love them 🙂 i have a chalkboard that says sewing room-that’s it- i nee to utilize! my cutting table was built to accommodate my 5′!0″ height-love it and my space-cabinets/storage, etc was made by my inlaws (prior to my mother in law passing :() and i enjoy early on my days off and the time i spend in this space. I need to do better on filing as i do use a spiral but have a tendency to throw patterns in the box. I only print and keep/file what I INTEND to make..there are so many ideas out there and until I retire i don’t have the time so I have to be choosey! I do have a 3×5 spiral i keep in my sewing basket identified with projects to make for Christmas (and their names) birthdays, Valentines, Easter…so that i can refer to in planning and mark off when completed.These are great ideas.and appreciate sharing!!! 🙂
I use a plastic bin with clear, pull out drawers to store my thread. Each drawer is labeled with the Coats color numbering system, for example: 2000-2999 Reds, with Coat’s color chart on a clipboard nearby. The spools are stored number up so I can tell at a glance if I have the right color group. I can then pull out the drawer and make my final choice under an Ott light. Specialty threads are stored in a separate drawer(s) and labeled as well. Storing thread in a covered place keeps them from light and dust. It took a while to organize years of thread purchases, but it was well worth the time.
I also use a spiral notebooks with plastic sleeves…am so glad you had a guest from Wunderlabel…awesome company and you reminded me I have to put in an order…Peace and love in sewing…
Hello Julie; Thank you for inviting Annabelle to host your blog today! Everyone of her 14 Steps are Wonderful. I know that being reminded of them, often, is always a great thing with me! There are several of these steps that I must try tomorrow and see if I am doing them correctly. Such as the chair height and my feet/back positions. My husband just built me a new shelf unit that goes under the kitchen window and will now hold so many items; it will be hard to decide which items are the most used and how to store them correctly. Thank you again for this great post.
Thanks for this column. I repurposed an old picture frame and painted a chalkboard inside to remind me of things to do.
Thanks for the great tips. I find it helpful to keep a project log which includes date, name of project, techniques, and recipient in the front of a notebook. Then starting from the back of the book working forward, I write more detailed project notes, draw diagrams, list thread colors, fabrics etc., for each project.
Hey!!!!! I’m battin’ a 1000, mostly!!!! Thanks for all the reminders!
This was an excellent refresher course! Organizing is essential to smooth operating in the sewing/hobby/craft/workshop rooms that we all deem important to our very existence!!! Seriously!
Great tips! I am trying to use one or two spiral bound graph paper notebooks for ideas, and that has really helped to keep ideas all in one place.