A roundup of turned edge applique techniques
Today, I’m sharing a roundup of turned edge applique techniques. I have been reading all 600+ comments you guys left on my previous blog post about your favorite applique technique. Wow! There are a lot of applique enthusiasts out there! I was pleasantly surprised at the number of votes for hand applique. I would say it’s about 50/50. Many of you enjoy both techniques depending on time and function. I like having a hand applique project running at all times so I can take it with me on the go.
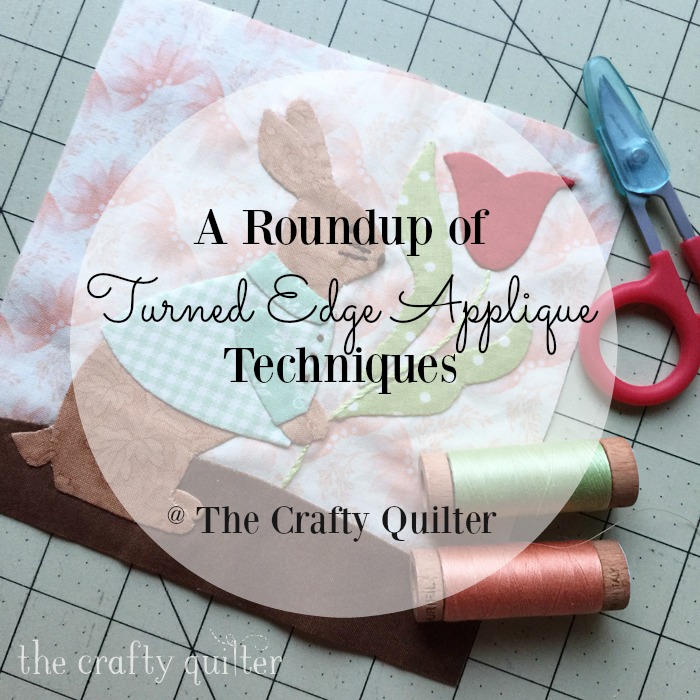
After doing some research of applique techniques, I thought I would put together a roundup of turned edge applique tutorials that I found for your convenience. There are so many ways of doing hand applique (as well as machine applique) that it’s worth looking into all of them to see what fits well for you. Don’t worry, I’ll do the same type of roundup for other hand applique and machine applique techniques next week. I don’t want to leave anyone out!
Freezer Paper & Starch Technique (updated March 2024)
One of my favorite hand applique techniques is the freezer paper and starch method. This allows you to prepare the applique shapes first with a turned edge and then you hand stitch them down later. (You could also machine applique them down as well.) This tutorial from Joanna Figueroa of Fig Tree & Co. does an excellent job of explaining the steps and there is a pdf that you can download, too.
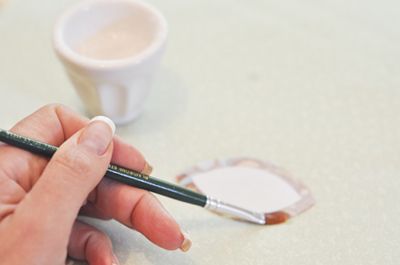
You can also use glue instead of starch, and this tutorial from Connecting Threads shows both methods.
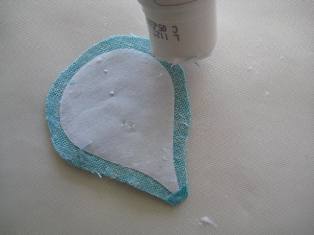
If you’re a visual learner, check out this great series from Shabby Fabrics:
Turned edge using a leave-in foundation
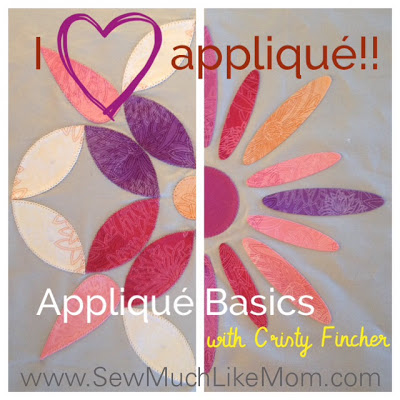
Very similar to freezer paper and starch is a turned edge using a leave in foundation. This method involves turning the edges over a thin, soft foundation that stays in the project. I like this technique because it adds a little bit of lift to the applique. Cristy at Sew Much Like Mom has a wonderful tutorial (which includes a video) for this technique.
You may have heard of the Apliquick Tools. These tools are used with the same method as above. You can find a great downloadable tutorial about this special set of tools at The Piper’s Girls.
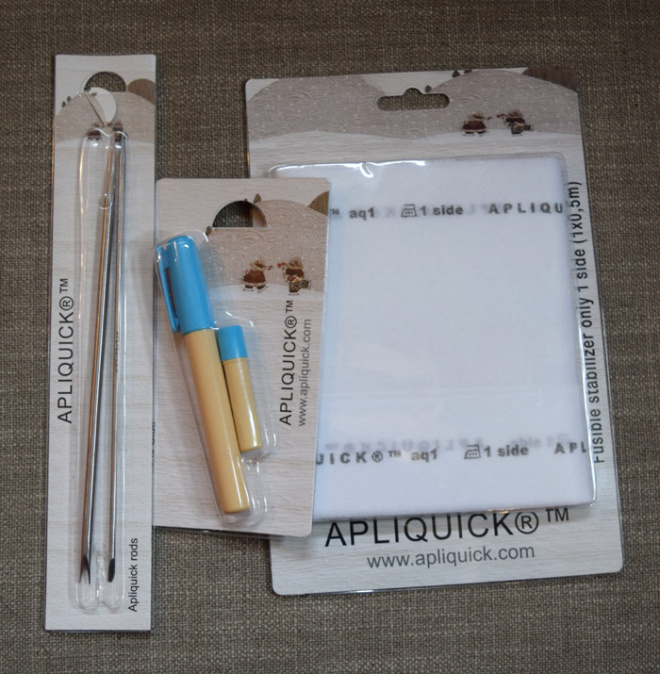
The inventor of the Apliquick Tools is Rosa Rojas. She did a guest appearance on The Quilt Show and you can watch her video demonstration here.
You can even find ME on The Quilt Show demonstrating the turned edge method using the Apliquick Tools here.
Turning the edge with interfacing
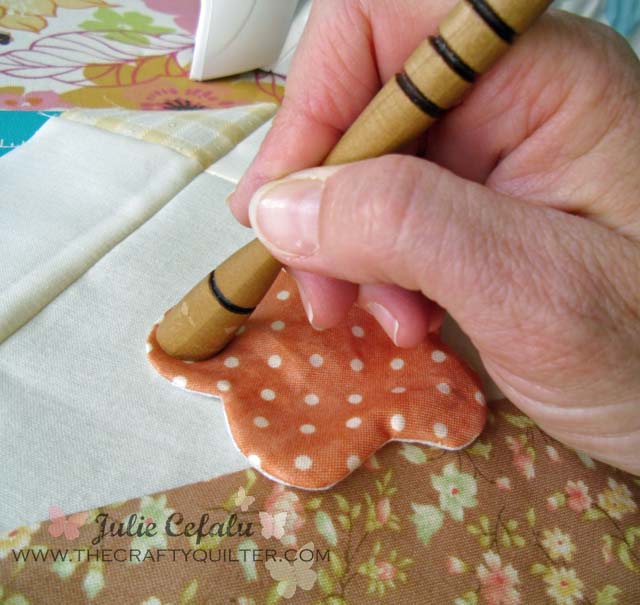
Many people are fond of turning the edge of applique with interfacing. I did a tutorial for this method several years ago when I made my May Day Basket quilt. I give details on how to stitch it down by machine with invisible thread (a sneaky way to make it look like it was done by hand).
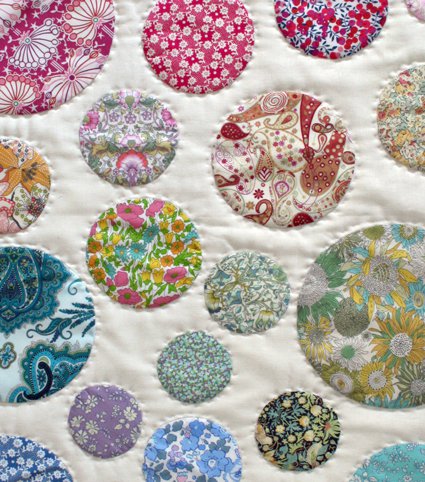
Here’s another tutorial from Purl Soho for the same method, but the finish is by hand. This mini quilt uses Liberty of London’s Tana Lawn fabric for a beautiful, circle applique and some big stitch hand quilting.
Worth mentioning
Someone that I have followed for a long time and who does beautiful applique is Erin at One Piece at a Time. She has a great tutorial on how to pre-assemble complicated shapes for turned edge applique.
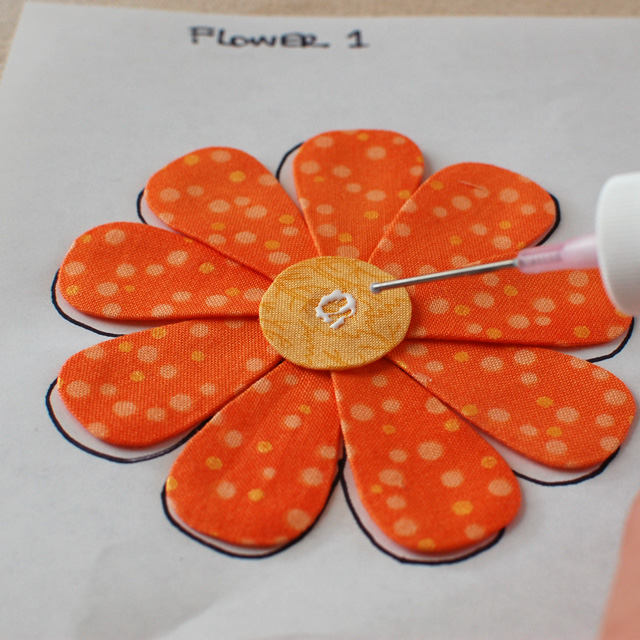
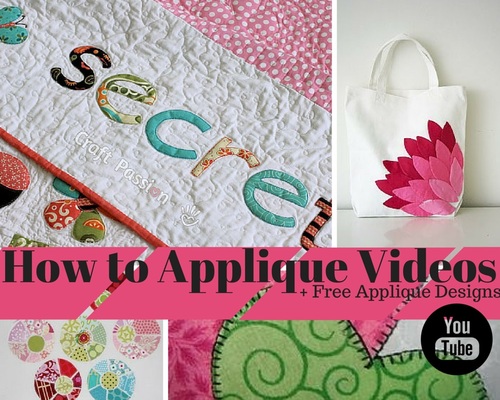
Check out this list of applique videos and free applique designs from Fave Quilts.
Books I recommend
- One of my favorite books for anything about applique is Applique the Basics and Beyond: The Complete Guide to Successful Machine and Hand Techniques
by Janet Pittman.
- For turned edge preparation and finish by machine, check out More! Hand Applique by Machine
by Beth Ferrier.
- Here’s one more worth checking out: Simply Successful Applique: Foolproof Techniques; 9 Projects For Hand & Machine
by Jeanne Sullivan.
That’s a lot of information about turned edge applique! Hopefully it will inspire you to give it a try. If you have other resources or tips that are worth mentioning, please leave a comment and share.
Enjoy your weekend!



Thank you so much for this post! So helpful to have all of these great methods in one place, I will be pinning this for future reference.
I love this post! This gives me hope… 🙂 Thank you!
me too!!
Have to thank you for the appliqué tips. I do machine and wool appliqué. I have always wanted to do needle turn. This will give me a good start. Thanks again.
Thank you for featuring our tutorial. Great post!
Brilliant post, Julie, thanks.
Thank you so much for taking the time to show us all the wonderful ways to applique. I’m new at this and I’m so addicted to it. I’m putting you in my favorite file. Thx
I learned from Ami Simms book/ It was great and she is funny too. I also really like the back basting method, especially for complicated or twisty shapes. You never have to force bend the fabric, bias or not.
(but I’m biased-tee hee)
Thank you Julie for all the appliqué information. Very inspiring.
Julie, you are SO, SO creative and efficient in your work. I really like your presentations. At one time or another I have “tried” all the examples you have shown. I tend to use the method using freezer paper templates and using a glue stick to turn over the raw edges… the method Kim Diehl uses in her work.