Quick seam ripper technique and video
Today I’m going to show you a quick seam ripper technique that will change your life (in a sewing kind of way). If you haven’t seen this technique before, you’re going to be amazed. I’ve been using it for about four years now and it takes the grimace out of un-sewing.
I made a short, 2-minute video so you can see it in action. I have to warn you, making my own videos is new to me. I didn’t have my phone oriented the right way, and I’m just learning to use my video editing software. This little recording took me six hours to figure out! And it’s still very unsophisticated, but it gets the job done.
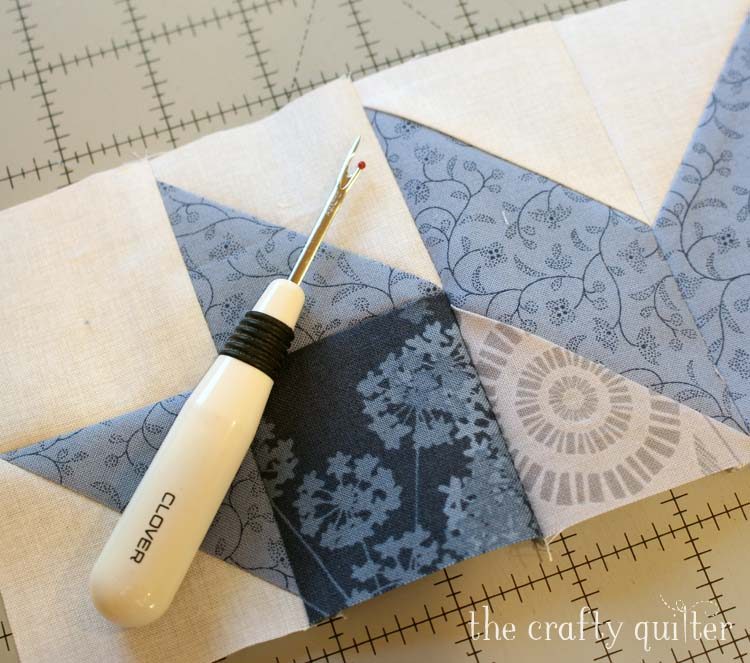
Quick seam ripper technique steps:
- You start by unpicking a few stitches at the beginning of the seam.
- The seam ripper is held parallel to the seam with the red ball facing down.
- You pinch the seam to create tension as you push the seam ripper along the seam.
- Stop as needed to clear the thread build up from the seam ripper.

A few key points when using this technique
Seam rippers get dull over time. This technique works best with a sharp seam ripper. If you haven’t replaced yours in a while, it’s worth the small price. One of my favorites is the Clover seam ripper and I’d like to try the Tailor Mate 2 in 1 Retractable Seam Ripper. Do you have a favorite?

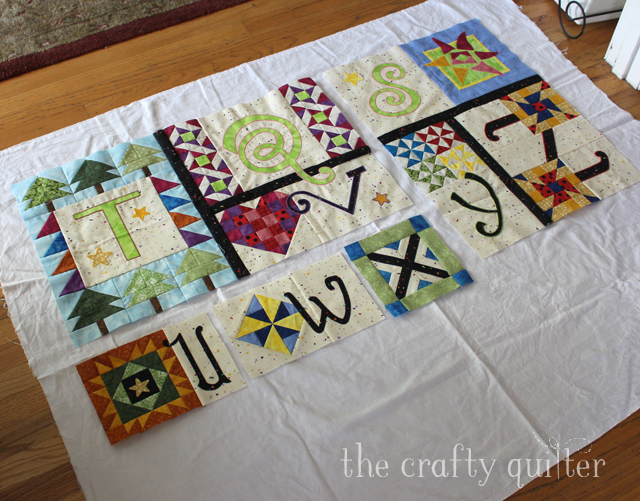
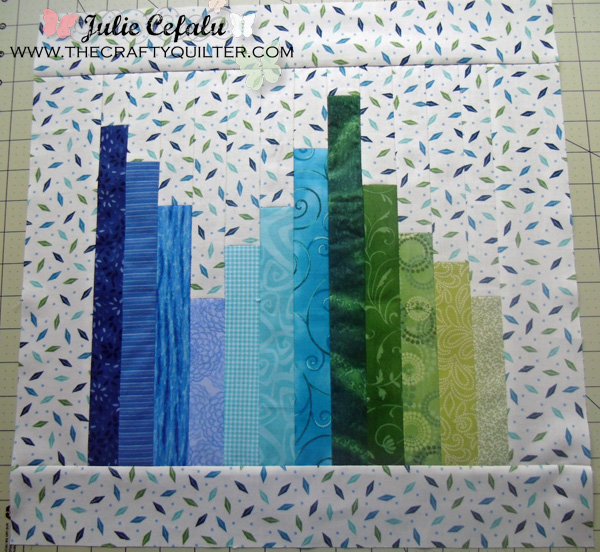
If you go too fast when ripping a seam, you run the risk of tearing into your fabric. This just happened to me last week while making my blocks for the Safe At Home Modern Row by Row quilt. I was in a hurry and I pushed too hard. And because I just wanted to be done (and not perfect), I mended the tear and kept on going! I don’t have a picture of the tear, but I can show you the mended area. And if you can’t see it 50 yards away from a galloping horse…

This quick seam ripper technique takes a little bit of practice to get used to it. I find that it’s super fast, but I need to stop after a bit to clear the thread that builds up in the seam ripper.

I hope you try this method and let me know how you like it. Also, let me know if you enjoy these types of videos. I personally prefer photos and words, but I know some people like to see things in action.
Thanks for stopping by today! Happy un-sewing!


Discover more from The Crafty Quilter
Subscribe to get the latest posts sent to your email.

I just tried this yesterday. Fantastic! Thank you so much for this very helpful tip!
That’s amazing thanks so much aunt julie.
I love a sharp seam ripper and use them all. I like the Seam Fix Ripper too!
I love this method, and have used it. I love those seam rippers as well as the quick fix seam ripper. As far as seam rippers go, anyone that is sharp works for me.
Wow! Another bonus – it looks like clean up is quick and easy. Thanks so much for sharing this!
Great video……will try this next time I have to rip out seams. Thank you so much
This is terrific, definitely will try !! I am always ripping from time to time ! Thank you for sharing !
Thanks, Julie, for the great reminder! Always good to hear from you. Keep safe!
Funny how many ways there are to use a seam ripper ! I learned this trick a while back but was taught to place the ball to the inside of the stitches I was ripping out— just the opposite of your suggestion. Don’t think I’ve ever ripped fabric this way as you can see where the sharp tip of the ripper is going.
Thanks for the tip. I, too, love the Clover seam ripper best. I learned recently the red ball is supposed to be at the top to prevent cutting into the fabric accidentally. I tried it and found it really did help, altho it’s hard to remember to turn it after all these years. A well-known quilter gave a program at our guild and she uses an eyebrow trimmer to rip. Open the two fabric pieces, put the trimmer with the plastic part down and blade up on the thread, and simply push along the length of the seam. There’s no danger of ripping the fabric bc the blade is slightly below the nubs. Best part: a pack of 3 is under $5. Try it…you may like it! My problem is I’ve lent them to friends and don’t get them back!
Thanks Julie and your video was perfect….do like this tip and will worth trying. Thanks
BTW…I LOVE the seam ripper by Bernina! Very sharp
I have used this method for a few years and just love it. It takes what would be a TON of “minutes” ripping down to “seconds”! And Julie…your video was wonderful. Good job!
Great job with the video! I’m going to try your method when I need to unsew.
Thank you
Great video! Thank you!
I have used this technique before but was holding the fabric under the seam to create tension. That way it is much easier (unfortunately) to tear into the fabric. Pinching the seam from the top like you do would be much better. And it is true that you get the hang of it, by the way the seam ripper’s progress feels like. It should be light and (almost) effortless. When I am about to rip into the fabric, I can feel it.
I could have used this technique last week! Now I know! Thank you! Love your tips!
My favorite seam ripper is the clover. That’s the only one I’ll use. Also when I am ripping stitches I like to lay my fabric down and slide the ripper under every 5 or more stitches and then turn it over and grab the thread on end and pull and the stitches come out really fast. I have tried the way your tutorial says sometimes too, but I prefer this other way
Hi Julie, thank you so much for persevering to make a video to show us your un-sewing in action, my Mom told me when I was a child and helping her to do it that way and of course i never had the patience to try but now after watching your video I am sure going to work with a few scraps and learn to do it. Probably back then the seam ripper would have been really old and not sharp. I think you did an awesome job of making the video, your speaking voice is good & clear and you were detailed i.e. showing us the thread build up. Now you have this new learning put it to use. I am definatly one of those that understands best with visual learning. Thanks again Leona
I do use this method for bigger seam rips and find it very efficient. Slow and steady wins the race on this one. I use for both quilting and regular sewing projects. I do, however, remember being “chastised” once when I used this method at a quilting class I was taking. Thanks Julie!
Thank you! I’ll be using this soon I’m sure because I’m starting a new quilt. You did a GREAT job on the video.
Wow Julie! What a huge time saver. I’m certain you have just helped quilters look at “un-sewing” very differently. Less time ripping and more time sewing. Thanks. I’m pinning this.
Wow – I was this day’s old when I learned the little ball should be facing down!!
Excellent video and tip – thank you!!!
Yes, Julie, the seam ripper is my best friend. I have been using it for years. Also want to tell you, I love your little video, I’m a visual person. Thank you so much for everything you post.
Thx for the tip! I hope I don’t have to use it too soon!
Thanks Julie…. I wish I would have know this a few weeks ago. It works!
Stay safe
Thank you for the great tip! I don’t like to rip but this technique sure makes it go faster! You did a fine job on making a video. We all learn in different ways so having the written words and a video helps us truly learn how to do something new!
I have been using this method for a long time, therefore I didn’t watch the video. It sure does save time.
thank you!
This is ingenious. It sure beats picking stitch by stitch. Your video was just fine. I wouldn’t even know where to begin if I had to make a video! Good job! Stay safe and stay well.
I have used this method for about 3 years. I am an expert at ripping…just ask my fellow quilting friends. The Clover seam ripper is the best. Only one I use and I have spares. ☺️
Cool, Julie! Thank you so much! Great job on the video! I would always watch any tips you have!
-Jean
❤
Thanks so very much! It’s so crazy how after sewing so many years, there are still tips and tricks I love hearing about!! This was a great video and I always look forward to reading your articles! Have a good day!
This video is great!!!! I have never tried this before, but I will now!
I thought you did a great job, Julie, on the video. Thanks for the tip.
Thanks so much for that. I was never quite sure whether the red ball went on top or on the bottom, and now I know!
I have used this method, and it’s a good one; and I have also ripped into my fabric on occasion! I am afraid to use it on batiks. I also ripped into some home decor fabric while making a pillow cover, and was able to darn it, and thankfully it’s not noticeable at all because of the texture in the fabric. I still often use a slow picking method, because I find it so annoying to clean up all the little thread pieces.
Julie, your recent seam ripper video was a great help as I just removed 49 blocks from a quilt I am working on. It was a successful endeavor as I didn’t have one tear! Thank you so much for sharing this video. Now I must figure out how to remove all those threads!