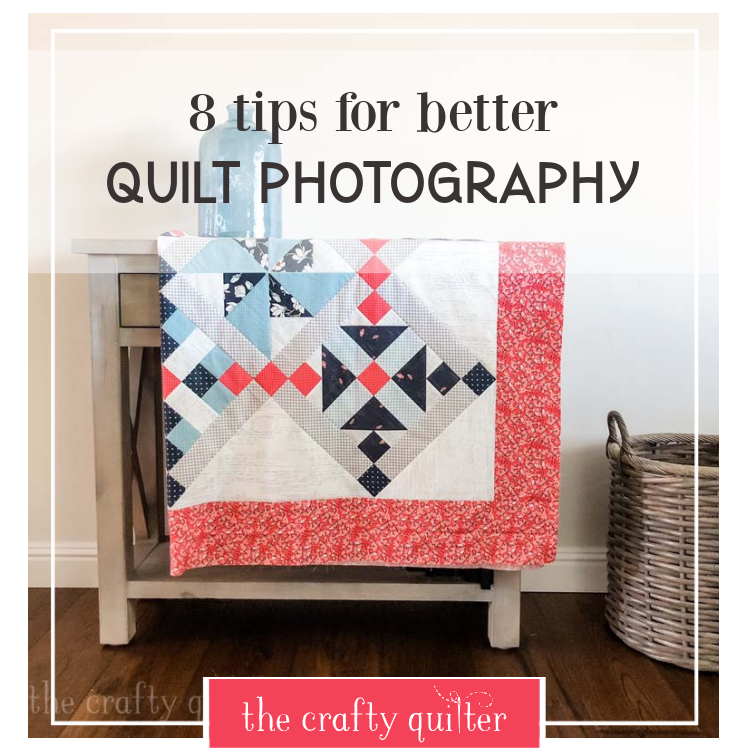
8 Tips for better quilt photography
Whether you’re a quilter or a blogger or a proud parent, it’s important to get that perfect picture. Today I have 8 tips for better quilt photography that can be applied to other types of photography as well. As they say, a picture paints a thousands words.
Camera Equipment
You don’t need a fancy camera to take good pictures. I have a DSLR camera (Canon Rebel T5i) that was my main camera for taking pictures for my blog. Lately, however, I’ve been using my iPhone to take most of my pictures. Why? Simply because it’s more convenient and still does a good job. The best camera is the one you already have.
Lighting
One of the biggest lessons I learned when I first started taking pictures for this blog is to turn off the flash. You may need to adjust your camera settings to allow more light to come into the shot or wait until the daytime to take the picture. This will give your photos more depth and natural color without being washed out by the harsh light of a flash.
I don’t have any fancy lighting equipment, mostly because I don’t have the space to store it. I take advantage of the natural light available as often as possible. If you’re inside, try to work near a window. Check to see what time of day offers the best light available.
I often use the floor area just inside our French doors for an overhead shot. I have to do this before the afternoon sun shines directly there to avoid dappled light and light that is too strong. Opening the door, however, lets in lots of bright, natural light. Below is a picture of what that photo set- up looks like with the door closed vs. open. It’s more obvious than the pictures show, trust me. You can see the final
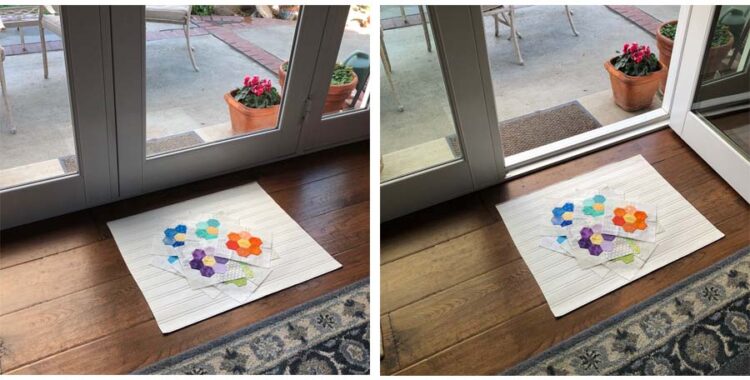
If you’re shooting outdoors, it’s best to find an area in total shade or wait for a cloudy day. Direct sun can act similarly to a flash and dappled sunlight can add distracting shadows. Sometimes these things can work to your advantage, but usually I prefer an area of shaded light.

Shade when possible 
Side sunlight can be effective 
Dappled sunlight can be distracting 
Full sun is a little harsh

Backdrops
The backdrop for many of my close up photos is a paintable wall paper that comes on a roll. It’s a little pricey for the small amount I use, but if I were to actually cut it up into squares and paint them in different colors, I would get my money’s worth. You can also search for “peel and stick wallpaper” and find a variety of affordable options. I have a wood-like backdrop that I use frequently as well.
Other backdrop options are a simple white sheet, poster board, wrapping paper, kraft paper, scrapbooking paper, a marble countertop, large floor tiles, chalkboard, newsprint, hardwood floor, and something we all have available: fabric!
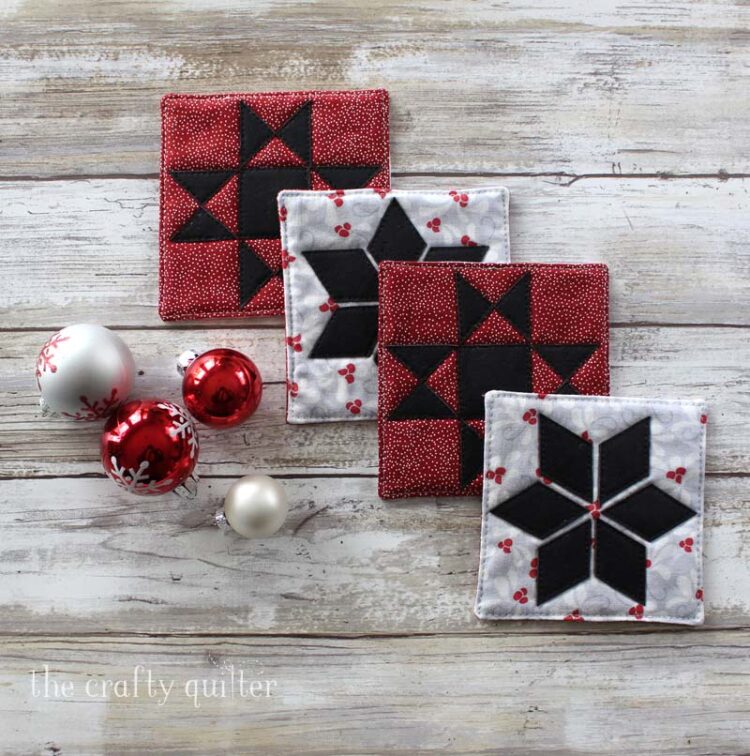
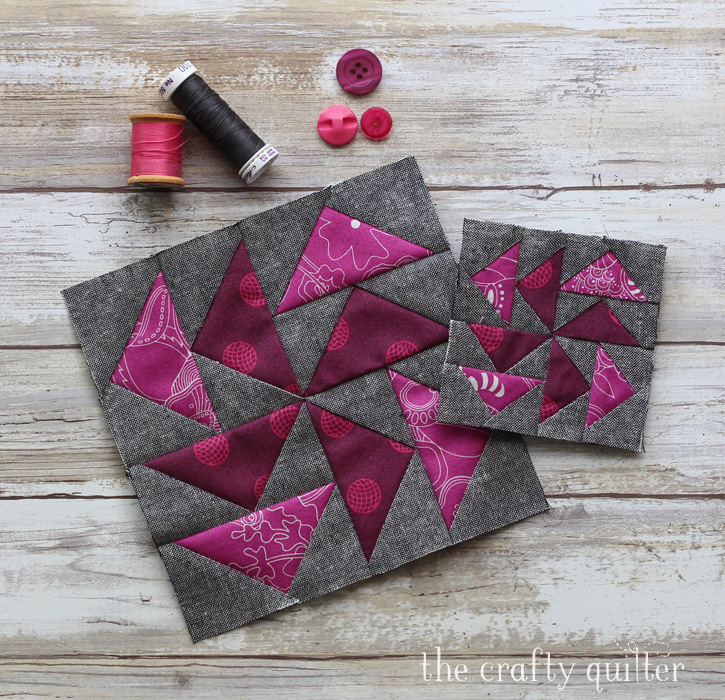
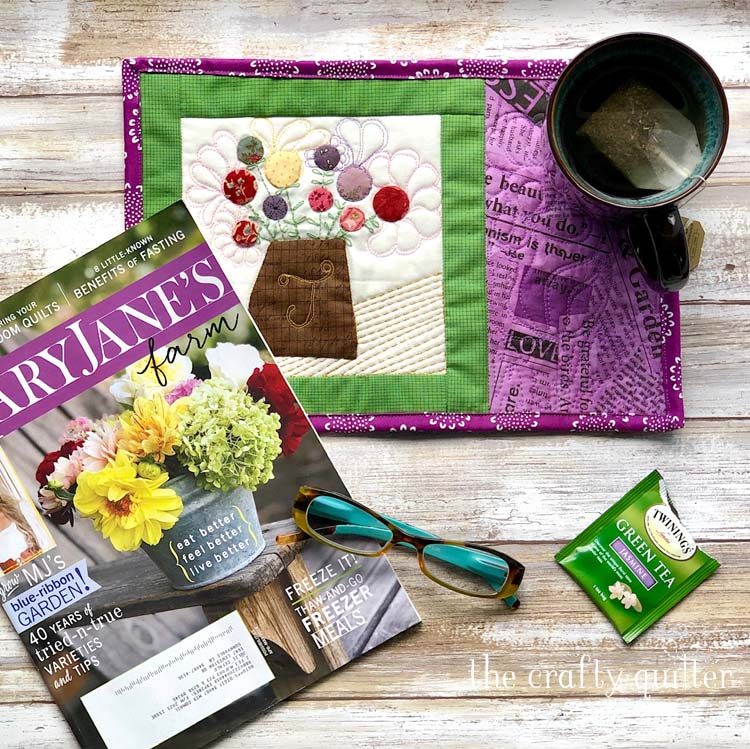
Photo props
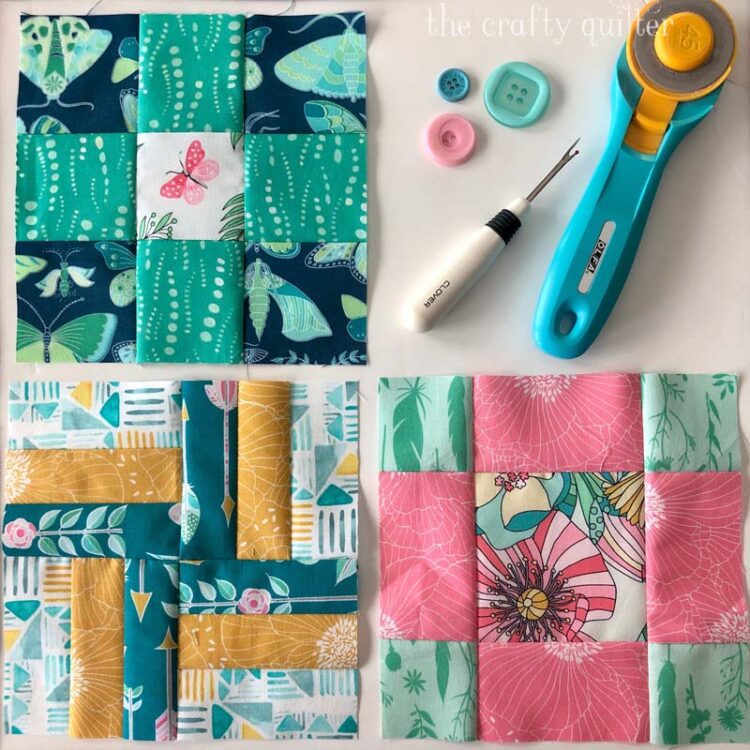
You can add a lot of interest to a picture by using photo props. I often find items in my sewing room that are the right color and scale for the photo. Buttons, ribbons, scissors, thread and other notions are often found in my photos.
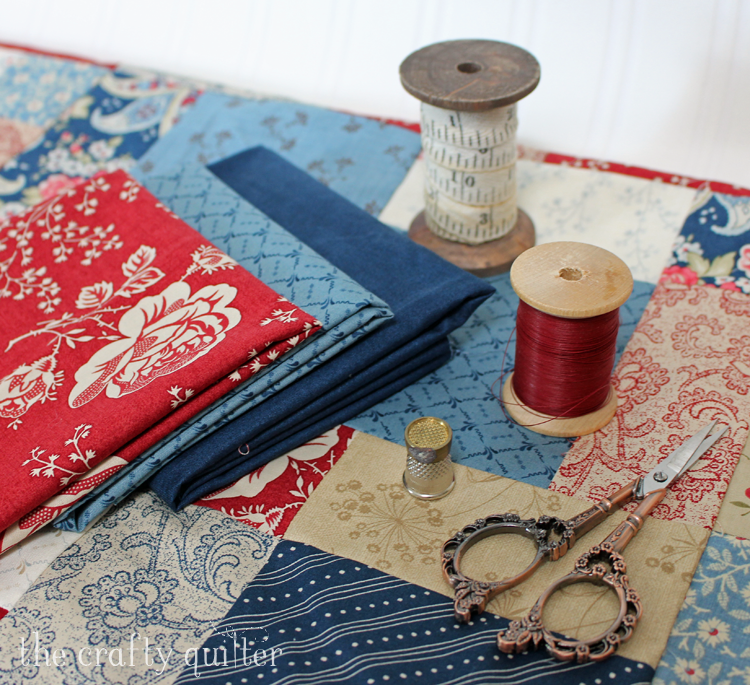
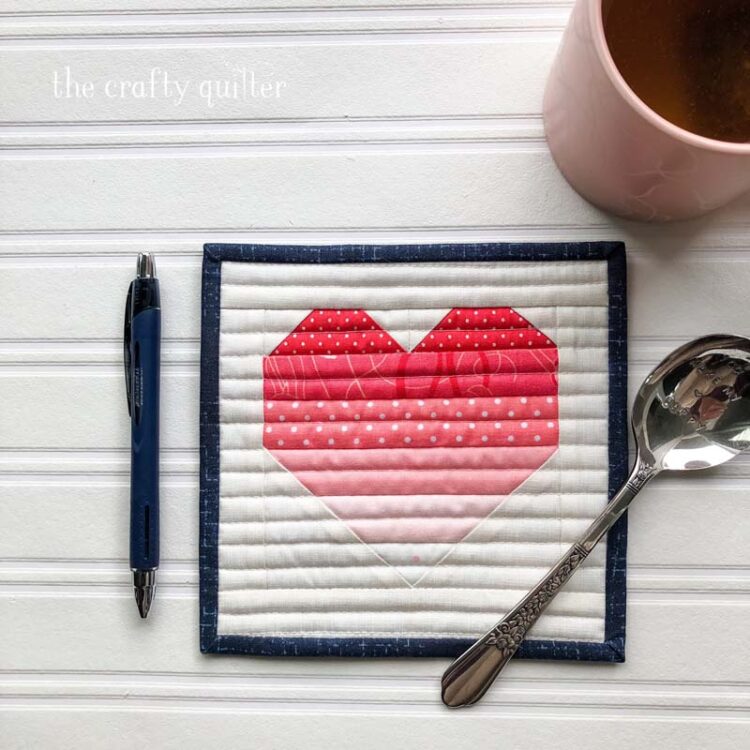
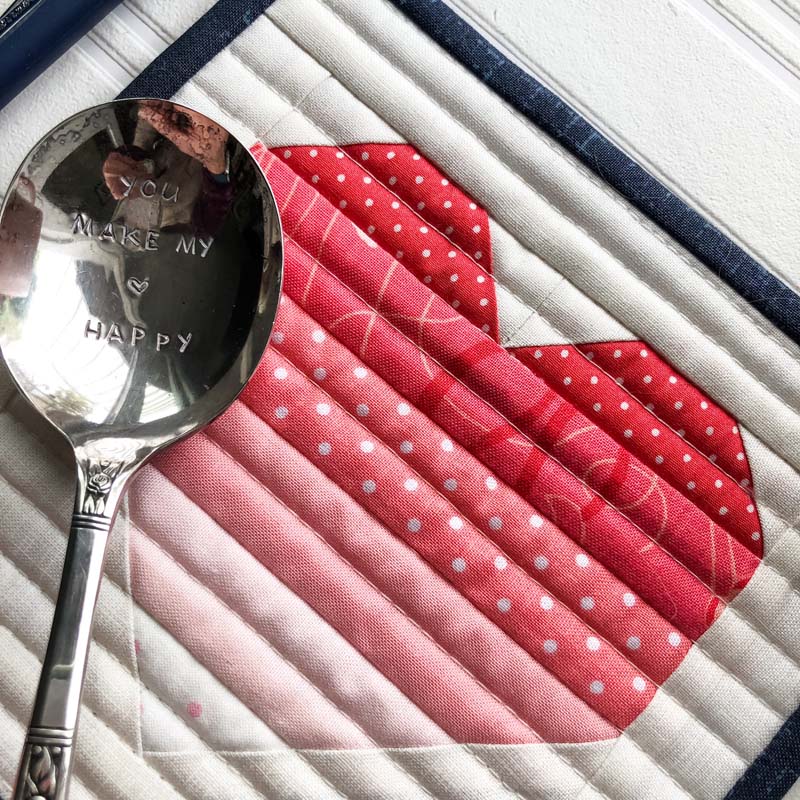
Sometimes I look in my kitchen for photo props. I make a lot of mug rugs (see some of them here) so I like to add a cup, a spoon or a snack to the picture. Adding an element from nature such as a flower or an herb sprig can give some color and depth to an image as well.


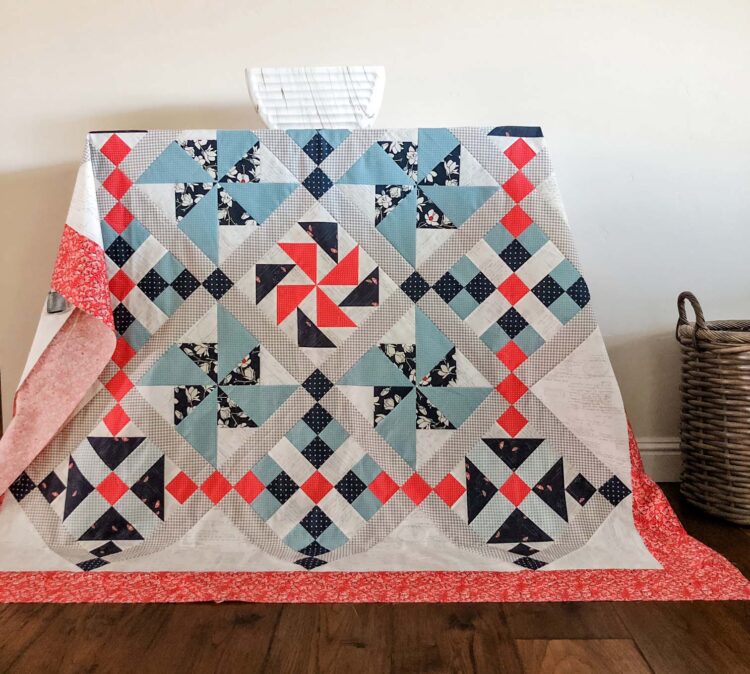
Change perspective
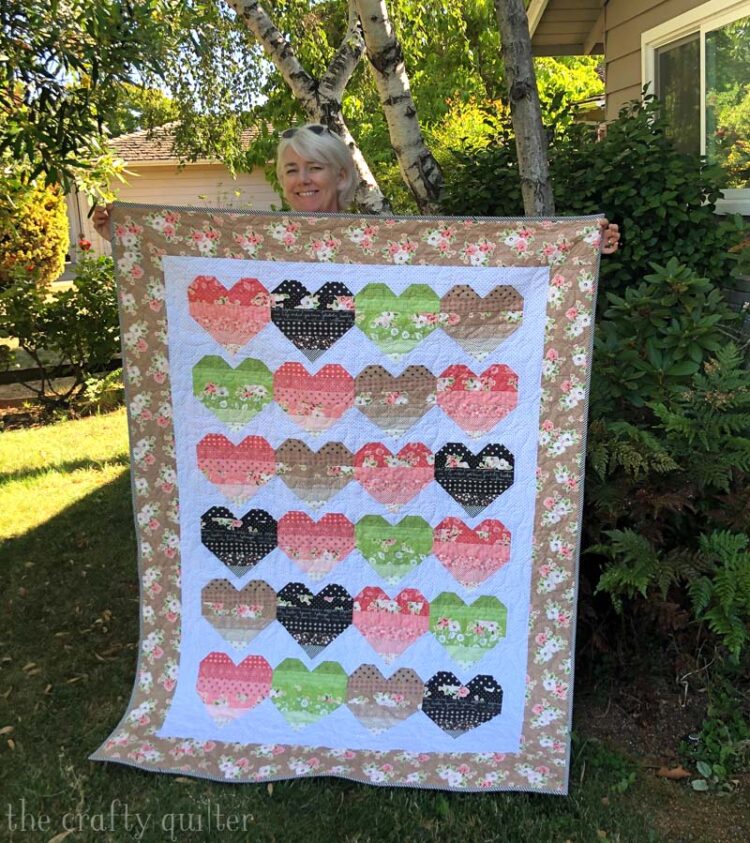
I don’t do this often enough, but a change of perspective can really add some punch to your image. Try different angles – from the side, overhead, knee level, etc. The photo below was taken from a sitting position and it really works well for this quilt.
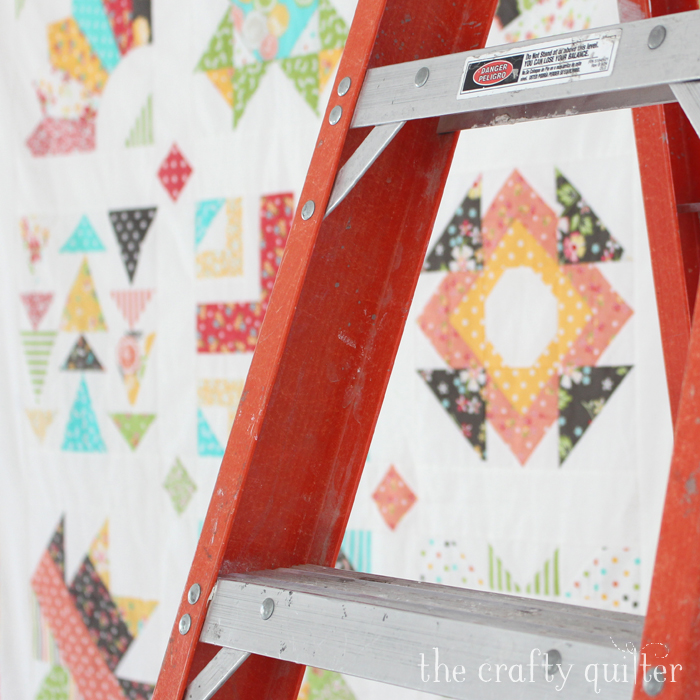
When we remodeled our house a few years ago, I used one of the contractor’s ladders to frame a block in my quilt. I think that’s about as creative as I get!
Changing the elevation of your project along with your props is also a good way to add interest and dimension to your photo. Below I used a wooden box to add height to a tin container. I also had my thread and scissors working together to change their elevation.
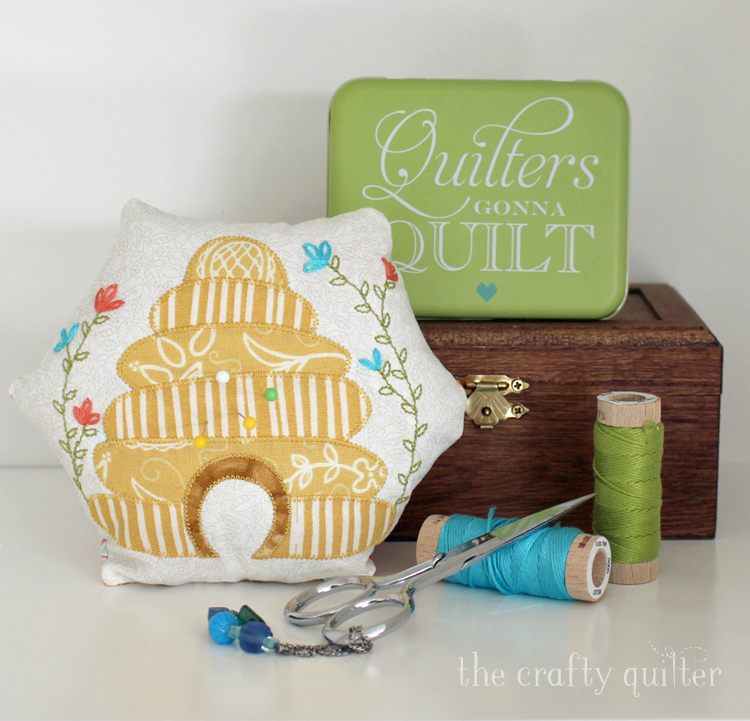
Photo Editing
I edit every picture that goes onto this blog. Up until recently, I’ve used Photoshop Elements (a lighter version of Photoshop) to edit everything. This is a powerful program, and I still use it for cropping images and changing the file size, etc. But now I’ve discovered a simple editing technique on my mobile device: the Adobe Lightroom App combined with presets.
Adobe Lightroom is available both as a mobile app for iOS and Android devices and as desktop software. The mobile app is free, but can also be upgraded to a paid-for premium version. I’m using the free version and it does everything I need it to.
My secret weapon
What has really made the Lightroom App functional for me is the use of presets. These are a group of settings that work together to achieve a certain style or look with one click of a button. A preset will adjust all of the sliders for you and are available for most photo editing software.
I discovered the Light & Airy Lifestyle Mobile Presets which are available for purchase. It comes with a downloadable pdf guide and video guides to walk you through the steps of installing the presets. This has been a game changer for me! It’s so easy to edit photos on my phone and post them to Instagram or send them to my desktop computer to use on my blog.
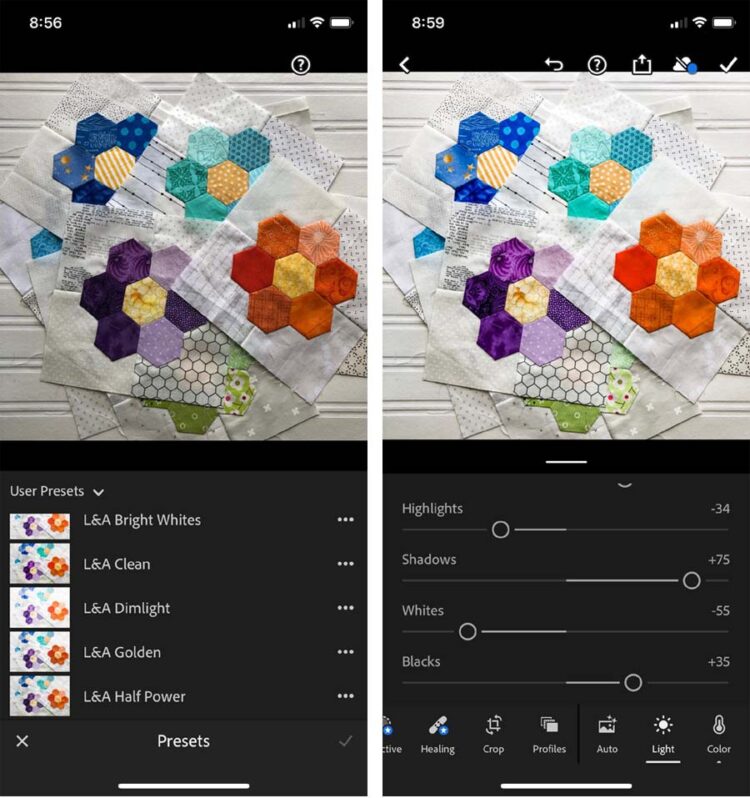
Below left you can see the original image and the Light & Airy presets in the Lightroom App on my iPhone, and below right you can see the new image with the L&A Clean preset applied along with a view of the sliders that were automatically changed.
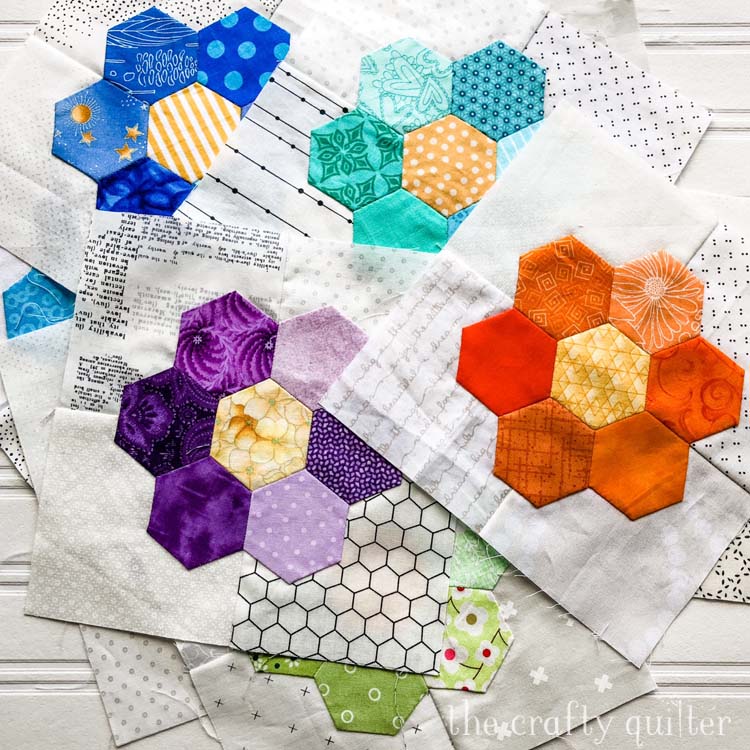
Next, I uploaded the photo to my desktop computer, cropped it and changed the image size. Below is the final image that I will use in a future blog post.
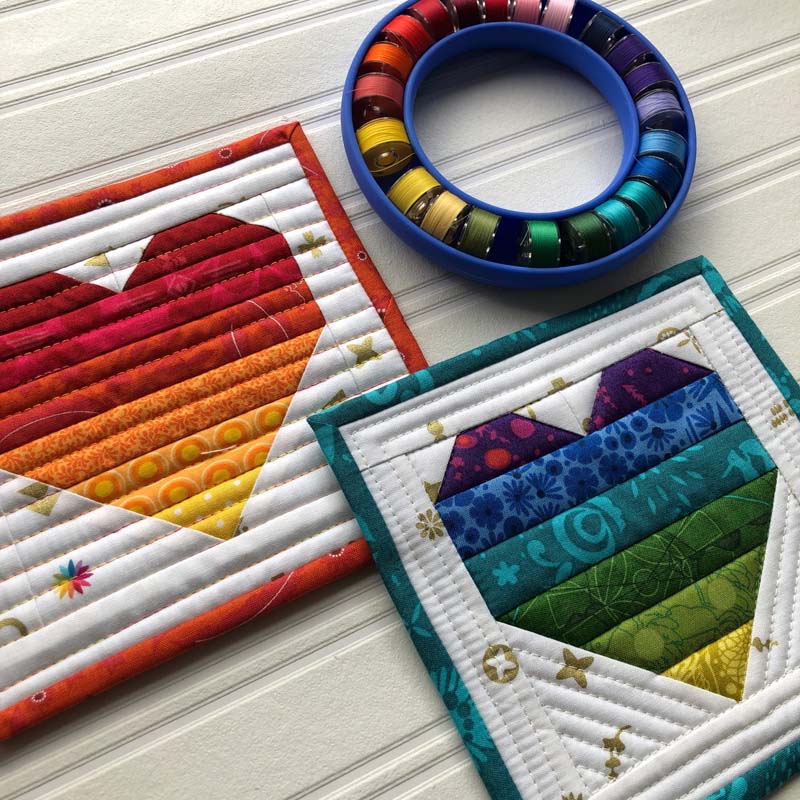
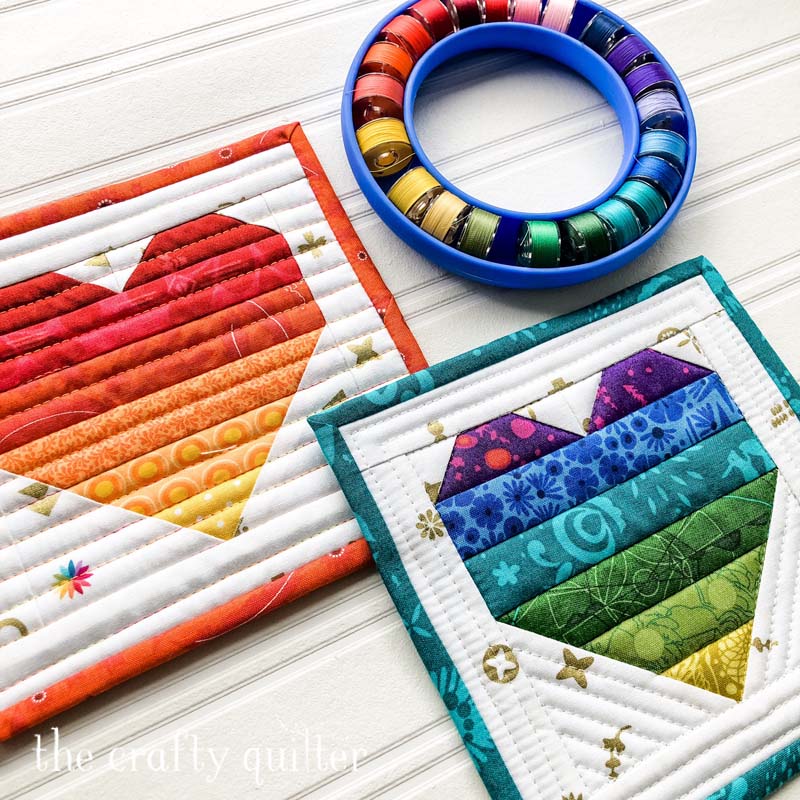
Below is a before and after shot from a recent blog post. You can use the slider to see how much brighter the picture is after applying a preset.
Yes, this could have been achieved manually using any editing software. But, I often struggle to get the white balance and color saturation and (insert all the things) just right. Plus I spend too much time in the process! Now I can apply a preset and the work is done for me.
Get inspired
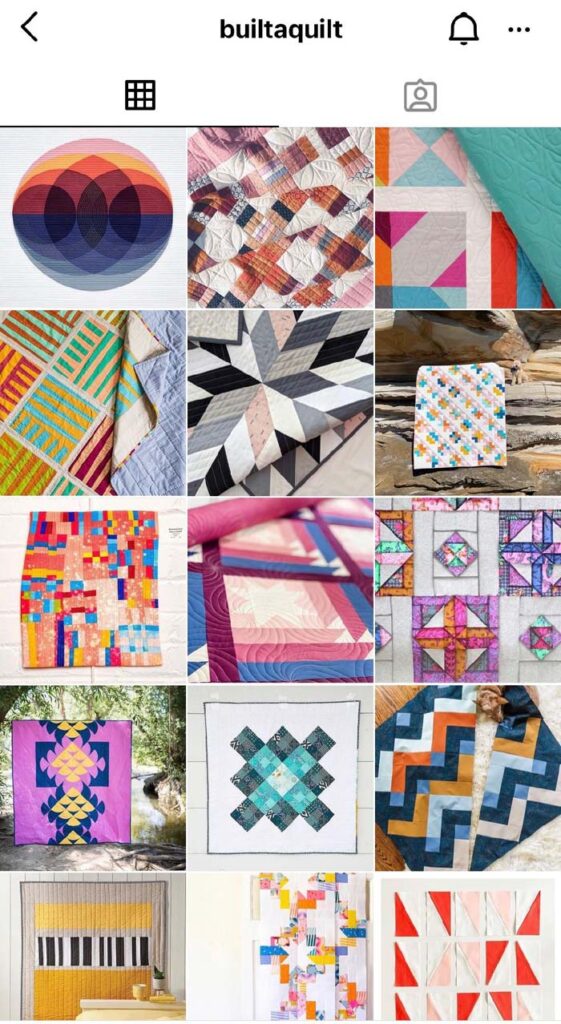
There are so many ways to get inspired for photography – in magazines and online. I often look to Instagram for quilt photography inspiration. I recently discovered @builtaquilt and I love everything I see there. Julie Schoening is the person behind Builtaquilt. She’s a professional photographer and she curates the most beautiful quilt photos for her Instagram feed. It’s a great way to get ideas for staging quilt photos as well.
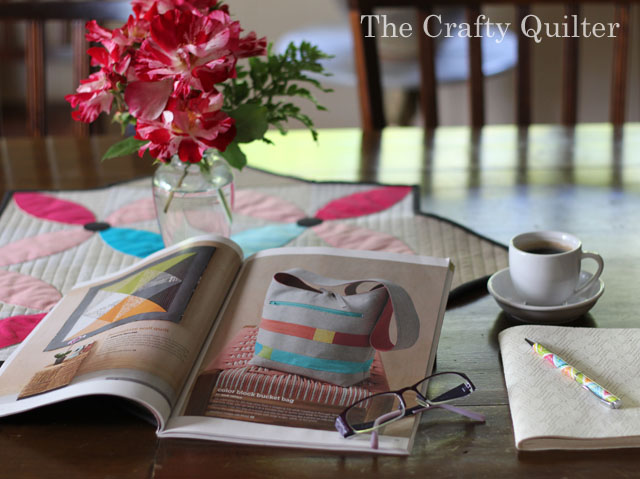
Check out your favorite magazines for ideas and inspiration. That’s one of their main jobs is to get a good photo. Notice the the lighting, the props, the angle and the location of the images. There is so much creativity to be found in the pages of a good magazine!
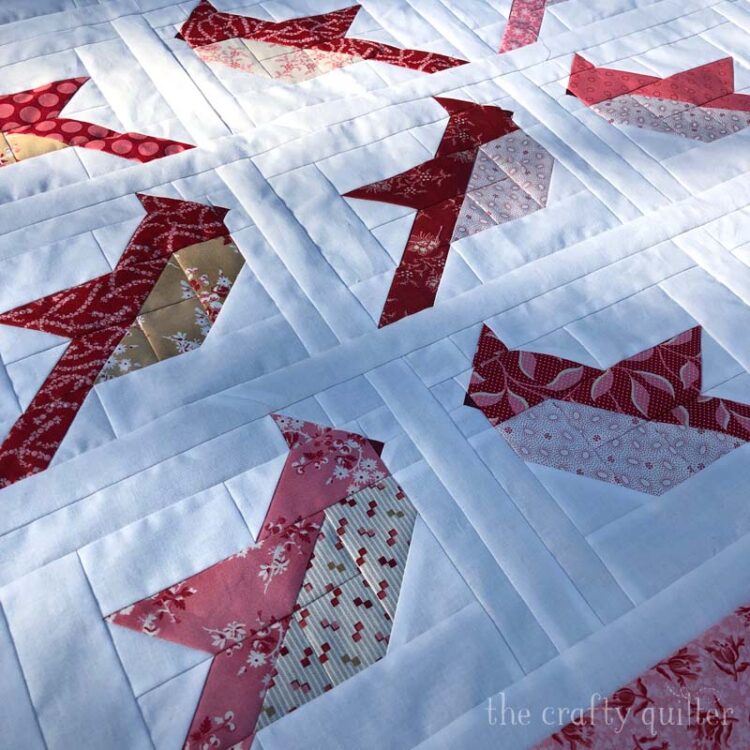
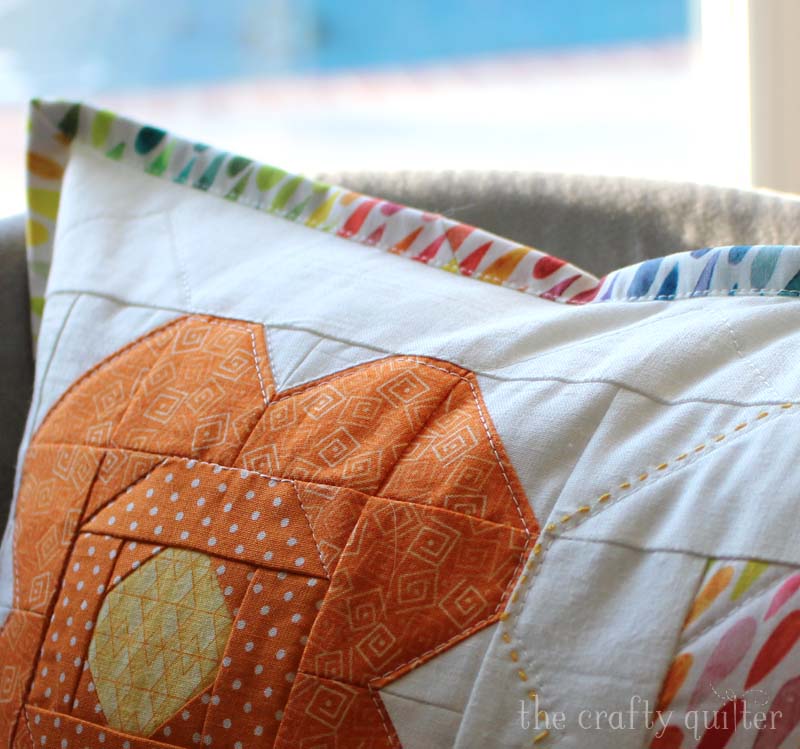
Add close ups
Take close ups of your projects! Get in there deep and show all of the details. We want to feel the texture of that pillow or the lines of that quilting. Being able to get a closer look at something is such a bonus.
If you’re a blogger, I encourage you to use images that fill your main blog workspace. Take advantage of your real estate and your blog will stand out. Most of my images are 800 px wide. Sometimes I feel like that might be a bit much for a certain image, but usually bigger is better for a blog.
That was a much longer post than I intended. I’m always trying to improve my photography and I’ve learned so much in the past 10 years. I hope you found a tip or idea that will make your pictures better. Thank you for reading and happy picture taking!

Discover more from The Crafty Quilter
Subscribe to get the latest posts sent to your email.


Great tips! I especially loved the suggestion about natural lighting—it really makes a difference in showcasing the quilt’s colors and details. Can’t wait to try out the flat lay style for my next project! Thanks for sharing!
Excellent tips! I’m glad your post went longer than intended. I shall try the mobile Lightroom version and play with their presets. Your examples are appreciated.
Wonderful post! I often struggle with staging photographs and your suggestions are wonderful!
These are all such great tips. I hate winter in New England as the light can be so lousy for so long. Thank goodness for spring and these lovely hints!
Great ideas for expert photograghy. So much to learn.
I truly loved reading your post about photography!! Such an inspiration for me. I love taking pictures and I love to quilt but reading this made me really think about better ways of taking great pictures of my work. And I have the Adobe software on my computer but I am going to get the app for my phone to play with the presets. I too don’t like spending so much time on the editing software.
Thanks again for such great information!!
Marcia Escarcega
Great post, Julie! 🙂
Thanks for all the tips. Very good ideas. Now I can take better pictures of the bags I make and put on Facebook. Of course I still quilt, but not as much.
Thank you! These are great tips!
Great information. Thank you
Oh Julie … what an incredibly clear and helpful ‘tutorial’ … you inspire me in so many ways … thank-you … and you reach/help so many people this way … xo
Excellent tutorial! And beautiful quilts! Thank you for the tips.
Wow, Wow, Wow, wonderful information , thank you so much, always had trouble with the flash and Sun Light.
From now on will follow those steps for shooting my work.
Love it.
Thank you Julie! Quilter often start out thinking their quilting skills end with the quilt. Photography is one of the many extensions of quilting. Thanks for the tips and insights!
I love this Julie! I’ve been looking for something like this to share with my guild. They are photographically challenged! Do you know of any YouTubes with similar info?
Hi Gayle,
Yes, here are a few that I think are good: How to take better quilt photos and The Quilter’s Guild – Quilt Photography Tutorial
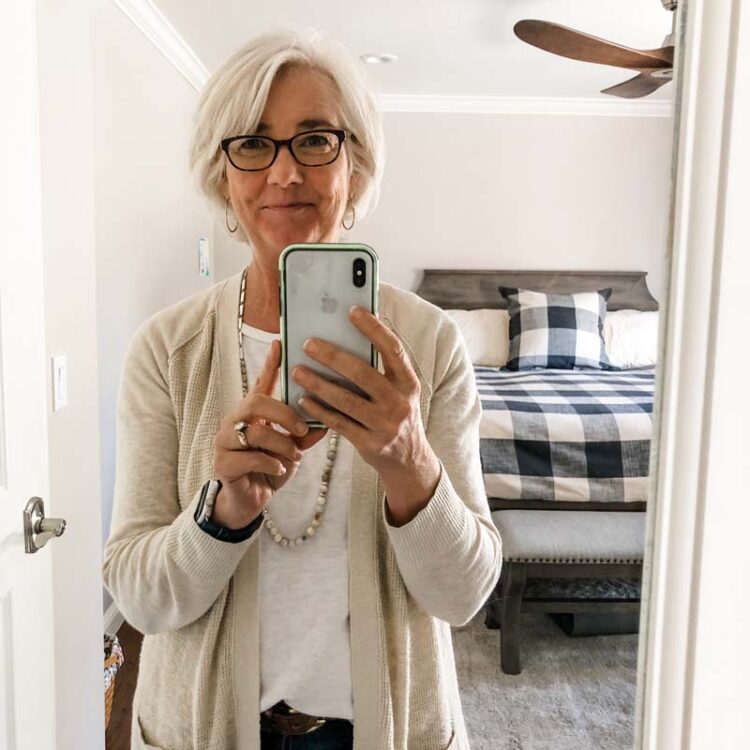
Thanks for the great tips, Julie. This blogging is pretty new to me and I would like my photos to look a little more professional…your ideas will definitely help. BTW…the photo of you at the beginning is great!
Thanks for sharing your tips. Your photos always look beautiful!
Hello Julie, thank you so much for the photography tips, they make an amazing difference. I don’t blog but I like to photograph my quilts on a bright under the shade of a tree. The photo programs you wrote about will be a BIG help. Thank you again, love your blog.