Patchwork ghost hand puppet tutorial
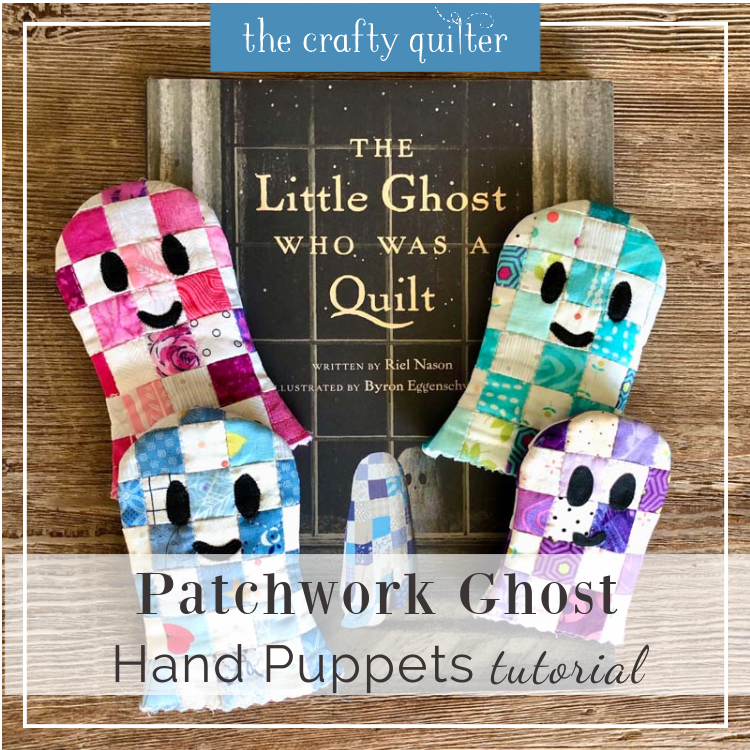
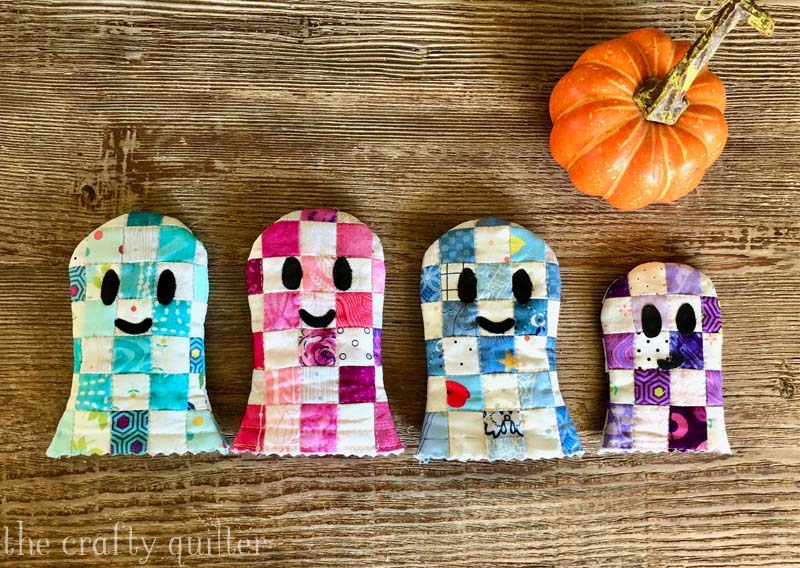
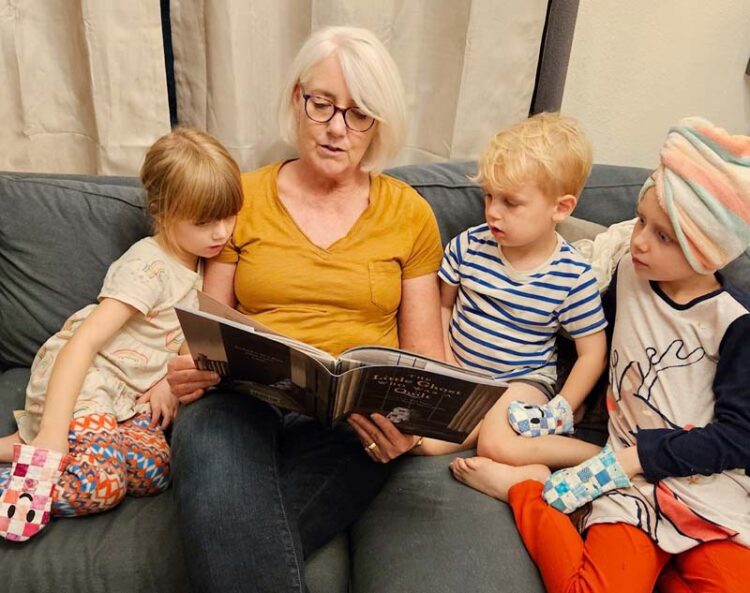
I’m excited to share my Patchwork Ghost Hand Puppet tutorial with you today! I made these cute little ghosts after seeing the children’s book, The Ghost Who Was A Quilt by Riel Nason. I thought the book and the hand puppets would make the perfect Halloween gift for our four grandchildren. I will say that I was right; they loved them!
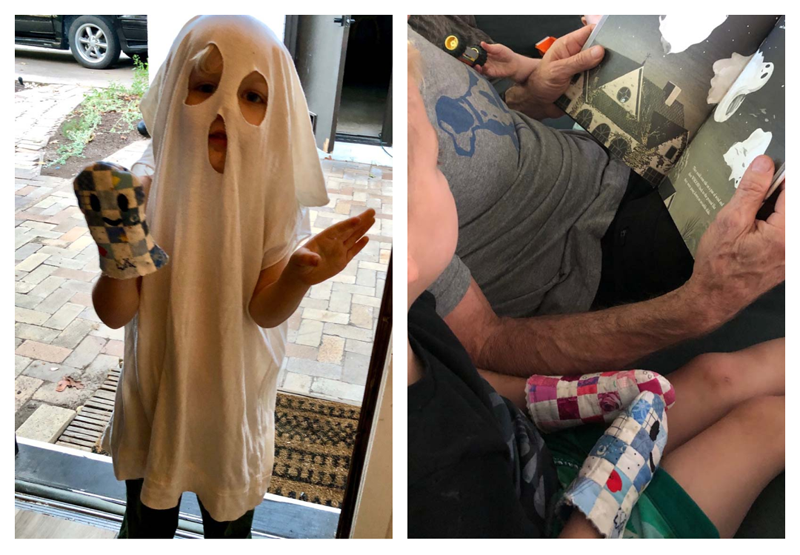
Ben, our 3-year-old grandson, especially loved his patchwork ghost hand puppet. He immediately found his ghost costume and was ready to play the part. He even slept with his little ghost the first night.
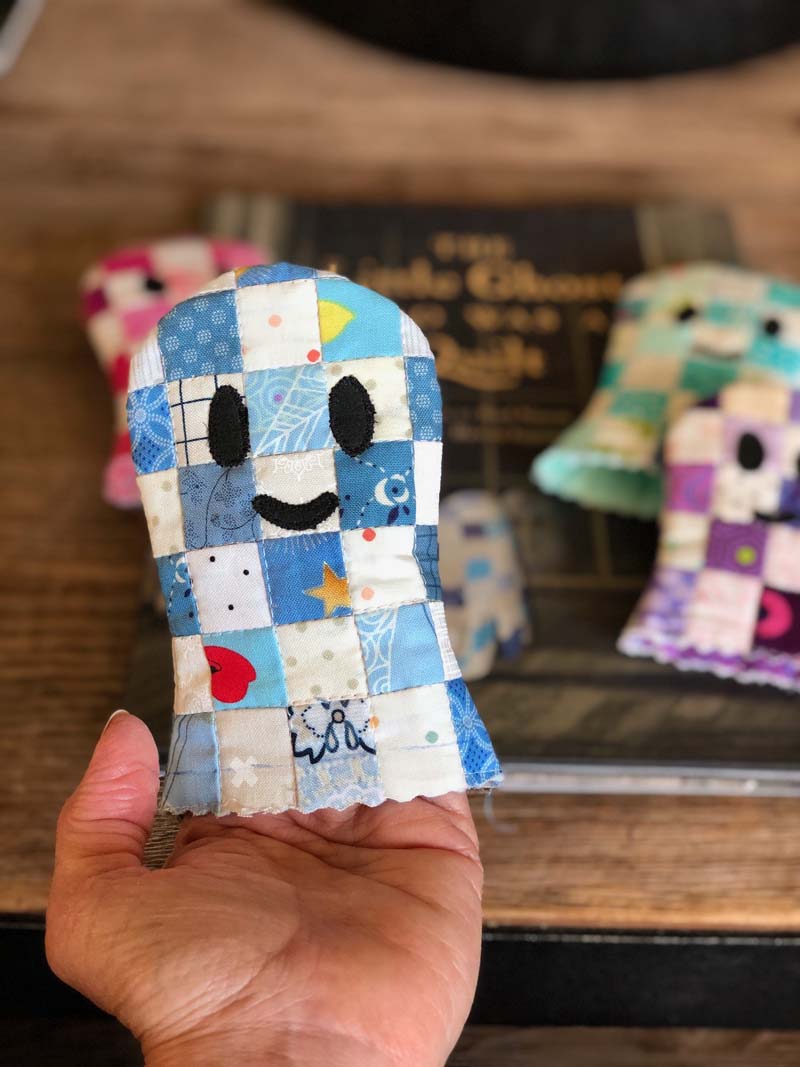
Patchwork Ghost Hand Puppet tutorial
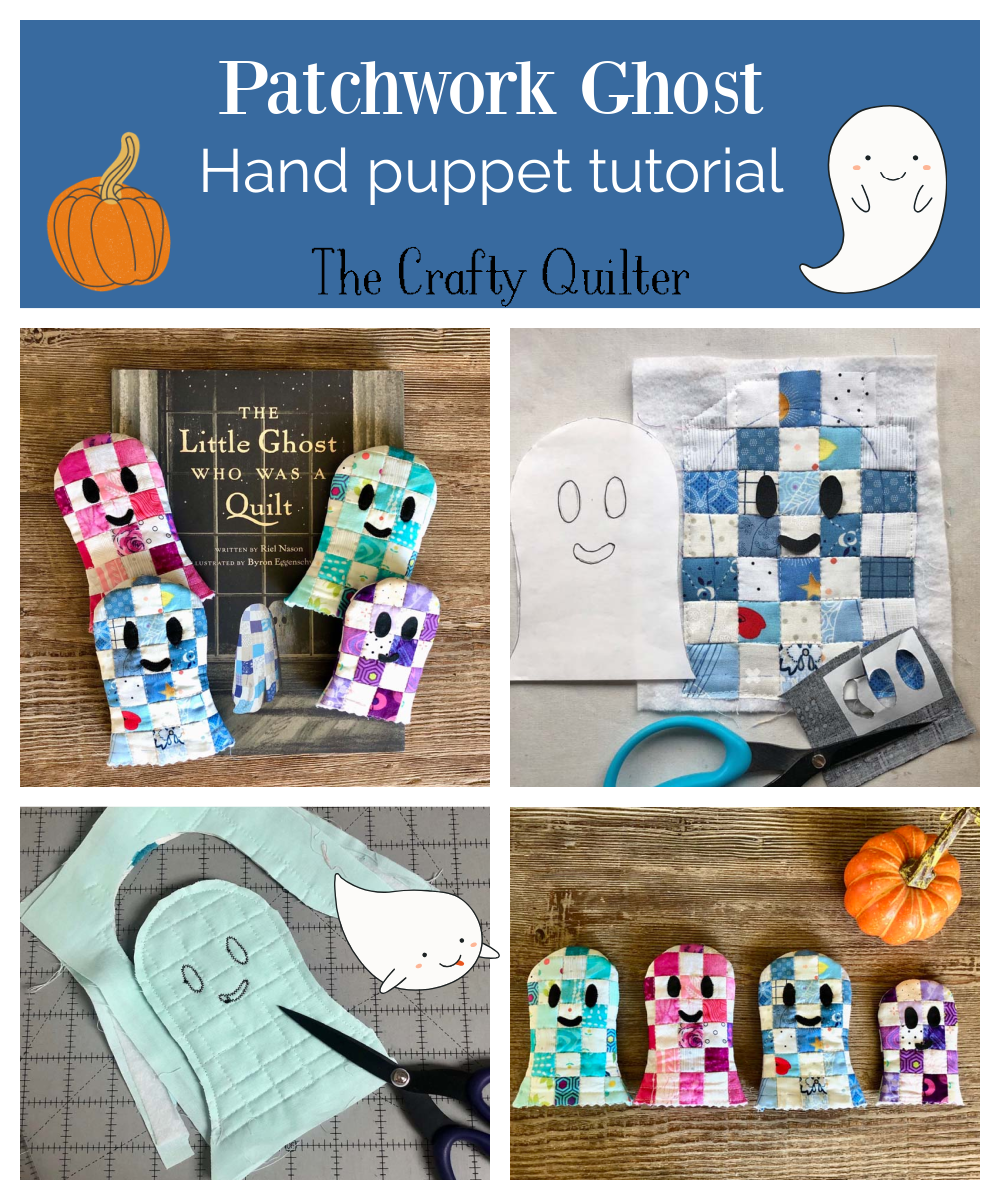
Let me show you how easy it is to make a patchwork ghost hand puppet. I made four of them and it took me half a day. Of course, I was taking photos along the way, playing with measurements and writing down notes, so it will probably be faster for you.
Note: All seams are 1/4″
Supplies for ONE ghost
- Small fabric scraps for the body and lining
- Thin batting or fusible fleece
- Fusible web product such as Heat ‘n Bond Lite
- Walking foot for quilting (optional)
- Pinking shears or rotary cutter with a pinking blade (optional)
- Freezer paper or regular paper for ghost template
Make ghost template
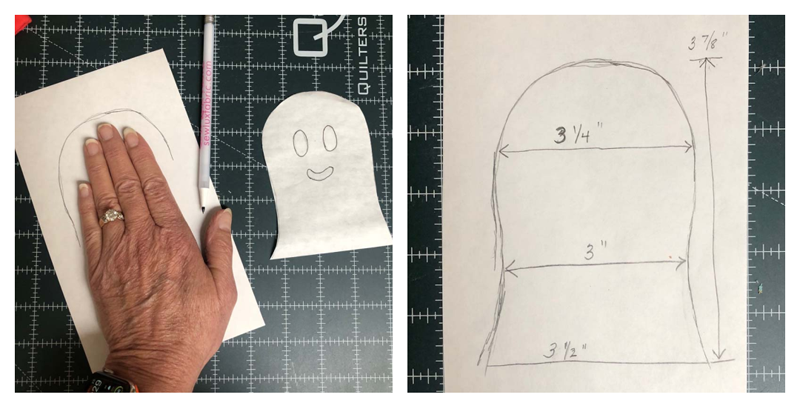
- Draw a ghost shape onto paper using your hand as a reference guide.
- Cut out the shape and draw in eyes and a mouth.
- The dimensions of my ghost template are shown below.
A note about sizing
Since our youngest grandchild is just a one-year-old, I made a smaller version for her. The other three ghost puppets were made with the dimensions above. They fit the hands of a 8, 5 and 3 year old just fine, but they were a little snug on the older girls. You might want to make a quick test-ghost (before you start) using a solid piece of fabric. Remember, the quilted ghost puppets will shrink up quite a bit from all of the layers and quilting.
Cutting instructions
- (32) 1 1/4″ dark squares (ghost body)
- (34) 1 1/4″ light squares (ghost body)
- (2) 6″ x 9″ rectangles (ghost lining)
- (2) 6″ x 9″ rectangles of batting or fusible fleece
Assembly instructions
- Arrange the squares as shown below (top left photo), alternating light and dark squares.
- Sew squares into rows, then sew rows together.
- You’ll be making two rectangle shapes – one for the front and one for the back.
- Layer the pieced top, batting and backing. Baste layers with a few pins.
- Quilt the layers using a walking foot and coordinating thread. I just stitched in the ditch.
- Lay the ghost template on the quilted top and trace around it with an erasable pen or pencil. This is your STITCHING line. I stitched directly on this line so that I had a guideline that would show on the front and the back. (This is necessary when you place the quilted front and back together so you can see where to stitch).
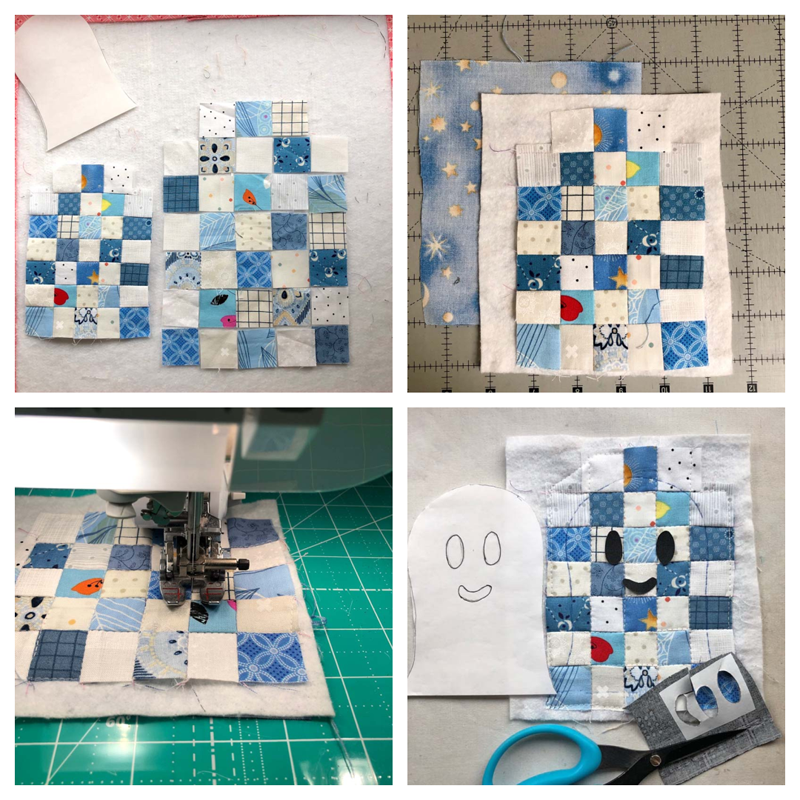
- Applique: Trace the eyes and mouth onto the paper side of the fusible product. Iron onto the wrong side of black fabric. Cut shapes out on the line and fuse them onto the quilted top.
- Stitch around the shapes with matching thread and a zig zag stitch.
- Place the front and back quilted layers right sides together and stitch on top of the previously stitched guidelines. Backstitch at the beginning and end.
- Clip curves and trim a very scant 1/4″ away from stitching.
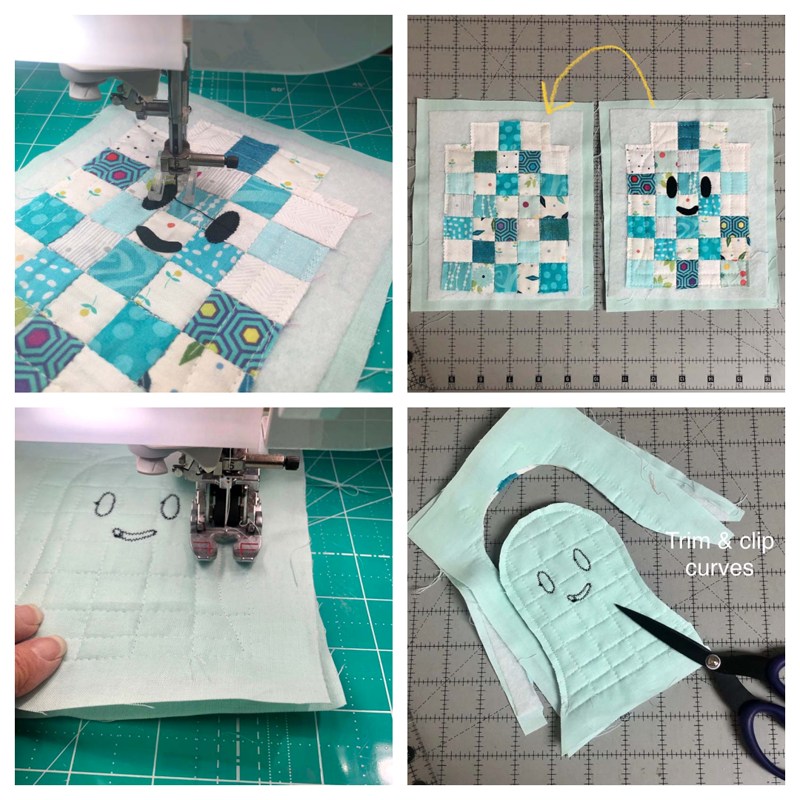
- Use pinking shears or a rotary cutter with a pinking blade to trim the bottom edge.
- Turn right side out and enjoy your new patchwork ghost hand puppet!
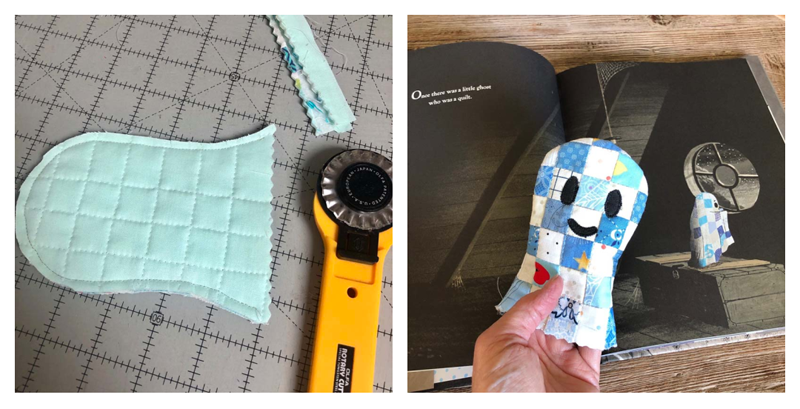
I hope you enjoyed this quick Halloween project. If you have a little person in your life, I’m sure they would love the gift of a quilted ghost hand puppet along with the book, The Ghost Who Was A Quilt. Nothing too spooky, but just right for preschoolers!



Adorable ghosts….adorable family!!
Great idea and super cute!
Thank you so much for sharing this darling idea. I just love that book! Bought it for my granddaughter several years ago. When I read it to her again recently, she said she want to be the little ghost who was a quilt for Halloween. I’ve made the quilt top and will cut holes for her eyes and add elastic so she can use her arms for trick or treating. Then, I’m going to rip out the hokey squares and replace so I can make a real quilt for her and her little brother. Those puppets are on my list for next year! Wishing you all the best!
Thank you for this idea. It made me laugh at once!
Thinking about my grandson, playing under a great white bedcover. I ‘ am going to make some. Greetings from Poppel in Belgium( Europe).
Marjolein
The ghost puppets are so cute and so your grand kids. Thanks for sharing. I have to save this for one day when I have grand kids. 🙂
Hi Julie,
I put this off again and again but finally whipped these up last night. Not as classy – used leftover squares to make a long strip, fusible fleece leftover strips judy fit, quilted strips, folded then in half right sided together and made ghosts. Didn’t worry at all about matching seams – kids are easy. Forgot the eyes on first one so some hand sewing tomorrow. Picking up the book, delivered to Amazon Fresh nearby here in Seattle.
Julie, Such a cute little Ghostie pattern. I know that your G-Kidlets had fabulous fun with their new little friends. The memories that you are creating are priceless. How I miss those special times with “Littles.”. My G-Kidlets are all grown up, attending college, engaged in jobs, and serving in the military, busy with life. Still special, but different kinds of memories.
Oh, my goodness!! That’s just way too cute. How adorable. I absolutely love them. Great job!!!
OH Julie! by looking at the face expressions of the 3 grands, says it all. GRANDMA IS THE BEST BOOK READER. Love it. Than U for the Ghost Pattern,