May Day Basket Wallhanging Tutorial Part 1
Instead of a tutorial on just turned edge applique using fusible interfacing, I will be presenting a tutorial on this May Day Basket Wallhanging in three parts. Part 1 (today!) will be supplies and piecing the basket blocks. Part 2 will focus on the applique technique used and part 3 will show you how to put it all together.
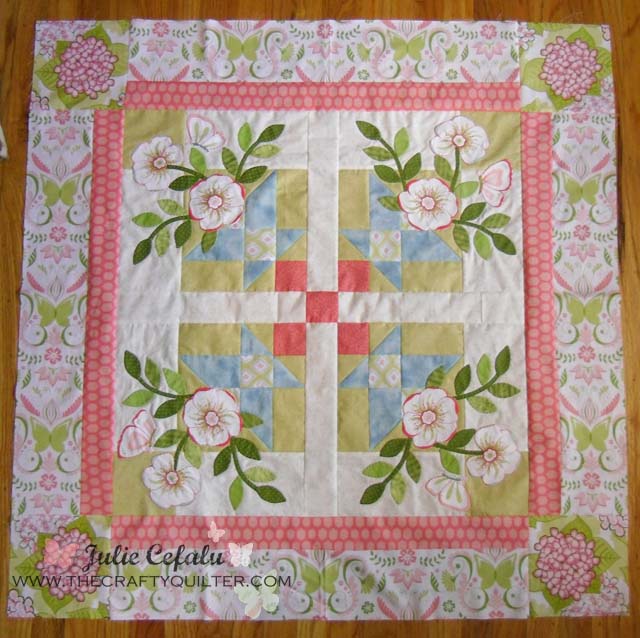
My inspiration for this adorable wallhanging came from Nancy Lee Murty and her book Sisterhood–A Quilting Tradition: 11 Heartwarming Projects to Piece & Applique. I recently posted about it here. I made this wallhanging straight from the book:
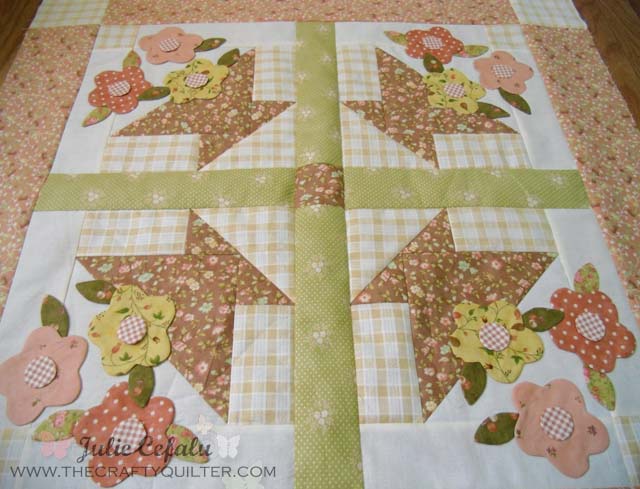
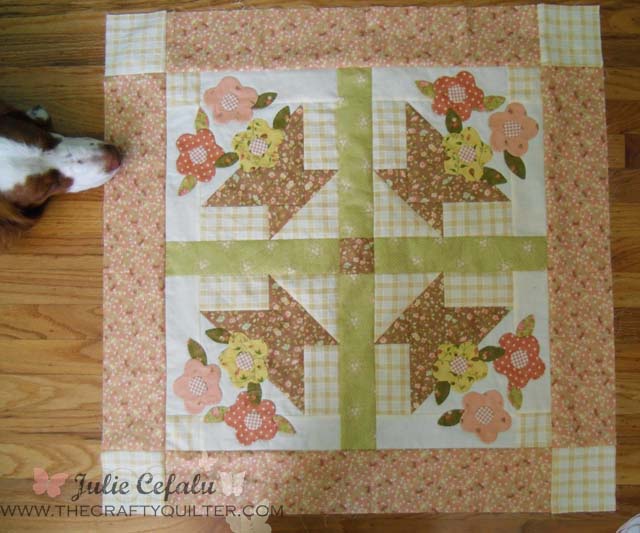
I am using my own basket block and applique for my version – The May Day Basket Wallhanging. The finished quilt size is 29″ square. So let’s get started!
Fabric Requirements:
- 1/4 yard cream fabric (basket background)
- 1/4 yard yellow check (basket background and corner squares)
- 1/4 yard brown floral (basket block and sashing corner stone)
- 1/8 yard green print (sashing)
- 1/2 yard peach floral (border)
- Assorted scraps for flowers and leaves (approx. 1/8 yd. each)
- 1/4 yard binding fabric
- 7/8 yard backing fabric
- 35″ square batting
Other:
- 1/2 yard lightweight fusible interfacing
- invisible monofilament thread
- drinking straw, optional
- ball point bodkin or small crochet hook, optional
- wooden pressing tool
Cutting Instructions:
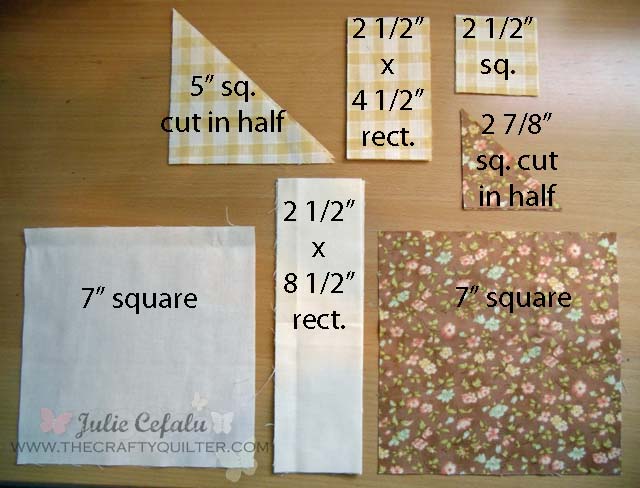
- Cream Fabric: Cut (1) 8 1/2″ strip. Subcut into (2) 7″ squares; (8) 2 1/2″ x 8 1/2″ rectangles.
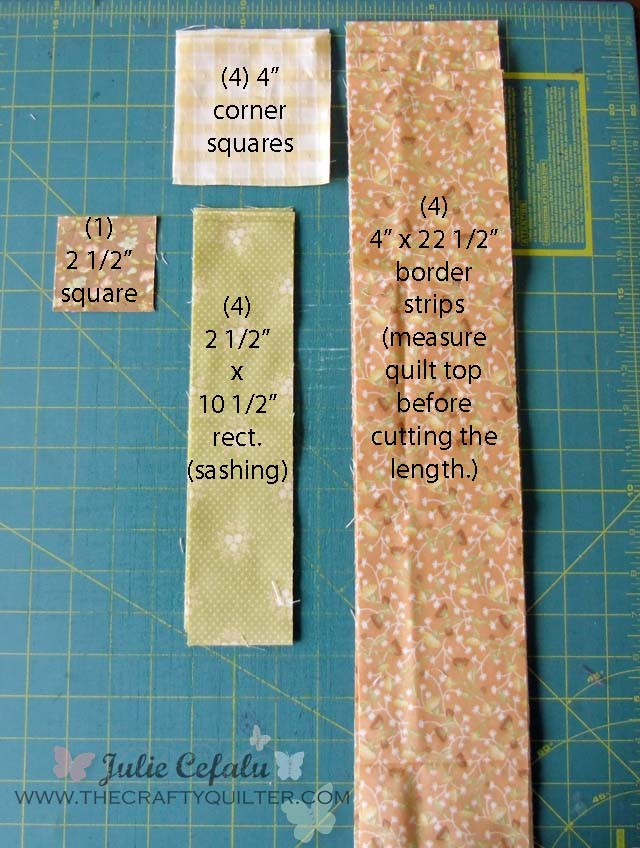
- Yellow Check: Cut (1) 5″ strip. Subcut into (2) 5″ squares, cut each in half on the diagonal, (6) 2 1/2″ x 4 1/2″ rectangles and (4) 4″ squares. Cut (1) 2 1/2″ strip. Subcut into (2) 2 1/2″ x 4 1/2″ rectangles and (4) 2 1/2″ squares.
- Brown Floral: Cut (1) 7″ strip. Subcut into (2) 7″ squares, (4) 2 7/8″ squares – cut in half on diagonal, and (1) 2 1/2″ square.
- Green Sashing: Cut (1) 2 1/2″ strip. Subcut into (4) 2 1/2″ x 10 1/2″ rectangles.
- Border Fabric: Cut (4) 4″ x WOF (width of fabric) strips; subcut into (4) 4″ x 22 1/2″ strips AFTER measuring quilt center. Adjust the length if necessary.
Here are the basket block pieces needed:
And here are the sashing and border pieces:
Piecing instructions for basket blocks:
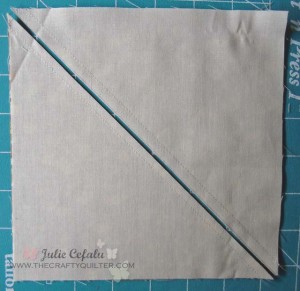
1. With 7″ squares of cream fabric, draw a diagonal line from corner to corner on each. Match each cream square with a 7″ square of brown floral. With right sides together, sew 1/4″ on each side of drawn line. Cut in half on marked line:
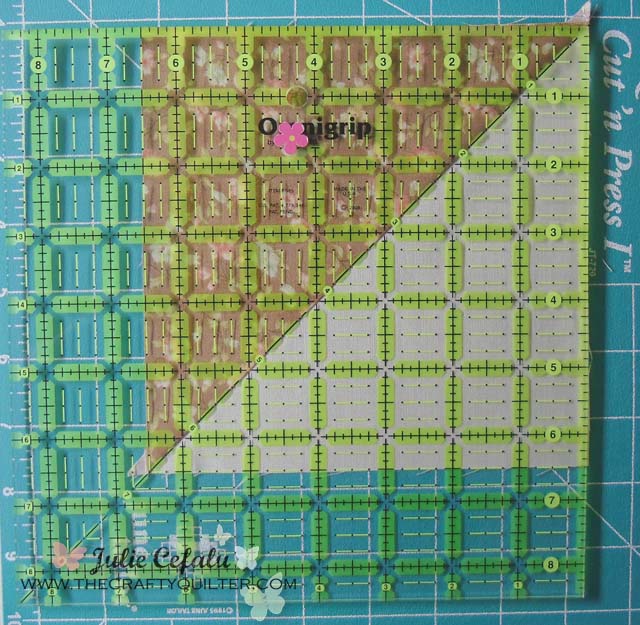
2. Press towards brown floral. Trim half square triangle (hst) to measure 6 1/2″ square:
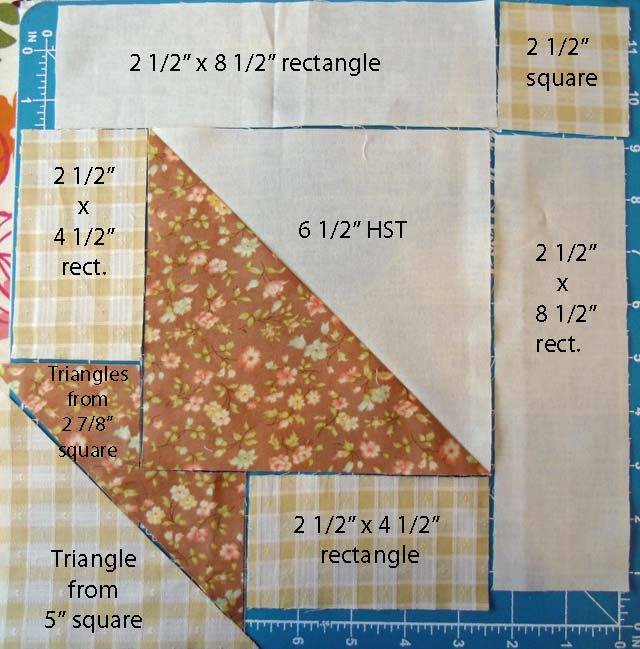
3. Lay out your pieces for the basket block as shown below:
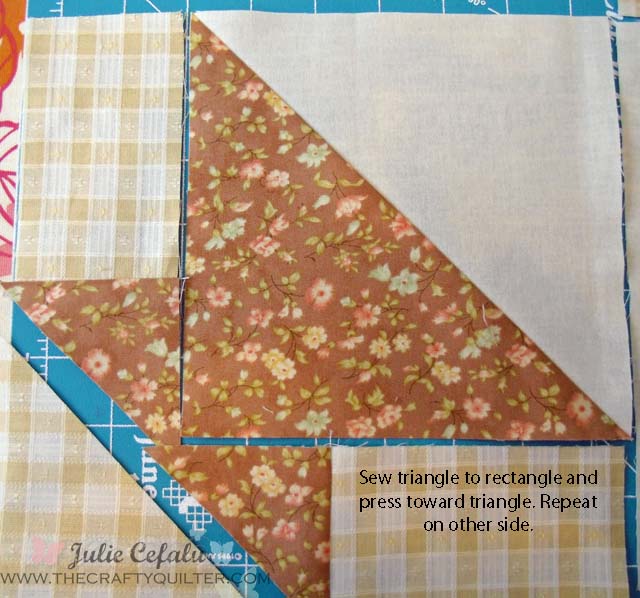
4. Sew the brown floral triangle to the yellow check rectangle and press towards the triangle. Repeat on adjacent side:
5. Sew triangle/rectangle unit to large half-square triangle. Press towards rectangle unit:
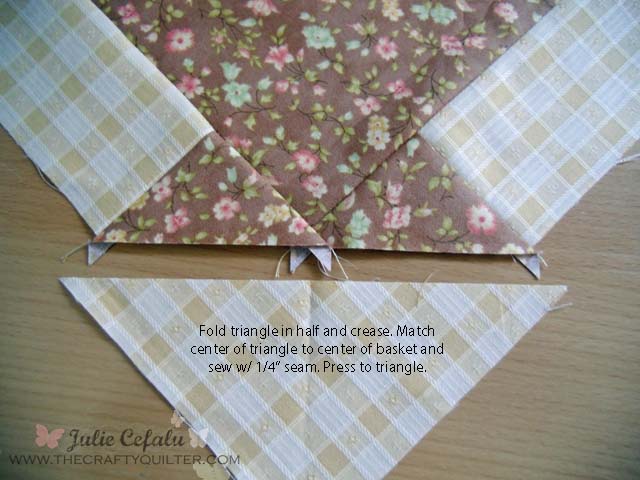
6. Find the center of yellow check triangle by folding in half and creasing. Match the center of triangle to the center seam on basket and stitch. Press towards triangle. (The triangle is over-sized and will need to be trimmed down):
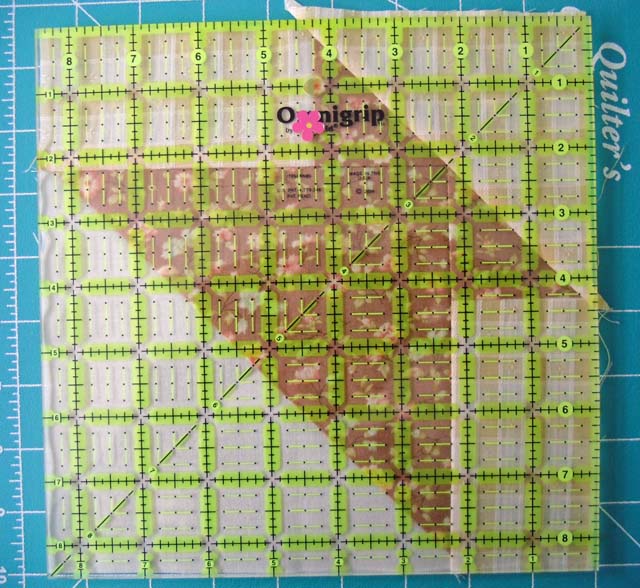
7. Trim the basket to measure 8 1/2″ square:
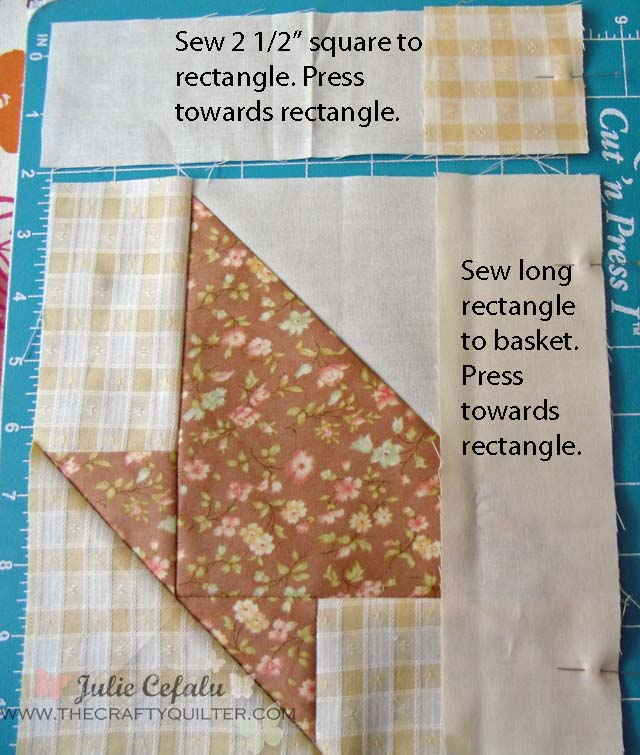
8. Attach cream basket borders (2 1/2″ x 8 1/2″ rectangles) and yellow check square as shown, pressing towards cream rectangles:
9. Matching seams, stitch upper basket border to basket block. Press towards border. The final basket should measure 10 1/2″ square:
You will need to make four basket blocks, so repeat the above steps four times!
Now you’re ready for the next lesson which will be the turned edge machine applique method using fusible interfacing.
Happy Quilting!





Hi Julie, I’m so sorry for your computer issues. Computers are wonderful until their not ! Thank you for this beautiful pattern. I love it!! Hoping you have better days ahead!
I am loving this pattern. Its is absolutely adorable. I love your fabrics. It is dreamy.
Olá. Achei muito lindo seu projeto e sua decisão de compartilhá-lo conosco. Obrigada pela gentileza.
Thank you for beautiful pattern..I love it…I also got part 2.
Thank you for the May Day Basket Wallhanging tutorial, It was very easy to follow, enjoy your site. Thank you:))
Hi. I am from Panama. Yor tutorial ha been very helpful for me. I will like to make a basket flowers aplique for a full bed. Could you please send me some pattern if possible. I teally appreciate it.
REGARDS.
Maribel
OMG, this is just adorable!!! I just stumbled upon your site from Sew Many Ways. I am definitely making this. LOVE IT!! Thank you for sharing it.
Adorable! Why did I go back to work just when you started your blog? Thanks for the fun pattern. 🙂