Fabric covered bead necklace tutorial
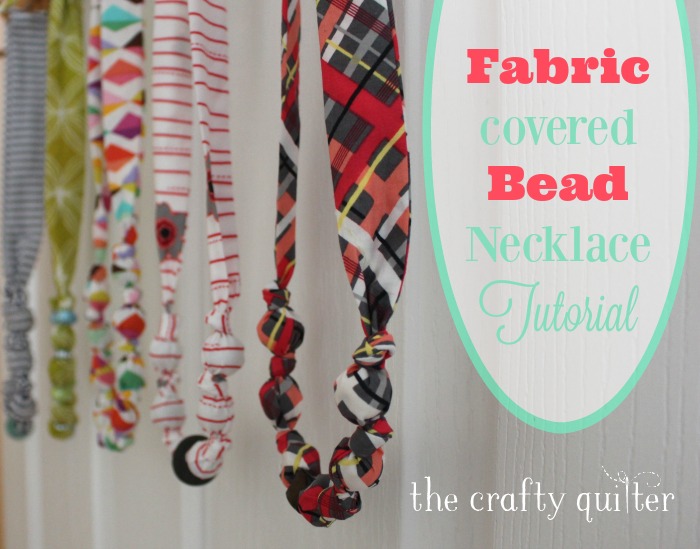
I’ve found a new way to bring fabric and fashion together with a fabric covered bead necklace. I’m sure you’ll love them, too!
- They are so easy to make and really versatile.
- Mother’s Day is coming up, and this would make a perfect gift for someone special.
- This could also be a kid-friendly craft project.
- Make gifts for any occasion all year long!
- Use up your stash. And then buy some more!
- Great as a teething necklace for new moms and their babies.
- I have a free tutorial that shows you how….
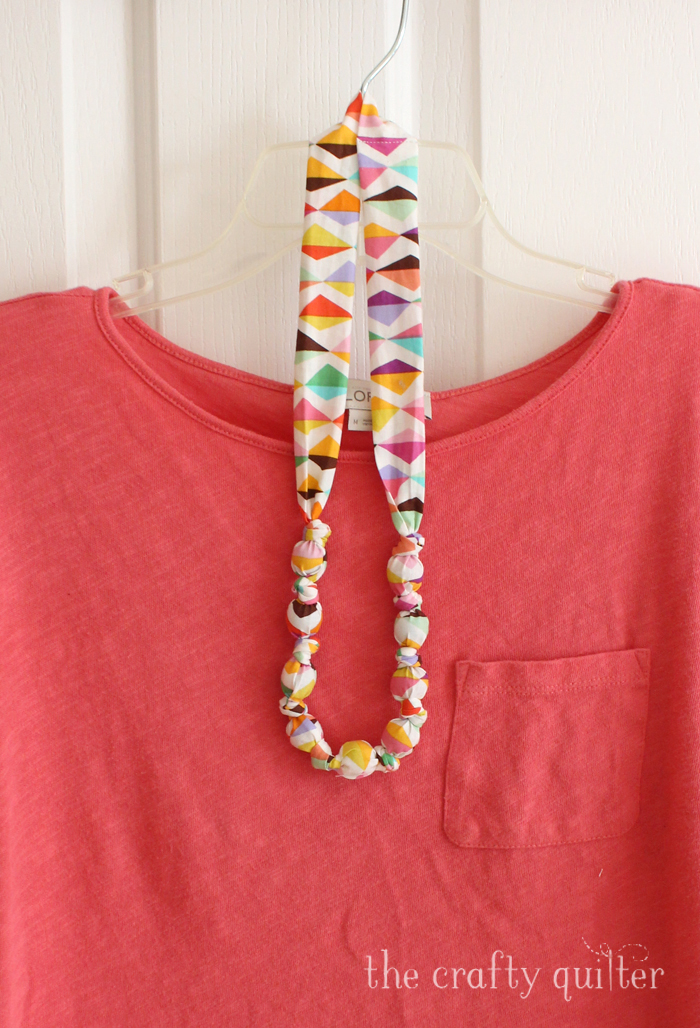
Each necklace is unique and you can make them really simple or get a little fancy with some pretty beads. The very simplest one is made with marbles and fabric only. Marbles are inexpensive and perfect for these necklaces. And you don’t feel bad about covering them up!
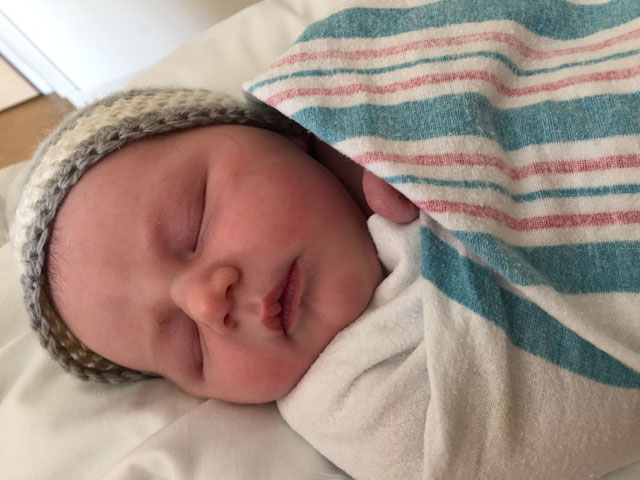
I’ve learned these make great teething necklaces, too. My granddaughter, Amelia, thinks it’s wonderful when Mommy wears her fabric bead necklace because she can safely chew on it as much as she wants (as long as Mommy is watching), and it’s washable. Doesn’t she make the cutest necklace model?
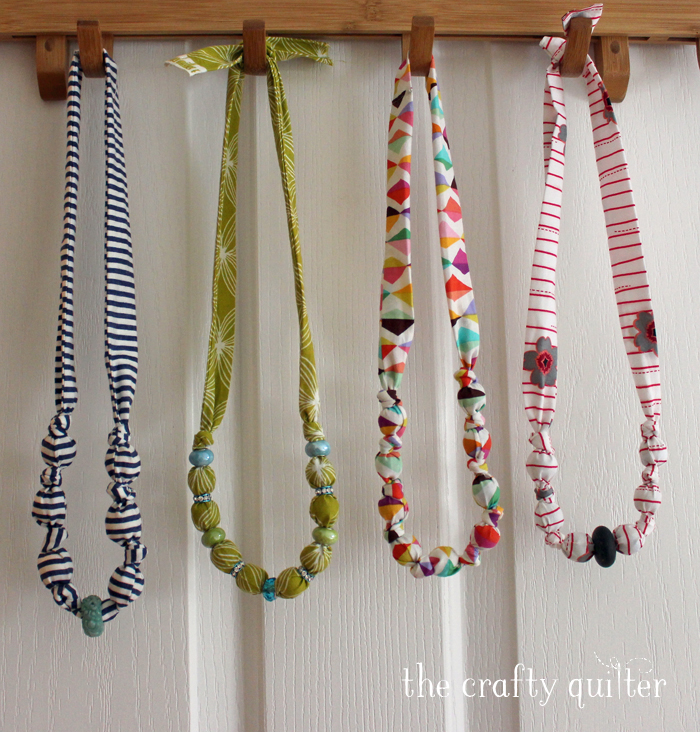
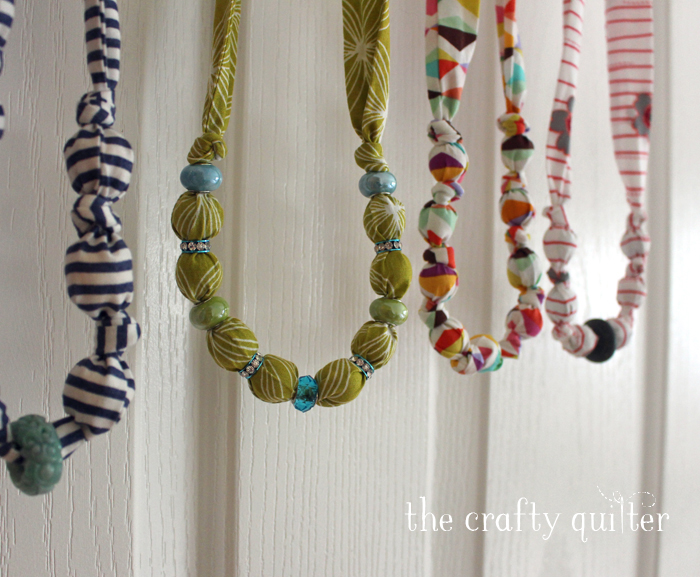
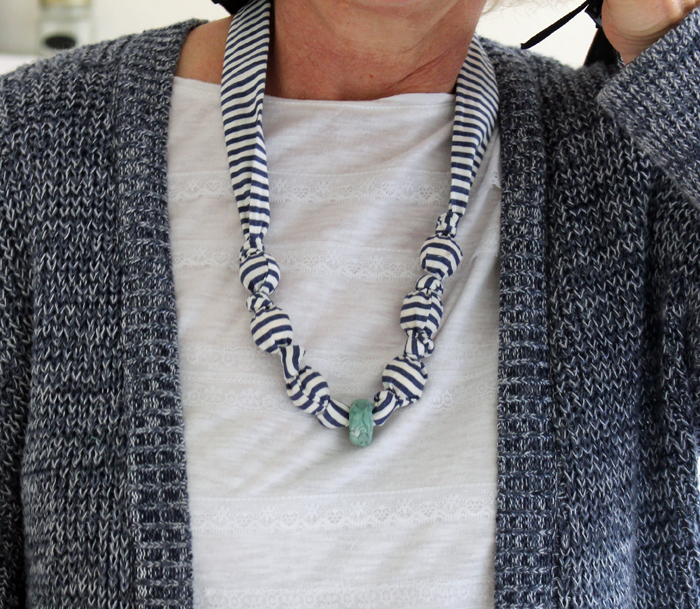
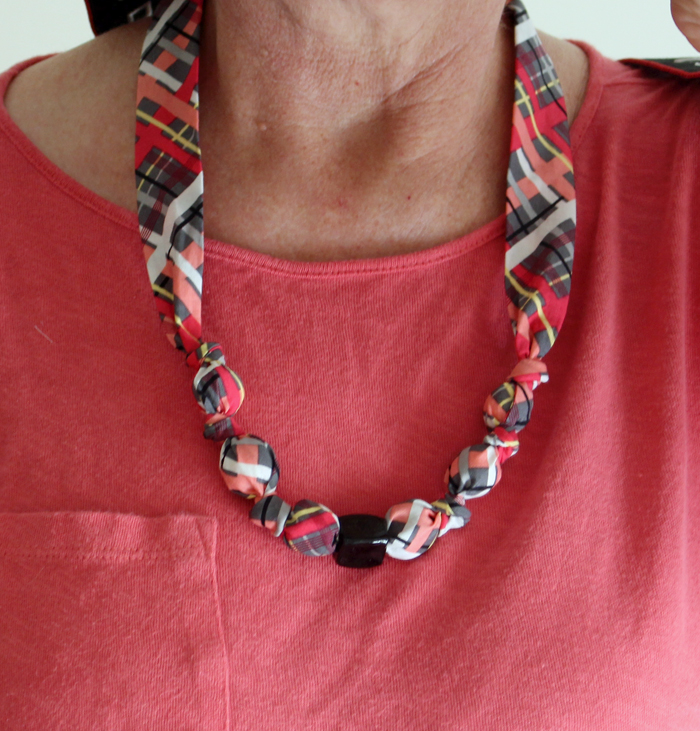
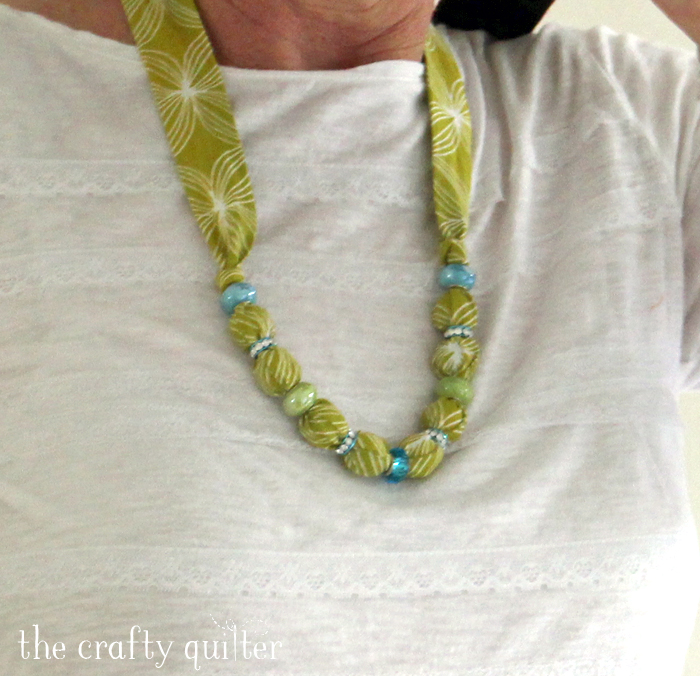
You can dress these necklaces up with one center bead (below left and far right) or add a few more beads and they act as spacers like the green necklace below. You just need to make sure the beads have a large enough opening for the fabric to fit through.
Are you ready to give it a try? Here’s what you need to make a necklace (or two)….
Supplies:
- Fabric that is 42-44″ wide. 1/4 yard will make 3 necklaces.
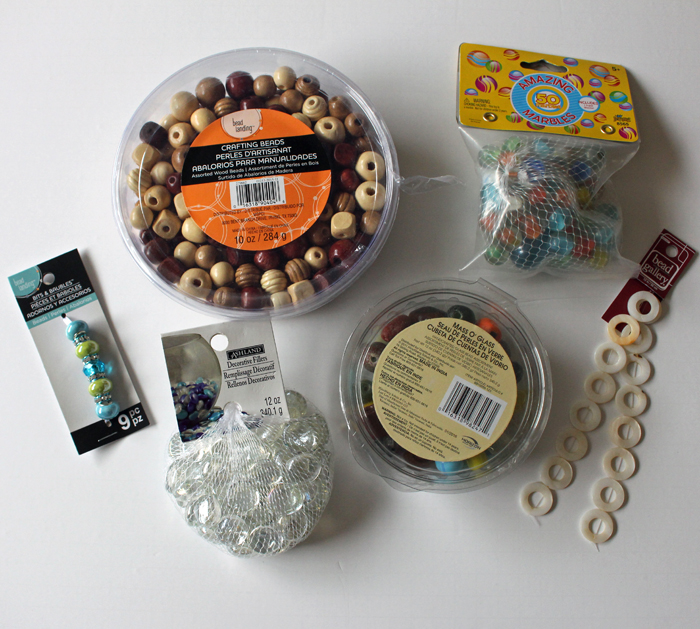
- Marbles, the good old fashioned kind. You need a minimum of 5 per necklace. You can buy a bag of 50 marbles for $3 at Rite Aid. You can probably get a better deal at the dollar store.
- Wooden beads (optional). These can be used in place of marbles for a lighter necklace.
- Decorative beads (optional). Look for beads with a large hole in the middle.
- Tube turner or Ball Point Bodkin
You can use wooden beads instead of marbles and it will make a lighter necklace. The tub of beads I bought has an assortment of sizes, so you may have to cut your strips to fit a specific size. I also bought some decorative vase fillers (the clear beads) that would work, but I haven’t tried them yet.
Steps:
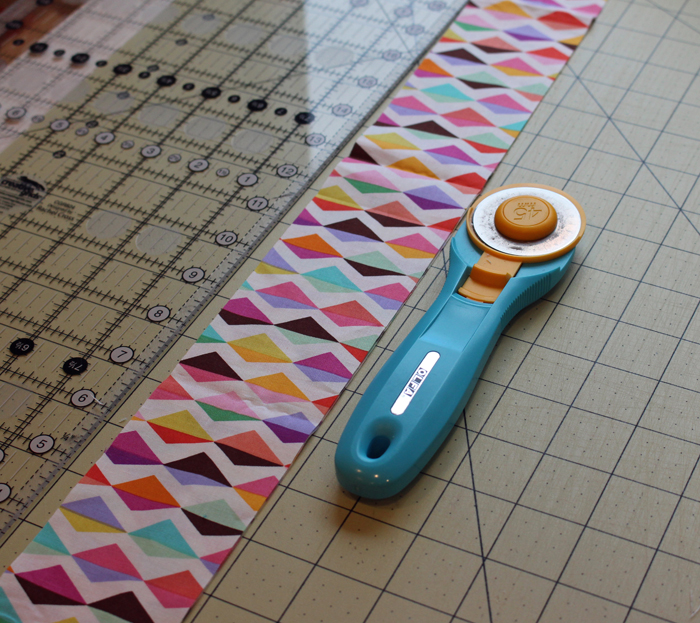
Cut one strip of fabric for each necklace. If you’re using a standard marble, the width should be 2 1/2″ wide by 42-44″ (width of fabric). Do NOT trim the selvages.
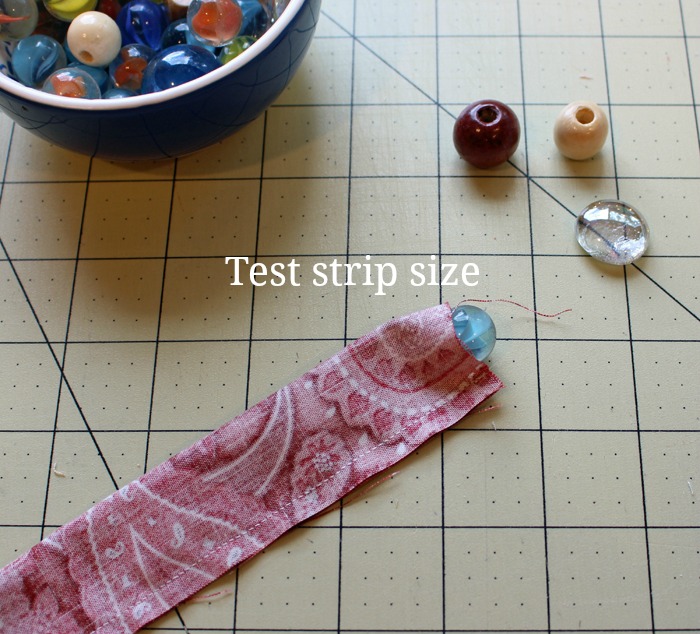
You might want to test the size of your strip first by cutting a shorter piece, such as 6″ x 2 1/2″ and stitch it along the length with a full 1/4″ seam. The marble (or bead) should just fit into the tube. At this point, I don’t bother turning it right side out, but take into consideration that there will be extra seam allowance inside of the tube. Make adjustments to your seam allowance or the width of your strip if necessary.
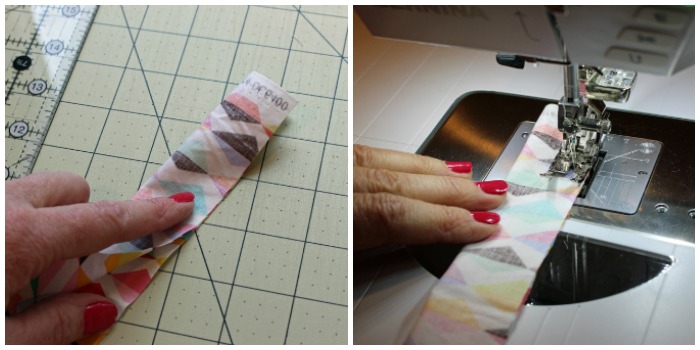
Fold the strip in half along the length, right sides together. Set your stitch length to 1.8 (about). Stitch with a 1/4″ seam allowance, creating a tube. I use a full 1/4″ seam rather than a scant 1/4″ seam for this. Backstitch at the beginning and end.
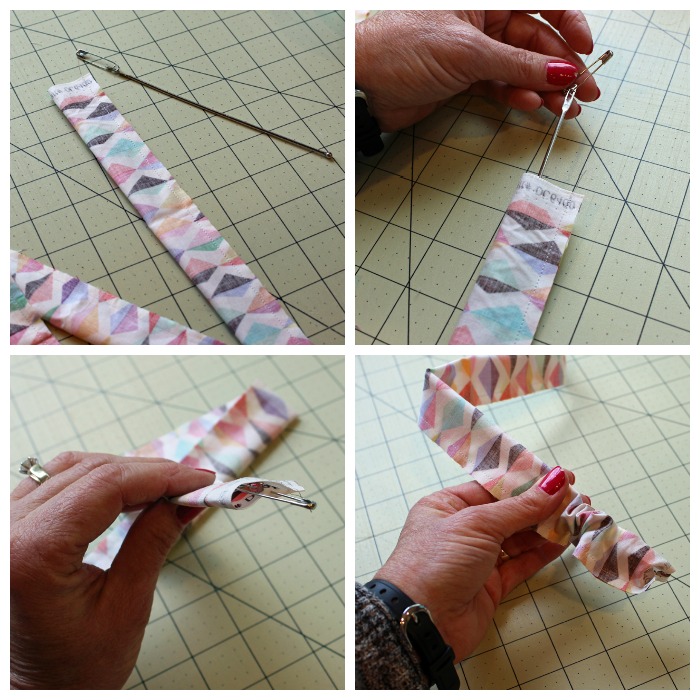
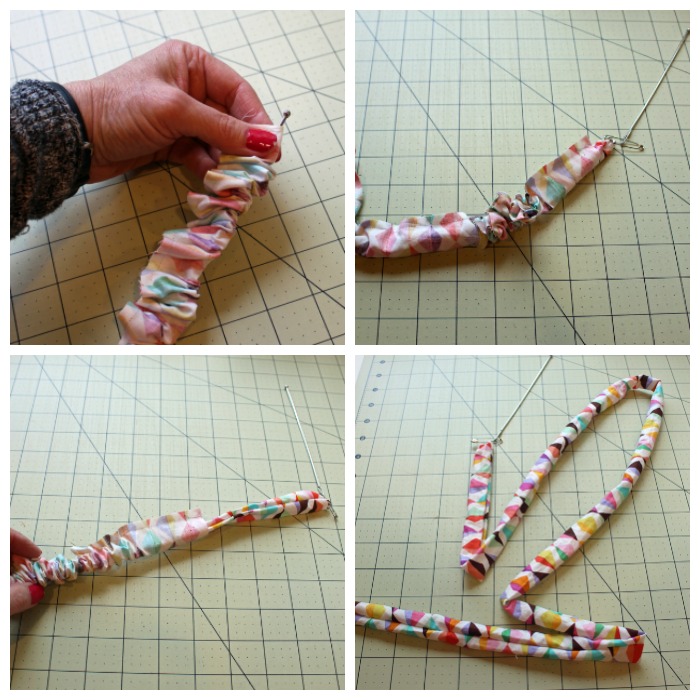
Turn the tube right side out. There are several ways to do this. You can do it by hand, with a tube turner, or use a Ball Point Bodkin (odd name, right?) I’m using the Ball Point Bodkin for this tutorial.
I attach a safety pin into the slot at one end of the tool and insert the rounded end into the tube. Securely attach the safety pin to the selvage. Slide the rounded end of the tool down into the tube, gathering the fabric as you go. Eventually the ball-end of the tool will come through the other end of the tube, pulling the fabric right side out as you go along.
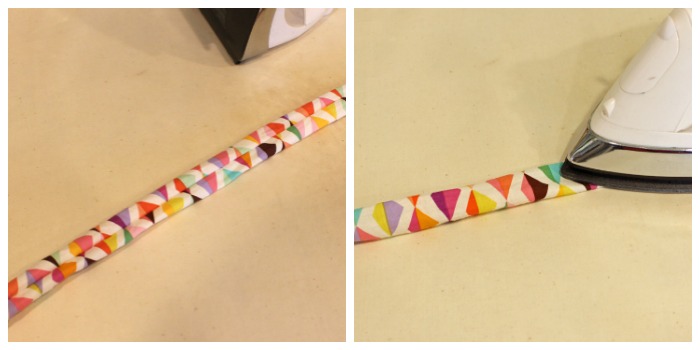
Once the tube is completely turned right side out, give it a press. I like to lightly press the seam open and then move the seam to the edge and press it completely flat.
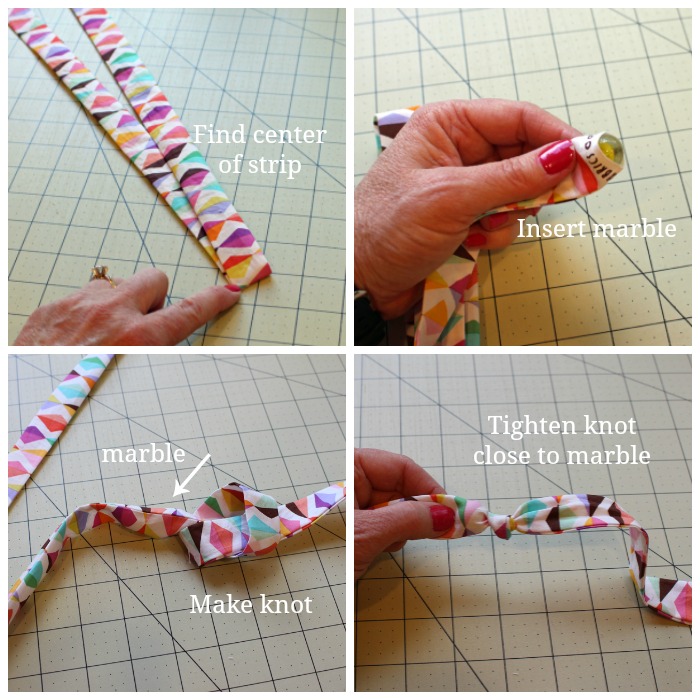
Find the center of the strip and give it a crease or mark it with a pin. Insert a marble in one end of the tube and position it at the marked center. (You could also make a knot to the left of center first and then insert the marble). Tie a knot on both sides of the marble, getting the knot as close to the marble as possible.
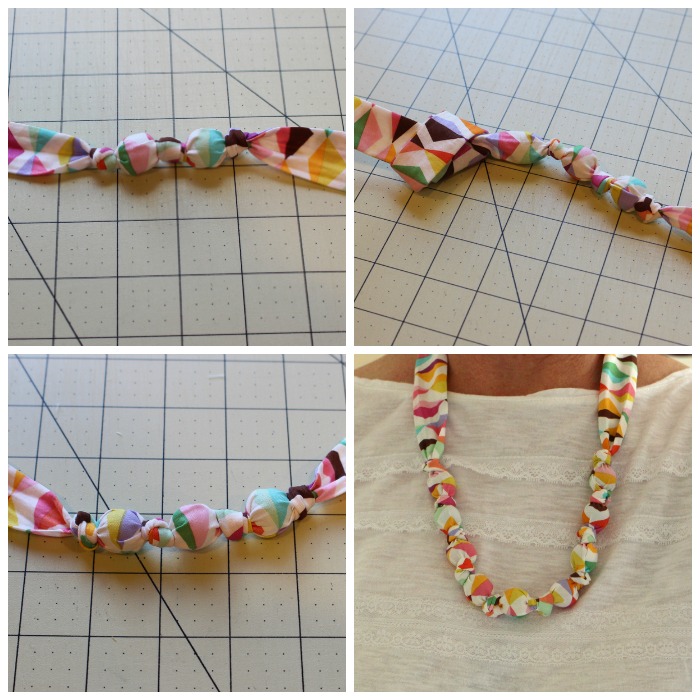
Repeat the above steps, adding marbles to each side of the center marble until you have the desired number. Remember to create a knot between each marble and after the last marble.
Finish the necklace loop by tying a knot at the ends or by stitching the ends closed. If you tie a knot, it becomes an adjustable length necklace simply by re-tying it. I leave the selvages in tact – they’re a natural fray preventative.
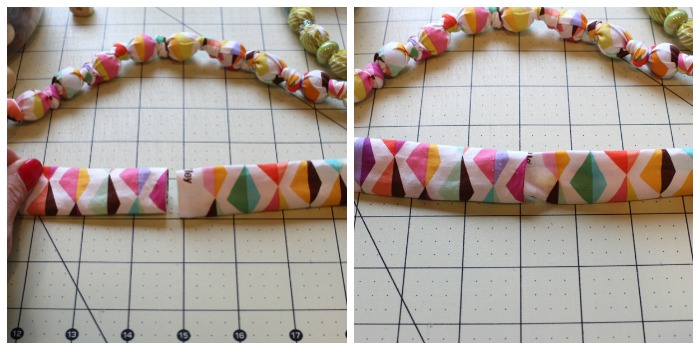
If you don’t care for the knot or if you don’t have enough length to make a knot, then you can sew the ends together. I slipped one end into the other and top-stitched it down.
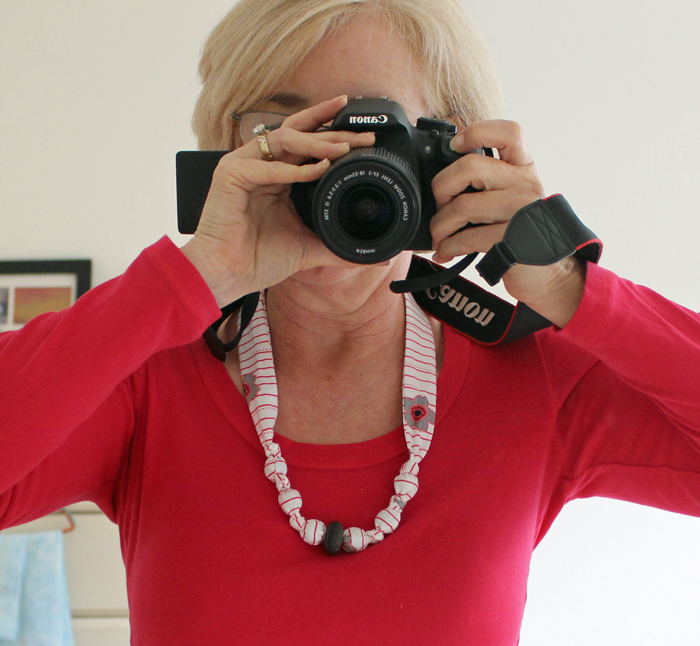
That’s it! Your necklace is ready to go. If you want to add some sophistication to the necklace, then find some pretty beads and get creative! Here’s a few that I’ve made so far.
Pardon the selfies. It’s an empty nest and I’m a tax widow (married to a tax man who I never see until April 15 18). If only Cooper would sit still long enough; he’s a much cuter model than me!
I went to Michaels yesterday, and they have all of their beads 40-50% off this week. It’s a great time to stock up on pretty beads for all of the pretty necklaces you’ll be making throughout the year. (I have no affiliation with Michaels).
I think batik fabric would work really well for this project, too. I’m beginning to feel like I need a fabric covered bead necklace to go with every outfit! Perhaps I’d better stop before I begin sounding (and looking) like a crazy fabric lady. Too late? I thought so.
Linking up with Sew Fresh Quilts, Quilt Story, Patchwork Times, Free Motion by the River, Quilt Fabrication, Blossom Heart Quilts, Live a Colorful Life, My Quilt Infatuation, Funtastic Friday and Crazy Mom Quilts.
Have a great week and thanks for spending some time with me today!




I love these, Made some years ago covering wooden beads with fabric using glue and satin cord to string on. Just started three of them – had a hard time finding beads with large enough holes, but found some pretty metal ones. Fun project and they’ll match my ice dyed tees.
I liked the simple way you have described the process. Browsed through many tutorials, but will follow yours.
I know about these for years but seeing your I’ll just have to make me and friends some. these are really nice. Glad I found your site.
Thank You and God Bless.
The necklaces are fun and pretty BUT PLEASE be careful about giving it to baby to chew on. you might consider a velcro tear away closure or no closure at all since it will be around the neck and nothing inside that could choke a child. Big double knots would work and be safer than marbles etc. Lets prevent tragedy.
Something fun and different! Thanks for the tute. Just might have to give it a try when I get back. Love your necklace model. I can’t believe how big she is already! XO
Terrific simple way to add color to an outfit! Thanks for the tut
Those are beautiful Julie!! I agree that batiks would be so neat….I think I’ll be shopping for some beads. Thanks for the tutorial!
How clever, and how sweet. I’ve never seen this before.
How clever. And in a short time you can have an accessory to go with your outfit. Thanks for sharing.
Loved this post! Had to laugh, though, because I’m pretty sure I made and wore some of these necklaces back in the ’80s. Yep, I’m that old….
The green one is my favorite!! Very cute idea. It was good to see you the other day. 🙂
The necklaces are beautiful! I particularly like the ones with the fabric beads and other beads together. It would be neat for people who sew clothing to be able to match their necklace to their clothing. Neat idea!
Great idea and beautiful baby girl! I love these necklaces.
These are so cute! I already have the fabric and marbles, I need to make one of these this weekend!
Great tutorial! Love these necklaces. Another way to play with my fabric stash and come up with a gift! Thanks!
This is so cute, thanks for showing it to us. You said “washable”. Hand washable if marbles, I guess but not if using wood beads. I have some large beads I just didn’t want to toss out and now I know what to do with them. Thank you. Do you mind if my guild makes them for sale at our Boutique sale? I will not do that if you say no. Such a great idea!
Thanks so much for this tute. I have two of these necklaces that are quite a few years old ( bought at craft fairs, I think). Mine have soft inserts (not marbles for sure). Maybe little pompom balls. Anyway this looks like fun.
I like what you’ve done to the green one. Last year I started buying wooden beads with large holes from our local charity/thrift shops and they will be just right for this project. I hope to give it a try one day soon – thanks for the tut 🙂
Love these! We made them back in the 80’s and I had forgotten about them. So cute.
Hi Julie, Oh my gosh are these necklaces ever pretty, cute and just adorable!!!!! I have a small group of women that I have meet once a month and I am always looking for something for us to do as a group project and this is the thing! I am so excited to share you and your neat necklaces with them. I just know they will love it. So thank you once again for your creativity. By the way, the model looks fabulous in the necklaces…….Lots of love and hugs to you. Claudia
Thanks for sharing this fun tutorial. I can see getting some ladies and young teens together and having a fun project.
When sewing the strip into a tube, you say “wrong sides together”—-shouldn’t it say “RIGHT” sides together since that is what you are showing
Thanks, Dorothy. You’re right and I’ve corrected it.