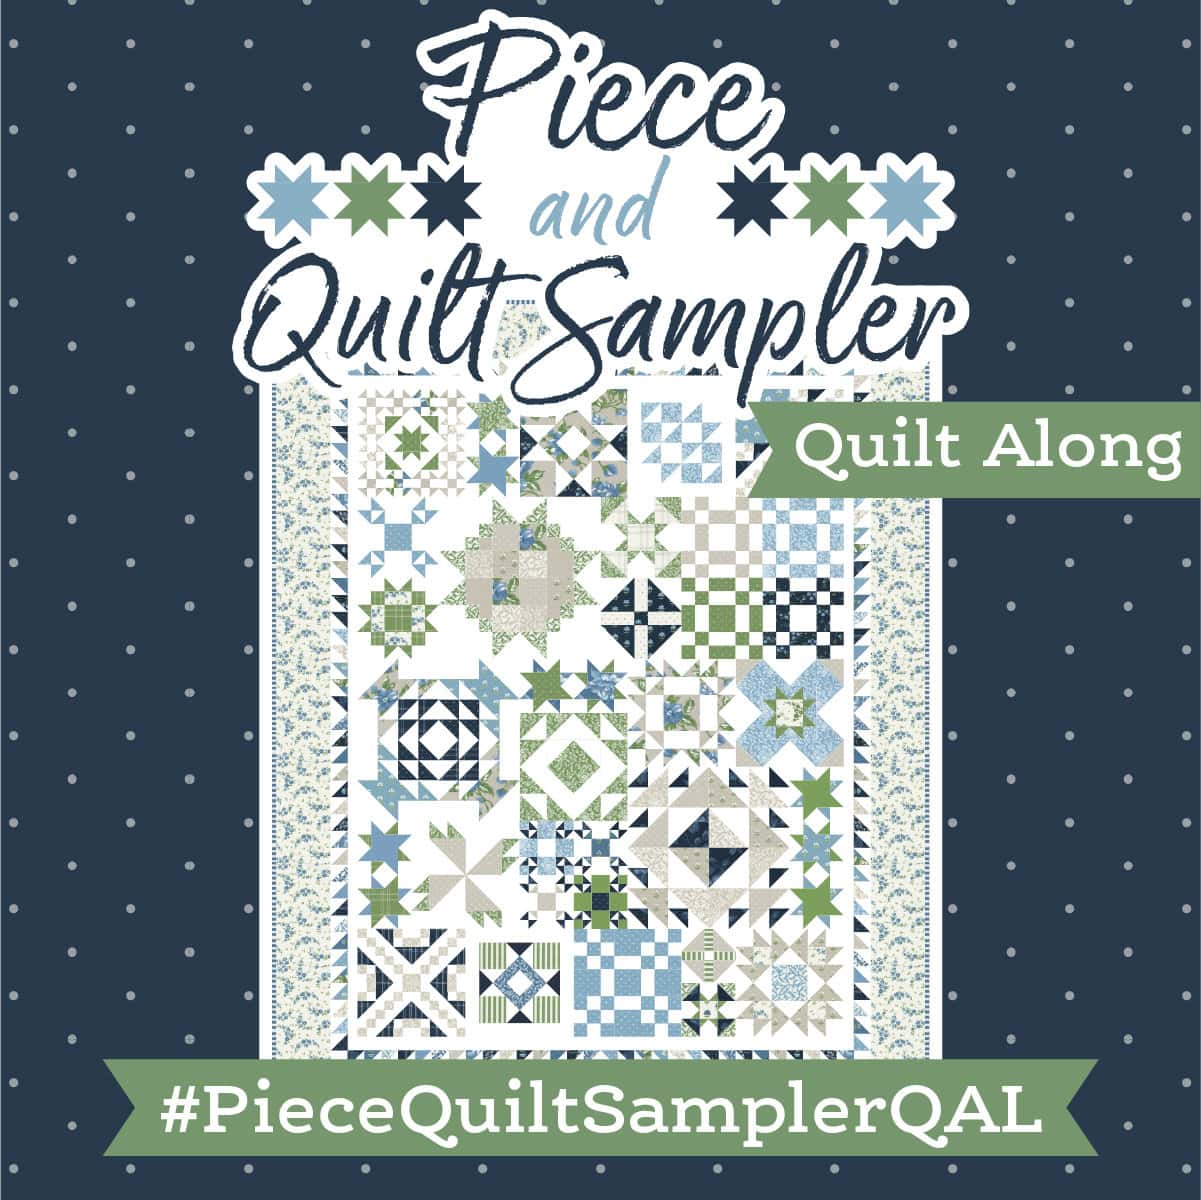
Piece & Quilt Sampler Tips for January
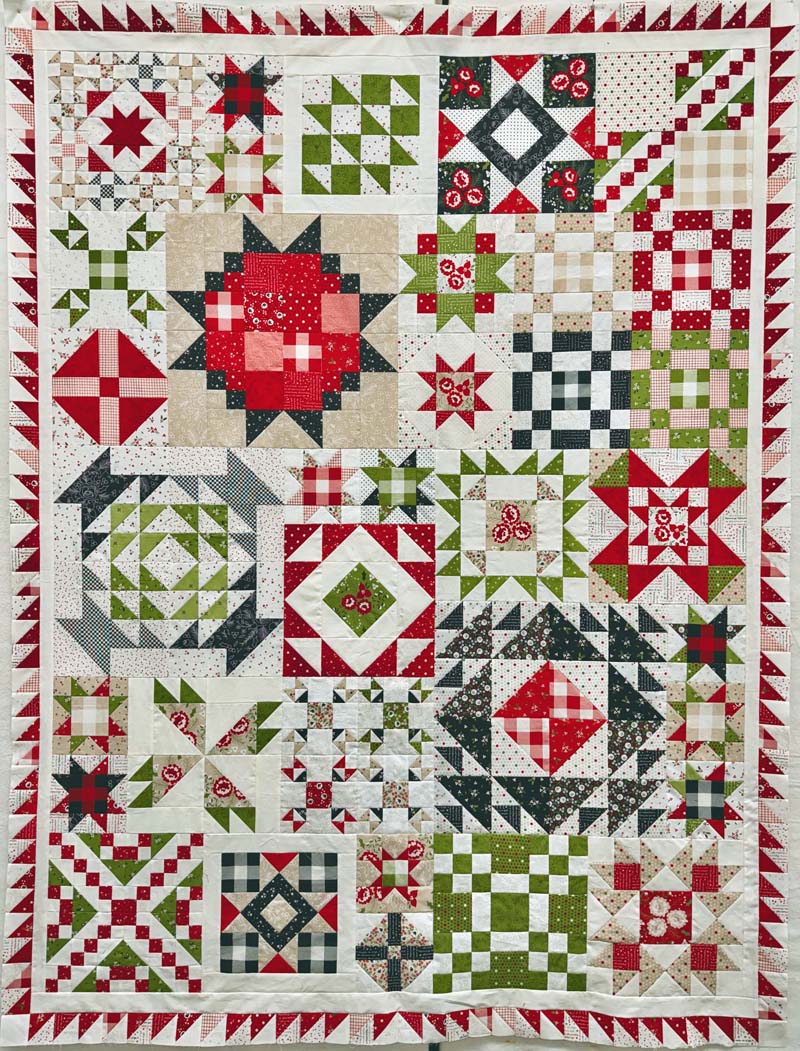
It’s time to share my Piece & Quilt Sampler Tips for January! We are heading into the home stretch with this quilt along, and this month we’re tackling the sawtooth border. If you’re just tuning in, all of the details can be found at Fat Quarter Shop. We’re using the book, Celebrate with Quilts, by Susan Ache and Lissa Alexander. Even if you’re not participating, you’ll find some useful tips in today’s blog post.
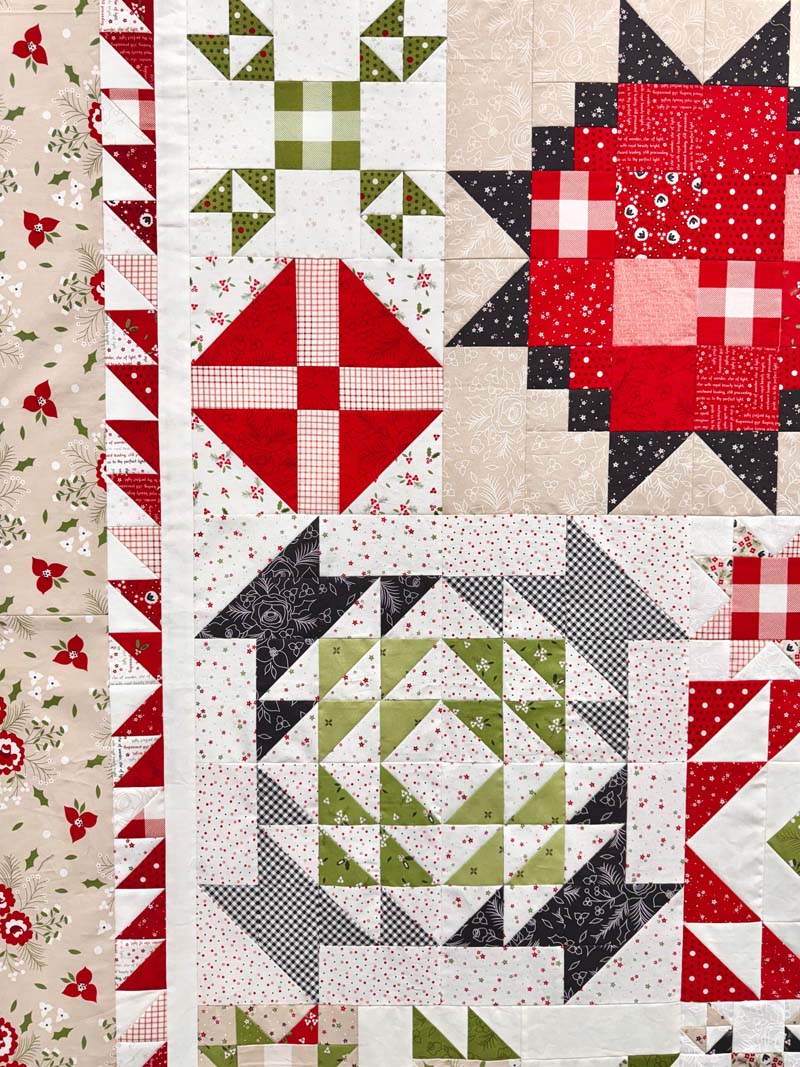
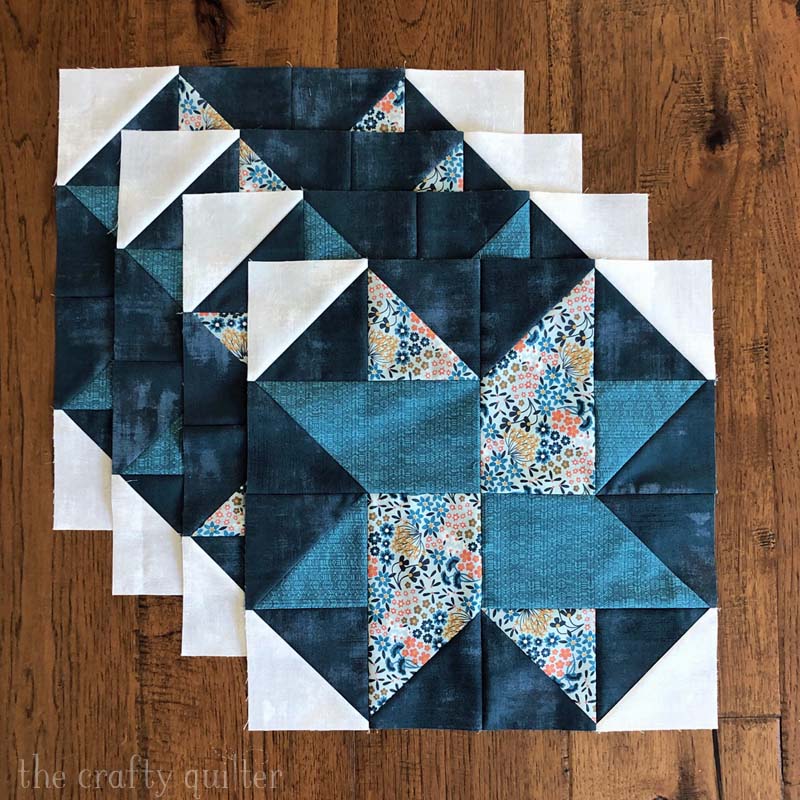
The fabric I’m using for my quilt is from the Starberry collection by Corey Yoder for Moda Fabrics. It’s a beautiful range of Christmas inspired colors that I absolutely love!
Border Tips for January
NOTE: I won’t be giving specific measurements or cutting instructions. You need to purchase the book to get the full instructions if you want to follow along.
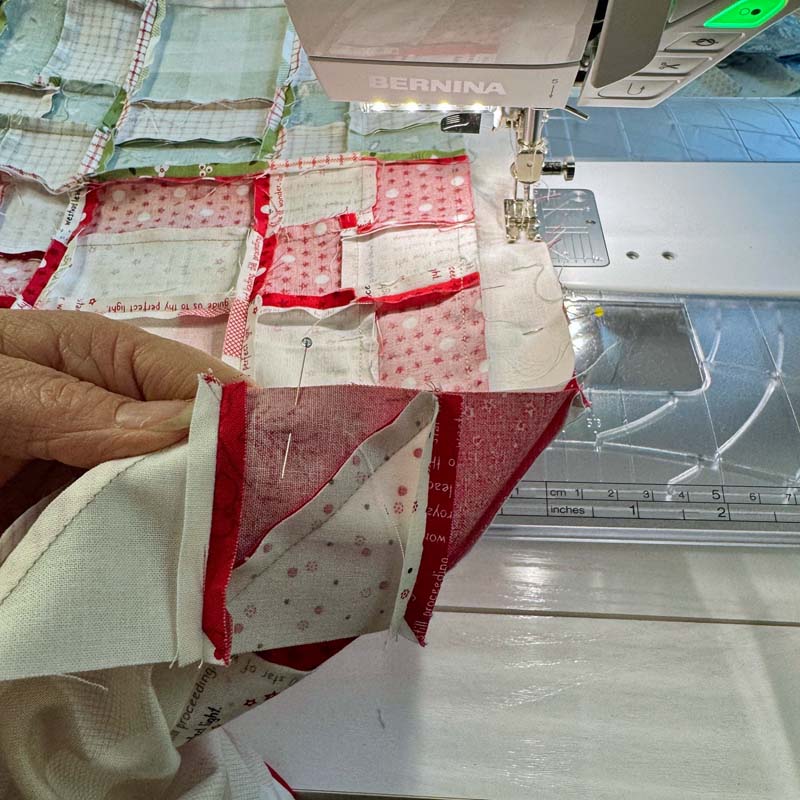
Always start by pressing and starching your fabrics. This makes the whole piecing process easier and more accurate.
Trim edges of quilt top
The first thing to do before adding any border is to trim the edges of the quilt top. That’s especially true for a large quilt with uneven edges. Having a straight edge to attach the border will give you a better chance for the borders to be straight and your quilt to be square.
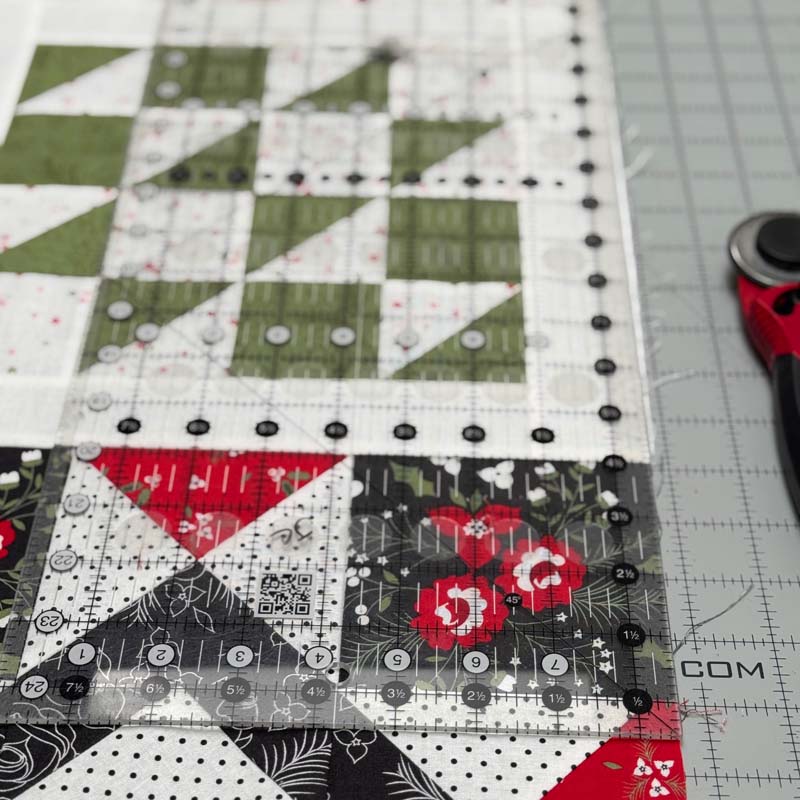
Start by placing a long ruler on the edge of the quilt top and see what’s going on first. The goal is to trim as little as necessary and to preserve any and all points along the edge. Sometimes this isn’t possible, but we try!
Inner border
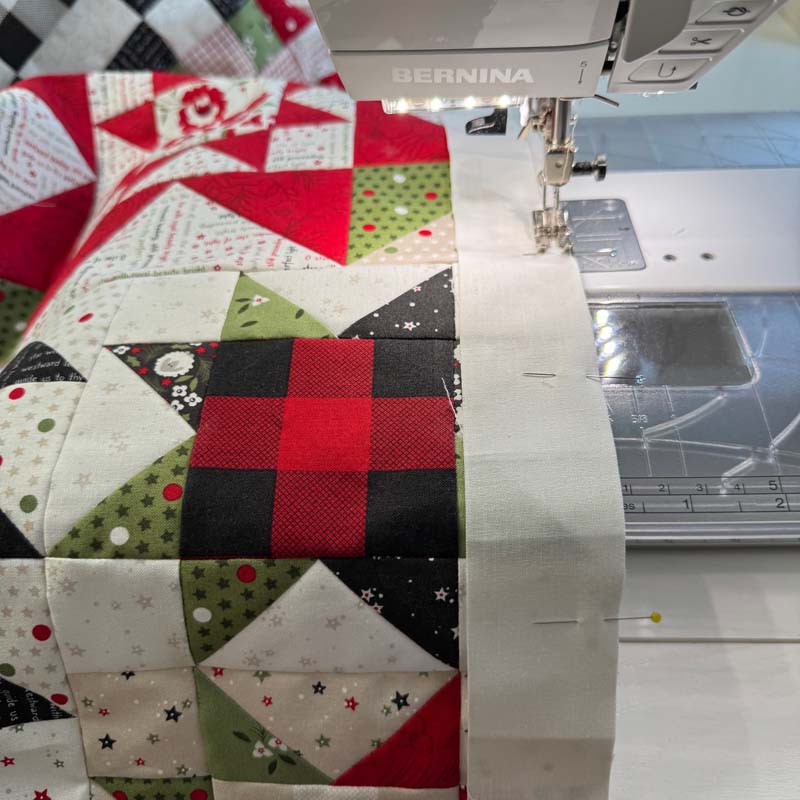
As with any border, make sure to cut the border strips to fit your quilt top. This will prevent a wavy border. Also use plenty of pins to keep it in place and avoid stretching while stitching.
Sawtooth border
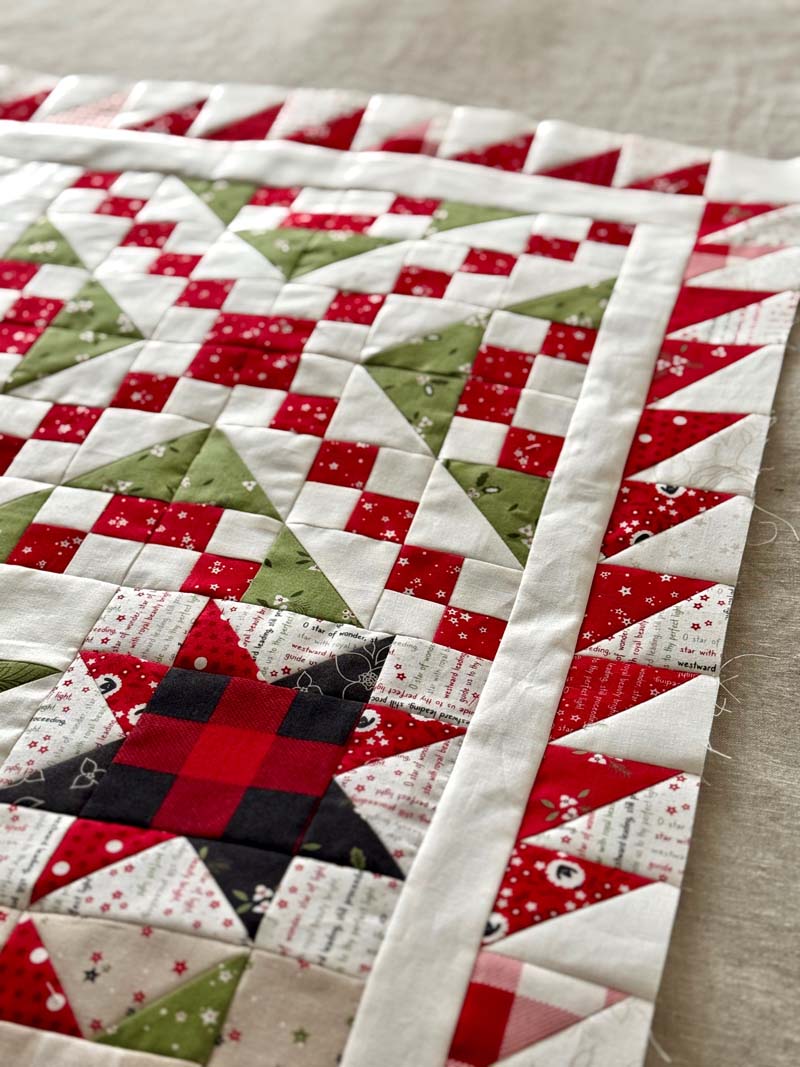
I have so many tips for making a sawtooth border that I wrote an entire blog post just for that, which you can find here. The bullet points are worth repeating, so here they are:
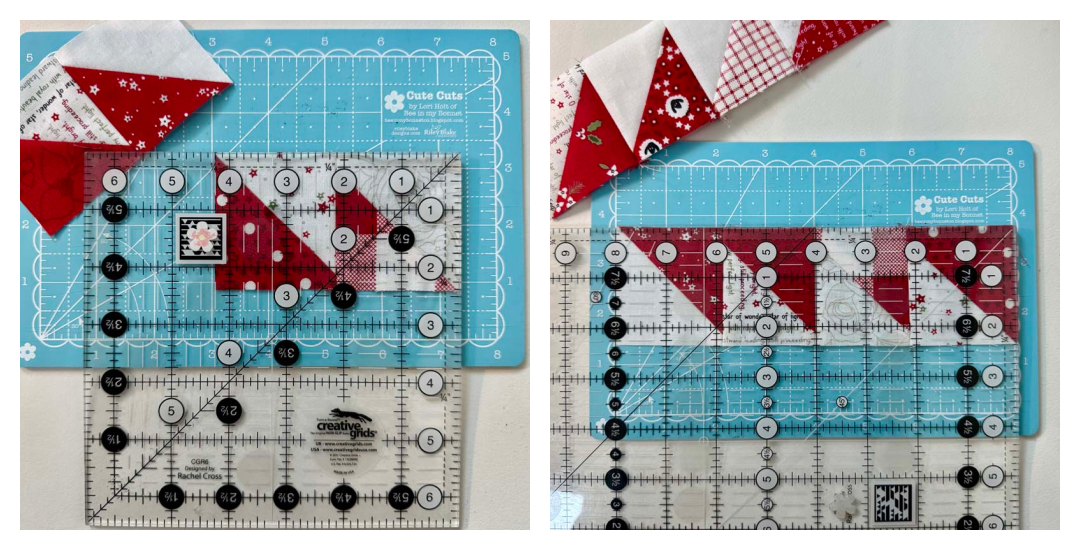
- Make HST’s 8-at-a-time and trim to exact size. This is a fast and efficient way to make hundreds of HST units!

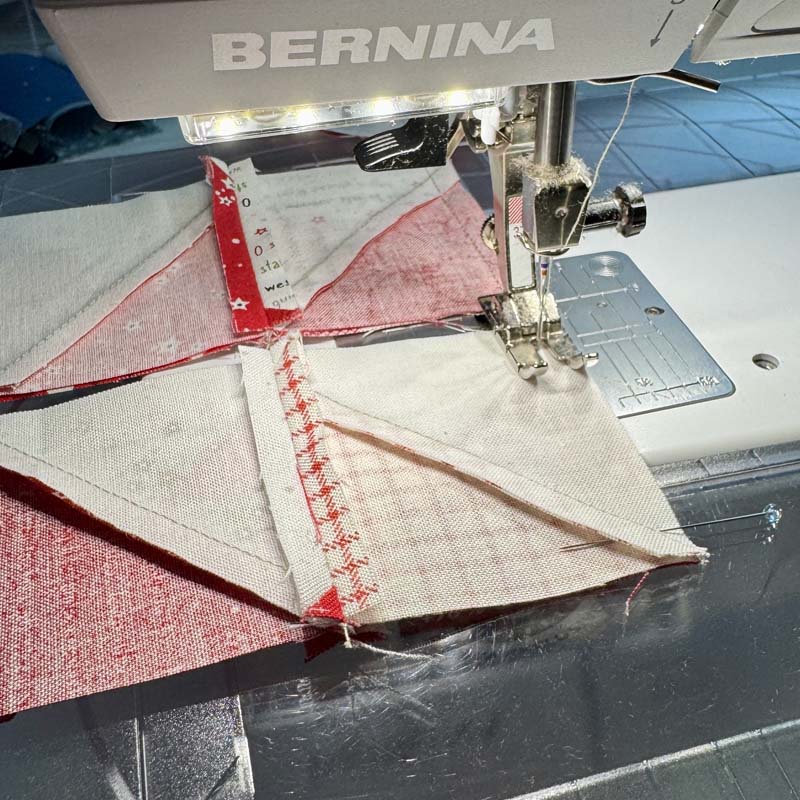
- Sew the HST units into pairs and then sew the pairs together to create larger units. And use pins! This will prevent shifting and stair-stepping which is caused by repeated units not aligning.
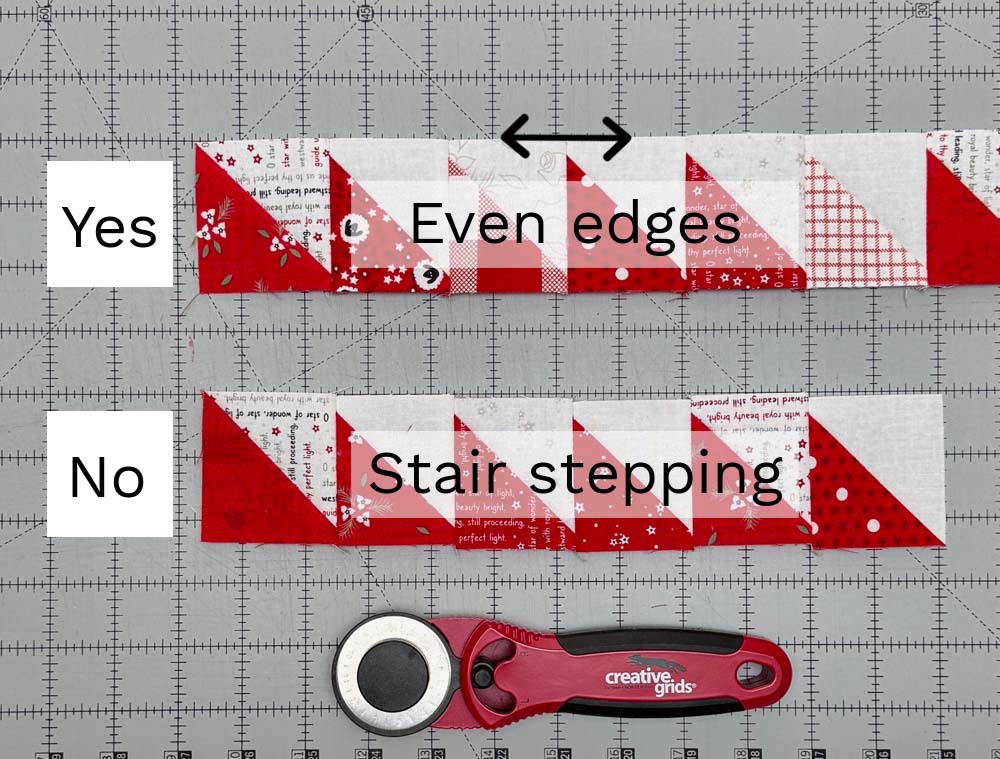
- Press seams opens to keep the sawtooth border flat. Using a tailor’s clapper is helpful for this.

- MOST IMPORTANT: check your 1/4″ seam allowance as you go. If your seam allowance is off just a bit, it will add up exponentially in the final size of the pieced border.
- Adjust if necessary. If your border is too big, choose a few seams (evenly spaced along the length) and re-stitch the seam with a slightly wider seam allowance. This small adjustment will go unnoticed and you’ll have a perfectly sized border.
- The same thing applies to a pieced border that is too small. Choose the seams to adjust, but make the seam allowance slightly narrower. It may take a little trial and error to get just right, but it will be worth it.
- When you sew the sawtooth border to the quilt, place it on the bottom as you feed it through the sewing machine. This will allow the feed dogs to do their job of feeding all of those seams under the presser foot. Make sure the seam allowances underneath stay flat as you sew.
That’s the assignment for January! I hope those tips were helpful. You can find more information about the quilt along at Fat Quarter Shop’s blog here. Remember to post a photo of your blocks on Instagram and use the hashtag #piecequiltsamplerqal so we can all see. Plus, this will enter you in the giveaway each month!

Discover more from The Crafty Quilter
Subscribe to get the latest posts sent to your email.


WOW! Julie, your art work and fabulous quilts are inspiring. I have learned so much from your blog and articles. Just ordered my first box from Mrs. Quilty. Looking forward to seeing her cuddly animal patterns as well as the beautiful project ideas. Many thanks for all you do, Melissa, Kalaheo, Kauai, HI
Thanks for sharing all of your valuable tips. I love the sampler quilt and the fabrics used. You are a national treasure in the quilting world.
I just read your article on sawtooth borders – great tips! Tackling a pieced border is something I have wanted to try, and now it seems manageable. Thanks!
Absolutely beautiful! Love your fabrics too!