Arrow Stone QAL Week 8 & Quilt Parade
We finally made it to the last week of the Arrow Stone QAL! And today happens to be Easter Sunday, so I wish you all a Happy Easter as well.
Now that our quilt tops are finished, we are ready for the next steps. I’ll point you in the right direction for that, and then I get to show you some of your finished quilt tops. Always a favorite part of the pattern writing process is seeing the beautiful quilts you make!
If you’re just now joining us, all of the past content for the Arrow Stone QAL can be found below:
- Introduction Post
- Week 1 – Choose fabric
- Week 2 – Cutting and organizing fabric
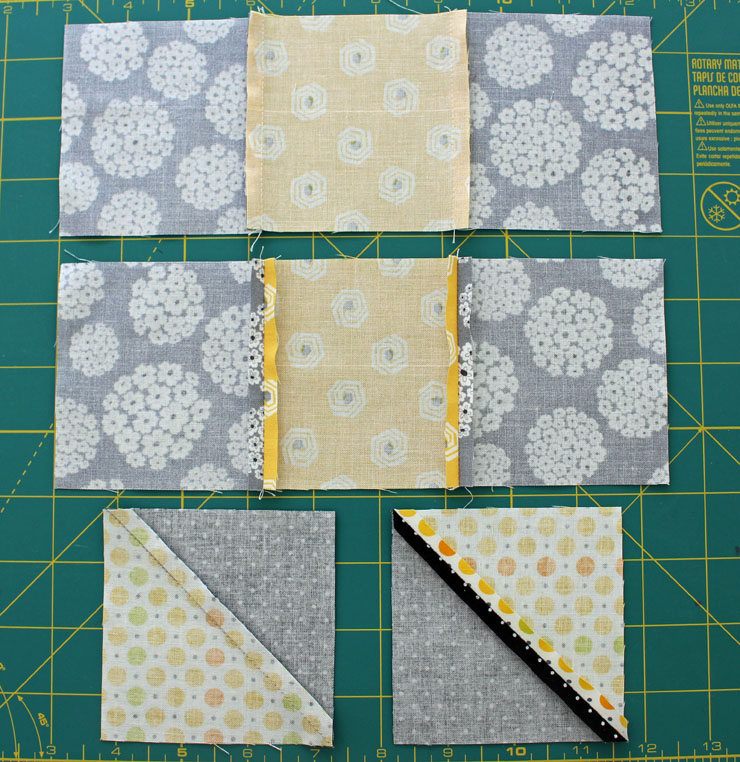
- Week 3 – Making HST’s and piecing tips
- Week 4 – Making flying geese units
- Week 5 – Making QST’s and center side units
- Week 6 – Assemble blocks and trimming tips
- Week 7 – Assemble the quilt top and border tips
Arrow Stone QAL Week 8
Basting, quilting and binding come next in the quilt making process. This is not usually a fan favorite, but it’s definitely necessary. I’ll give you some suggestions and tips for those steps, and then we’ll have a little quilt parade.
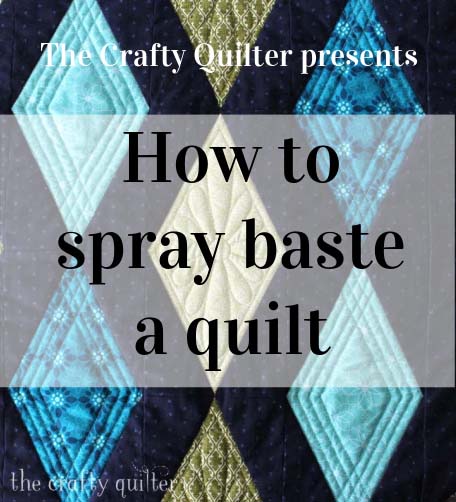
Basting Tips
I just published a blog post devoted to How to Spray Baste A Quilt. This is my favorite way to baste, and you’ll find all of the tips and information for this step there. If you prefer other methods of basting your quilt, then please do what makes sense for you!
Quilting Ideas
You have a few decisions to make for quilting. First, are you going to quilt it yourself or send it to a longarm quilter? I’ll be speaking to those that are doing the quilting themselves. You need to decide if you’re going to use free motion quilting or straight line quilting with a walking foot. Maybe a combination of the two!
There are endless possibilities for quilting designs. I haven’t quilted my Arrow Stone Quilt yet, but I have a few ideas for straight line quilting. I used PicMonkey and Adobe Illustrator to mock up a few of them.
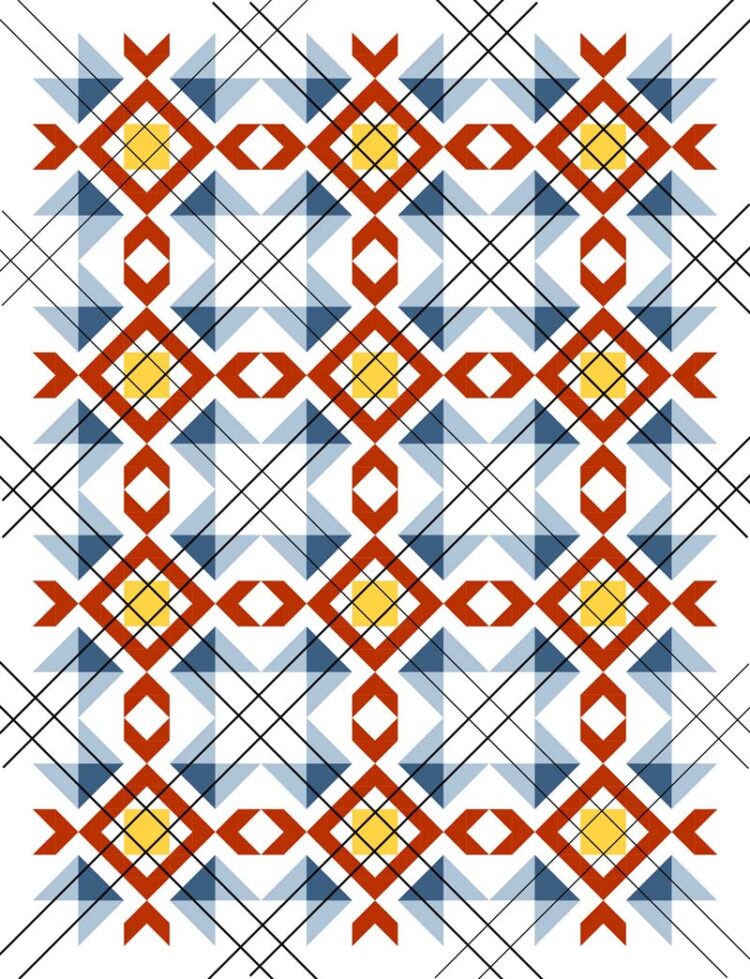
Grid quilting is always a good option and I love diagonal grids. One thing I’m trying to avoid is quilting along any bulky seams (which there are many). The design below avoids those bulky intersections and keeps it simple. These quilting lines are minimal – there should be more to keep the batting from shifting. This will give you a good starting point, though.
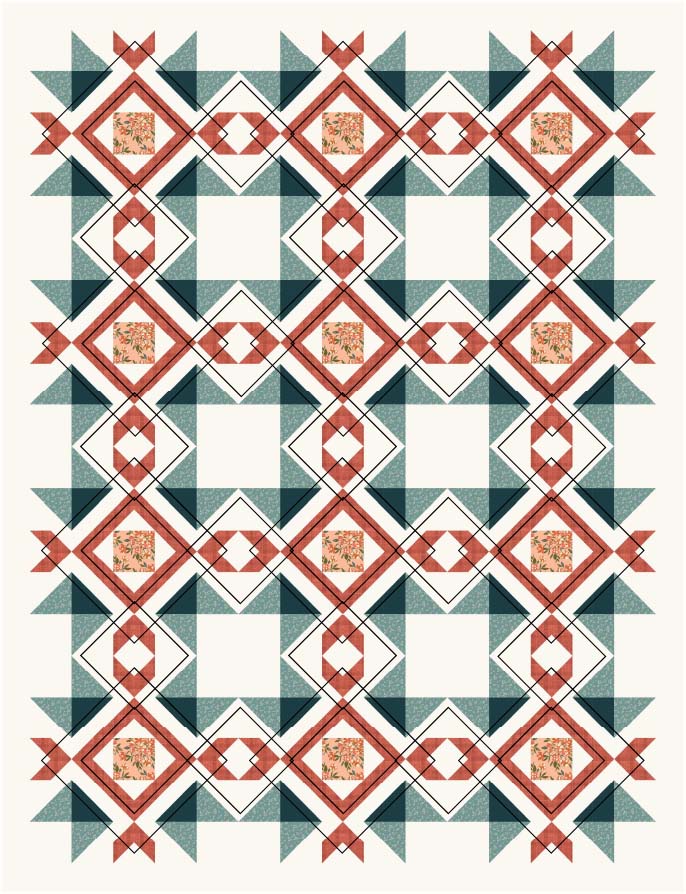
This next design is made up of squares on-point that intersect and overlap each other. Again, more quilting needs to be added. I thought the large open areas would be a good place for FMQ. If you have any stencils, this would be a great place to use them. Check out my blog post on How to Use Stencils for Quilting. It’s full of good ideas and information.
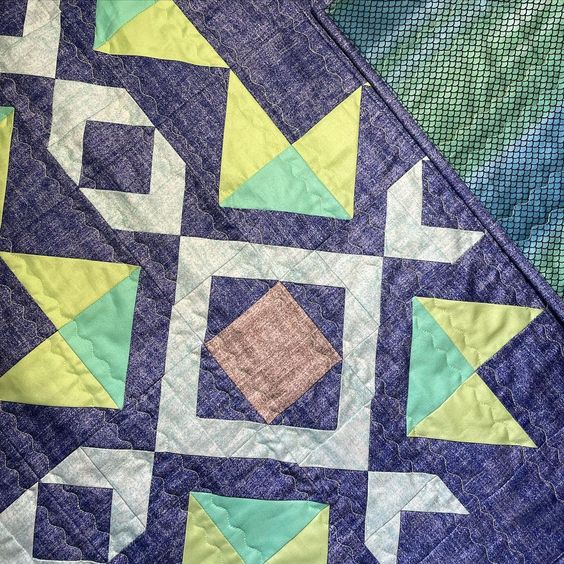
I love texture in quilts. Adding rows of a serpentine stitch will give your quilt lots of texture and movement. Many machines have this stitch and you can adjust the size as needed. Check out this Arrow Stone Quilt made by Beanie @Beanster the Seamster. She added the perfect amount of stitching to add interest without looking too busy.
Binding
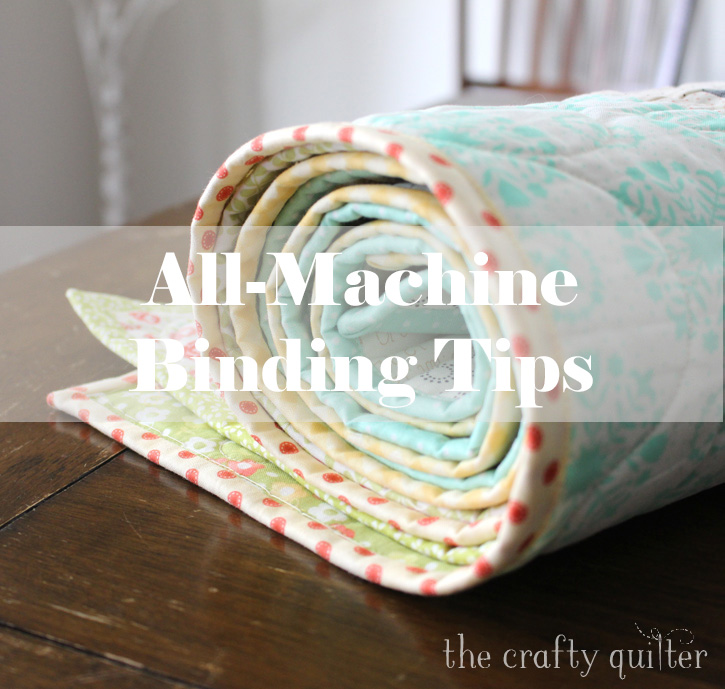
With binding, you either love it or hate it. I’m in the “love it” category because I’ve found a way to make it fast and painless. You can see all of my Machine Binding Tips here and decide for yourself! If joining the binding tails is your nemesis, then read How to Join Binding Ends with the Pocket Method.
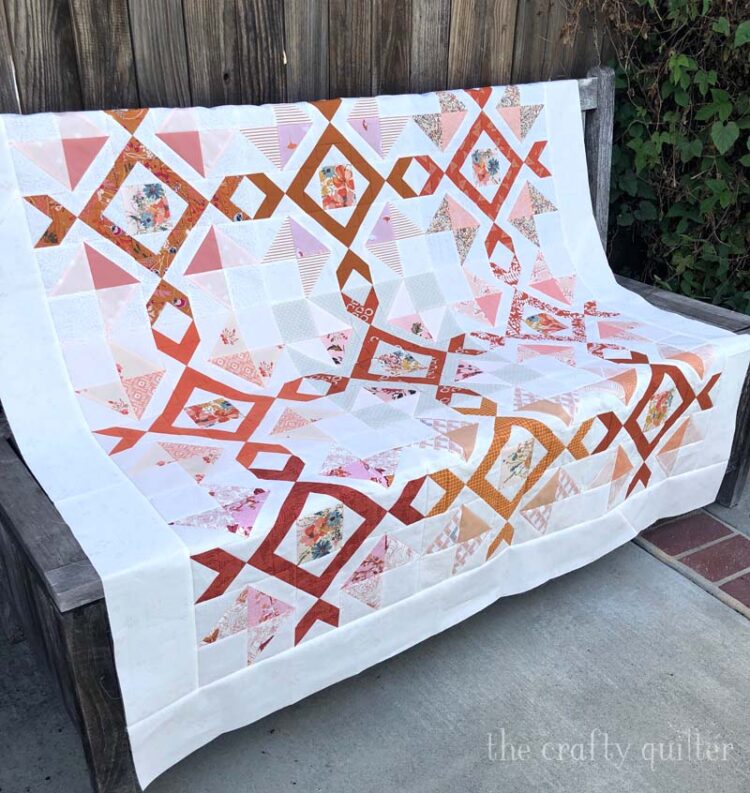
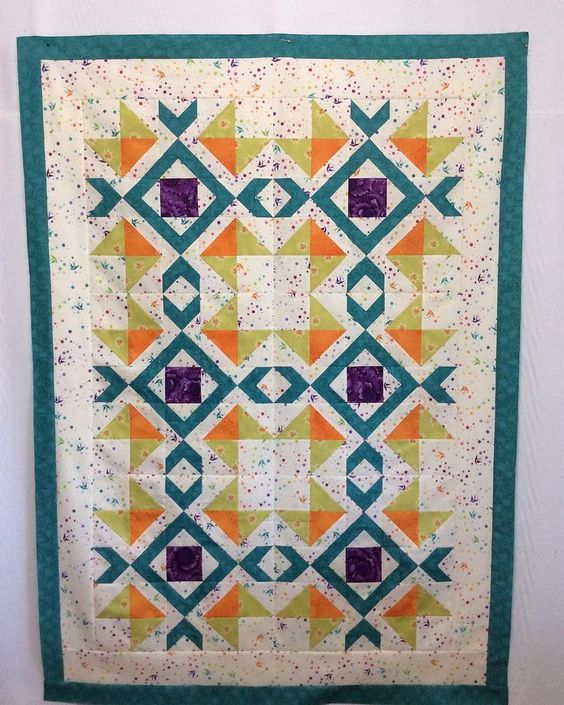
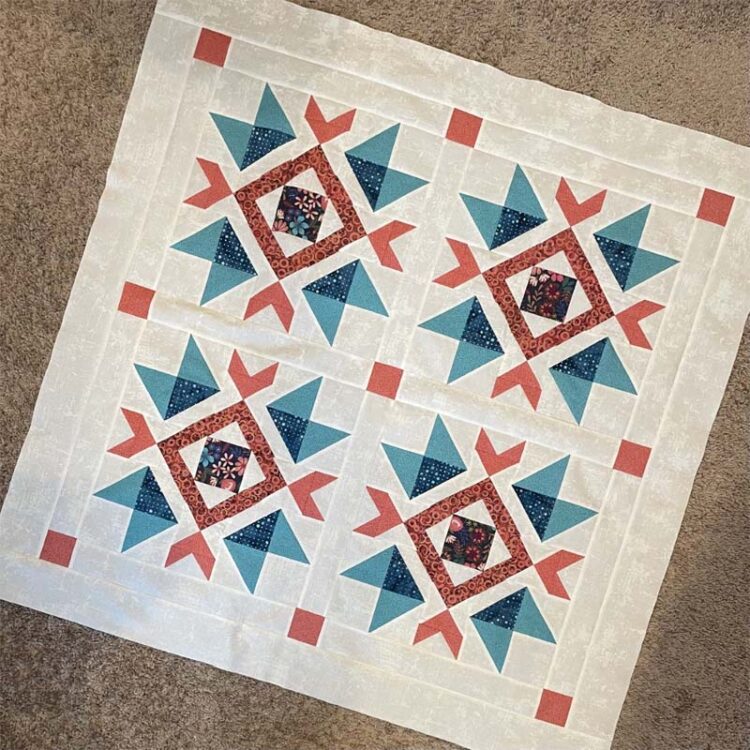
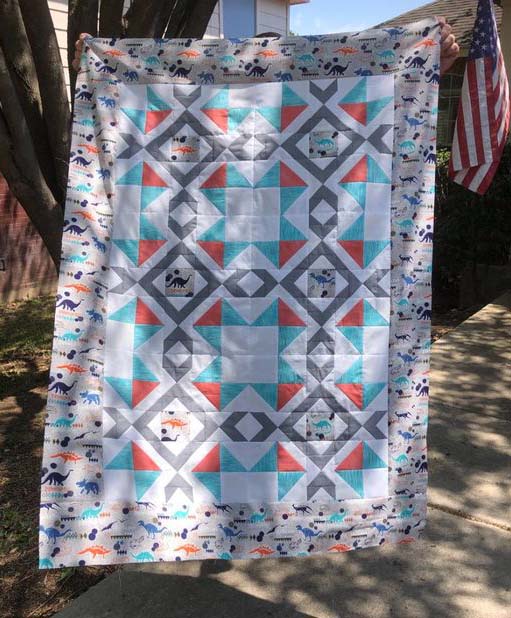
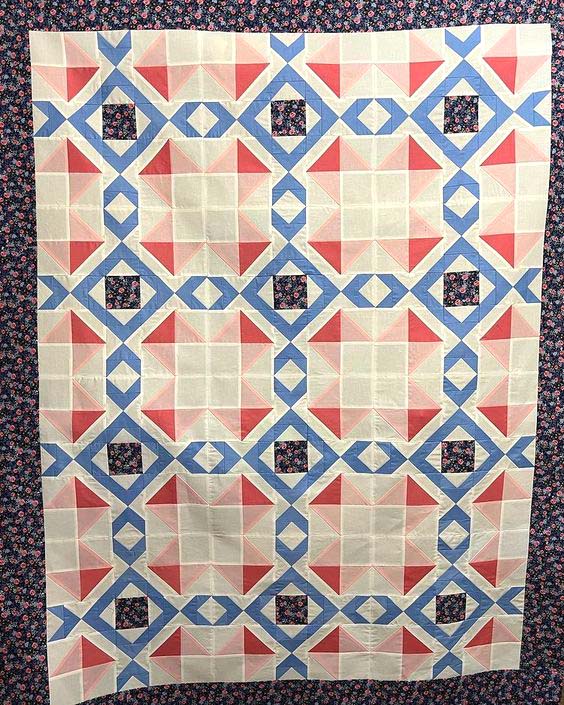
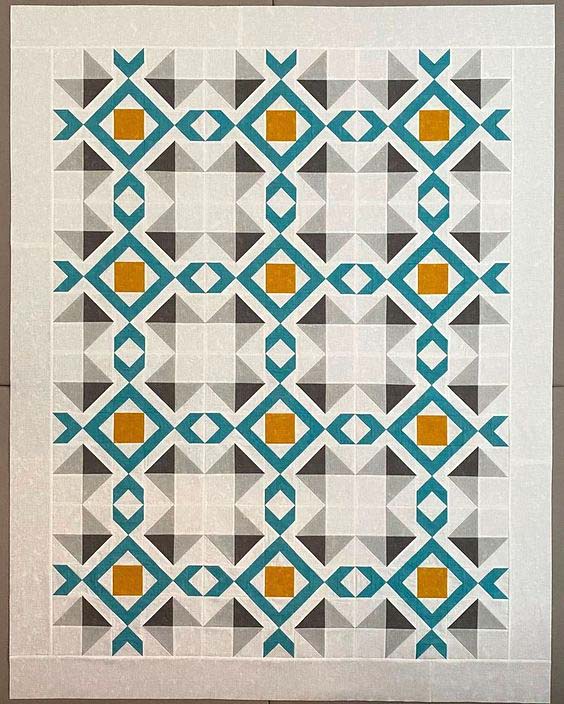
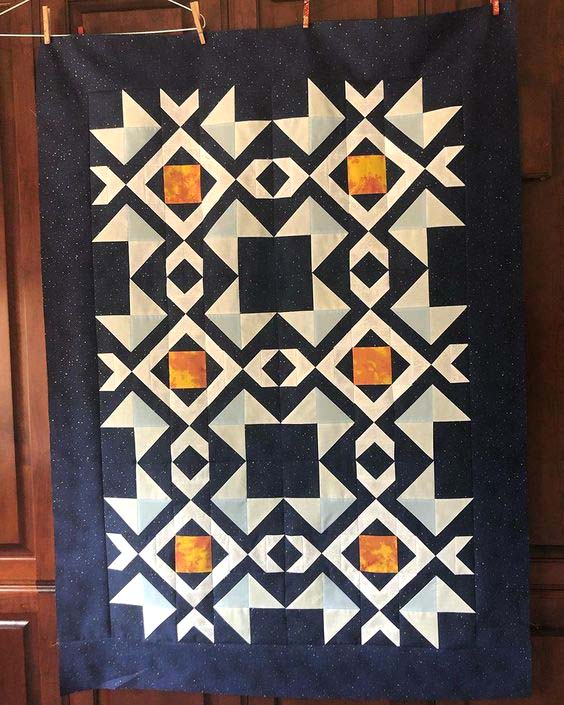
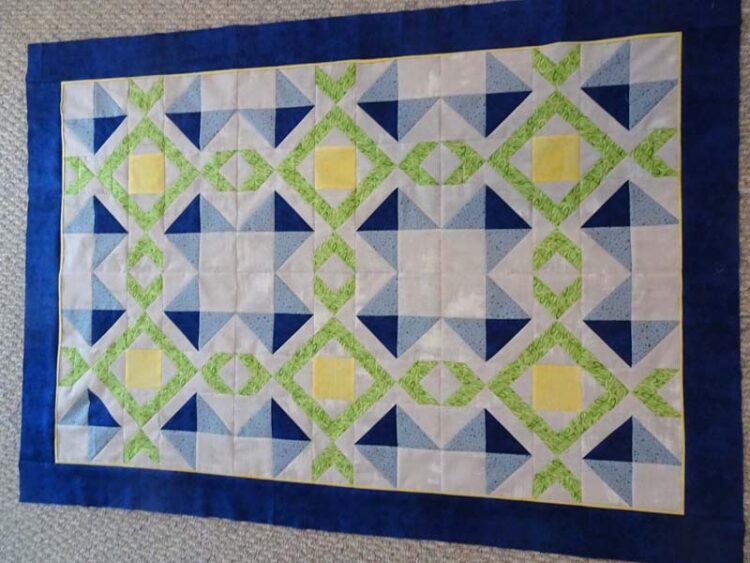
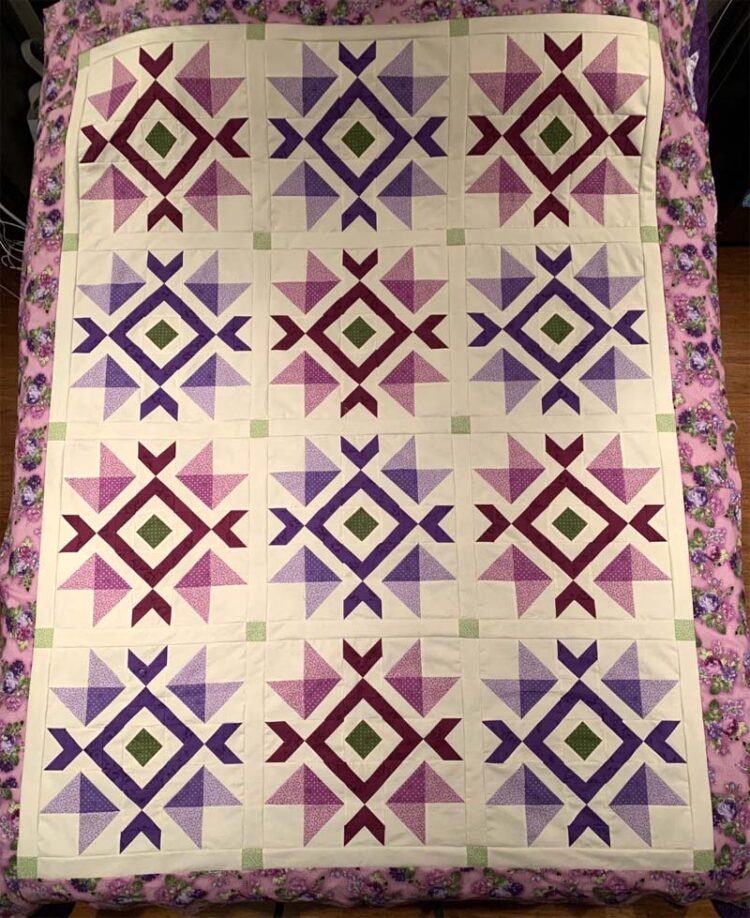
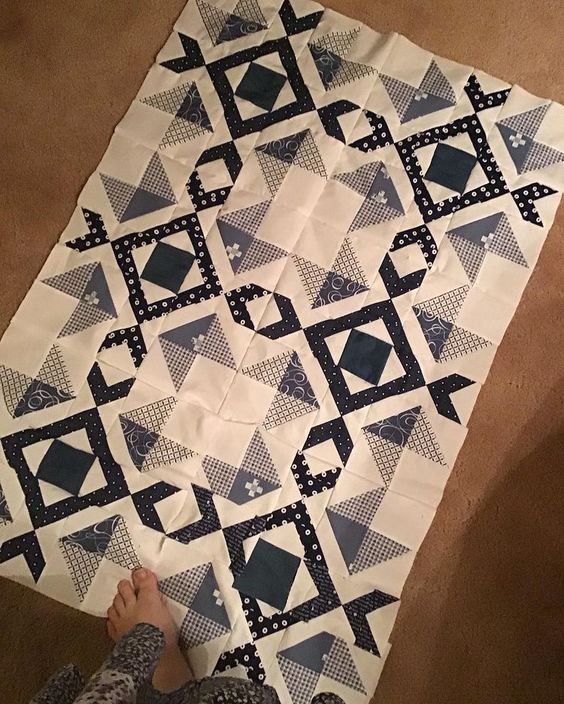
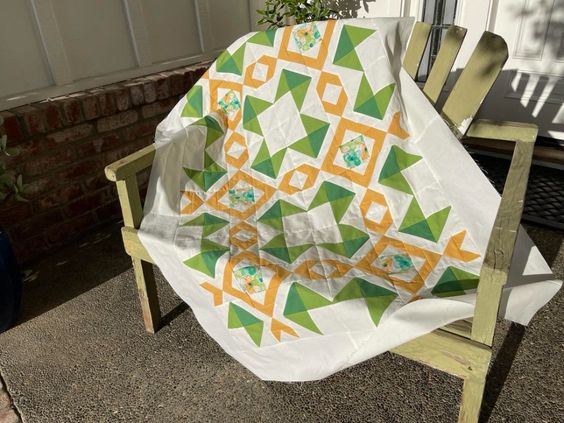
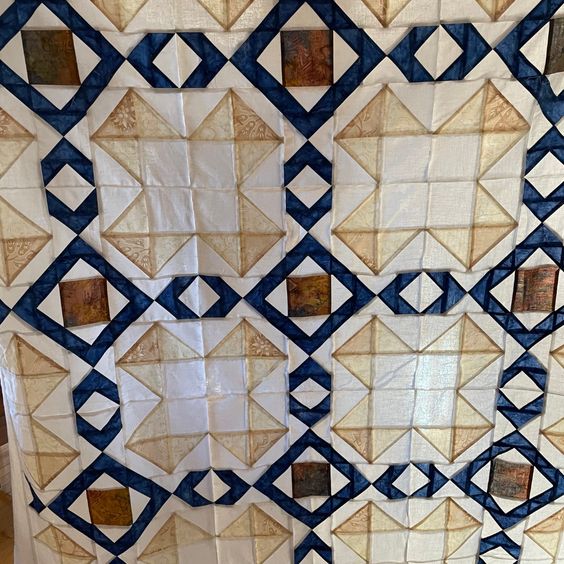
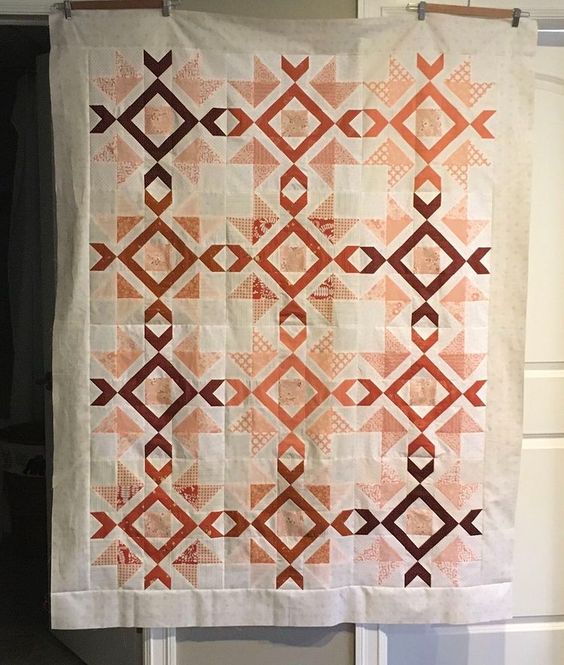
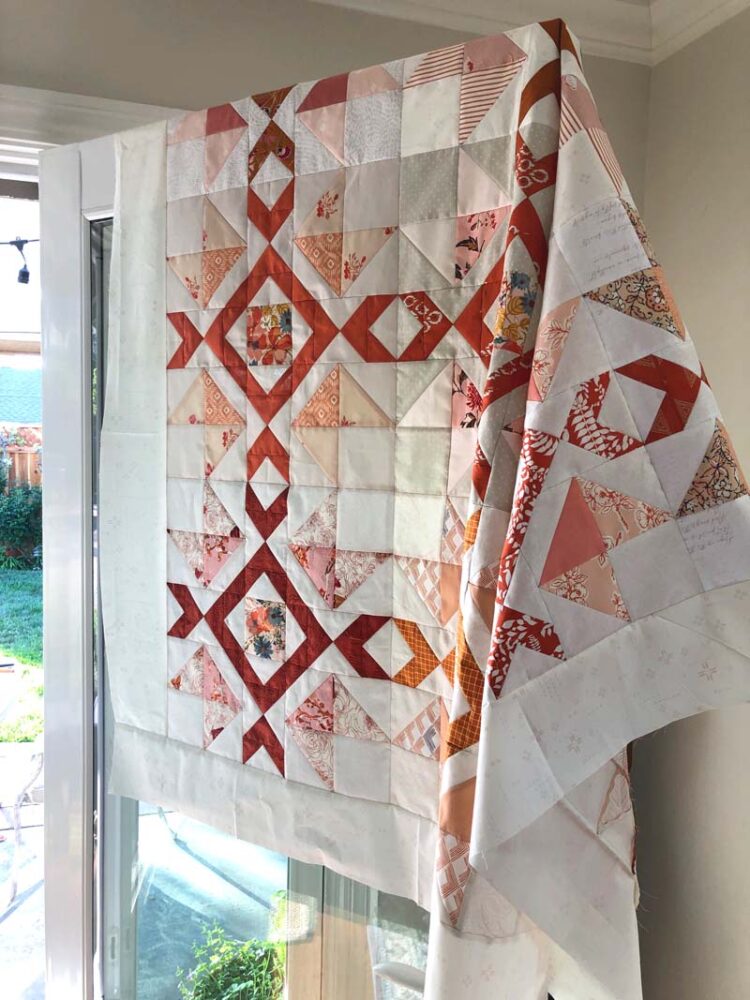
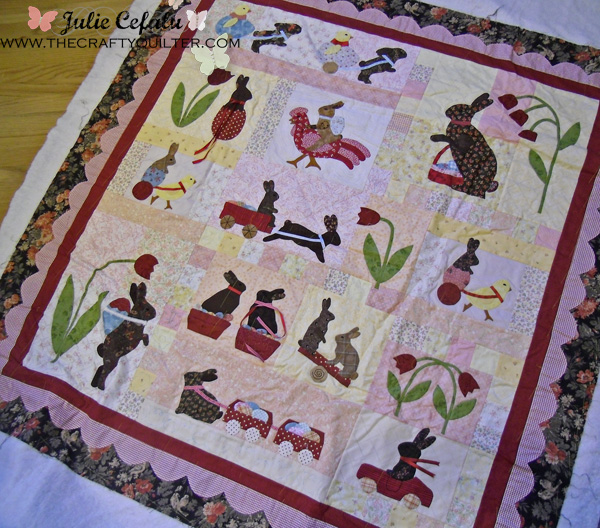
Finished Arrow Stone Quilts
I am happy to show you photos of the finished quilt tops that participants sent to me. They’re all unique and beautiful!


Week 7 Winners
This is our last round of prizes for those that made it to the “finish line”. The winner of the Binding Wheel and Third Hand Binding Clip Holder from Purple Hobbies is Ellen Louise @ellen_louise45.
The winners of a gift bundle of fabric and notions from me, The Crafty Quilter, are:
- Sue Keida @sue_keida
- Jan Winkel @winkelacres
Congratulations to all three winners! If you didn’t receive my direct message, please send me an email so I can get you your prize!
Thank you sponsors!
A huge thank you to all of the sponsors for the Arrow Stone QAL! They motivated us each week and made this a fun and exciting event. We appreciate their support and generosity! Make sure to visit them and spread some love.
- Bloc Loc
- Creative Grids
- Fat Quarter Shop
- Plain Janes & Co Quilt Shop
- Purple Hobbies
- Shannon Fabrics
- The Granary
- The Quilt Show
It has been a pleasure to sew along with you every week and see your beautiful creations on Instagram. I know this was not an easy pattern to put together, but I hope my weekly tips were helpful. I appreciate all of your support and your positive feedback.
Just a quick note: The comment section of my blog is not functioning. I’m working on it, but if you need to reach me you can always email me directly at ju***@**************er.com.
Thanks for joining me and I’ll see you around the quilt neighborhood!

Discover more from The Crafty Quilter
Subscribe to get the latest posts sent to your email.


All of the quilts are beautiful! Thanks for doing this QAL!