My ruler drawer and testing the Bloc Loc Drunkard’s Path ruler set
Yesterday, I challenged myself with two things. First: open up my ruler drawer (and verify how terribly unorganized it is), and second: choose at least one ruler inside the drawer that I’ve never used before and give it a go. Although there were too many rulers to choose from, I ended up testing out a Bloc Loc Drunkard’s Path ruler set. In today’s blog post, I’ll share my process, the results and my thoughts about this ruler. I also have a challenge for you!
NOTE: This is not a sponsored blog post. I have no affiliation with Bloc Loc rulers.
First, my ruler drawer
I am the person who loves gadgets and I’m a sucker for a new specialty ruler. I probably have thirty quilting rulers and I’ve used only half of them. I keep all of my specialty rulers in one large drawer. There is no organization inside, whatsoever, other than keeping my most used rulers in the top drawer.
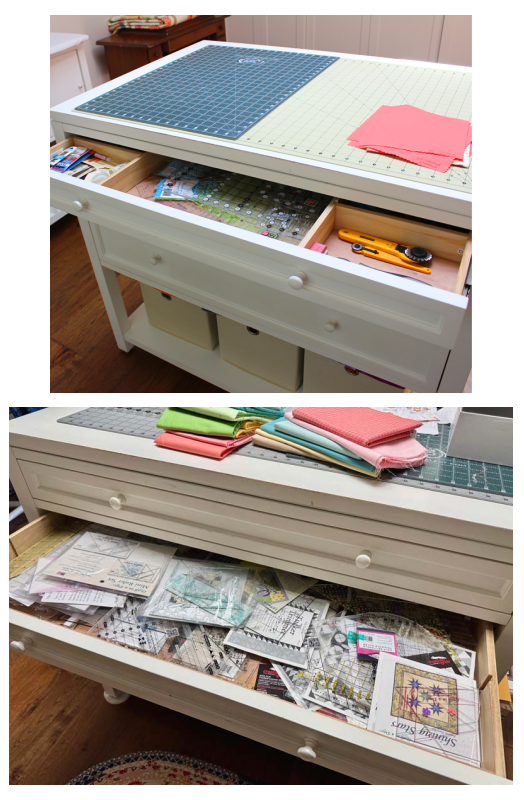
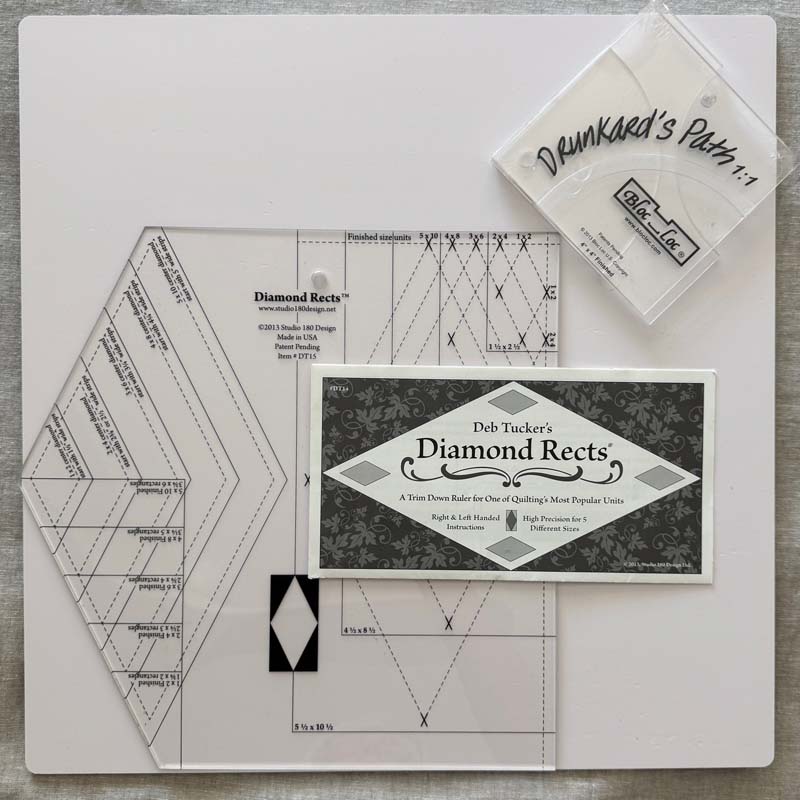
As you can see, it’s a hot mess! Organizing my ruler drawer will be another challenge for another day. For now, I chose two rulers to try (I’ve only gotten to one of them): the unopened Drunkard’s Path ruler and the Diamond Rects ruler by Deb Tucker.
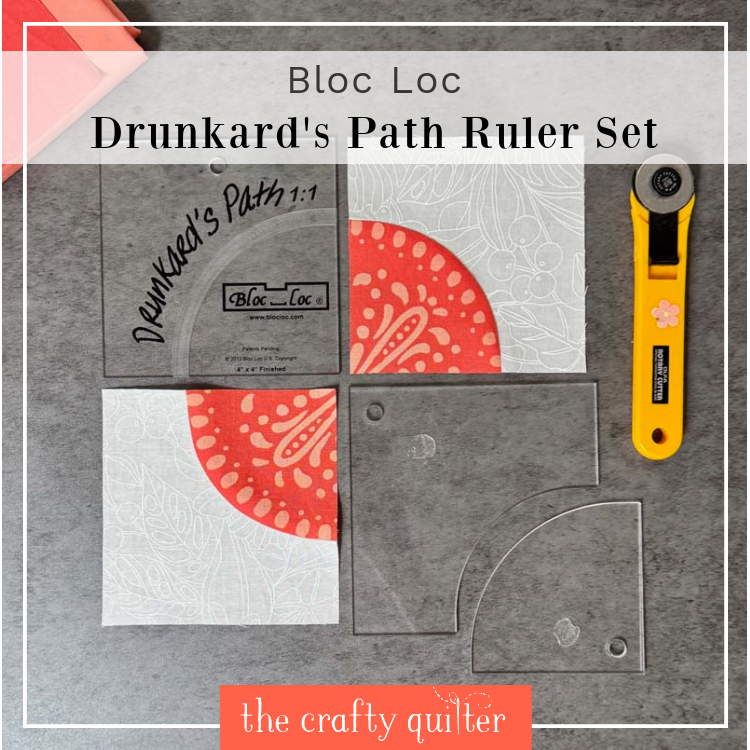
Bloc Loc Drunkard’s Path Ruler Set
Let me start by introducing you to Bloc Loc rulers and how they work. In general, they are simple and easy to use. They have an etched groove on the underside that allows you to easily align the ruler along a seam (requires you to press the seam to one side.) The groove holds the ruler in place as you square up the unit.
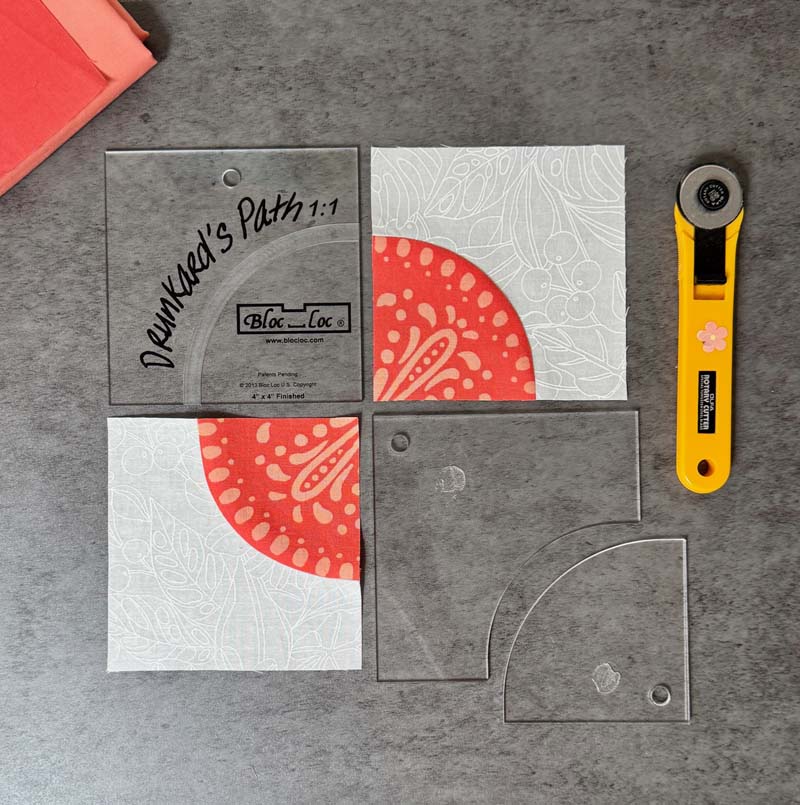
The Bloc Loc Drunkard’s Path ruler is sold as a set. There are three pieces to it; two for cutting the individual parts and one for squaring up the unit. The Drunkard’s Path block has a curved seam and it can be used to create unique designs depending on how you arrange them.
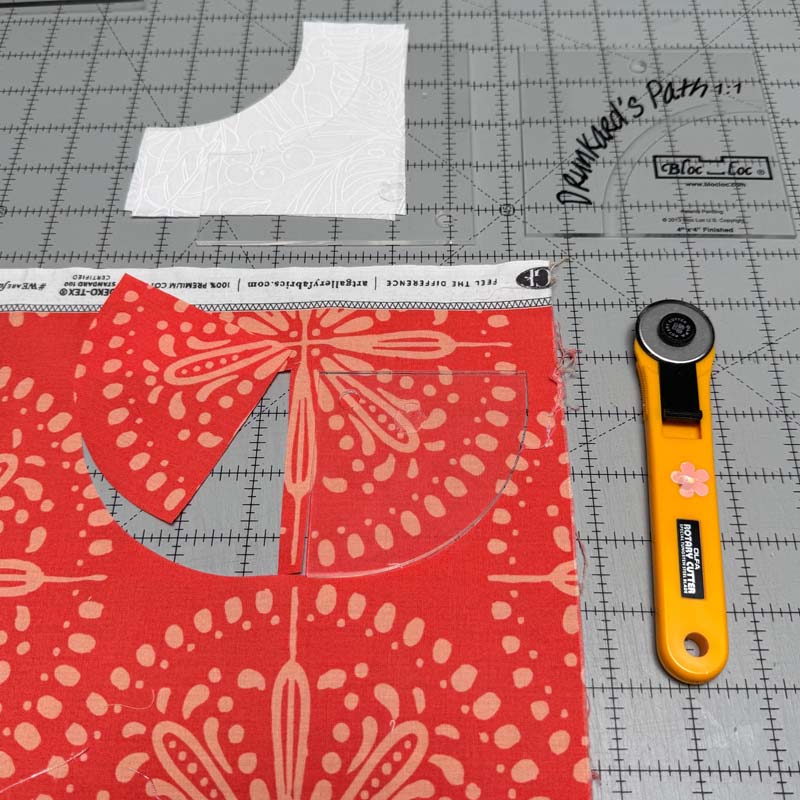
I don’t remember where I bought my ruler and it didn’t come with instructions. Although I could have downloaded the instructions from their website, it was intuitive enough that I didn’t need them. My ruler set is for a 4″ finished Drunkard’s Path block.
Steps for using the ruler
Cutting
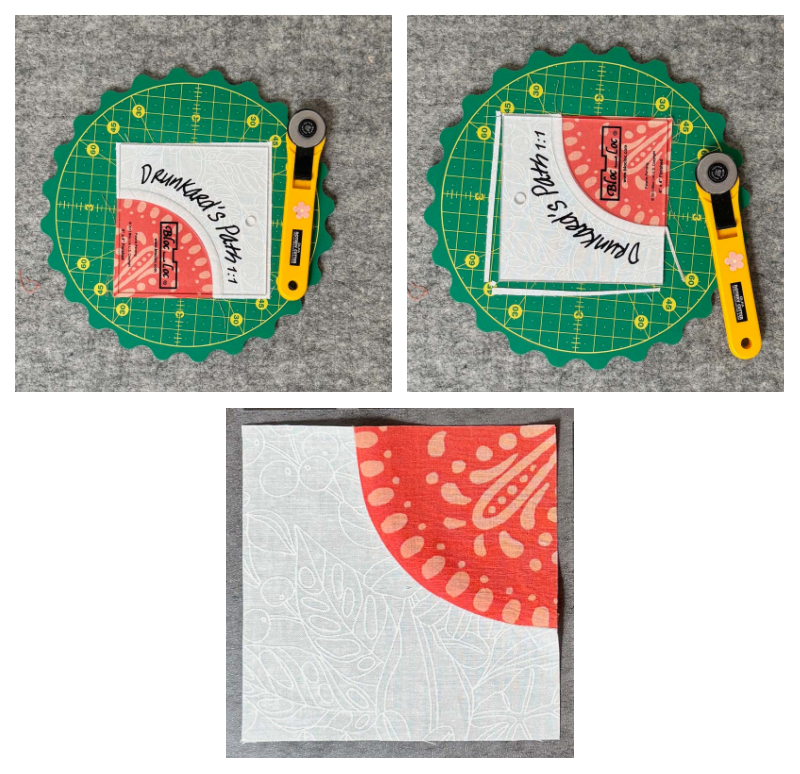
The first thing I did was cut the two pieces that make up the Drunkard’s Path block. The larger piece has a concave curve and the smaller piece is pie shaped with a convex curve. I had fabric that was perfect for fussy cutting which is easy to do with the clear ruler. I used my smaller, 28mm rotary cutter for ease around the curves.
Sewing
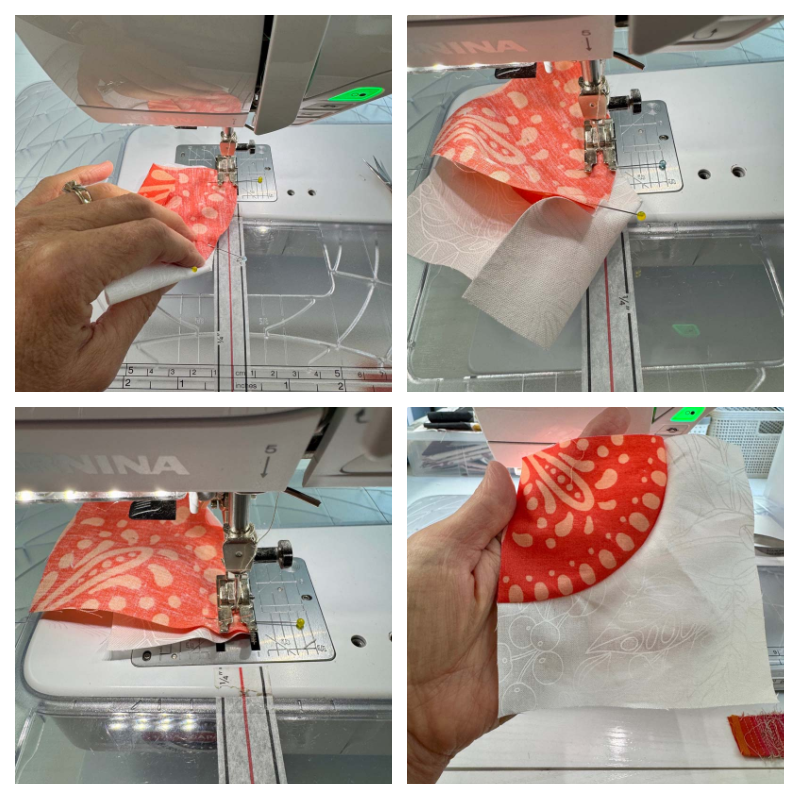
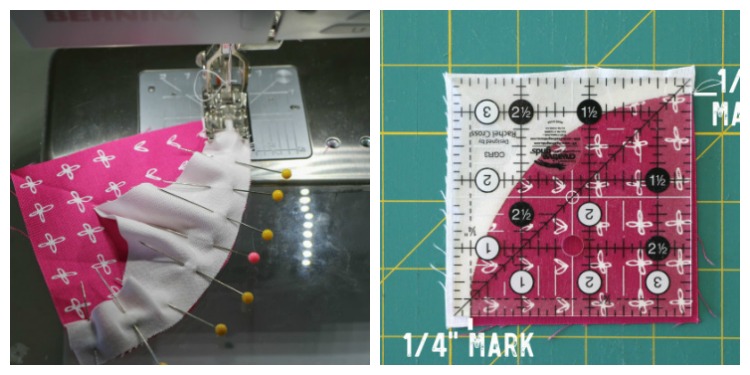
I’m not an expert at curved piecing, so my first attempt was quickly aborted because I didn’t use any pins. I started again by pinning the beginning, middle and end. Three pins total is all it takes. TIP: crease the center of both pieces and match the creases before pinning the middle.
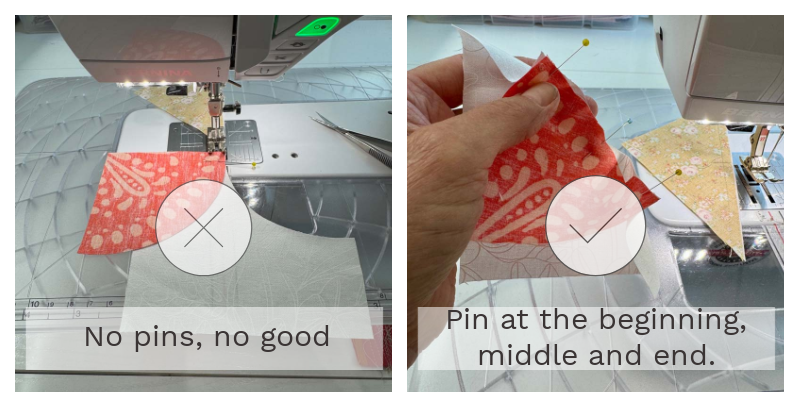
I set my stitch length to 2.0 and started slowly. If you can select “needle down” on your sewing machine so it stops with the needle down, do so – it’s very important to keep the layers from shifting. I needed to raise my presser foot several times to adjust and realign the curved edges.
I was so happy when I removed the unit from the sewing machine and found a smooth seam with no tucks or puckers!
Pressing
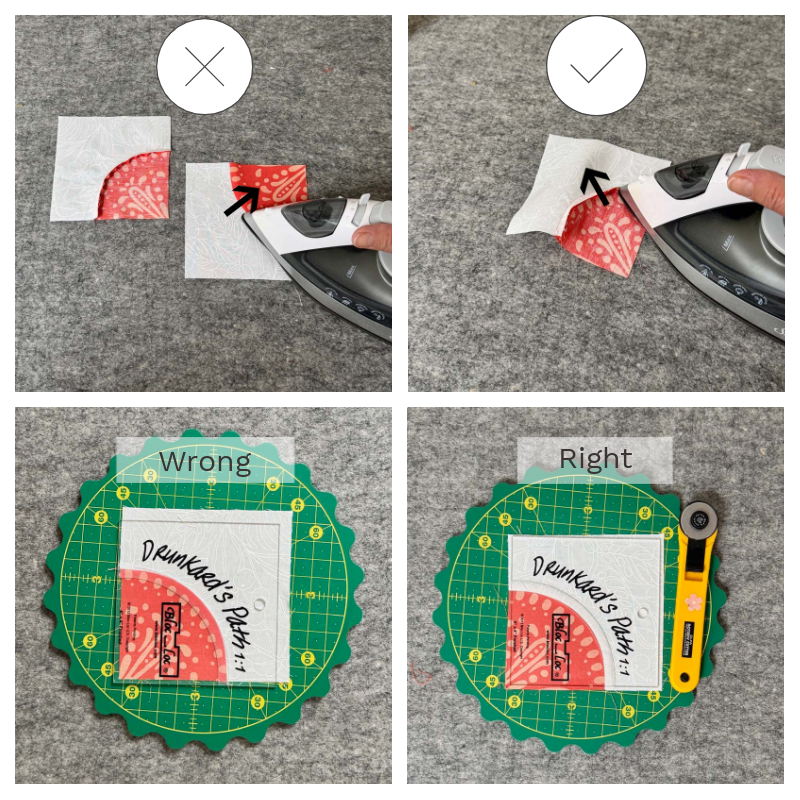
I found out the hard way that the curved seam needs to be pressed towards the background (larger) piece. Otherwise the Bloc Loc ruler won’t fit properly for squaring up. You can see in the images below how the ruler in the bottom left photo doesn’t cover the entire block whereas it does in the bottom right photo.
Trimming
Here is where the magic of the Bloc Loc ruler comes into play. Once everything is pressed correctly, it’s easy to slide the Bloc Loc ruler into position. Trim the right and top sides, and then rotate the mat (I love using a rotating mat for this) to trim the remaining two sides.
Pro’s & con’s of the Bloc Loc Drunkard’s Path ruler set
Pro’s
I always prefer to make units oversized and then square them up perfectly. That’s exactly what Bloc Loc rulers are made for. Trimming and squaring up units make the building blocks of a quilt fit together so nicely. The Drunkard’s Path ruler set is easy to use and can save a lot of time. I was able to get by with no instructions (although they would have been reassuring for a first time user).
I will add that my favorite set of Bloc Loc rulers is the Flying Geese rulers. I get the most use out of those, so they were worth every penny! You can look for them at your local quilt shop (The Granary has them here) or your favorite online retailer.

Con’s
There are two big drawbacks to most Bloc Loc rulers. The first one is that often you need a separate ruler for different block sizes. So, the Drunkard’s Path ruler set will only work for a 4″ finished block. Many rulers on the market allow for making and trimming multiple size blocks.
The second drawback is the price of Bloc Loc rulers in general; this set in particular is high because it’s made up of three separate pieces. I was astonished when I saw the price of $71.30 on their website. I haven’t been able to find it any cheaper elsewhere. I don’t remember when or where I bought this ruler set, but I’m a little surprised I did if that’s what I paid for it.
Overall, I enjoyed using the Bloc Loc Drunkard’s Path ruler set. It worked really well for me and my blocks came out perfectly! However, I think the cost needs to be balanced with the benefit of this set.
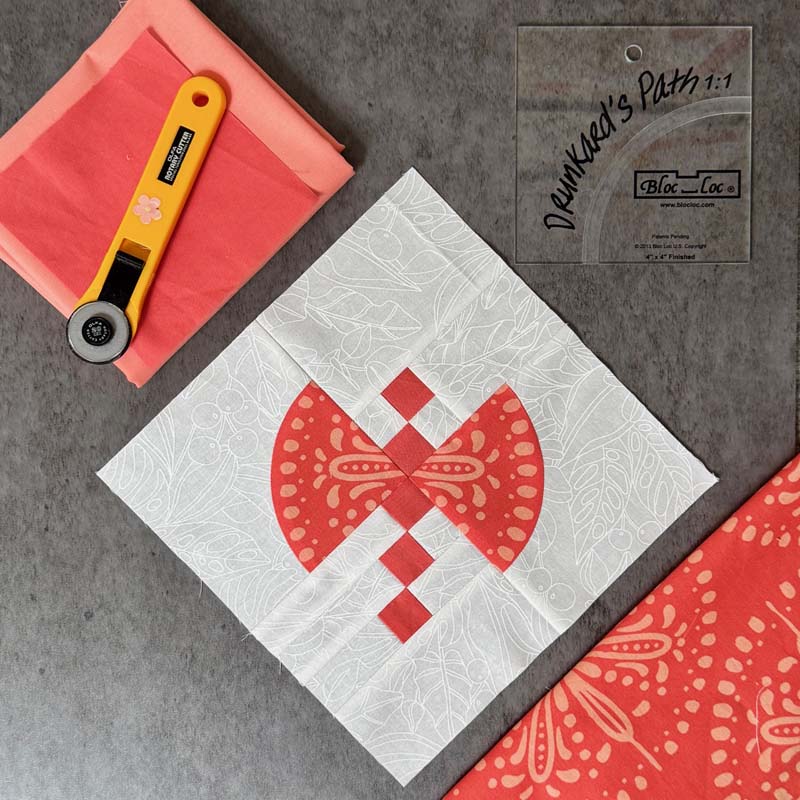
After making two Drunkard’s Path blocks, I decided to turn it into a butterfly/dragonfly block. It’s cute, but I think I’ll stop at just one.
Design Options
What really got my attention about this quilt block, was the wide number of patterns and layout options!
Quiltscapes Quilting has a downloadable graphic of 16 different layout options!
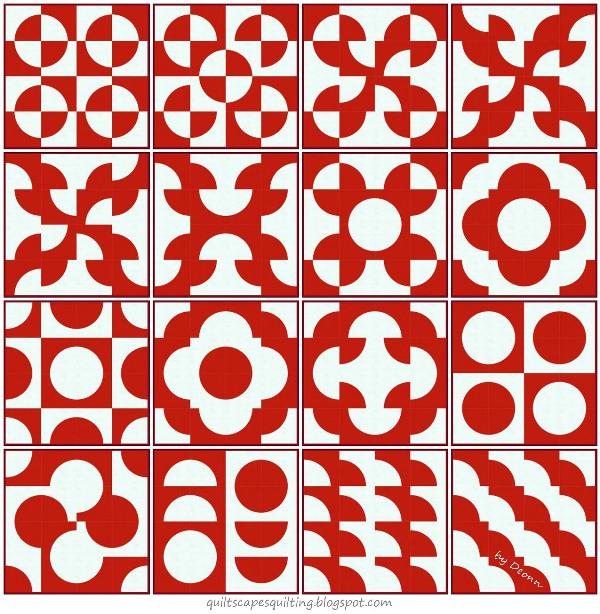
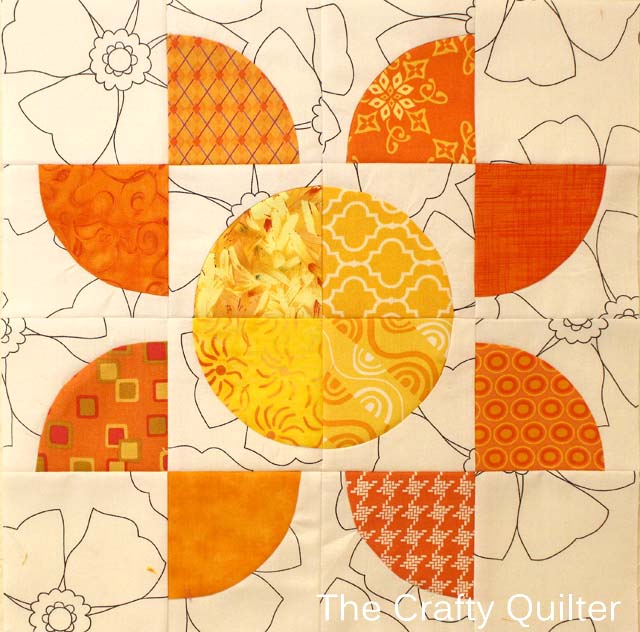
I made one of those variations as part of a sew along ten years ago. It’s been one of my favorites!
More Drunkard’s Path block resources
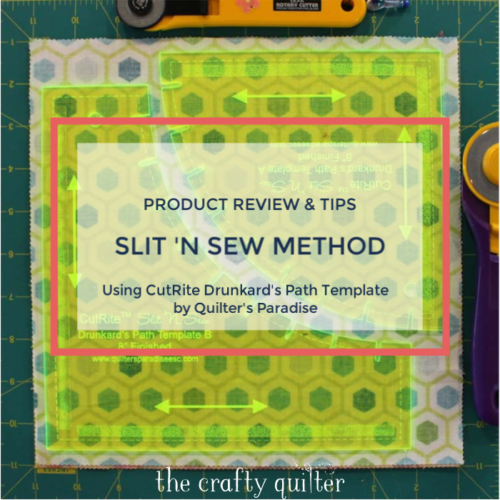
If you Google “Drunkard’s Path template”, you’ll find there are many different manufacturers offering a template. I have the CutRite Slit ‘N Sew templates from Quilter’s Paradise which I reviewed here. This template also offers a unique method of matching up the curved seam edge and requires NO pinning.
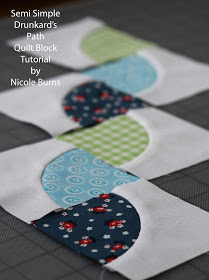
A clever adaptation that is a cross between piecing and applique was done by Nicole at Sew Nomadic. She uses Sharon Schamber’s Piec-lique method to create a Drunkard’s Path block. I would like to try this one!
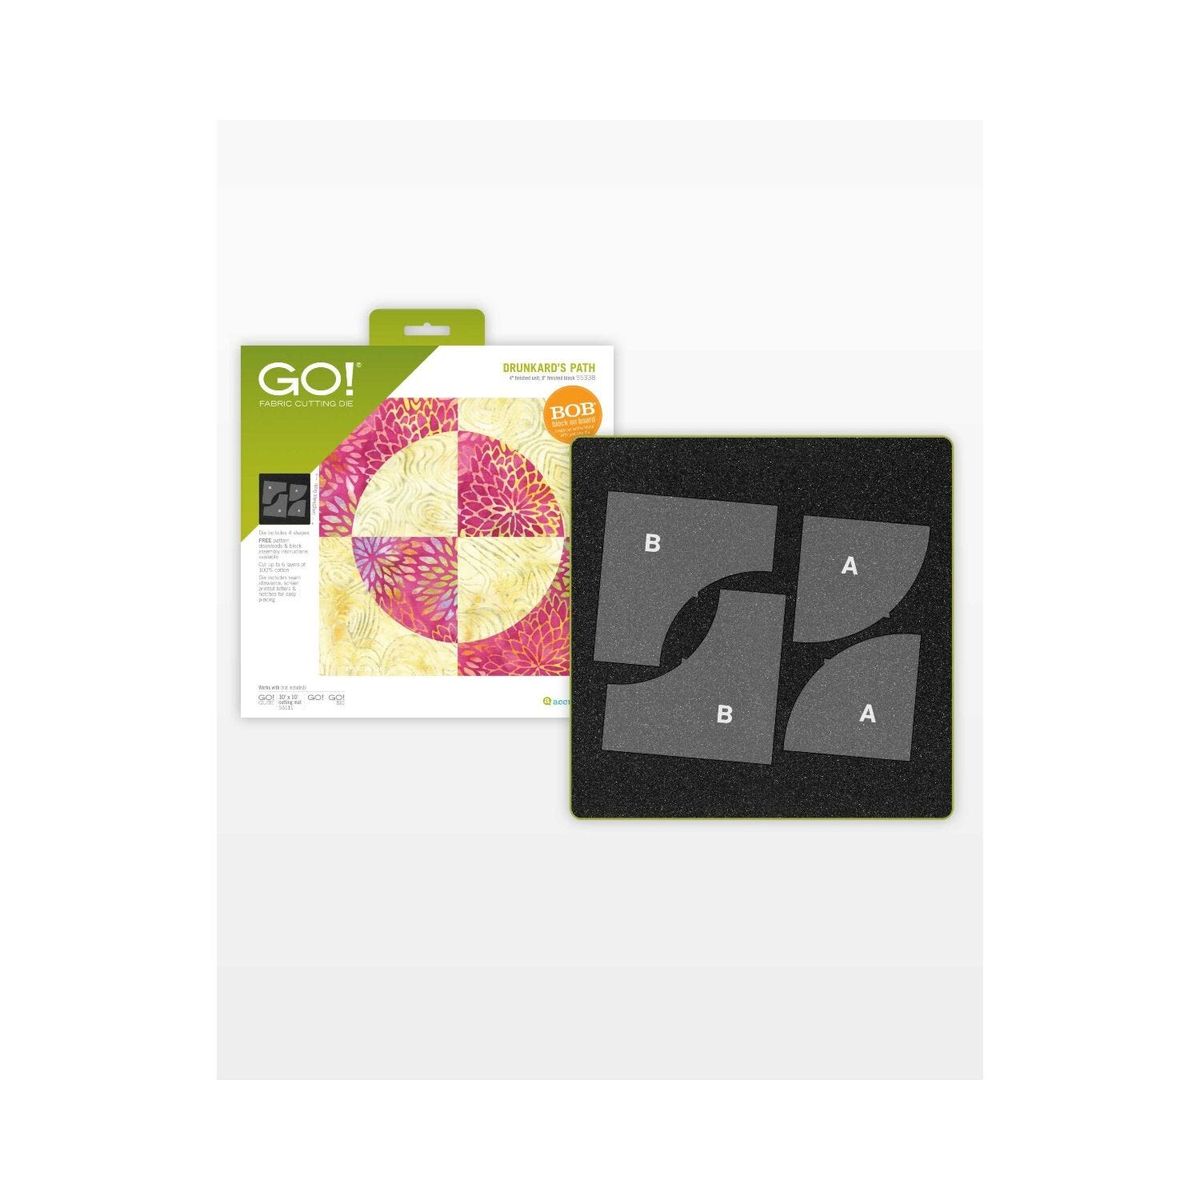
AccuQuilt makes a Drunkard’s Path die so the cutting portion of this block is super easy and precise. You need the die cutter to use this product, which may be prohibitive if you don’t own one. I have not invested in the AccuQuilt Go Cutter, but I’ve heard they work well.
Lee Heinrich for We All Sew has a great tutorial on the traditional piecing method using templates that you can print out on your own. The nice thing about these is they’re slightly over-sized so you can trim the block down to the perfect size.
A challenge for you
If you’re up for a fun challenge, you might want to look at your own collection of rulers and play with one of them. You could also organize them, create an inventory of what you have or donate the ones you don’t use. I’m going to work on organizing mine this week and hopefully, I’ll have a nice, clean ruler drawer to show you!

Discover more from The Crafty Quilter
Subscribe to get the latest posts sent to your email.

Thanks for this writing this detailed post
I now hope to use the bloc loc rulers I have purchased
I wanted to thank you for the Garden Sunflower Quilt Block pattern from 2023. I very much enjoyed making this as a single
Block to be a mini hanging the new to me and unique piecing was fun I have left to do some quilting maybe just some tacking to finish thanks Julie
Pat
I also find rulers of all kinds hard to resist, but still have many I haven’t used yet. I keep my bloc locs in a small clear box and other specialty rulers in another one. Bigger rulers hang on a pegboard next to my cutting table. The biggest (8.5×24, 8.5×18) lean against the cutting table on the floor. I know this sounds organized, but I still have to revisit all these areas periodically to remind myself of what I have. Among the untried ones are strip tube, log cabin, half rectangle triangle, fussy cut, kite and more! I hope to live long enough to give them all a try.
I have been looking at a Drunkard Path Quilt Pattern for quite a while. After seeing your demonstration, I think I will make that my next quilt. Thank you for all the info.
Hi Julie 🙂
I, too, have questioned the (exorbitant?) prices of the Bloc-Loc rulers, and had the chance to talk to the founder/designer/guy at their booth one time at a quilt show. He explained that they had to develop a new kind of acrylic that would keep the sharp edges needed for the ‘snugging up’ function of the rulers, and that they insisted on their product being made in the US. There was one other thing that I’ve since forgotten 😀 that contributed to the high cost. While it made sense at the time, and I appreciated all that he said, and I love the ones I have, I still find it hard to pay their high prices.
FYI,
Deb
Thank you for the review of the Bloc Loc drunkards path. I have their half rectangle ruler set and it is very handy. I actually went through all of my rulers last weekend and got them organized. I used a lined rectangular wicker basket and put each ruler into a labeled file folder, smallest to largest front to back. My long rectangular rulers are hanging from an S hook on the side of a cabinet nest to my sewing table. I found rulers I forgot I had and am now planning to make time to use each one.
Thank you so much for taking the time to write this post, very informative!
I have used Deb Tucker’s Diamond Rects ruler and I think it did a good job although the ruler was slippery on the back side and I had to be careful to keep the ruler from moving. I used that ruler when sewing up a Storm at Sea quilt.
I really like Deb Tucker’s Wing Clipper ruler. It can handle multiple sizes of ‘geese’ which justifies the price to get a ruler.
Thanks for your reviews. I look forward to seeing more of them.
Great article, love your passion to explain everything.
Thank you! That was very helpful.
I love working with curves.
(now they will look better)
I love rulers, too, and just gave an used one away to a friend who was going to make something with it. I have most of mine in file folders, except the ones I use all the time. In fact, I am thinking a few need to return to the file folders. Its a hanging drawer unit and I really like it. Of course, a few are too big to be in there, but I mostly know where to find them when I need them.