How to piece batting scraps together – Part 1
If you’re like me, you have a drawer full of leftover batting pieces that aren’t quite big enough for any one project.
I recently wanted to baste together a Christmas wall hanging, but my batting wasn’t big enough.

Look familiar? It’s really easy to piece together a few scraps of batting to make one big piece. There are several methods of doing this, and today I’ll talk about how to sew your pieces together using a zig zag stitch on your sewing machine.
First, you need a nice straight edge on the side of each batting piece to sew on. To do this, I take the two sides that I want to sew together and overlap them about 1/2″ or more.

Then you place your ruler down the middle of the overlap and cut all the way along the ruler, continuing until you’ve gone the length of the batting.
Then you just peel away the excess strips, leaving you with the clean, straight edges to sew together.


Now you’re ready to take this to your sewing machine. You want your edges to butt up next to each other just like the picture shows and try to keep your presser foot centered along the middle. I don’t use pins, just my hands to push the two edges together.

I like to use a multi-step zig zag stitch which prevents a tunnel from forming as I stitch. It looks something like this (pardon my computer drawing inability):

You don’t want your stitches too tight or close together, otherwise you might compact the seam too much. This is the setting I use on my Bernina:

I needed to sew together three scraps of batting to get the total piece large enough.

And it works like a charm. Perfect for my little project.

And here’s the sweet winter wall hanging ready for quilting:

The pattern is called “Welcome Winter” by Holly Hill Quilt Designs. I love the applique in this design! I finished the top two years ago – do you think I can get it quilted before THIS Christmas?
I’ll be back with Part 2 of “How to piece your batting scraps together” and I’ll show you the other technique for joining your batting scraps (and I think it’s quicker and easier!). And hopefully I’ll have some more pictures of my Welcome Winter wall hanging.
Have a great weekend!
~Julie
Discover more from The Crafty Quilter
Subscribe to get the latest posts sent to your email.

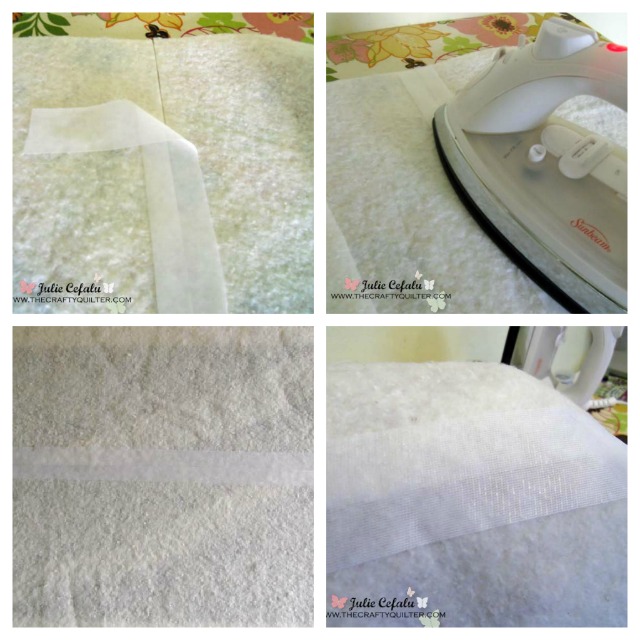
I’ve never used the Heat Press Batting together. Can you wash quilts with it? Does it shift the quilt around after washing?
thanks
Jennifer Hauge
I know this is an older question, but if anyone else has the same one… Yes, this can be washed with no issues at all. I have used this product for several years now on quilts that get washed regularly and I have had no issues whatsoever.
Thank you for this tip I am going to try it.
Thanks I’m new at quilting glad for helpful hints.
Thank you, Julie. I have joined strips of batting just with zigzag so I will try your way. I tried herringbone but it didn’t work too well.
Good tips – thanks!
Forgot to say ……. LOVE your quilt. Do try and get it done in time for THIS Christmas. I’d love to see it finished and up on your wall.
Judi
Oh darn!! I do wish you’d posted this a week ago!! I found myself asking just this question, and ended up improvising and doing my joins by hand with a kind of herringbone stitch, but this looks so much better. I’ll certainly be bookmarking this page, thanks for the tip, even if it is a bit late for this time, lol.
Have a great weekend.
Judi
Very cool! Thanks for the tip Julie. Your wall hanging is so pretty.
:-))