Christmas Once a Month – Poinsettia Pillow
Welcome to “Christmas Once a Month” at The Crafty Quilter!
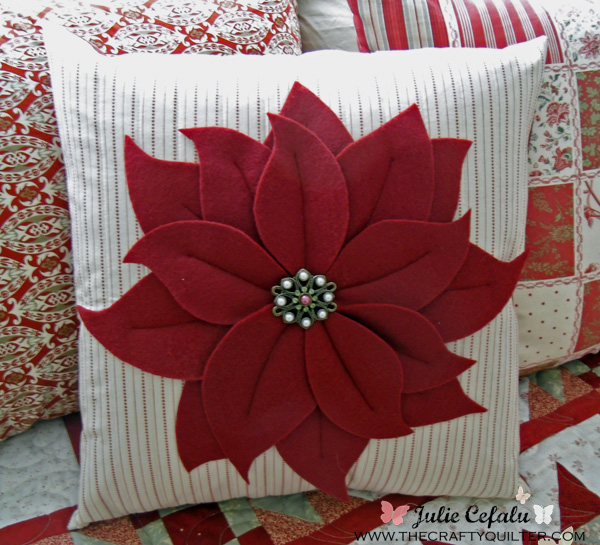
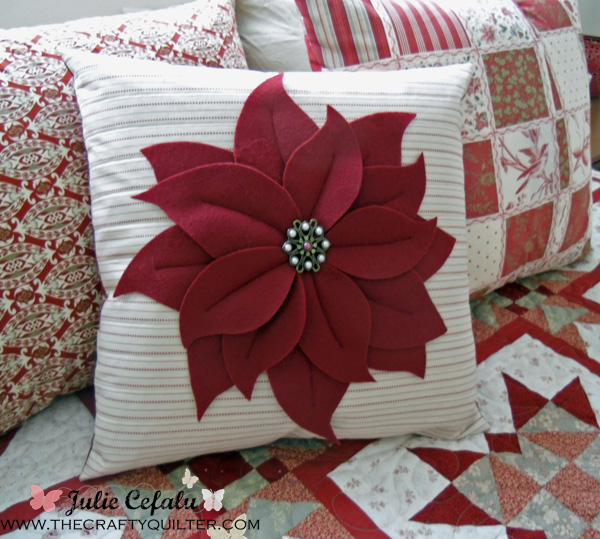
For January’s project, I have created a poinsettia pillow!
This was so fun to make and I love working with felt! Yes, the humble cousin to wool has its advantages. It is less expensive, readily available, and easy to work with.
I got my inspiration for this pillow from Pottery Barn! I love that catalog!

I think I’ll make another one in those colors and maybe I’ll use batting for the petals. The natural look is always in style. For now, I’m quite happy with red and cream.
Here are the supplies you will need to make one 18″ pillow:
23 (corrected) rectangles of craft felt (9″ x 12″)- 18″ square pillow form
- 19″ square of background fabric for pillow front
- 19″ square of fusible fleece or other thin batting
- 19″ square of muslin or plain fabric for pillow front backing
- 5/8 yard fabric for pillow back
- 1/4 yard fabric for contrast pillow back (optional)
- 16″ zipper (optional)
- Button or jewelry for flower center
- 1/2 yard of fusible interfacing (optional – used for pillow back)
Assembly Instructions:
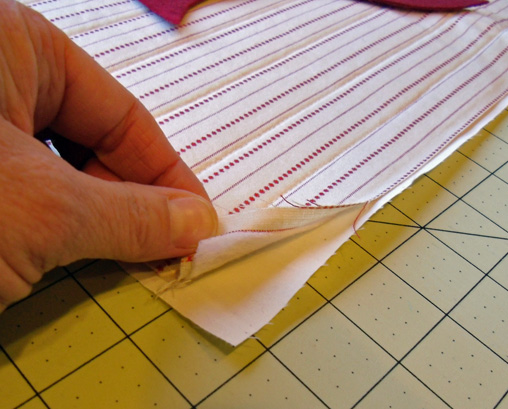
Prepare pillow front. Press the fusible fleece to the 19″ square of background fabric. Line this with the 19″ muslin square. I used 505 Spray Adhesive to sandwich this together. You could always use pins to baste into place. Machine quilt these layers together. I used a walking foot and stitched straight lines about 1 1/2″ apart that paralleled the lines of the fabric.
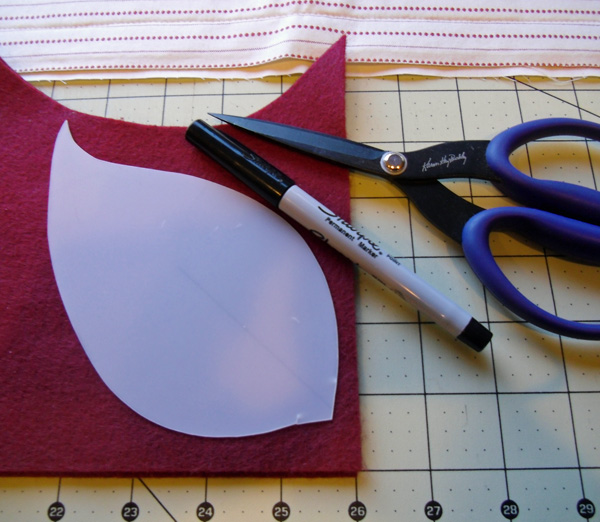
Make the poinsettia leaves. You can find the petal shapes for the poinsettia here: Poinsettia leaves. I made a plastic template out of these shapes and traced them onto felt. You could also make a template out of freezer paper. I had a hard time finding a pen that would “write” on the felt and be visible. I finally used a soap stone with good results (even though the picture shows a Sharpie pen). If you are using freezer paper, you could press the shape (carefully using a warm iron) onto the felt and cut around it.
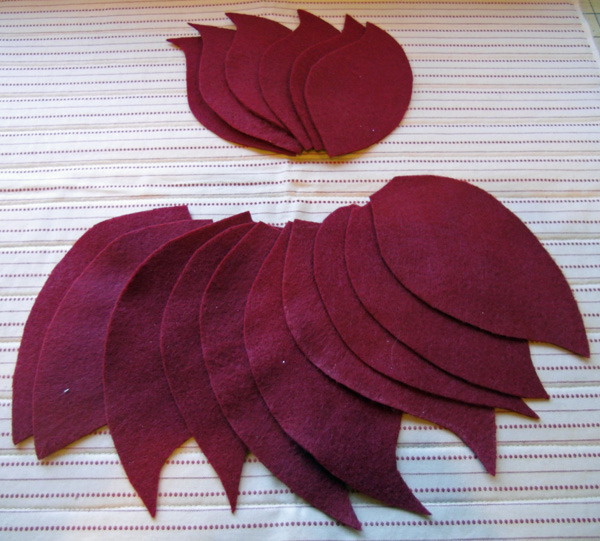
You will need 8 – 10 large petals and 6 small petals:
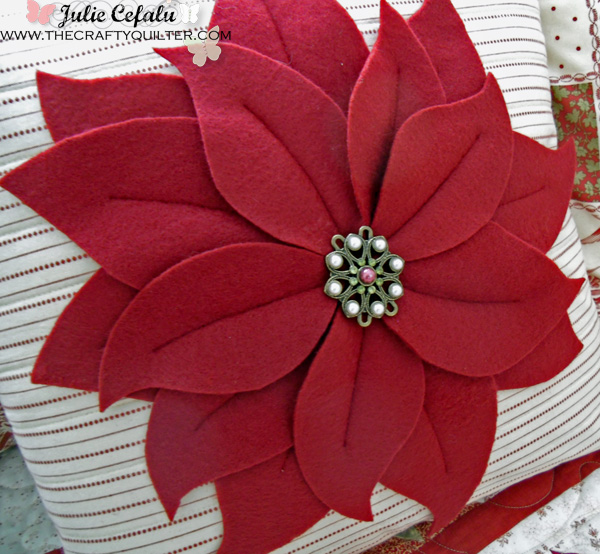
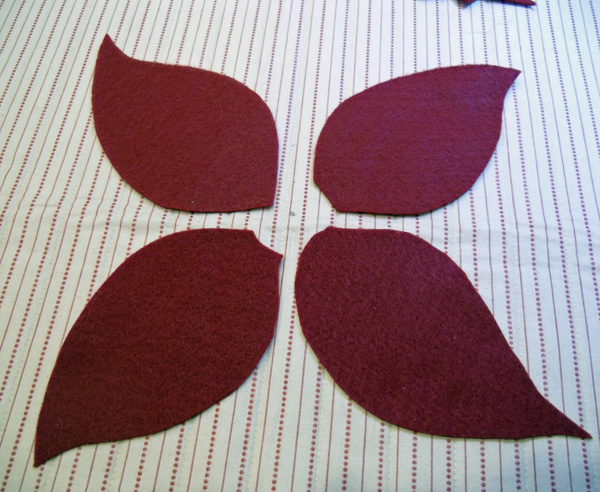
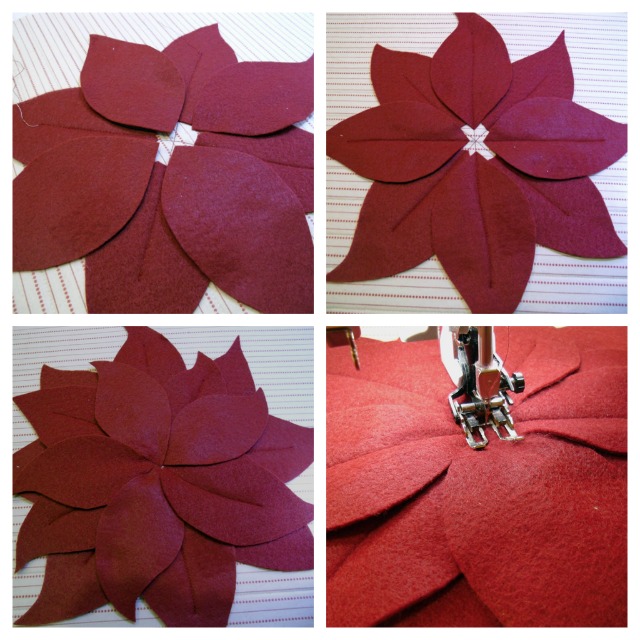
Make the poinsettia flower. Find the center of the pillow front and mark it with a pencil (this will be covered up eventually). Lay out the large leaves about 1/2″ from the center point:
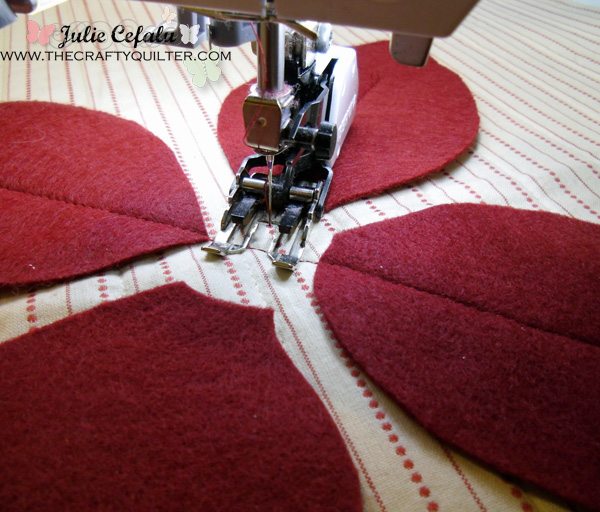
Using matching colored thread and a walking foot, stitch the petals into place. I started stitching about 1″-2″ down from the tip of the petal and stitched all the way across to the opposite petal.
Continue building the flower by adding petals and overlapping them:
Trim the pillow front to 18″ square. Add a button or a jewelry pin to the center of the poinsettia. I found lots of pendants to choose from in the Michael’s jewelry/bead section.
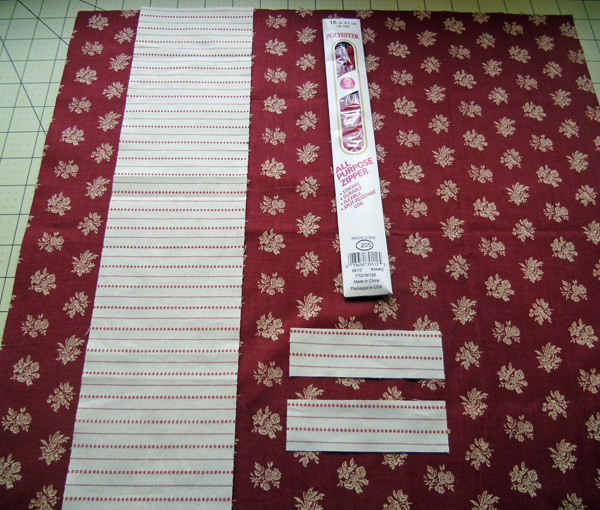
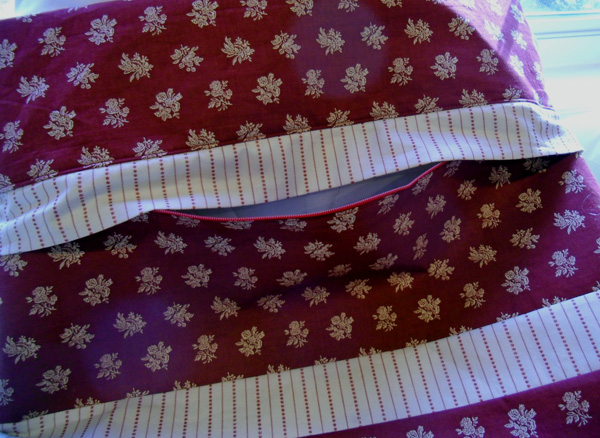
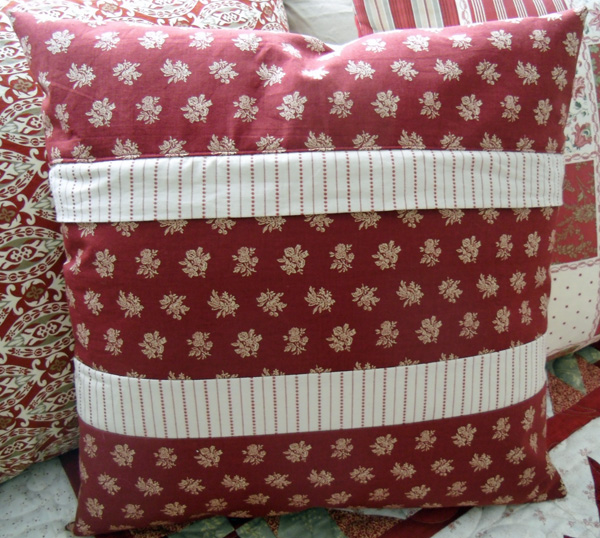
Make the pillow back. You could make the back of the pillow with an overlapped envelope style which is very easy to do. Jackie at Teal & Lime has a great tutorial for one that you should check out. However, I have chosen to use this awesome tutorial from Amy Made That! to make the pillow back with a hidden zipper. I also used it for my snowflake pillow.
In order to use Amy’s tutorial, you will need to change the cutting sizes to accommodate the larger size pillow:
- Cut (1) 20″ square from main pillow back fabric
- Cut (1) 19 1/2″ square from fusible interfacing
- Cut (1) 4″ x 20″ rectangle from contrasting fabric
- Cut (2) 1 1/4″ x 6″ rectangles from contrasting fabric
- Zipper needs to be 16″ long
I made a mistake on my pillow back and had to get creative in order for it to be long enough. So, I have an extra contrasting strip built into mine!
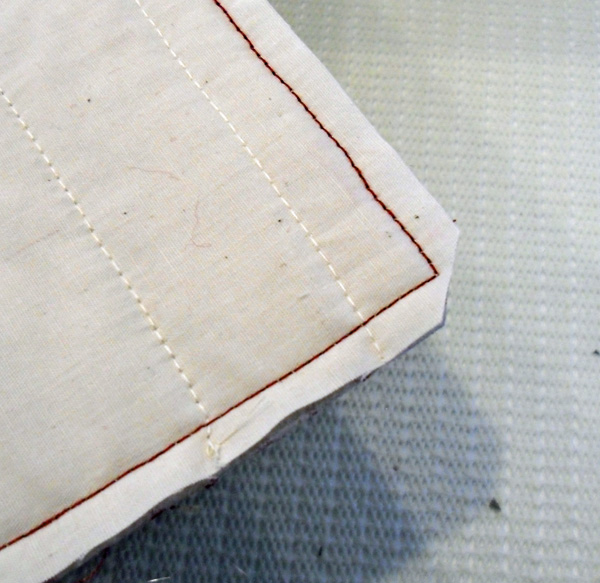
Once you have the back made, you can layer the front and back together and stitch 1/4″ all the way around. If using a zipper, make sure it’s open first.
Trim corners and turn right side out. Stuff with pillow and admire!
This whole pillow took me about two days to make with all of the trial and error going on. Hopefully I’ve worked the bugs out for you and it should be much simpler.
Please note that this tutorial has not been officially tested! Please let me know if you see something “fishy” or if something doesn’t make sense. My apologies in advance!
I had so much fun making this pillow, that it spawned another project using felt but on a much smaller scale. Here’s a peek:
I’ll be back soon with the details.
Thanks for joining me for Christmas on the 15th of January!


I love this pillow! I can’t wait to get the materials and start sewing. Your instructions look very detailed and easy to follow. Thank you so much!!!
lovely pellow
I love this pillow — but found that I needed 3 rectangles of 9″ x 12″ felt for the poinsettia.
I love this pillow! I made a pair after visiting your site last year. I used green and cream plaid fabric with cream poinsettia leaves and green crystal button in the center. I received so many compliments that I’m making more and giving them as gifts this year. Thank you for the inspiration. They are lovely and so much nicer than the store bought variety.
I’m a lot late to the party…but I LOVE this pillow. I am making all my Christmas décor this year with Poinsettias, and when I found your lovely pillow tutorial I knew THIS is going on my sofa! I’ve already started cutting the petal pieces and can barely wait to start stitching. I’ve also pinned all your mug rugs and another pillow. You are amazingly talented and I SEW appreciate your tutorials and sharing patterns. You rock! Blessings!!!!
Love, love, love the pillow. Bless you for sharing.
you have so many beautiful patterns with a wonderful tutorial on how to make them ,I will enjoy making them all thank you for your tutorial love your great idea,s
I don’t know how I missed this one? Absolutely stunning!! I love the red and I promise I will try a zipper before the year is out! LOL
Your flower pillow is gorgeous. Thanks for linking up with CTTY.
Hi Julie. I wandered over to your blog and found you via CTTY. Oh my word, I LOVE your pillow. And, yes, I plan on making one!! It is just stunning!! Maybe because I adore poinsettias. Thank you for sharing the tutorial.
I love the pillow that you have done, thanks for the tutorial. I like the fabric, the color combination. I hope you do not mind I pinned this project on my Pinterest board of for future reference.
You did an amazing job, thank you!
Marisa.
The pillow is beautiful! I can’t wait to see what you have for next month!
I love your pillows. They are wonderful but look so easy to make.
That’s really lovely Julie, such an easy pattern, with a fantastic result. Thanks for sharing with us!
I tried out your Christmas Mug Rug pattern today and am very pleased with the result 🙂
Wow!!! This is very pretty. You continue to amaze me Julie….
Beautiful. You did a great job ‘re-creating’ this pillow. Love it!
So very pretty! I like the burlap one as well.
I love the pillow and I love your website!! I will for sure be following your “Christmas Once a Month” It is such a great idea!!
Wow! Lovely!
This is lovely Julie. I can see this as a mismatched mate for the snowflake pillow at Christmas!