My own snowflake pillow
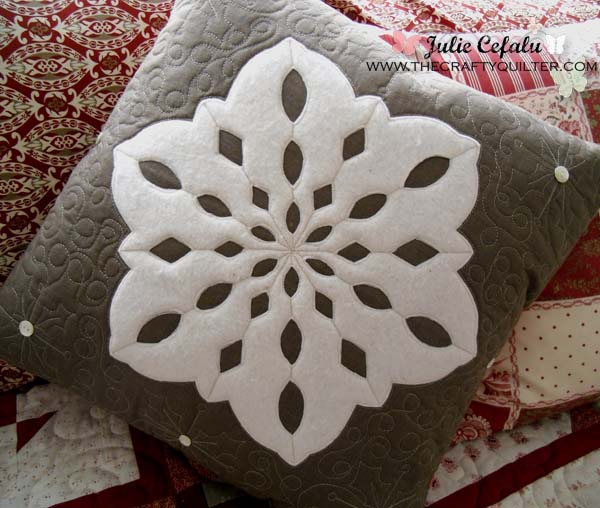
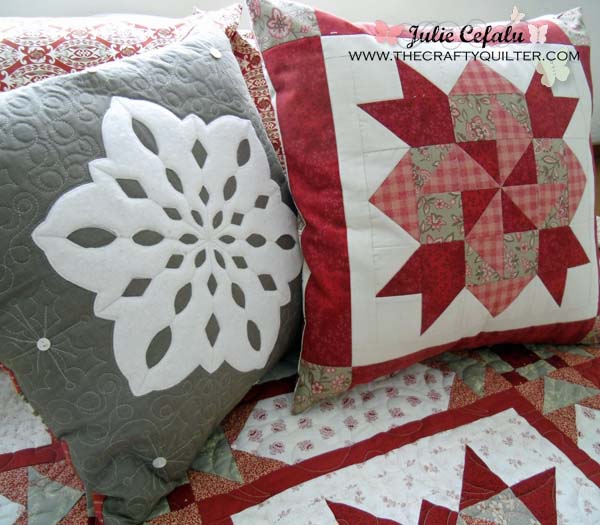
I have been busy making pillows and pillowcases. I mentioned the snowflake pillow at Pellon Projects in my last Sew Thankful Sunday post and I just had to make one of my own. I love how it turned out!
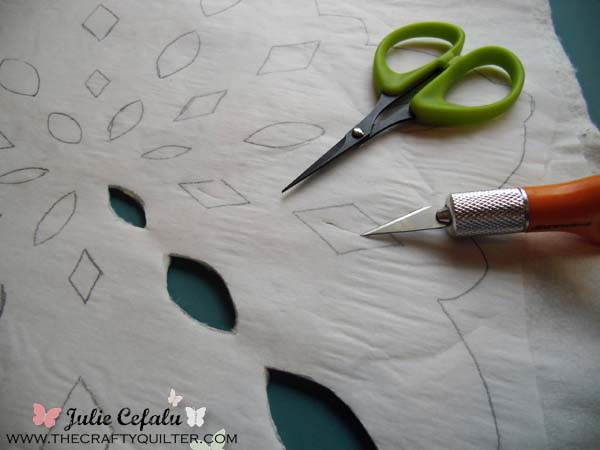
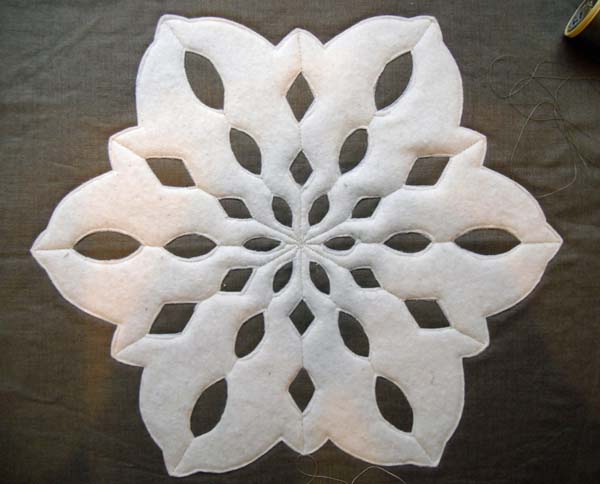
The hardest part was cutting out the snowflake.
If you plan ahead, you can do this part while watching TV and it’s much less painful!
I used leftover Hobb’s Heirloom (80/20) batting for my snowflake and I fused some lightweight interfacing to one side of the batting to give it more stability. Then I used Heat ‘n Bond lite to transfer the snowflake design onto the batting, cut it out and fused it onto my background square.
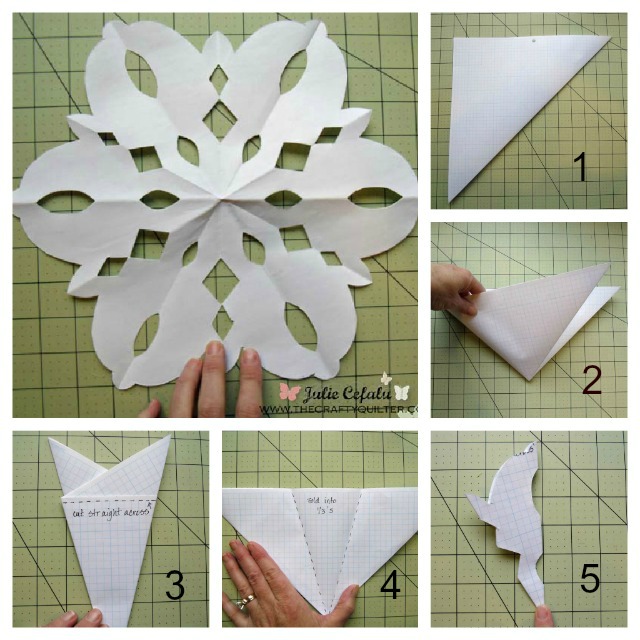
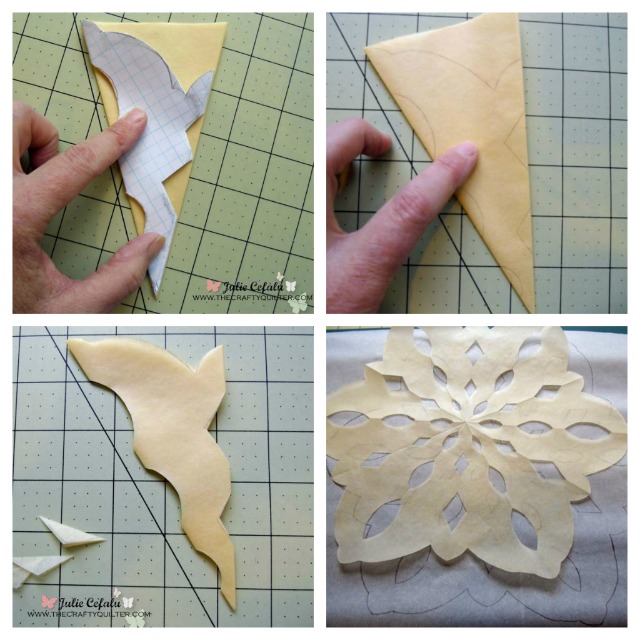
Here’s a look at how I came up with my snowflake design. I borrowed from Martha Stewart’s tutorial here.
I then decided to transfer the design onto tissue paper because I wanted to change the design a little and the copy paper was a little too thick to fold and cut accurately. Then I traced this onto the paper side of my fusible web:
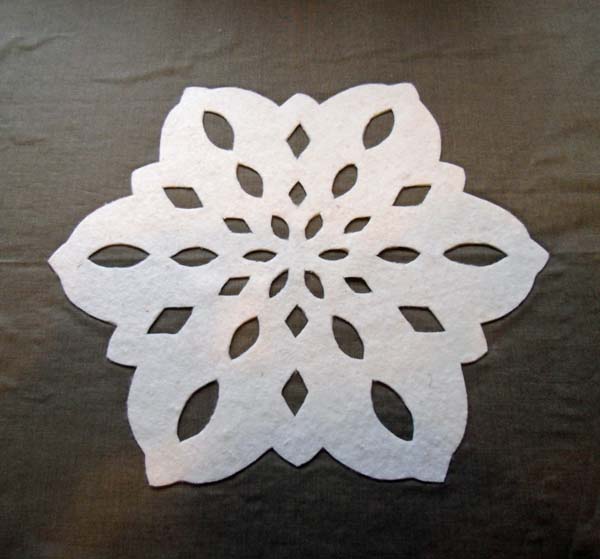
Here it is cut out and fused onto my background:
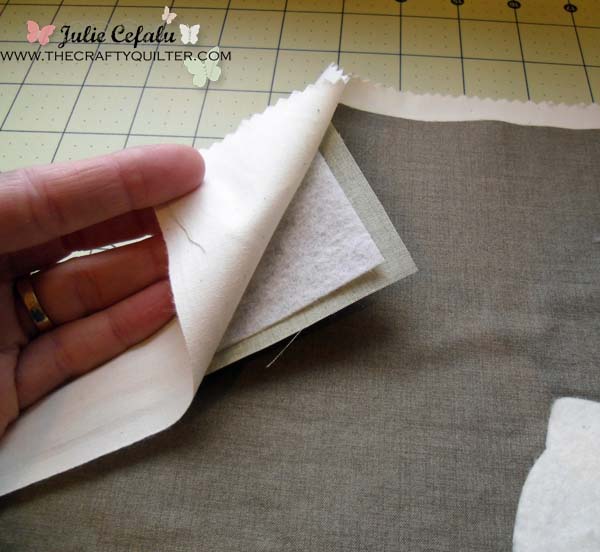
My background fabric has three layers: muslin on the bottom, fusible fleece in between and cotton fabric on top.
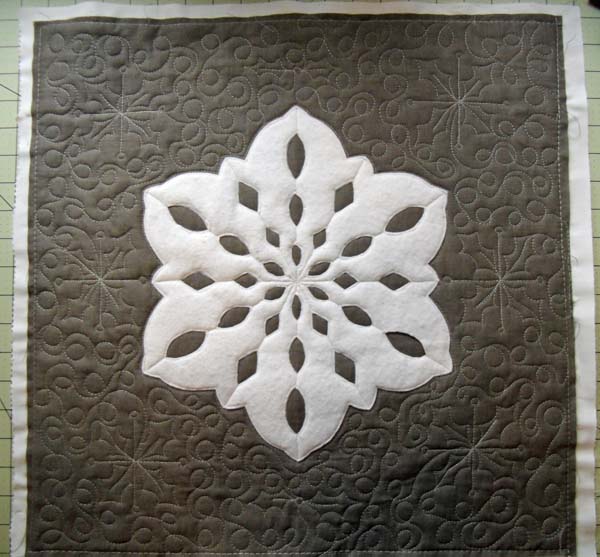
Next, I stitched the snowflake down using a walking foot and thread to match the snowflake:
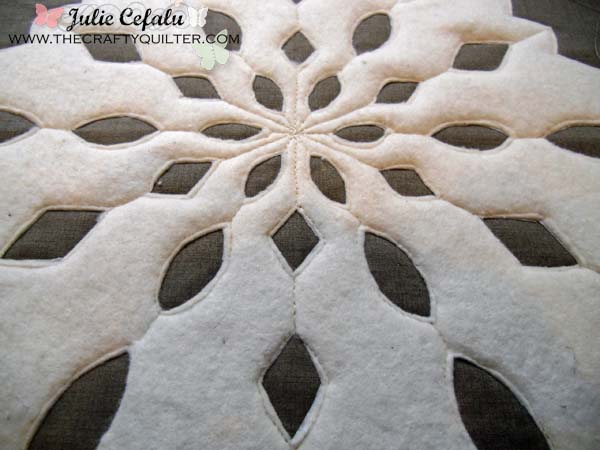
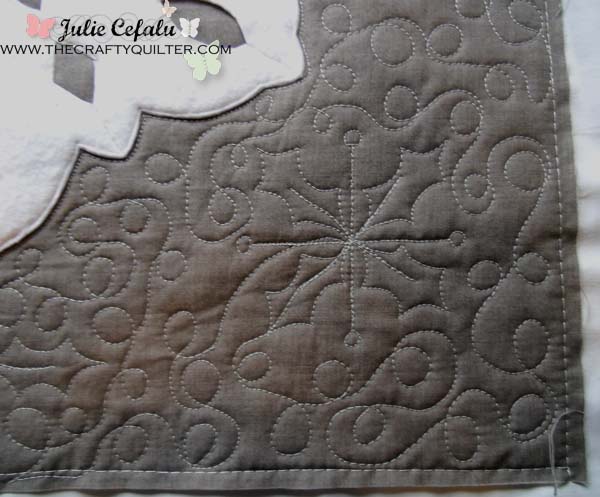
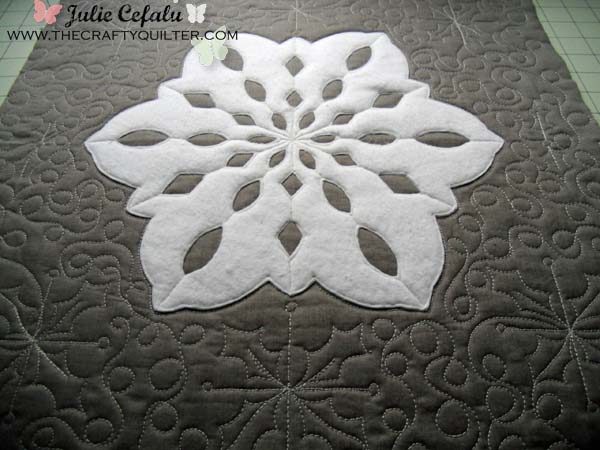
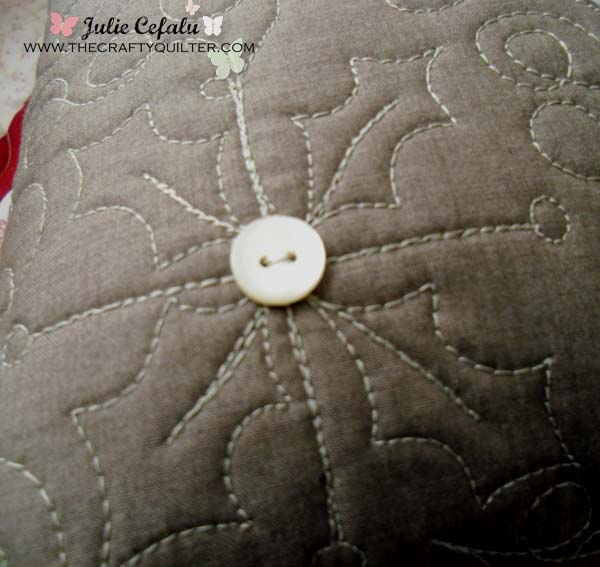
Then I added the quilting using free motion loops and “snowflake holly”:
Then I thought to myself, “Wouldn’t it be cute with a button in the middle of each snowflake?” Of course it would!
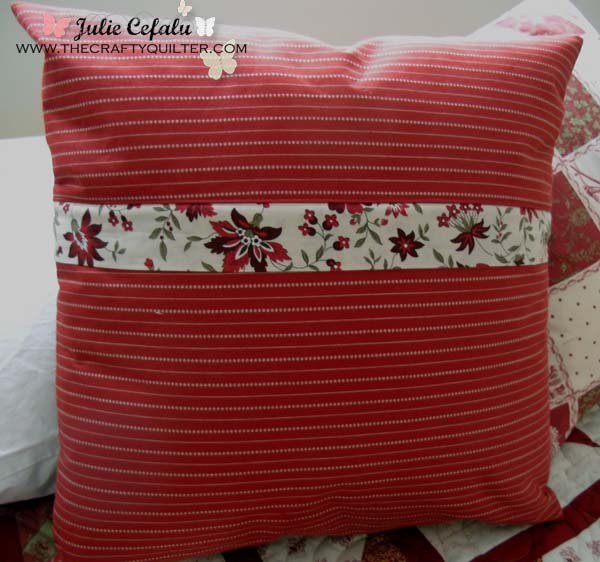
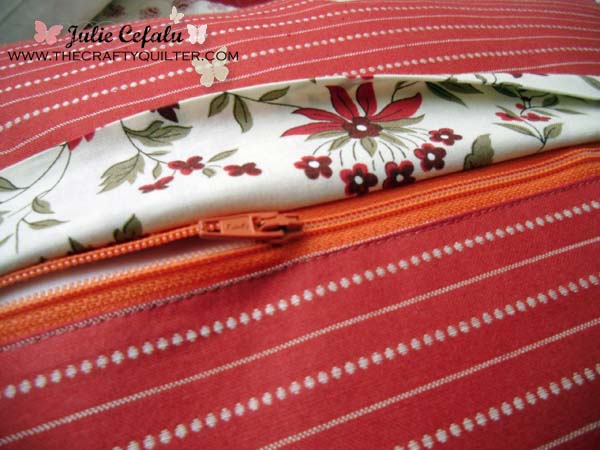
So that’s all the pillow front, but the pillow back is just as cool! I used this fantastic tutorial from Amy DeCesare of Amy Made That! (she also designed the original pillow) which shows you how to make a hidden zipper in the back. I’m so glad I did it and it’s so easy!
And it’s especially helpful to hide my uncoordinated color (orange) zipper:
I’ll be using this zipper method from now on. Thanks Amy!
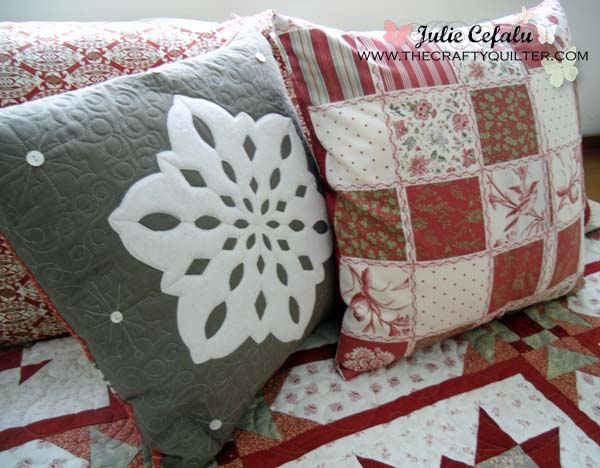
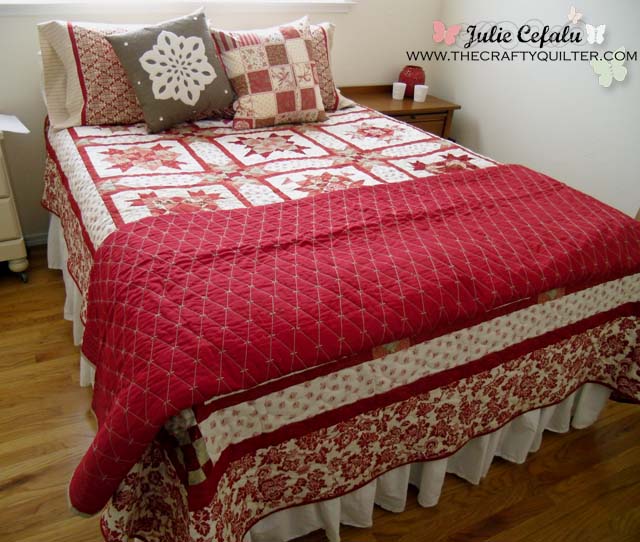
And here is my pillow on top of my finished “Paris in the Fall” block of the month quilt!
I’m not sure if it’s going to stay there, but the bed needed another pillow so that’s where it will be for now.
And my other pillow from a leftover quilt block is next to it:
I’ll give more details and pics later of the quilt and some of my other red and white Christmas decorations. Hopefully, I’ll have another pillow finished by Christmas. As I type that, I’m thinking “Seriously? Who are you kidding?” I’m only having 30 relatives over for dinner on the 23rd and then brunch at our house on Christmas Eve. Who needs sleep? lol!
Happy Holidays!
~Julie

Hi. Do you use a long-arm to do the beautiful quilting on your snowflake pillow? How could I do something similar or simpler, =) without a long-arm?
I love this idea. My granddaughter was here one day and I showed her how to make snowflakes with paper. I should let her do this project. She loves to play on my sewing machine.
Really hatsoff to your snowflake Pillow idea and thanks for clear directions for making snowflake pillow.Thaks once again
Iam not so savvy with all this computer stuff, but happened on your site. So glad I did…..you creations are stunning.
I’ve been making cushions the same way for the last 20 years (cripes!) – an overlapping envelope back with a contrasting band. Today I have made a special pair of cushions and decided to try the tutorial you linked to to add a zip. All I can say is that I am never doing it any other way from now on!! Thank you!
Cute pillow and I will not ask how will you wash it.:) Lots of work and a great end result. 🙂
Your pillow is gorgeous! Isn’t Amy the greatest? I’m just in awe of her!!
I agree! She’s is one talented lady!
Beautiful, am looking forward to learning more about the quilt. The fabrics used are so pretty.
Julie. Your quilt and pillows look beautiful. You are inspiring. Merry Christmas. Robin
Beautiful Julie.
I love the pillow and love the quilting you did on it. Wow, 30 people for dinner?!
Wow! YOU are one talented lady!! That pillow looks amazing!! Wonderful job!
Hugs and Merry Christmas!
Tanya
I’d have that snowflake pillow out in the family room for all to see; it’s beautiful!
Your pillow is so beautiful! I love your quilting, too!
I am going to make a winter pillow… it’s on my to-do list!
Susie
Julie, the snowflake pillow turned out beautifully, I’ll work on one for next year, which undoubtably means starting it on Dec. 1st.
Merry Christmas!
This is just lovely – the design, the quilting, the colors. I will have to look at having a go at a couple of these (for next year!). The whole bed looks beautiful.
I am squealing with delight! Your pillow is so pretty, and I love every detail! I’m going to have to make a whole flurry of them, hoping to get one quite as sweet as this one!