Decorating & Organizing with Clipboards Tutorial
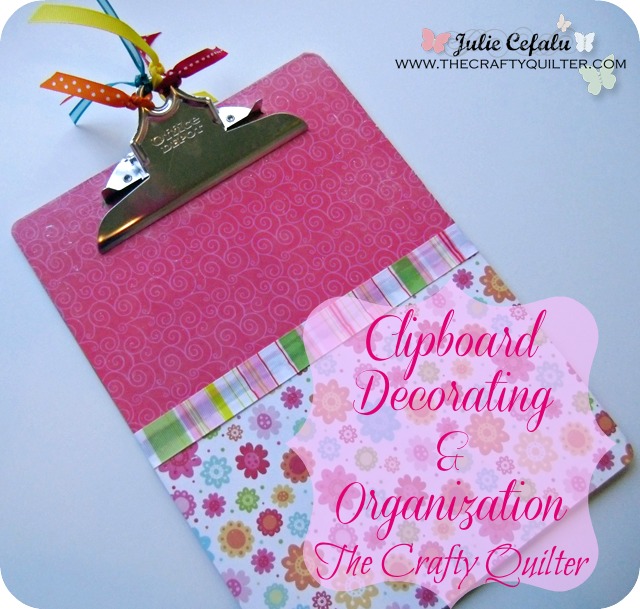
I {heart} clipboards! They are so easy to decorate and you can use them for so many things!
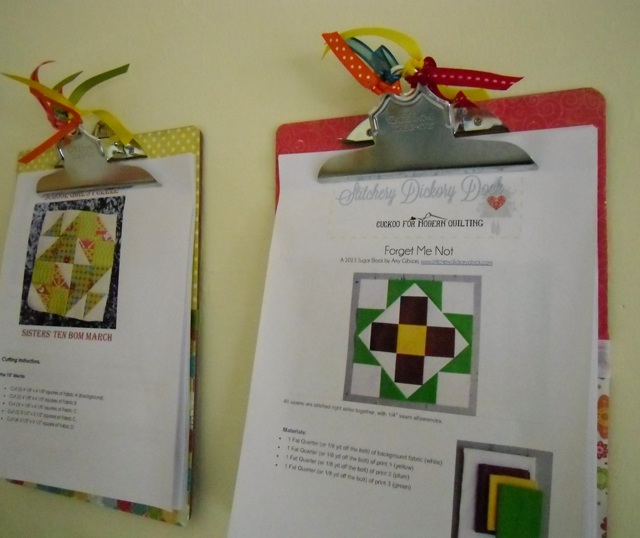
They make great gifts and they are a perfect organization tool. Currently, I am using them to organize my block of the month instructions.
Let me give you a quick tutorial on how to decorate a clipboard.
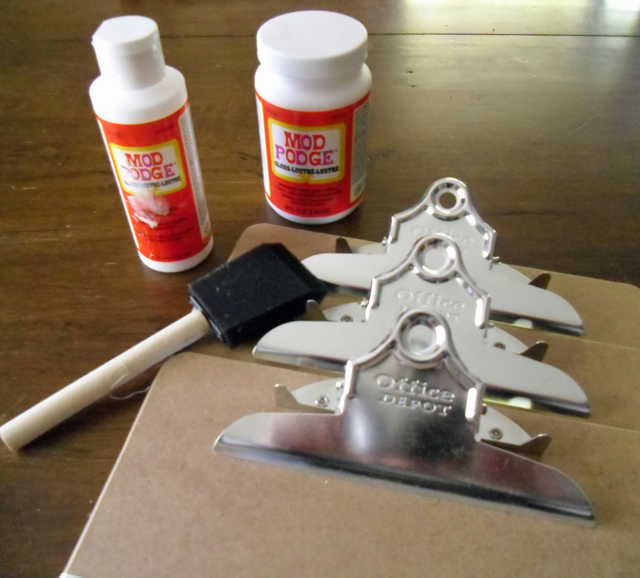
Supplies:
- Clipboard, any size . I bought mine (in a pack of 3) at Office Depot.
- Scrapbook Paper
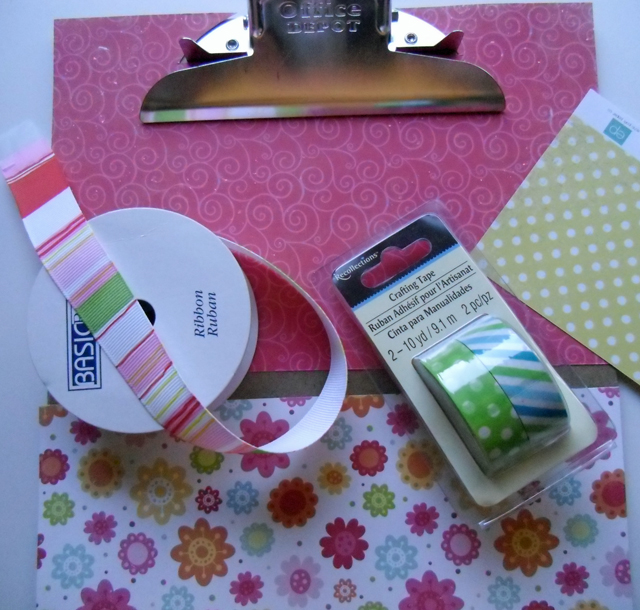
- Ribbon
- Mod Podge
- Foam Brush
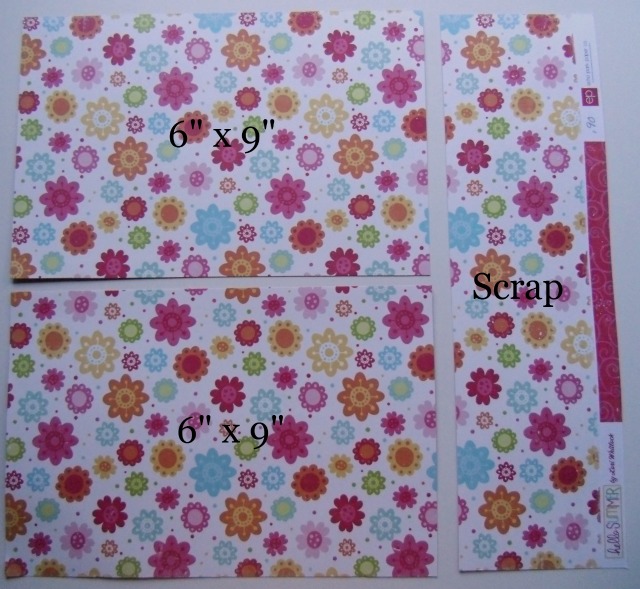
I had just as much fun picking out the scrapbook paper for this project as I do fabric shopping! If you can, get double-sided paper so that you can use both sides and they will automatically coordinate.
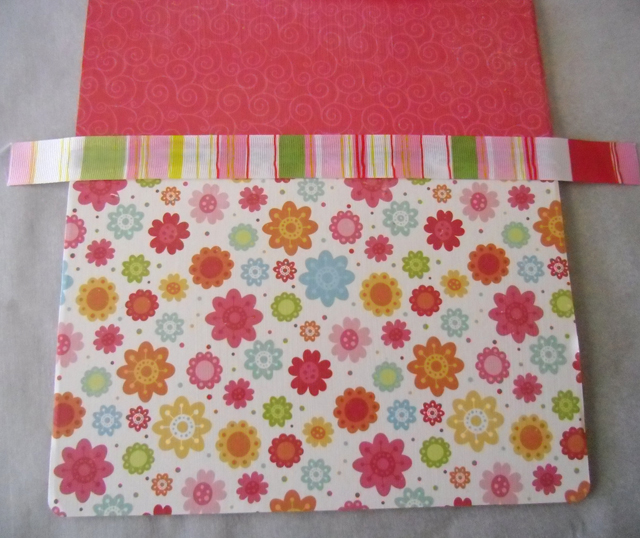
I cut my paper into two 6″ x 9″ rectangles and used one side for the top and flipped it to the other side for the bottom.
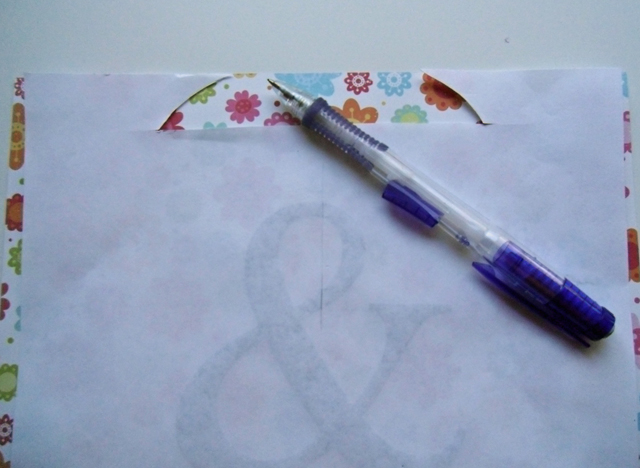
If you’re using two separate pieces of paper, you could cut them a little bit longer (6 1/2″ x 9″). You need to trim the top rectangle piece to fit around the clip of the board. I made a template first from paper and traced it onto my scrapbook paper. Then I cut it out with scissors.
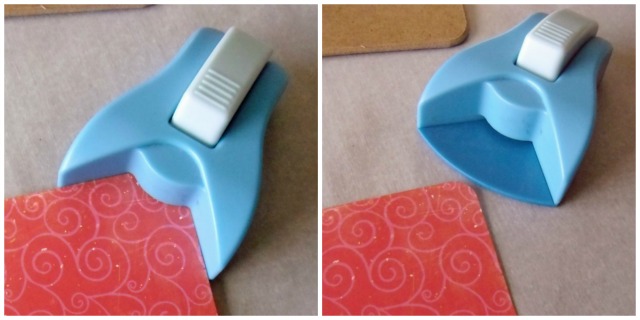
I have a corner rounder punch (I don’t know if that’s what it’s really called) to round the corners of my paper:
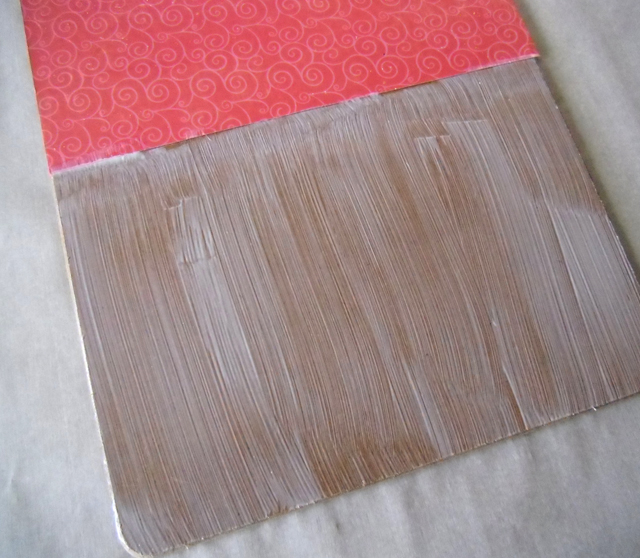
Next you will bust open the Mod Podge! I poured mine into a paper cup and then “painted” it onto the clipboard with a sponge brush. Use a generous amount of “glue” and position the paper on top. Smooth out any air bubbles or ripples with your hands or a credit card.
There will be a gap at the center where the two paper rectangles meet. This will be covered when you add a strip of ribbon or coordinating paper. If you’re using paper, you can add that now.
Once this stage has dried (and you can help it along with a blow dryer), give the whole thing another coat of Mod Podge. This time be aware of heavy streaks that can form when applying. These will show a bit even after it dries. The Mod Podge will dry clear and it give’s it extra durability and shine.
I used a folded piece of parchment paper to hold open the clip portion of the board while I waited for the Mod Podge to dry. If you can think of something else, I’d love to hear it! This prevented the clip from drying onto the paper and tearing it. You may be able to remove the clip entirely before starting this project, depending on the clipboard style.
If you’re using ribbon, you can add it now while the Mod Podge is still wet and it will glue it into place. Wrap the edges of the ribbon around to the back and glue.
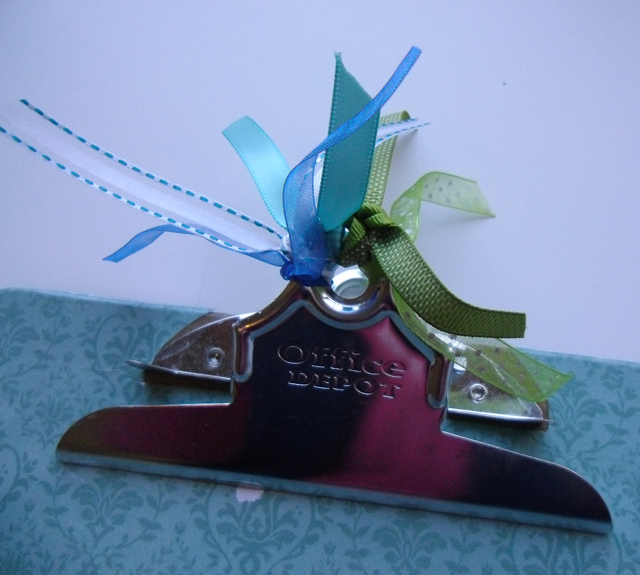
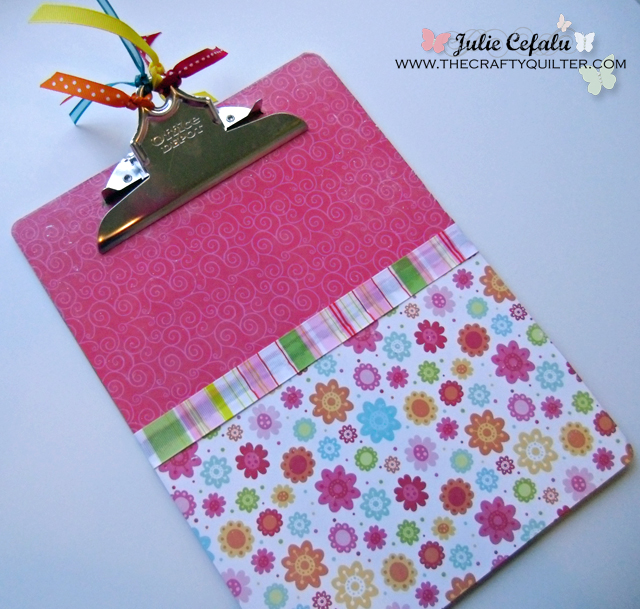
Now you can add some ribbon to the top clip of your clipboard. I coordinated my ribbon and paper with the fabric that I am using for each block of the month (BOM). Here is my blue and green BOM clipboard:
You can also the tear in the paper just under the clip. I learned the hard way!
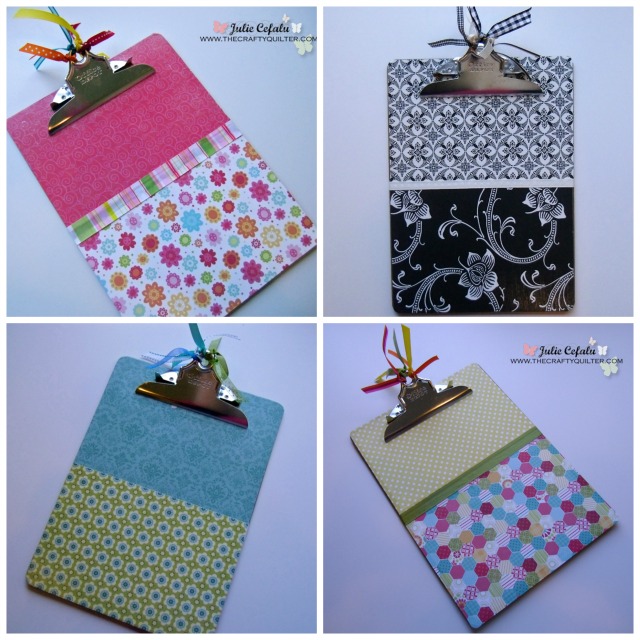
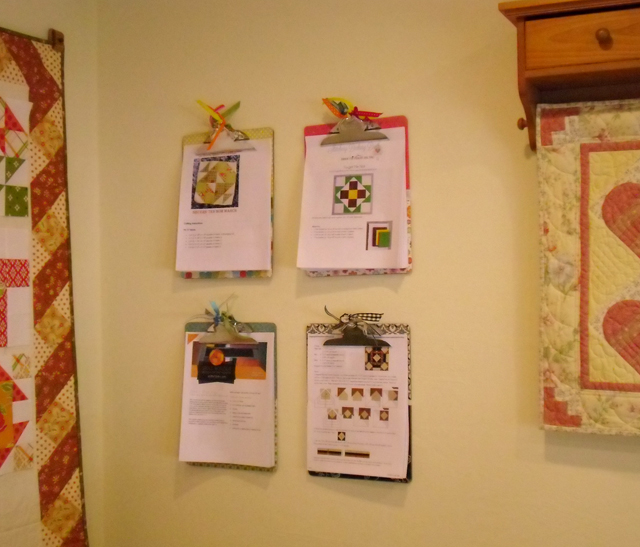
I decorated four clipboards because I have four online BOM’s that I’m trying to keep up with (and that doesn’t include my Fat Quarter Shop or Granary BOM’s)! Yep, I’m a little crazy like that.
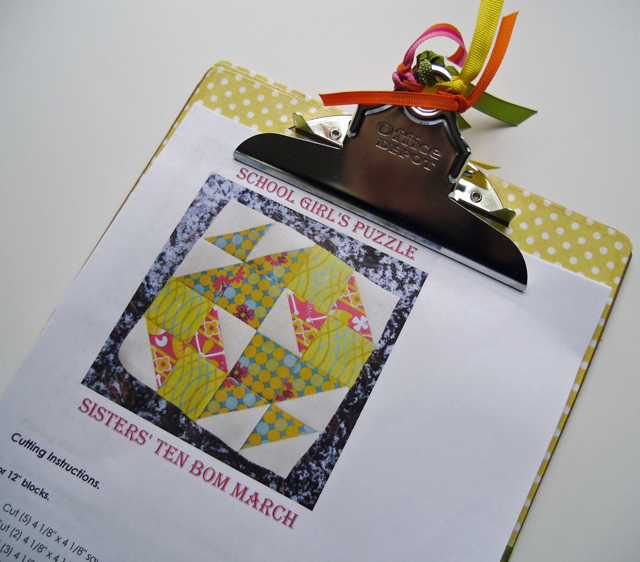
It’s not easy covering up the pretty clipboards with my printed out instructions for each block of the month. But it keeps me organized!
I keep them on the wall behind my sewing table.
I can’t get a good picture for the life of me. It looks a lot better in person. I really need to go camera shopping!
You could also keep them in a pretty basket on your table:
Here are some other ideas for using your clipboards.
A recipe holder. Great as a gift with your favorite recipe attached!
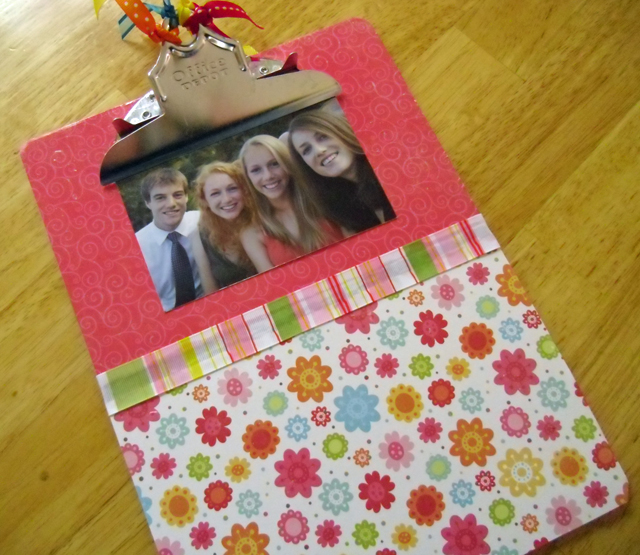
A picture frame/holder. Also great as a gift with a picture of the recipient and you (or in my case, my children)! I mean who wouldn’t want a picture of my precious kids?
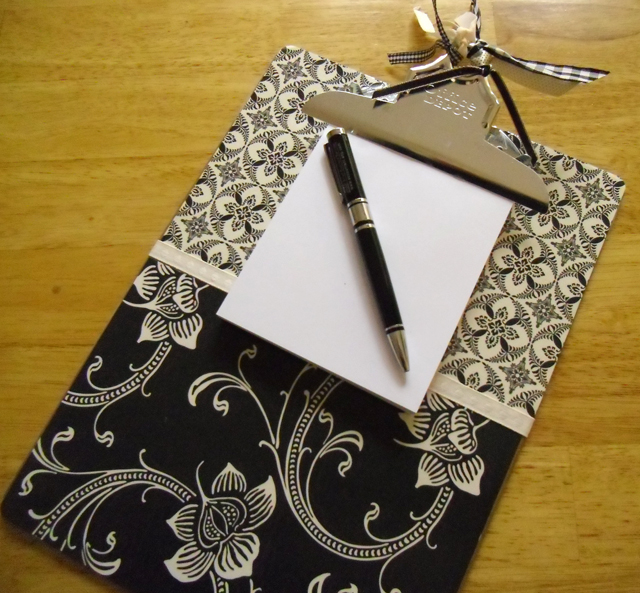
A note pad holder. Another great gift along with a matching pen!
I hope you have fun decorating your own clipboards. Use them to organize anything from BOM’s to task management. Or give them as gifts. You’ll be really organized and/or really popular!






I love your ideas but what does the back look like
I saw another clipboard tutorial where she used a zip tie (cable tie) to keep the clamp open, then just cut it off when everything is dry. Works really well if you keep your fingers out of the way, haha!
And – forgot this part – he took the clip off entirely, saying he could put it back on with a pop rivet – whatever that is. Go engineers.
Yes, it took me a long, long time to get around to this project. And it’s going to work – maybe. So far I’ve put paper on twice and ripped it off twice. Crookedness. Bubbles. Think I’ll let my husband put the paper on the next time – engineers are really rather persnickety about doing things.
And it will work!!!
I stumbled across your blog and I just love it. I’m in the process of designing my craft room before I dive into some sewing projects. I love the clip board idea that you provided to help stay organized with projects. I was wondering if you have a tutorial on your quilting board or email me the directions on making one. I saw some on YouTube, but I wasn’t happy with the way they look. Thanks Georgette
Thank you! I am making some paper covered clipboards as Christmas gifts this year. I found this very helpful.Iam so grateful for people like you to help me out with my novice crafting attempts.
You could use a clamp from the hardware store to keep the clip open 🙂
These are beautiful! I just made one this weekend. I used a plastic twist-tie to hold the clip open while the Mod Podge dried.
Love the clipboards. Do you think you could create the same effect by using fabric?
Love the clipboards! I use a clipboard at work a lot. It’s how I keep my notes and things straight on Sunday mornings (I work at a church). BTW, how do I follow you? The Pinterest link didn’t work for me.
Those clipboards look great! Thanks for taking the time to make this tutorial
What a fabulous idea, the clipboard looks so colourful and fun.
Kim
I’ve been wanting to make an altered clip board for a while now and even have all of my supplies in my craft room. Thanks for re inspiring me! I hope mine turns out as pretty as yours did. Stopping by from I Heart Nap Time 🙂
RamblingReed.blogspot.com
Great idea and so pretty!
I’m visiting you today from Sunday Scoop. I hope you get a chance to stop by my blog and leave a comment and Link Up, too!
~ Megin of VMG206
Medicine Cabinet Makeover
Julie, Love the idea as I wondered how you kept track of those projects. I love office supplies too and organization. However, my quilting/sewing/guest/office/gift room is not well organized at the moment. Love the ideas and hope to make them into a book someday. 🙂 I just love quilts and quilting and handed out homemade hexagons at our family reunion as a passport for learning to quilt in the future. Happy Sunday/Sonday. 🙂
Not fairrrrrrrrr you are showing us bits and peices of your sewing room and I for one would love to see the rest of it. espeically your pretty quilts that are hanging around in the backround.
Wow – who knew a brown clipboard could look so classy. Thank you.
Very, very cute Julie…. Thanks for sharing such a great idea…
You are definitely my hero! You get all that quilting done AND crafting???? I love organization too and have made several clipboards but none as cute as yours.
Oh, you are sooooo my sewl sister! My coworkers know about my love of office supplies, and I’ve received several clipboards as gifts. These are just so pretty and do a great job or organizing!