Setting seams and other pressing tips
A while ago, I had a student in my advanced beginning quilt class ask me if it was really important to set your seams after sewing them. The short answer is “YES!”.
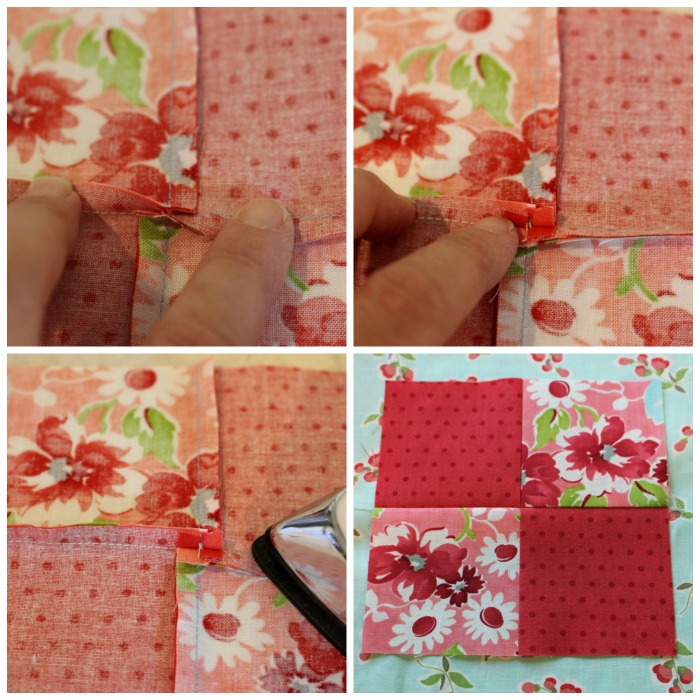
If you’re wondering what it means to set a seam, let me tell you. It’s when you press your seam flat (just as it was sewn) before pressing it open or to one side:
What does this do? It sinks (or sets) your stitches into the fabric and really allows your seam to be pressed flat in the next step. It also smooths out any wrinkles or puckers which can be caused by tension issues or uneven stitches.
I like to press my seams to one side or the other rather than pressing them open. I think this makes a stronger seam and I like being able to “lock” opposing seams when I’m constructing a block. Here’s an example of a well-nested seam:
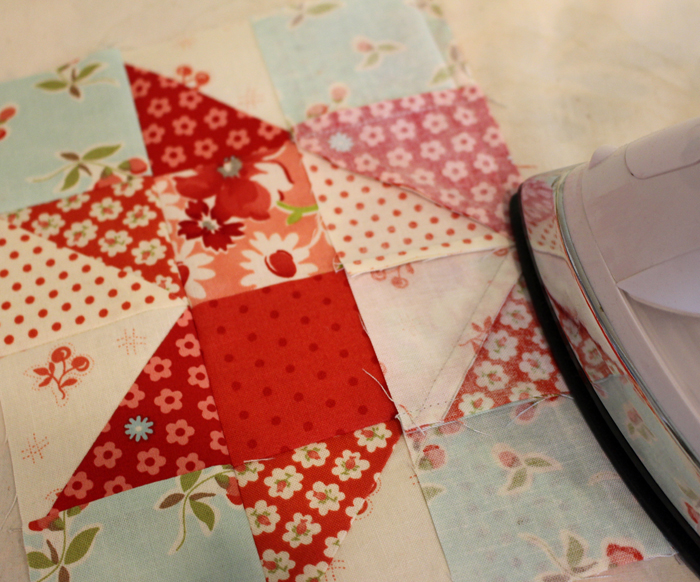
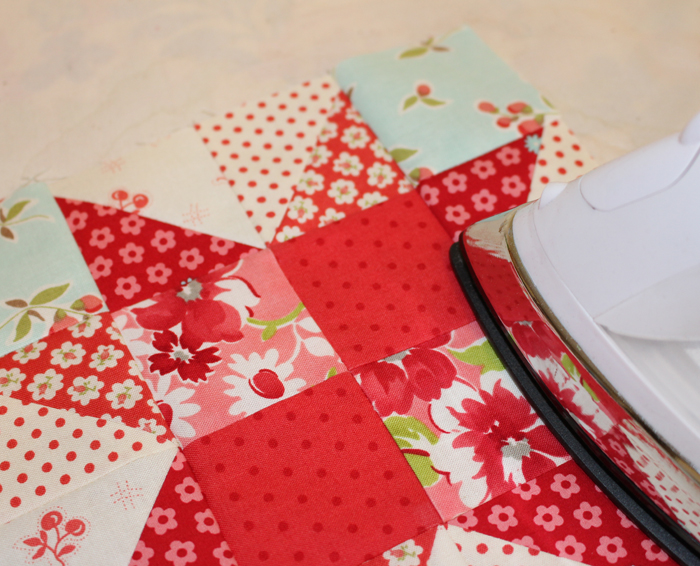
I almost always press my seams (after setting them) from the right side. I use my fingers to separate and flatten the seam and then I press it from the right side. Here is what my method looks like:
Also, I rarely use steam when pressing. I think it has a tendency to distort the fabric. If I have really bulky seams, then I like to use a bit of spray starch to make the piece flat.
In general, I press my seams towards the darker fabric. However, it depends on the construction of the block or the quilt. I want my seams to be opposing so sometimes I need to press towards the lighter fabric to make that happen.
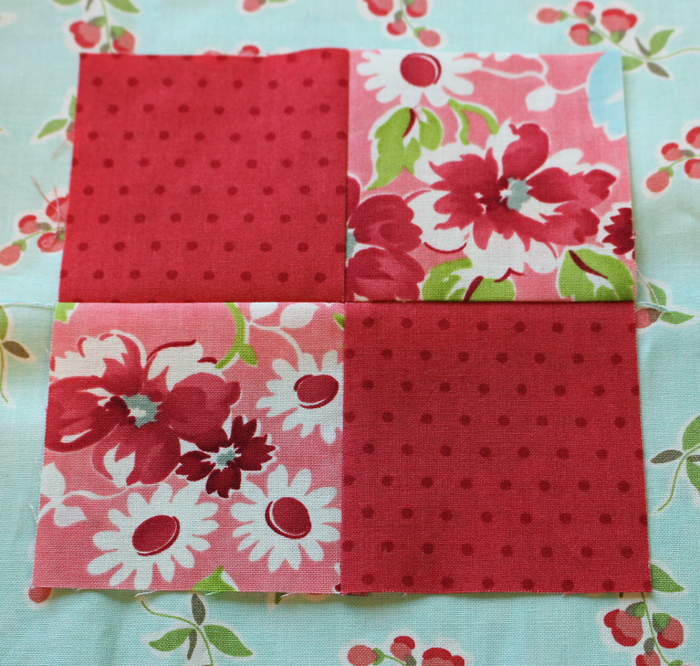
When I press seams for a four-patch, I like to “pop” the center of the unit to make the center lay flat. The seams spiral around the center in one direction. It looks like this:
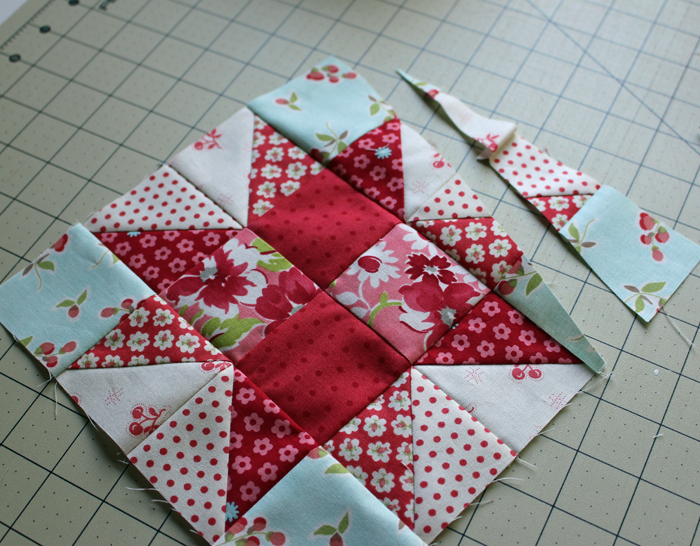
I hate to share this next picture with you, but maybe you will learn from my silly mistake.
I know. Gasp! I was cutting something else and I didn’t realize this block was underneath it. I knew you guys would sympathize with me.
At least I only have to replace the top row. And at least I took pictures before this happened. Glass half full :-).


Learning the steps of pressing is mind boggling!
I can now see how I have been distorting blocks! I’m anxious to retry those mini blocks and see how much difference finger pressing makes. I know for certain i will quit using the iron to push seams open.
Great tips!!!! Thanks
I have found that pressing does DEFINITELY make a difference in how the block lays. I have tried to skip that step prior.
Ouch I’ve done that same thing and cut thru a block I have just finish sewing.
Thanks for sharing
I seen your blog on FB, I am really glad I did, thank you for showing how you press, I often wondered if it mattered dry or steam press. I did a jelly roll quilt & could not figure out why some of the strips were wavy. Needless to say, I will be taking the quilt apart & scrapping the strips that are ruined. I am now thinking of doing a d9p with the good strips. Btw, love your fabric, the colors are so beautiful. I will be following your blog!
Great tip about popping open the center of the block. I wish I had done that on a block with 6 pieces coming to center….. And I admit, I had to GASP when I saw what had happened to your block ! My cutting table tends to get real “cluttered” and I started setting a basket in the corner to throw things that were potentially in the way.
I hate that for you! I don’t like having to redo something because of my stupid mistakes. That was a dumb statement since no one else is here to make the mistake for me!
My absolute worse was when an errant block made its way underneath the backing of a quilt. Imagine my surprise when I looked at my finished quilt. I just did a decorative hand stitch around the raw edges of the block and called it an “artistic expression.” No mistakes here!
Great tips and don’t you just hate when you have a oops…like that! Thank goodness you had more fabric!
What a cute block you are creating! I really love your fabrics. I am very much looking forward to see what quilt you are making;). For the last photo, thanks for sharing! I perfectly understand it happens…you saw what I did in your class;). Glass half full ;)!
Well, I must admit that I hate this part, to press the stitch, but you are such a good teacher, I underestand why is so important. With the last picture, indeed I like you very much 🙂
Oh what a shame but I have also done the same thing myself along the way. It is such a pretty block. Love the saying “Glass half full” as it is so true.
What a great tutorial and the blue, red and pink block you used is lovely. I’d love if you came and shared at my first ever link party http://organized31.blogspot.com/2013/05/inspire-us-thursday-link-party-1.html
We all make those kind of mistakes but it is good to show them – it makes me breathe a sigh of relief that I am not the only one!
Plus I know your work – you will have it looking wonderful again, in no time.
Your blog is one of my very favorite in Blogland – so much info, talent, style and skill. Love it Julie.
xxx
Thank you for this tutorial! The pictures are really clear!
And I love the block you constructed, even without one “messed up” side!
When i learned to quilt, pressing was literally the first lesson!!!! In fact – any time the sewing machine is being used for anything – the iorn should be at the ready – right?
But wow – I have learned some great new pressing and setting tips here! Thank you
Great post Julie. Thanks for sharing the good the “oops” with us.
Thanks I needed that. I did the pressing to one side but when I pieced it was the wrong way. Pressing is so important, I am just learning that. Thanks again Julie!
It’s not nice for you, but it is nice for me to see that you make the same kind of crazy mistakes that I do. Pretty block too