My Zippy Quilter’s Planner Cover
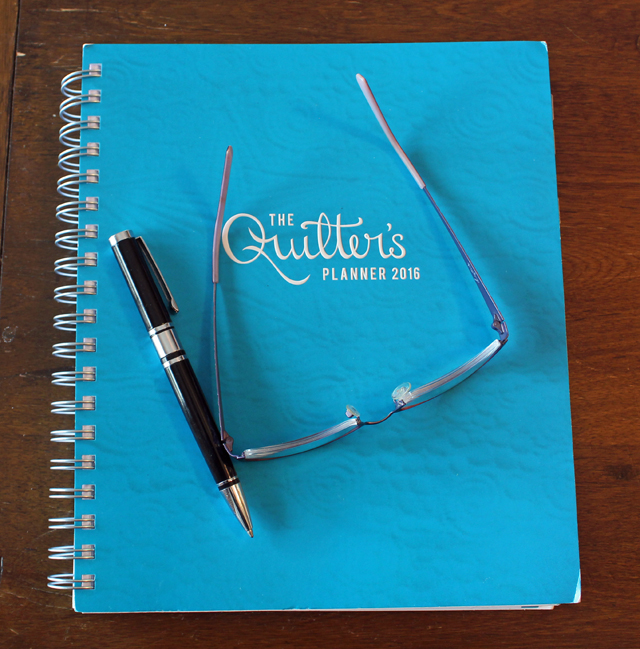
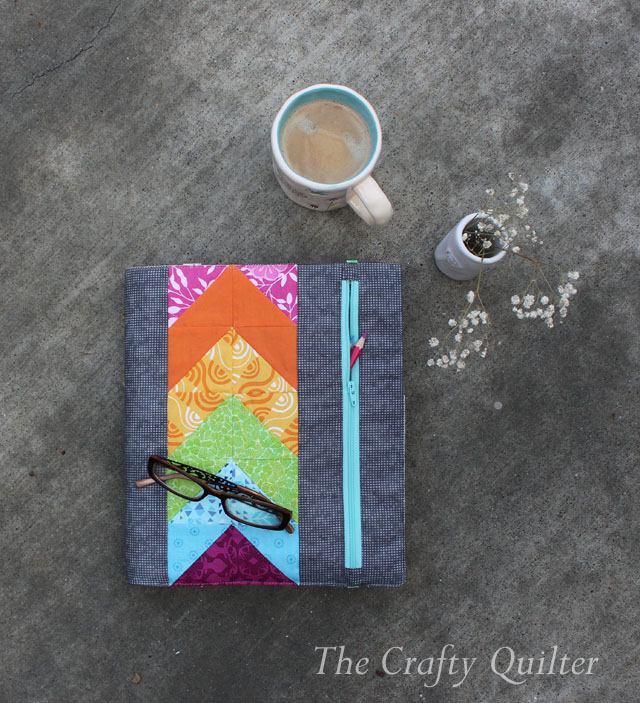
You’ve probably heard me mention the Quilter’s Planner, (one of my new favorite organizational tools) designed by Stephanie Palmer of Late Night Quilter. Well it just got even better because it has a new Zippy Quilter’s Planner Cover, designed by Amanda Kattner of What The Bobbin? This has been on my “to do” list since January and this week I got down to making it. I’m so happy with it!
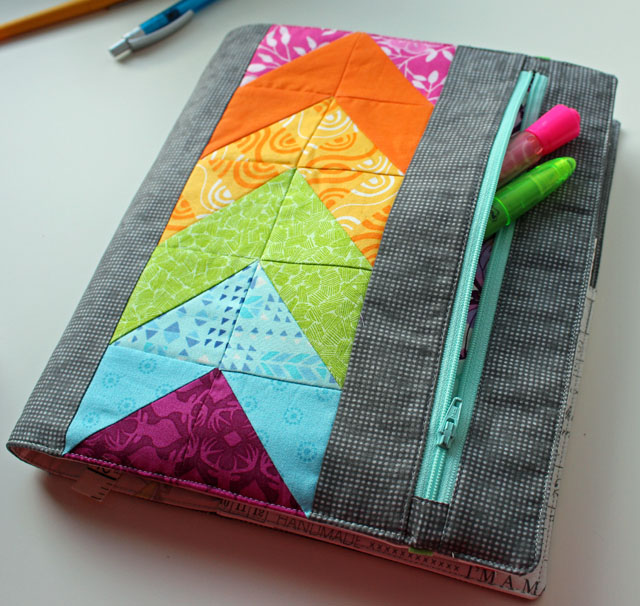
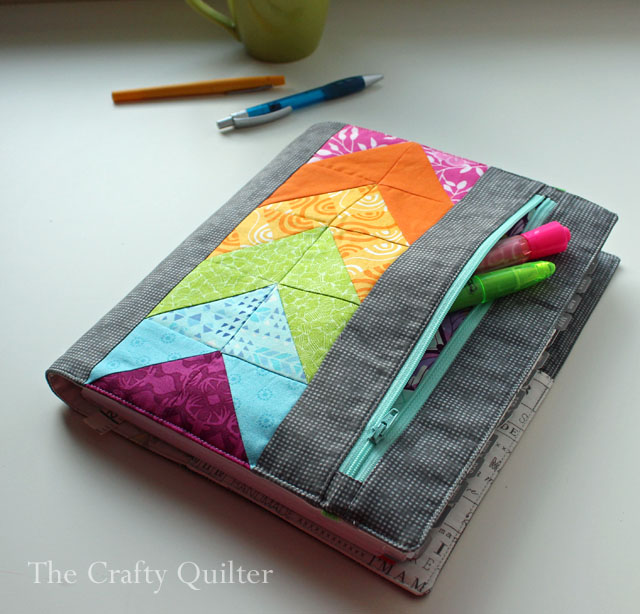
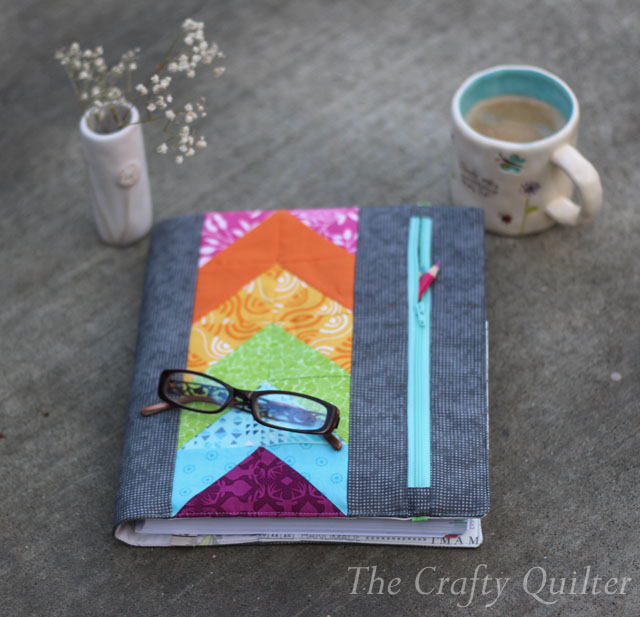
The pattern is a free download and it was easy to make; even the zipper pocket was painless. I love the functionality of the design. You can be as creative as you want with the outside cover. This is a great time to use up those orphan blocks or scraps of fabric. I added my own piecing with a strip of flying geese on the front…
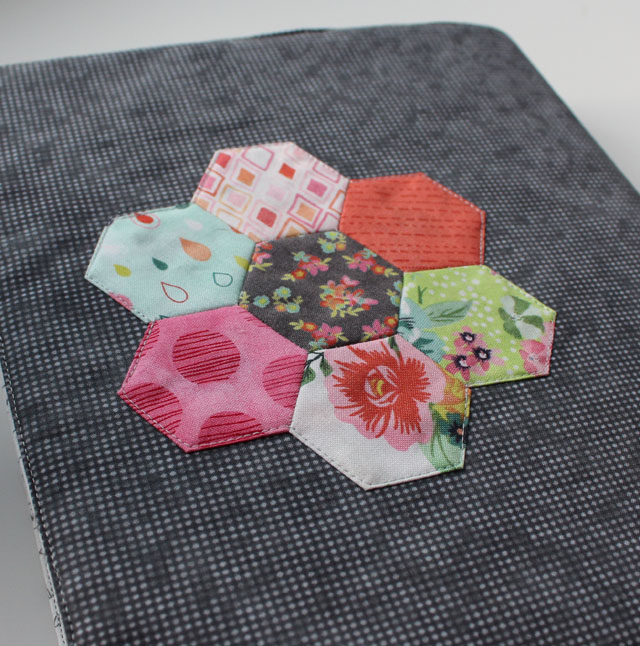
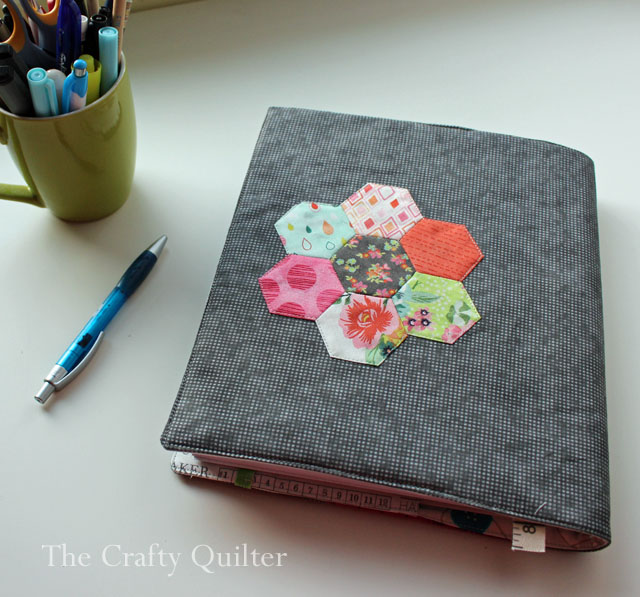
And some English paper piecing (hexagons) on the back. A mini charm pack of Fresh Cut by Basic Grey for Moda compliments the gray background perfectly. The 2 1/2″ squares are great for making hexagons.
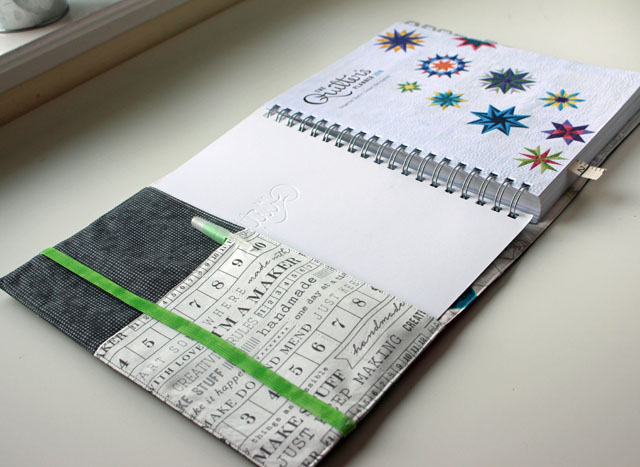
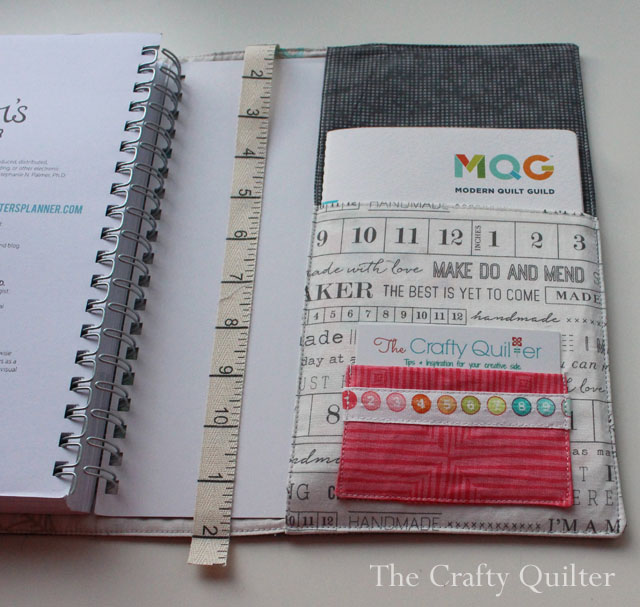
The front-inside flap has a pocket that I divided with a line of stitching. You’ll also find a piece of elastic there (directions included in the pattern) which I colored green using a Copic marker. I wish I had cut the elastic a little shorter (10″ instead of 11″) because it seems a little baggy to me.
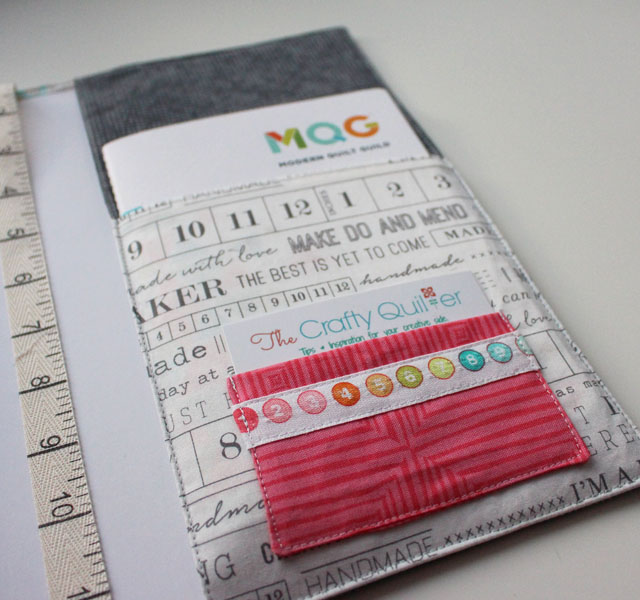
The back-inside flap includes a little pocket for my business cards. For embellishment, I added a strip of fabric selvage to the front of the pocket.
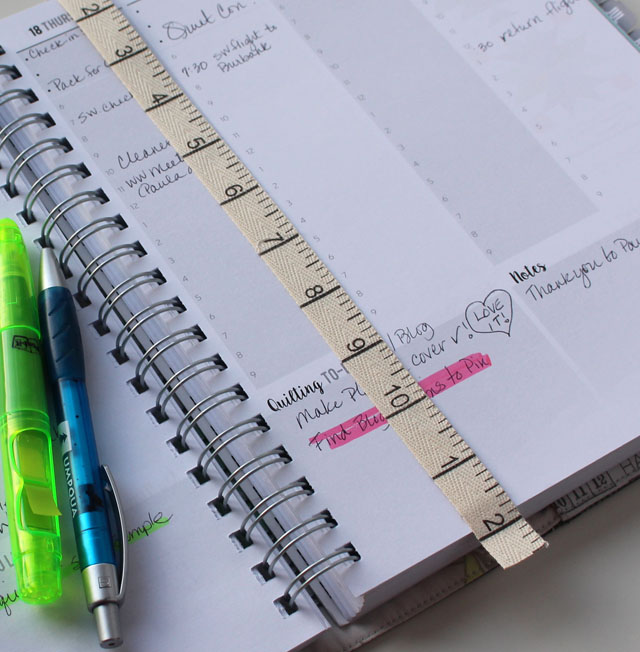
The bookmark ribbon is a great idea. I was always fiddling with the pages to find the right week to turn to. Now I can go directly to the current week – and measure something too! Make sure you make the bookmark long enough. The planner is thick and you want the bookmark to reach past the bottom edge of the planner. At least I think you do. That’s how I flip to the right page.
I’m really happy with the overall instructions for this planner cover. I thought I’d share a few lessons I learned and some tips on making it. I thought I was centering the hexagon flower on the back cover with the dimensions given, but it’s a little off center. The first thing Mr. Crafty Quilter said was that he liked how the flower was off center – it matches the front being off center. Well, there you go. You might want to double check the placement of any piecing by wrapping the cover around the planner before stitching.
I made my zipper tabs differently and forgot to take any pictures. I think mine are less bulky. I’ll try to give you instructions some other time, because putting it into words without pictures is beyond my patience level.
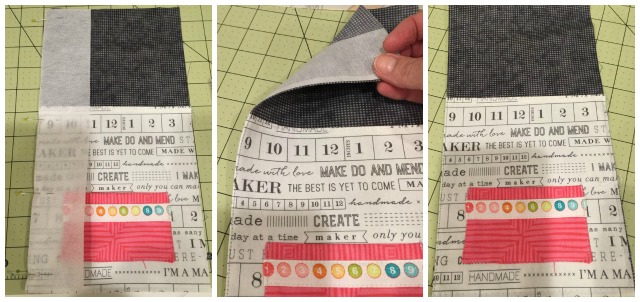
I added lightweight fusible interfacing to the inside flap pockets to give them a little more stability. To finish the long edge of the flap/pocket unit, I added a piece of fusible interfacing (2″ x 11″) and placed it smooth side of interfacing to right side of fabric . I stitched it to the long edge of the flap/pocket unit with a 1/4″ seam. Then I pressed/fused it to the wrong side of the unit and topstitched close to the edge.
Once the planner cover was made, I added top stitching around the entire edge of the planner. Be careful near the zipper – it’s got a lot of thickness to stitch through. Use a jeans/denim needle and go slow.
You can see more versions of the Zippy Quilter’s Planner Cover by searching the hashtag #quiltersplanner on Instagram. There’s so many possibilities, and we quilters can be pretty creative! Thanks to Stephanie and Amanda for making a great pattern, especially one that is free for everyone.
Enjoy your day and happy quilting!



Thank you so much for the Quilters Planner. Love it. I am going to make some for my friends at the quilter group I go too. Thank you again for the pattern. Much apricated. I love making Note Book Covers.
For anyone else looking, the link in the post to the zippy pdf cover pattern needs to be updated to here:
https://quiltersplanner.com/free-quilting-printables/
bonjour
je voudrais savoir ou je peut trouvez le modèle que vous nous avez mis sur le site merci d’avance
C’est ici. Faites défiler jusqu’à la fin. https://quiltersplanner.com/free-quilting-printables/
I can’t find the pattern on that site. Any ideas where it could be?
Would love to make a cover for my planner. Thanks for sharing.
Your cover is just darling! I especially love the tape measure bookmark ribbon. It’s perfect.
Great project Julie. I’m going to resize it to fit my zentangle diary.
this makes your planner looks so super nothing less than we would expect from your with your amazing tslents
Hello I would like to know where I can buy the big white Rotatry Mat for cutting
Great cover. I really like that planner, I wish they made one for those of us that cross stitch.
Your cover turned out to be very attractive! Thanks for the link to the pattern and sewing tips too!
Julie, I love it – thanks….it is on my list!
You do such crafted things….hence your name!!! I am a loyal follower and fan. But on Saturday, February 13th I broke my right arm! (My very dominate hand) one day of mandatory rest I was fine with, but after four days I am going crazy. The things I love to do, see, quilt, craft, bake, cupcakes and cookies!! I can’t do any of them.
This is such a cute project. Great idea to have a zipper pouch to put the pen or pencil. I am always losing my pen and this would keep it with the notebook!