Christmas Tree Wall Hanging Tutorial
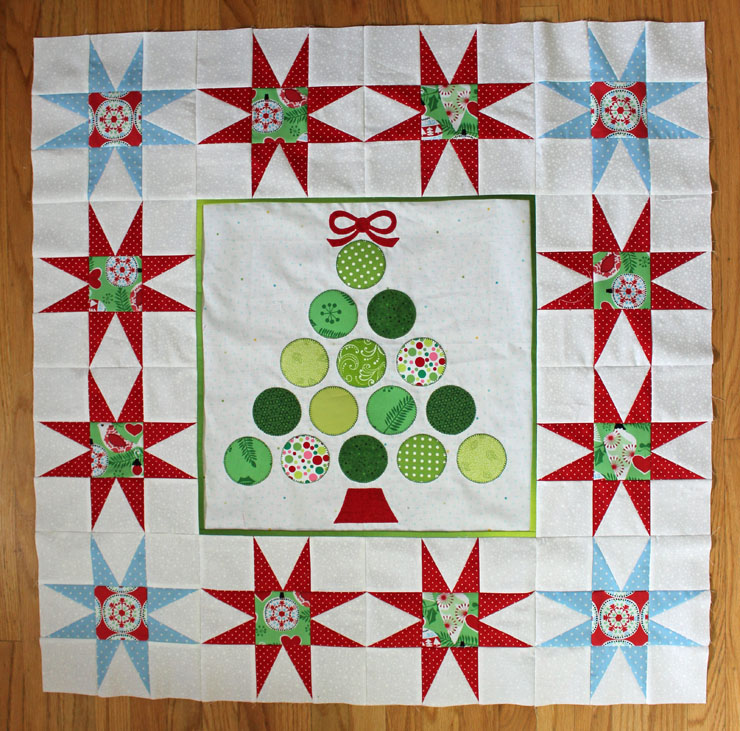
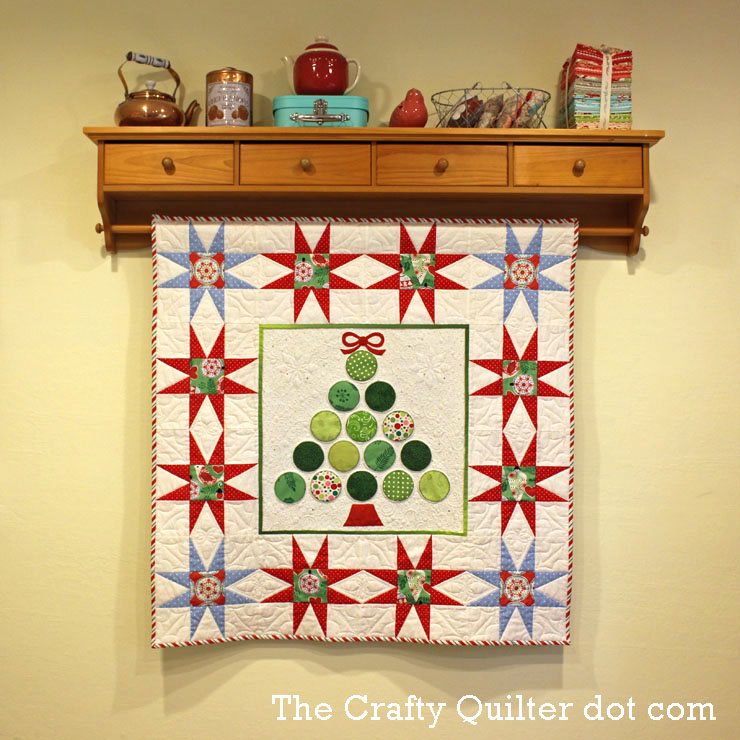
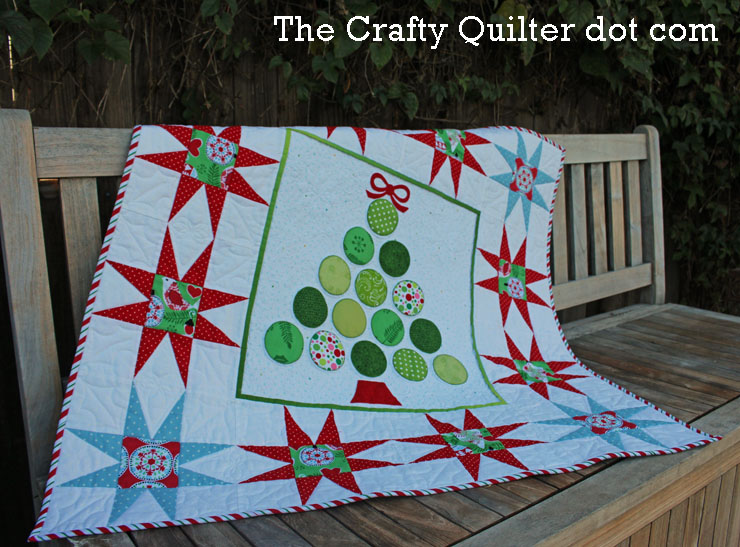
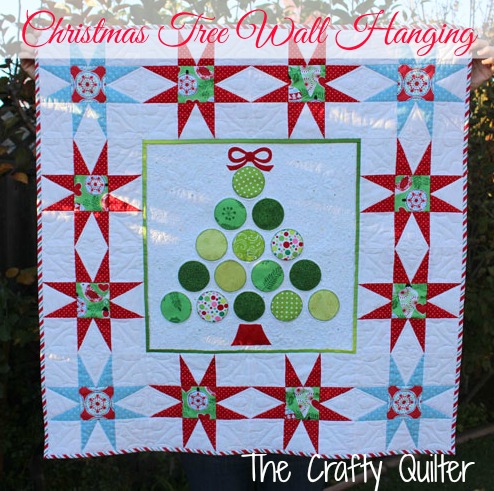
Here it is! The November edition of Christmas Once a Month is a Christmas Tree Wall Hanging. Some things are worth waiting for!
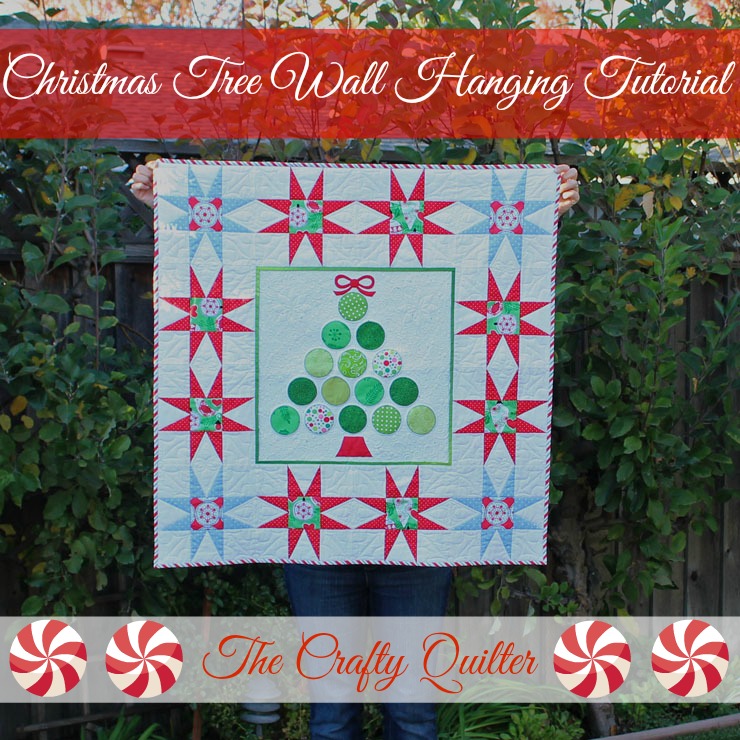
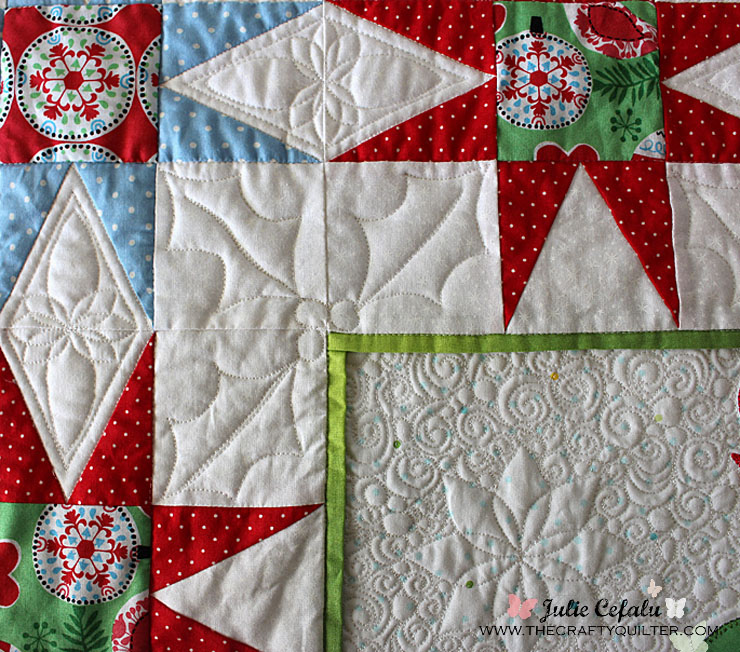
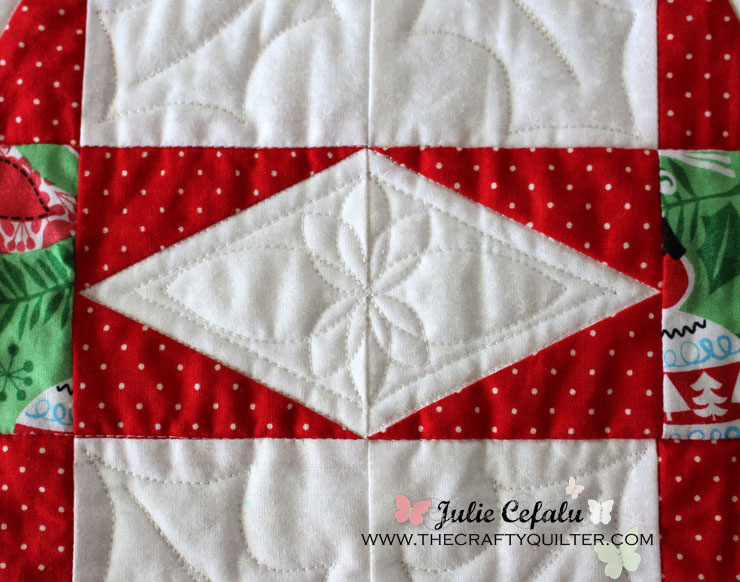
Quilt size: 36 1/2″ x 36 1/2″
Star block size: 9 1/2″ (unfinished)
Fabric Requirements:
- Star Background (white): 2/3 yard
- Star Points (red): 1/3 yard
- Star Points (blue): 1/4 yard
- Star Centers (green print): 1/8 yard
- Star Centers (blue print): 1/8 yard
- Applique Background: 5/8 yard
- Applique: Scraps of assorted greens and red
- Flange (green): 1/8 yard
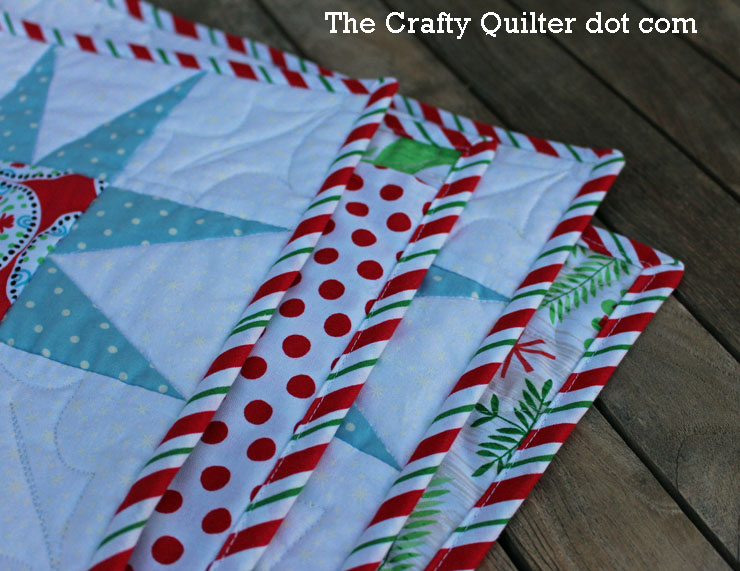
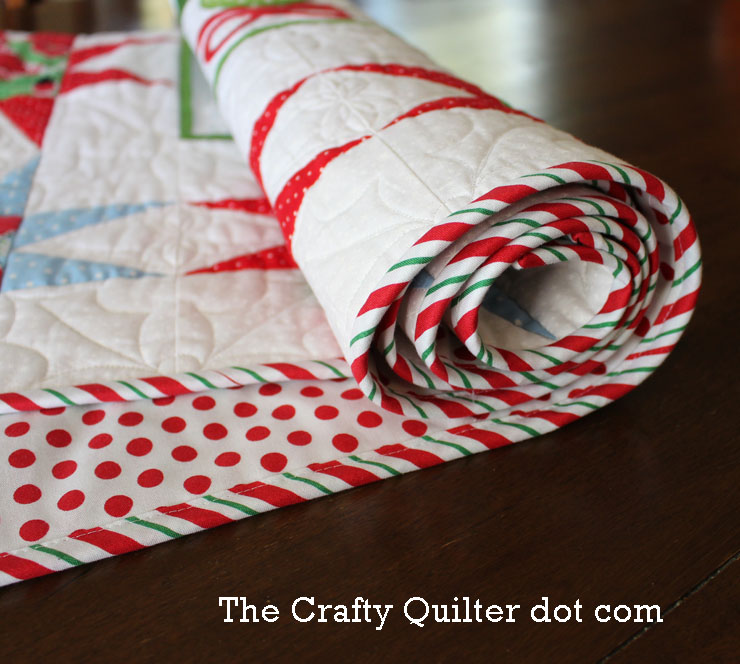
- Binding: 1/3 yard
- Backing: 1 1/4 yard
Other notions: Paper backed fusible web, Triangle in a Square ruler by Quilt in a Day
All seam allowances are 1/4″.
I’m going to start with a lesson on constructing the star blocks in the border. I know there are many methods and rulers available to make the star points for this block.
My instructions use the Triangle in a Square ruler by Quilt in a Day. I like that you start with an oversized unit and then you trim it down to perfection with the ruler. The unfinished size of your block will be 9 1/2″.
Cutting Instructions for star block:
Star Background: Cut (2) 4″ strips. Using the triangle shaped ruler, place the red placement line on the bottom edge of strip and cut 12 center triangles.
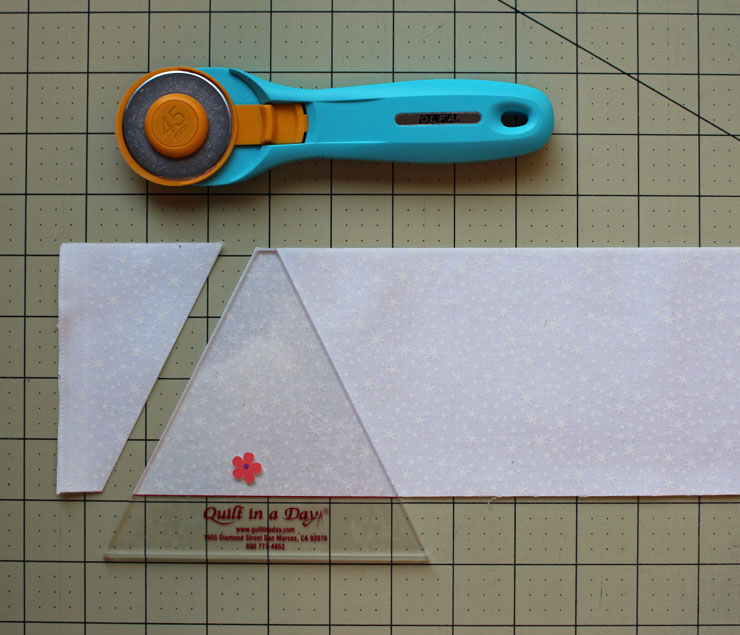
Star Points: Cut (2) 5″ strips of red fabric and (1) 5″ strip of blue fabric. Sub-cut into (32) 2 1/2″ x 5″ rectangles of red, and (16) 2 1/2″ x 5″ rectangles of blue.
Star Centers (green): Cut (1) 3 1/2″ wide strip. Subcut into (8) 3 1/2″ squares.
Star Centers (red): Cut (1) 3 1/2″ wide strip. Subcut into (4) 3 1/2″ squares.
Assembly Instructions:
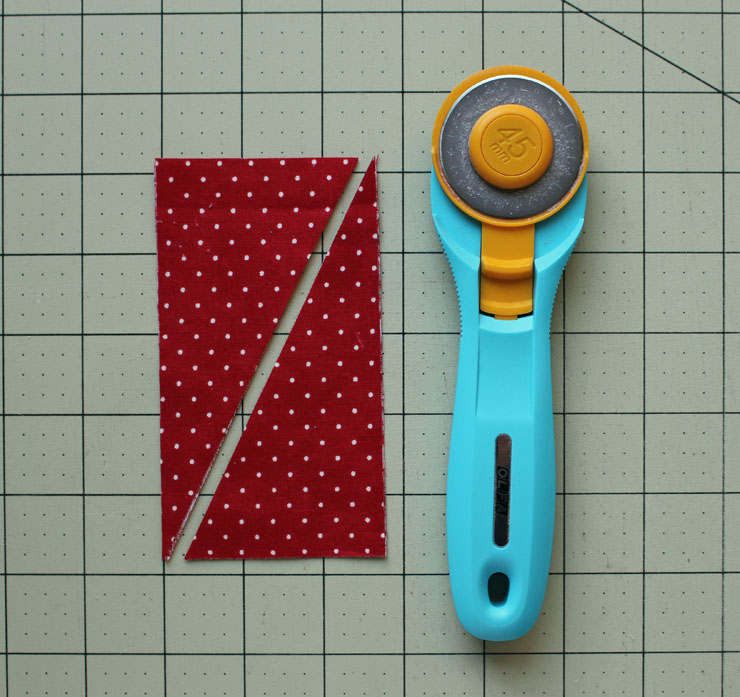
1. From the red and blue 2 1/2″ x 5″ rectangles, you need to cut them diagonally in half. Make sure that you are cutting them in pairs with same sides together to get a mirror imaged pair.
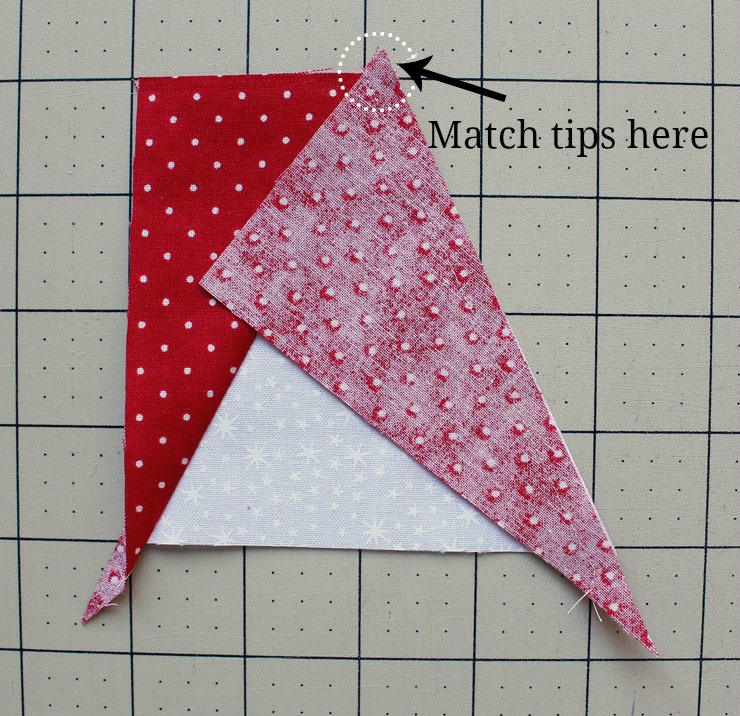
2. Place the center triangles and the side-triangles on your surface. Flip the center triangle onto the left side-triangle with right sides together. The tip of the side-triangle will extend beyond the center triangle as illustrated below:
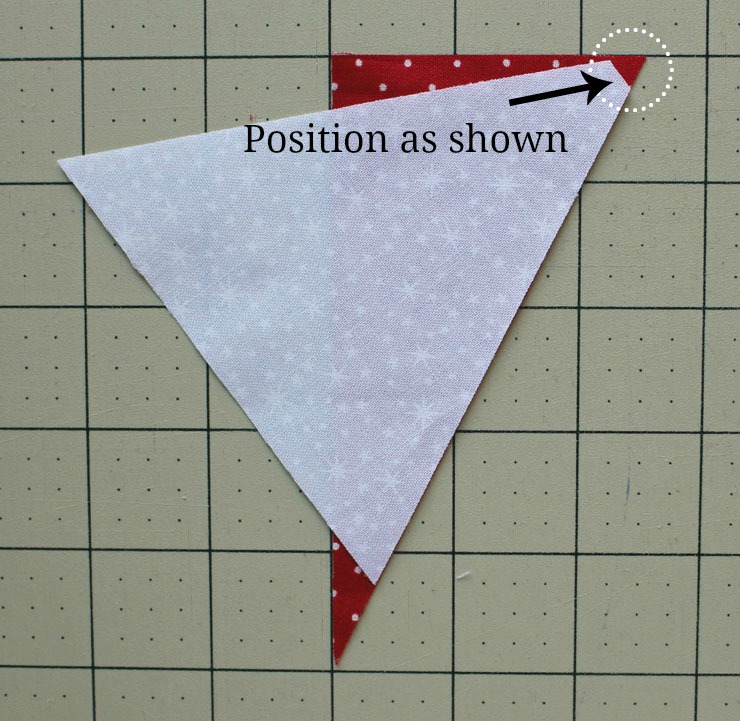
3. Take the right side-triangle and place it right sides together on top of the previous unit so that the tip of the side-triangles lines up with the seam allowance tip as shown below:
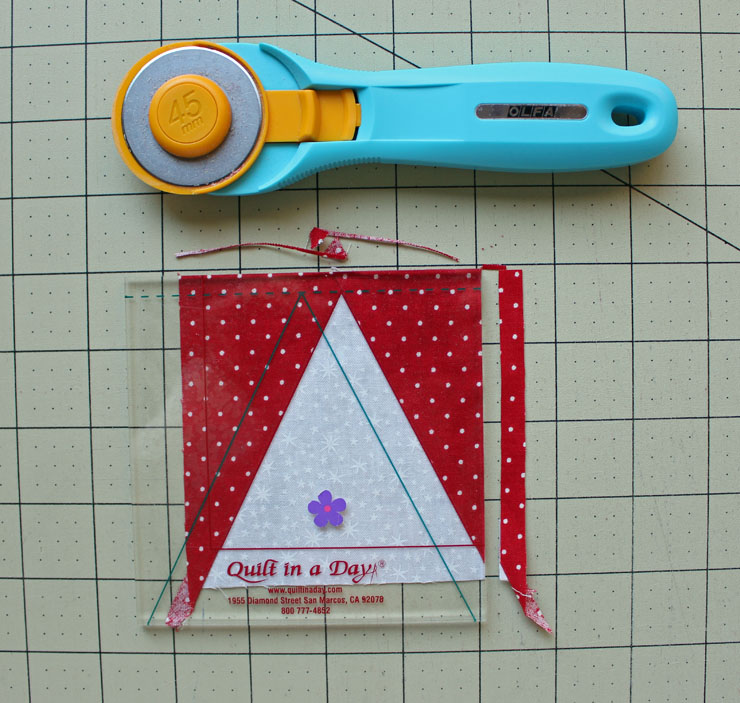
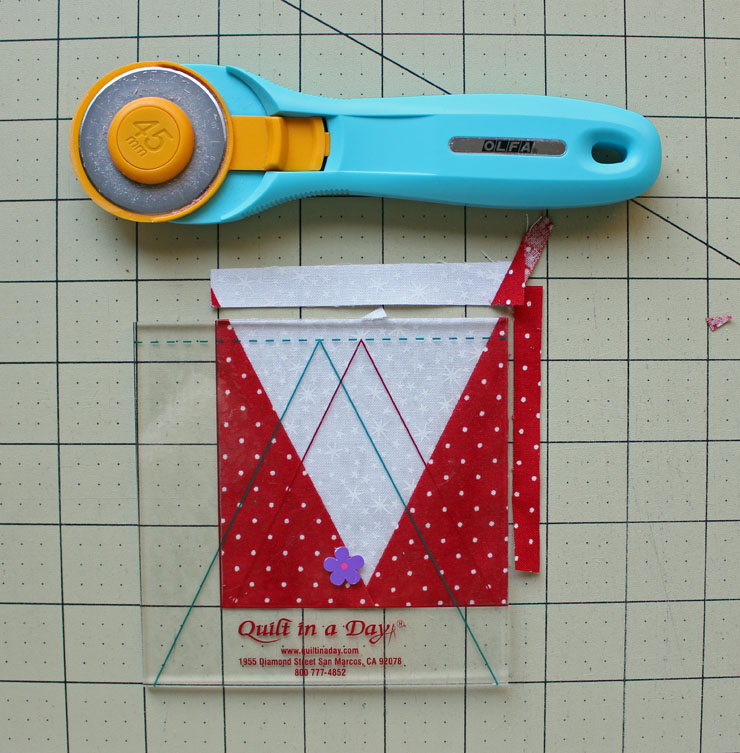
4. Using the square-up ruler, place the red triangle lines on the seam lines, making sure that you have 1/4″ above the top of the triangle. Trim the right side and top edge.
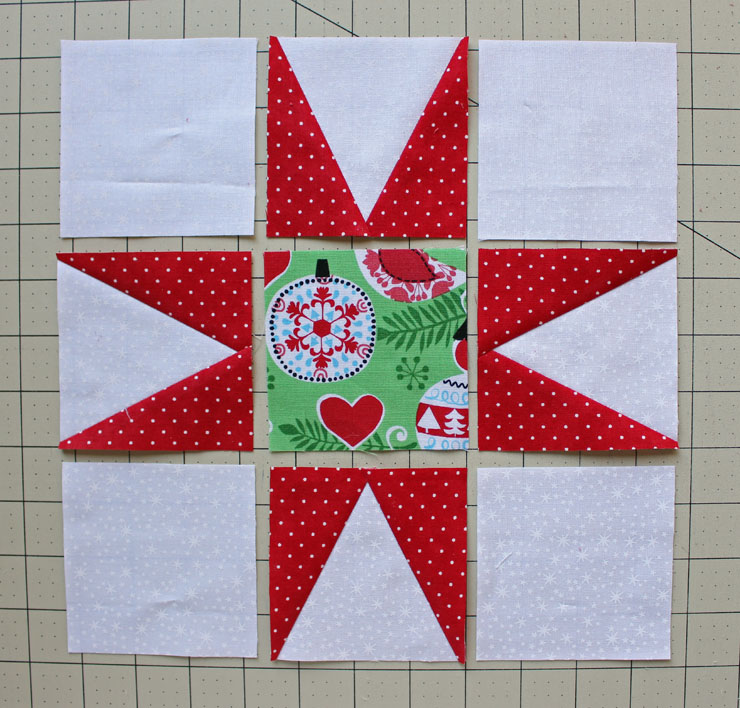
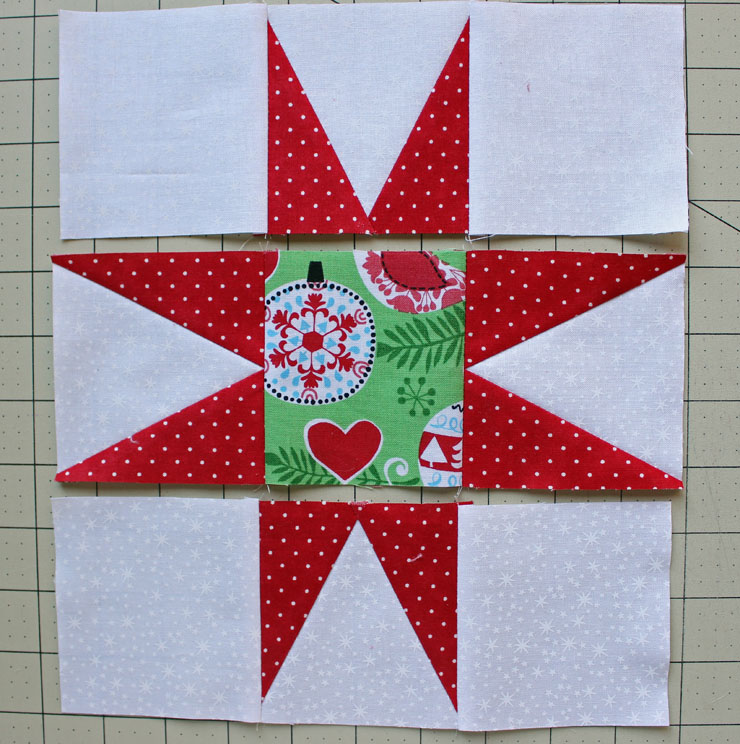
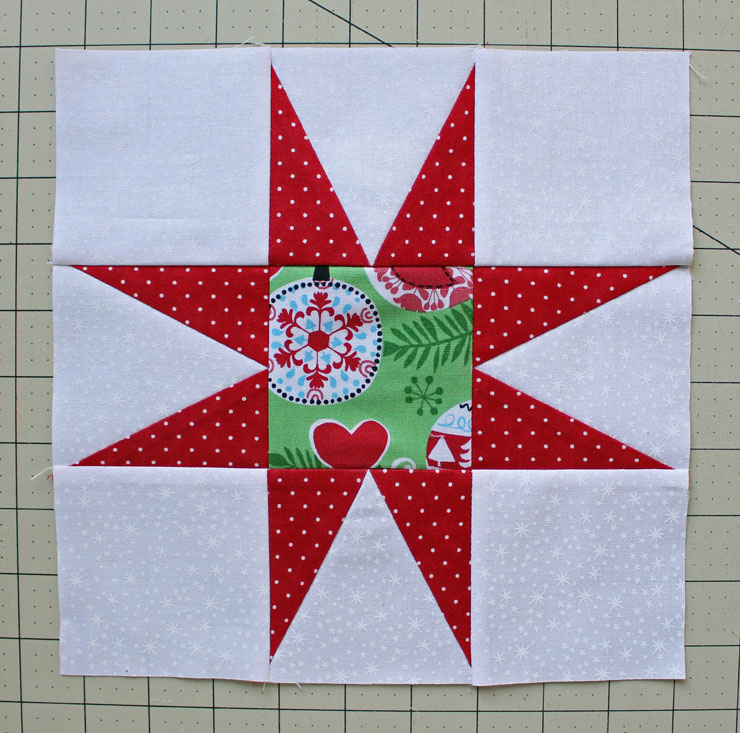
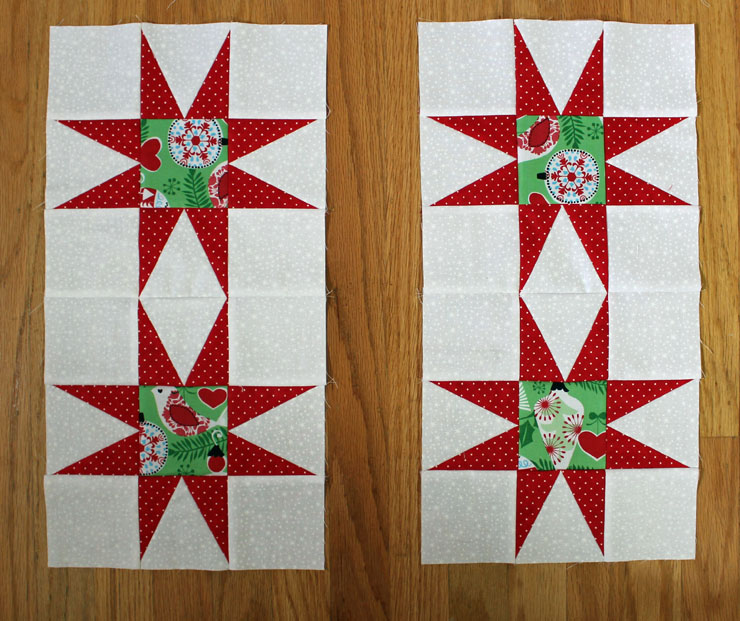
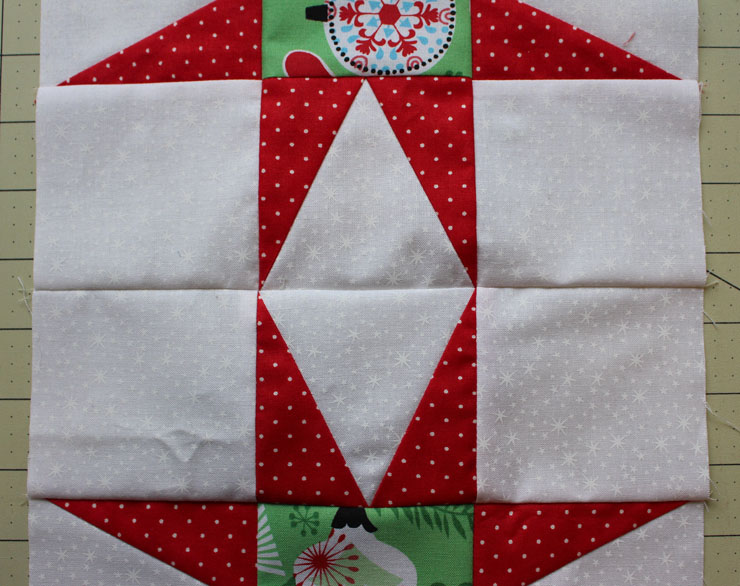
5. Arrange the 3 1/2″ white background squares, 3 1/2″ center squares and 3 1/2″ star points as shown.
Center Applique:
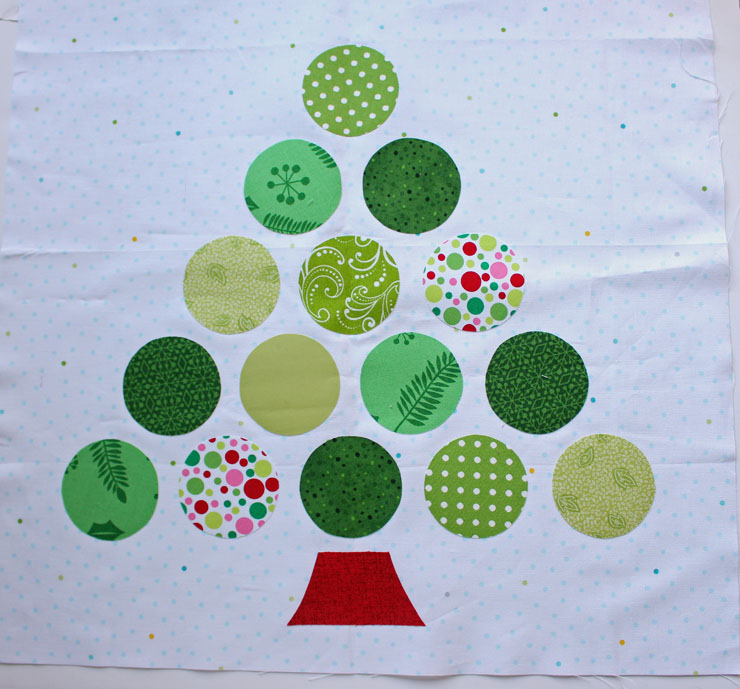
1. Cut the applique background fabric to 19″ square.
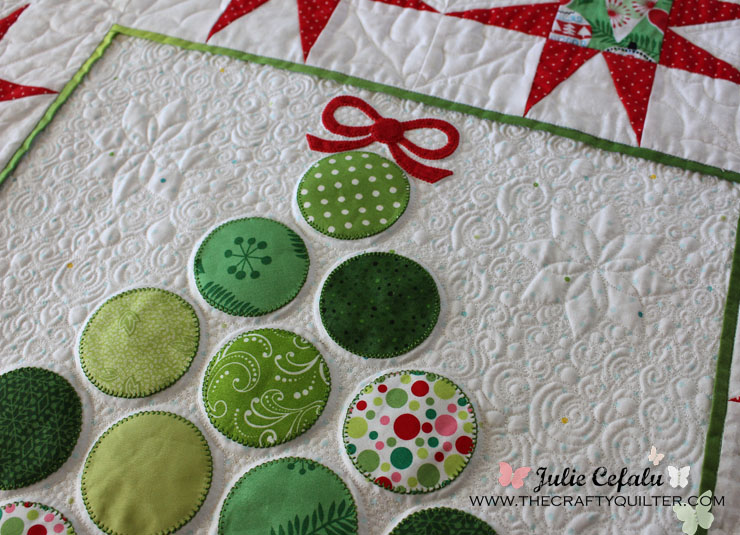
2. Print the pdf file with templates for the applique circles, tree trunk, and bow. This can be found here: Christmas Tree Applique. Make sure to print this out at actual size (no scaling).
3. Use your favorite method for applique. I used machine applique (with fusible web) and a blanket stitch. You can find my tutorial for that here. The condensed steps are below: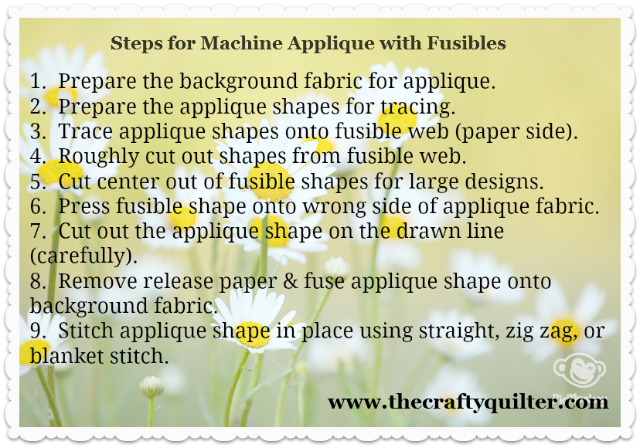
4. If desired, add a flange to the center applique. I used 1″ wide strips for mine. You can see my previous tutorial on how to add a flange here.
 Assemble the quilt:
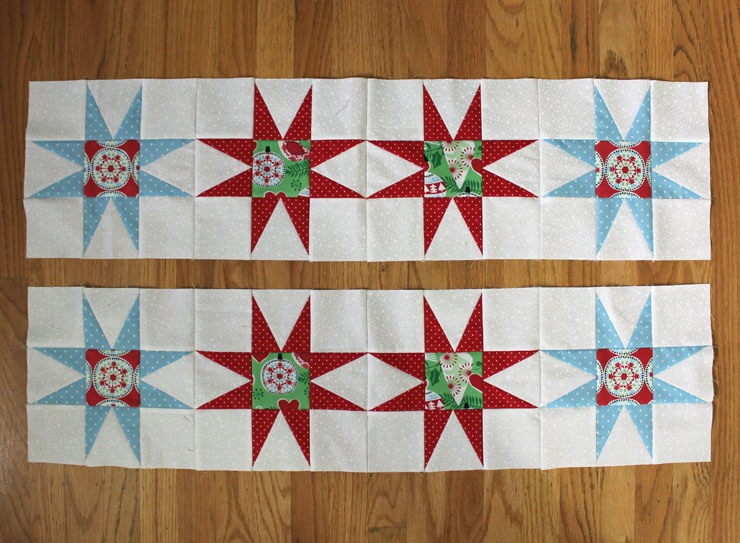
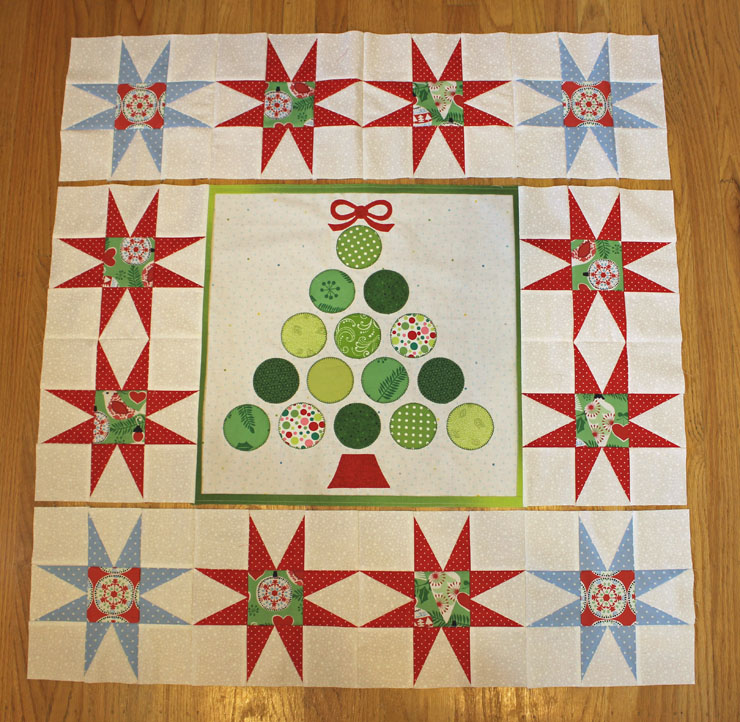
1. Sew 4 star blocks together for the top and bottom rows, making sure there is a blue star at each end.






Julie, this quilt is adorable! Would love to make it with my stash. You mention a PDF but I wasn’t able to find it. Is it still available? If not, I will follow your excellent instructions in your blog. Thank you!
Love the pattern and would like to make one for the Christmas holiday, fabric to die for. do you supply the fabric. difficult to get any fabric from USA TO GABORONE, BOTSWANA.
Regards
dudu
Greetings Julie,
I love your Christmas Tree wall hanging. I printed the instructions for my own personal use but I also had to print off 6 pages of comments. The printer I use does not allow me to view any of the pages so I had no idea I was wasting 6 pages. It would be great if your print option would print only the instructions to your design. Thank you so much for sharing your creativity. You’re the Greatest!!
This looks so great- your quilting is amazing!
So cute! You do great work, Julie.
What a beautiful wallhanging! I love the blocks and your gorgeous quilting!
This is an excellent tutorial, too, with all of your diagrams and pictures! Even I can learn how to make this with your good directions! Thanks so much for sharing this pattern with us!
Julie, as usual, not only are your tutorials superb but that design is adorable, simple and eye-catching. It’s darling! Fantastic job, I love how the tree has circles! did you fold that applique under? Your projects are really just perfection! : D
Love all your tutorials.. they are detailed and easy to follow. Just finished the crumb mat and I am pleased.
Hi Julie, another beautiful project completed! Thanks for sharing the tutorial, your free motion quilting is just wonderful!
So cute Julie!! Love your tutorials, and everything you make! Sigh…
Love the colors on the clean white background an your quilting is lovely!
Love this! That striped binding is too perfect. Your quilting looks awesome too Julie. I love the stars.
This is adorable! I love seeing the traditional star blocks surrounding such a modern tree, with a fabulous variety of Christmas prints. Thanks so much for the tutorial!
Gorgeous Julie, fab fmq and great tute 😀
It is so wonderful! Thanks for sharing your tutorial. I will love to make one of my own.
Hi Julie. This is so cute. Thanks for sharing this pattern including all the details. It is so appreciated!
as always , lovely, thank you… the quilting is beautiful, did you do it or do you have a long armer do it…. or do you have a long arm machine. ?? Lovely
Julie, your quilt and quilting are stunning!!
I love it, Julie!
love this pattern,thankyou so much for sharing.xx
This quilt and machine quilting are amazing. Absolutely gorgeous! You are so kind to share with us. Thank you!
Julie, you never fail to amaze me with the clarity of your instructions for us beginners, yet presenting opportunities for the more experienced. I consider you my mentor. Thank-you yet again ‘smile’
This is so pretty! I love the binding, and the quilting looks amazing!
🙂 Kelly @ My Quilt Infatuation
AMAZING! This is just stunning, and so perfect for Christmas. I would love to try making the star blocks, too, any time of the year. Your quilting details are gorgeous, too! Yay!!!
Beautiful work, Julie, thank you so much for sharing with us all.
Oh, I love it! Your quilting is gorgeous too.
I plan on making one too, but can’t right now. I wish I could do it today. Sometime in the future for sure!
I absolutely love it! I’m so impressed with the quilting too!
Thank you Julie, I LOVE this project, so cheery and bright! I’m planning on making one and I’ll send you a photo for sure. Thanks again!!