How to dry emboss cardstock
I thought I would share a quick tutorial on how to dry emboss cardstock. A few people commented on my Mother’s Day Card and asked how I created the paper frame that went around the stamped floral image.
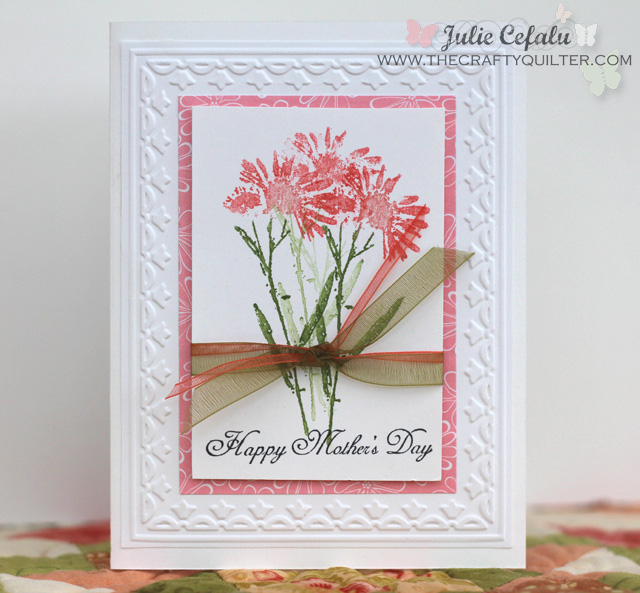 Well I’m so glad you asked, because I love making cards and this is a really easy technique that adds a lot of “wow!” to any card. For this tutorial, I made a similar card to the one I showed you before.
 It’ simple yet elegant.
 To begin, let’s talk about embossing. The type of embossing that I will be showing you is called dry embossing. You basically create a raised design (or a depression) on the surface of cardstock by molding it to a form. The other type of embossing is called heat embossing and it also creates a raised design, but it’s a completely different look and technique.
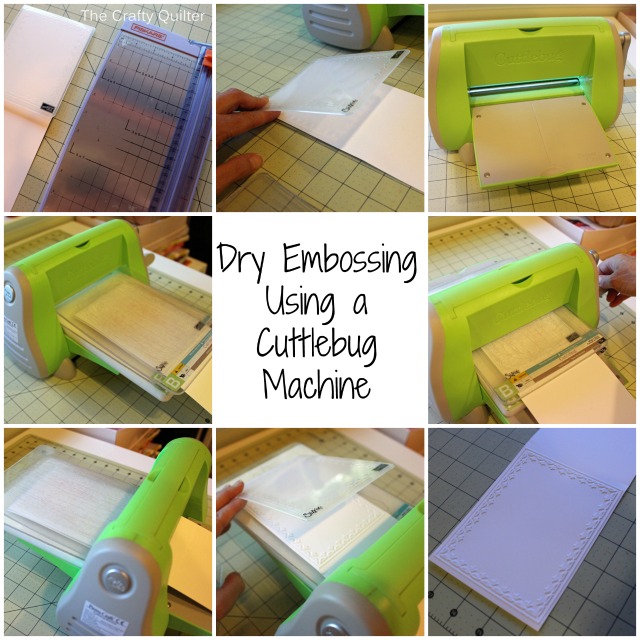
There are several different ways to create an embossed design and I’m going to show you how I do it using something called a Cuttlebug Machine. I know, cute name right? I love this little guy and it does more than just emboss. It cuts shapes too. It’s a very similar concept to an AccuQuilt Go!, but it’s made for paper.

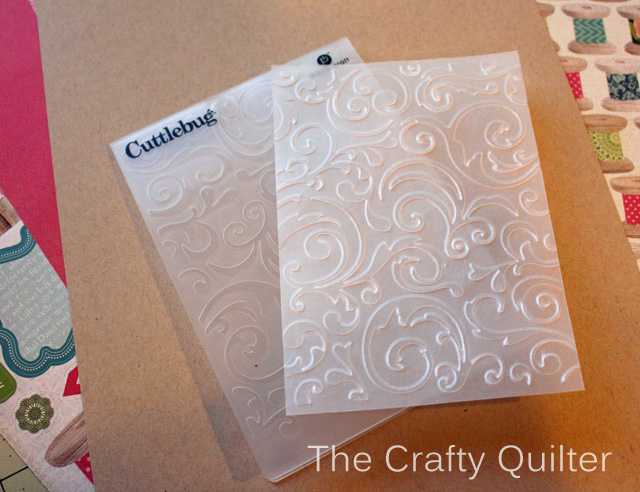
Along with the Cuttlebug Machine, you’ll need an embossing folder. These come in a bunch of patterns and several sizes. The one I’m using for this tutorial is called Framed Tulips and it’s distributed by Stampin’ Up! You’ll also need some cardstock. I (should have) cut mine at 4 1/4″ x 5 1/2″. You place it inside the embossing folder and then sandwich it between some platforms that come with the machine. You place the “sandwich” at the entrance to the machine and then turn the crank which feeds it through the center of the machine. It basically has a roller that applies pressure and creates the raised/depressed areas from the embossing folder onto the paper. When it comes through the other side, it’s done! There are many YouTube videos that show the process of dry embossing using a Cuttlebug Machine, and you can find one here. I took some pictures of the basic steps:
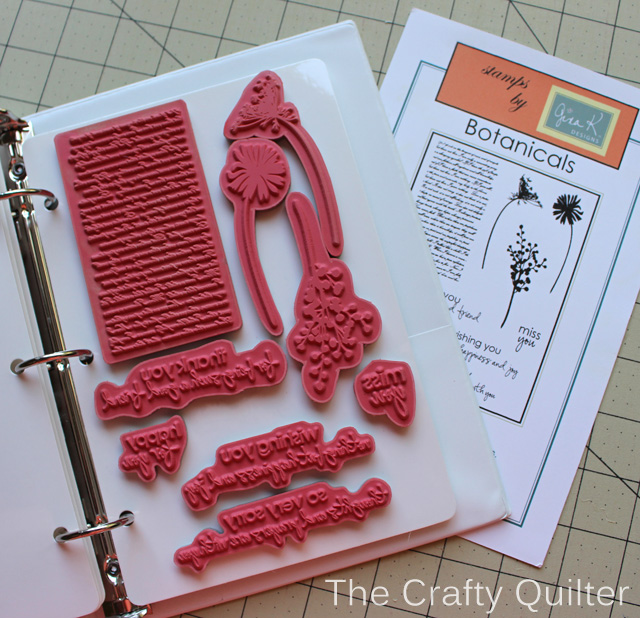
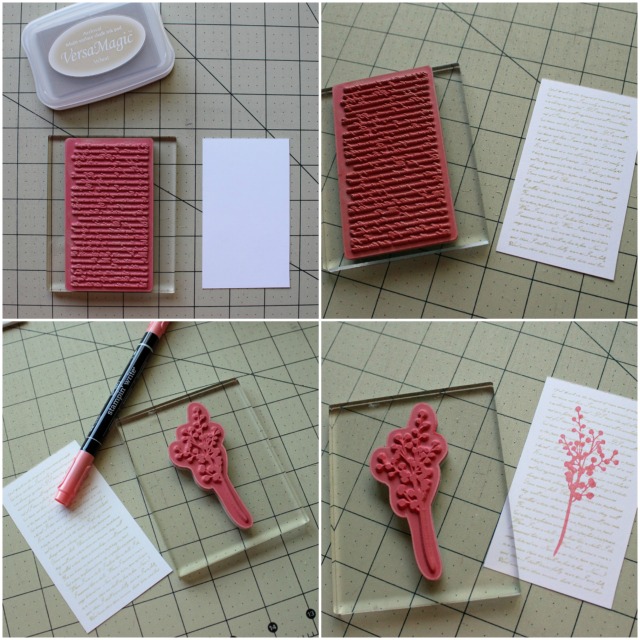
 The next step in making my card is to create the stamped image. I used a stamp set from Gina K. Designs called Botanicals (I think it’s retired).
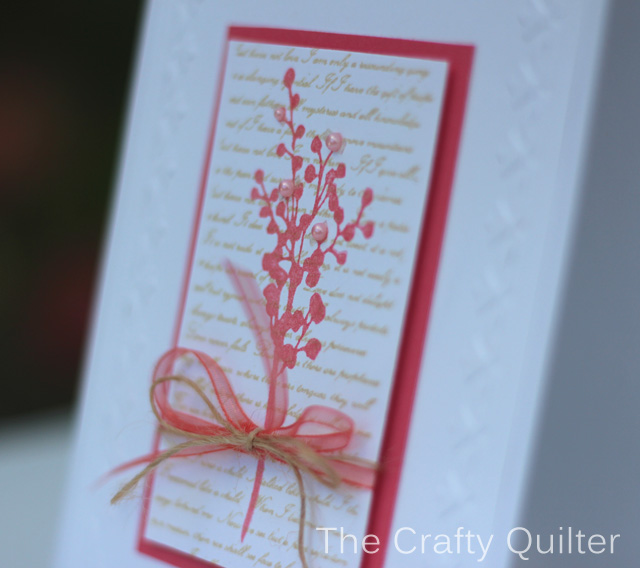
 These are cling backed rubber stamps that you mount onto a clear acrylic block. I started with a background stamp of script that I applied a linen-colored ink to. I stamped it onto a piece of cardstock cut at 2 1/4″ x 3″. Then I added the botanical image on top of that. I used a color marker to ink up the stamp and then centered it over the background.
 Next I tied some narrow ribbon and twine around the stamped rectangle and attached it to a coordinating piece of paper with adhesive foam (which raises it up a bit and makes it more dimensional).
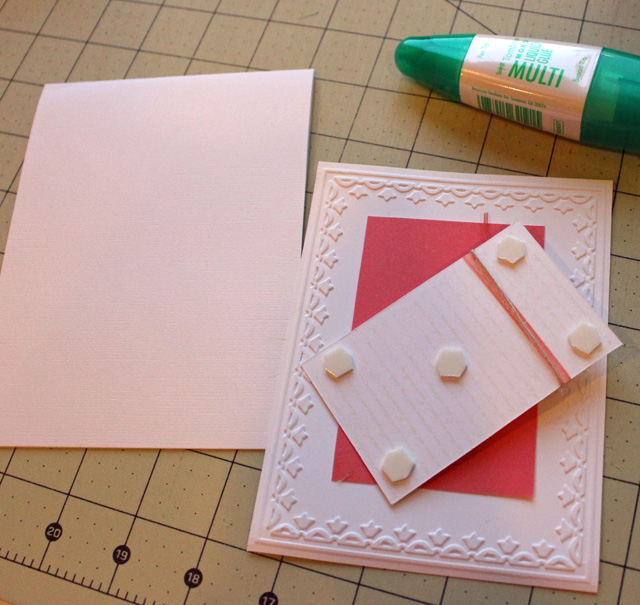
I also added some little pearls to the image to glam it up a bit.
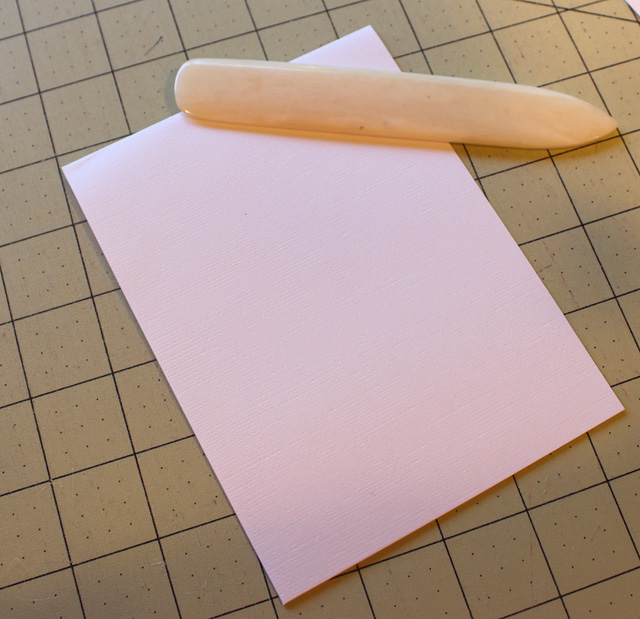
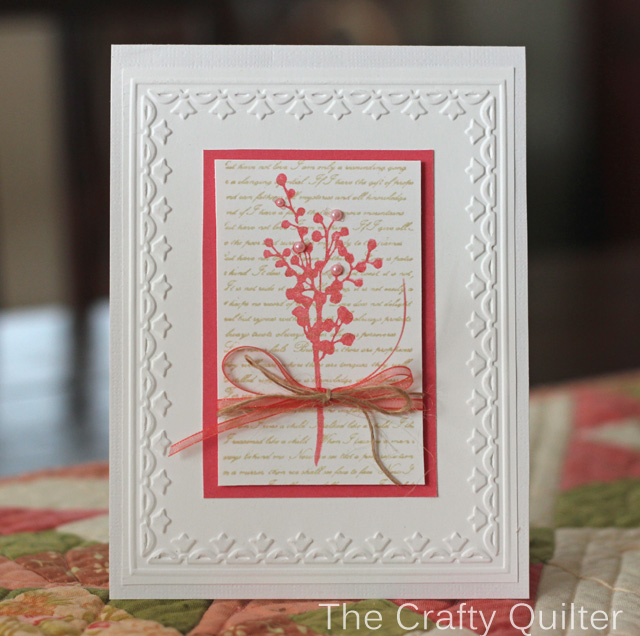 The last thing to do is attach the embossed panel onto the front of a card. I made my own card using heavy cardstock and a top fold. I like using a bone folder to make crisp folds in paper (and no fingerprints)!
I have to warn you that card making is just as addictive as quilting. I recently found this sweet, coordinating paper bundle at my local scrapbooking store:
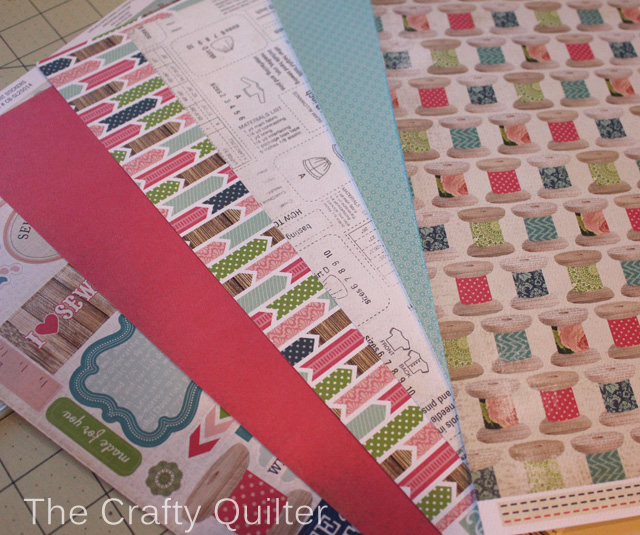
Seriously, how could I resist? My paper stash is competing for space in my fabric stash closet! I really have to stop buying paper and fabric. Now that’s just crazy talk, people! Where was I? Yes, this set has a coordinating sticker page that is just sew cute!
 And these vintage spools of thread are what really got me:
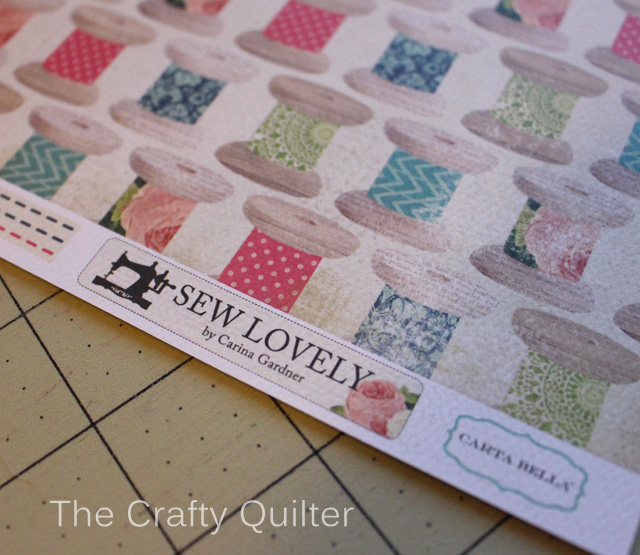 Most scrapbooking paper has something very similar to a selvage that gives you all of the necessary details about who designed and manufactured the paper. You can see that this set is called Sew Lovely by Carina Gardner from Carta Bella Paper. And guess what? Carina Gardner also designs fabric for Riley Blake! How awesome is that! I’ve also noticed that a few paper companies (Basic Grey, Echo Park) have moved into the fabric arena. I’m not complaining.
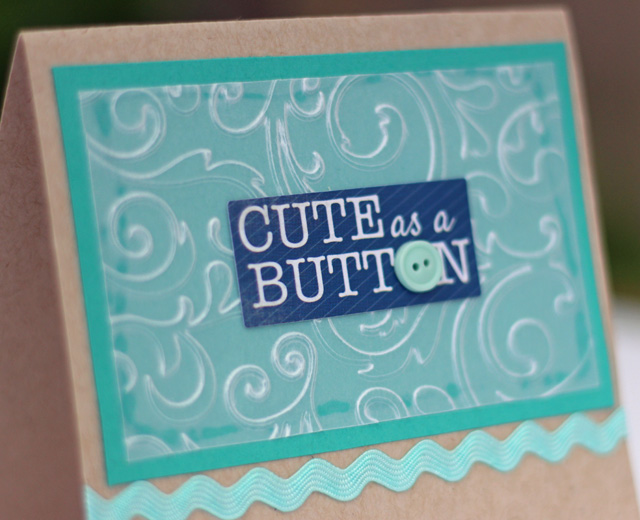
This Sew Lovely paper was fun to work with. I made this “Cute as a Button” card as soon as I got home from the scrapbooking store.
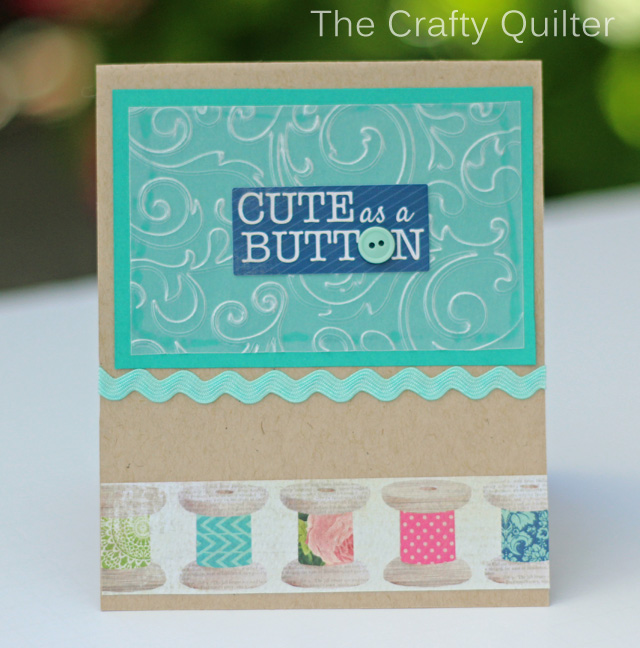
I used another piece of embossed paper, but this time it was made with vellum. This is a very transparent paper that gives a nice, soft effect to embossing.
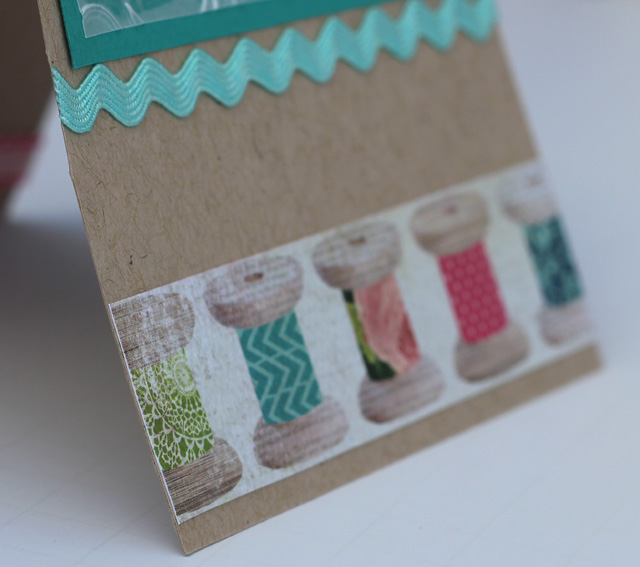
I found a perfect spot for one of my buttons. And why not add some ric rak to go with the theme?
And that strip of thread spools gives me happy butterflies:
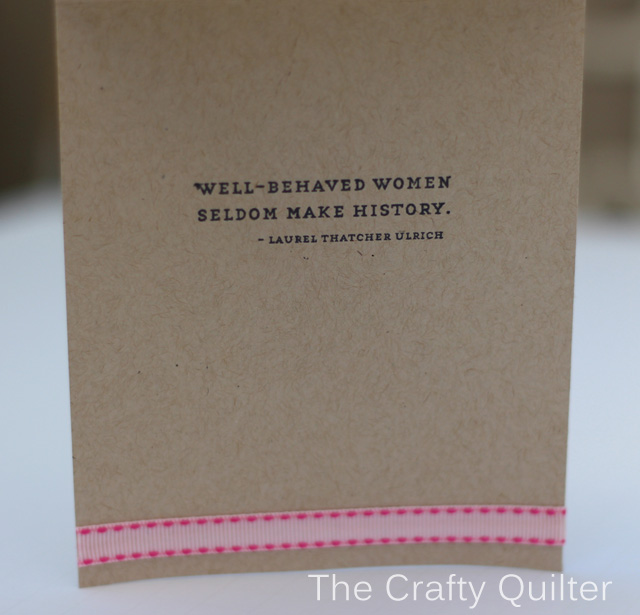
I found this great quote to give the inside of the card some sassyness (along with the cutest, pink grosgrain ribbon):
 And that, my friends, is how you make a card! Well, there are many ways to make a card and this is one of my many favorites. You can find a bunch of information about card making at Split Coast Stampers. They have tutorials, forums and a gallery to get you inspired.
I’ll be back soon with something more fabric related, I promise. Thanks for indulging me and my “other” hobby!

Discover more from The Crafty Quilter
Subscribe to get the latest posts sent to your email.

Beautiful cards. Thank you for sharing.
This is just gorgeous! You are so creative!!
You have motivated me to make my sister a birthday card. I bought a Cuttlebug at a thrift store really inexpensive. Not really knowing what it did. It really turns out great. Love your tutorials keep up the great work.
Thank You
Dorothy
Thanks for sharing your embossing and card making! I think my Mom actually has one of those machines buried in her sewing room… think I might have to go and rescue it. I love my Accuquilt Go! so this little gem should fit right in LOL Happy Friday Julie!
Hi Julie, I will call you “The Magic Women” You are awesome! thank for this new craft tutorial! Is very cute!
much love Susy
How interesting. I had no idea there was a machine to do embossing. Learn something new evreyday!
A first – something you showed that I already knew how to do. Only time that’s happened. I love your detailed instructions and photos – sort of like Pioneer Woman stuff.
I also use my bone folder in quilting – to push out corners after turning something right side out.