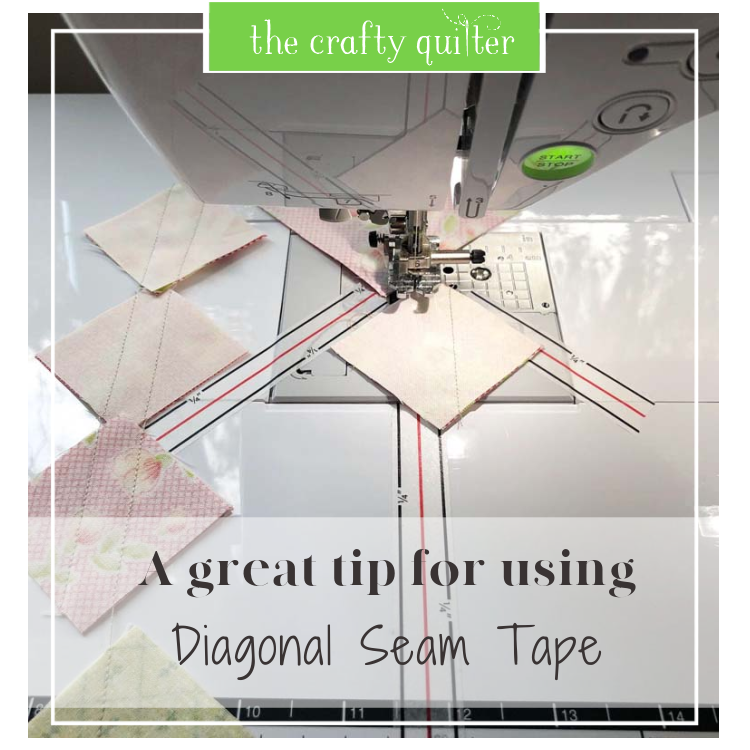
A great tip for using Diagonal Seam Tape and a new project
When Diagonal Seam Tape was first introduced a few years ago, I thought it was a brilliant idea. I purchased a roll and placed a piece of it on the bed of my sewing table and waited for the magic to happen. It worked great for diagonal seams that I stitched directly on top of, but I had a hard time using it as a guide for half-square triangle seams. Last week I tried adding additional tape guidelines and it worked! So, today, I’m sharing a magical tip so you can use it perfectly too.
What is Diagonal Seam Tape?
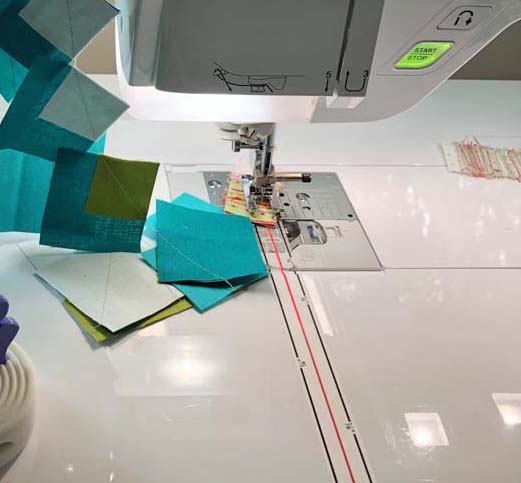
Diagonal Seam Tape was created by Allison of Cluck Cluck Sew, and it’s basically Washi tape with three guidelines that help guide diagonal seams. There is a red center line and a black line 1/4″ away on both sides of the center. The black lines can also be used as 1/4″ seam guides. The tape is placed in front of the feed dogs on the front plate of your sewing machine. I extend the tape so that it continues onto my extension table to give me better visibility and more use for longer seams. You can read a comprehensive guide to Diagonal Seam Tape here.
My tip for Diagonal Seam Tape
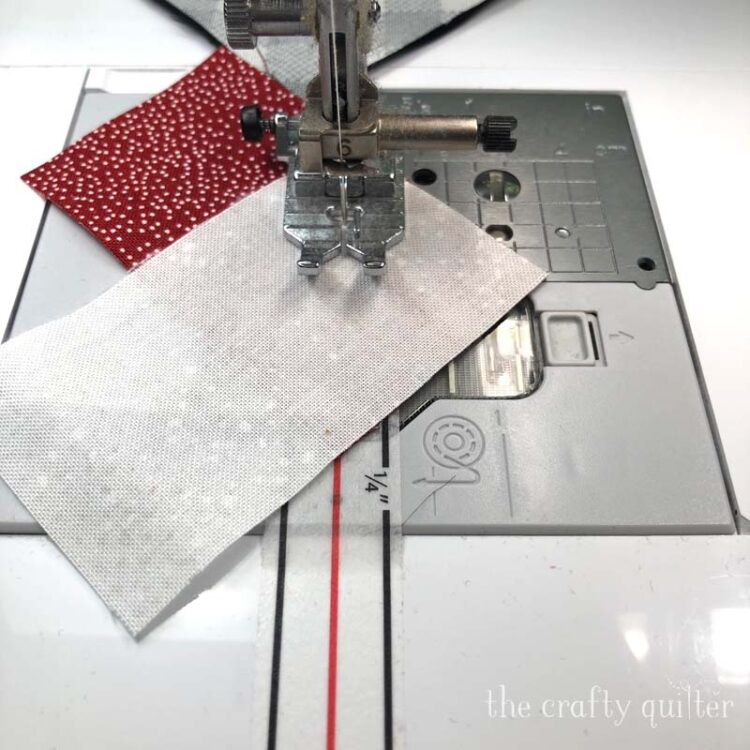
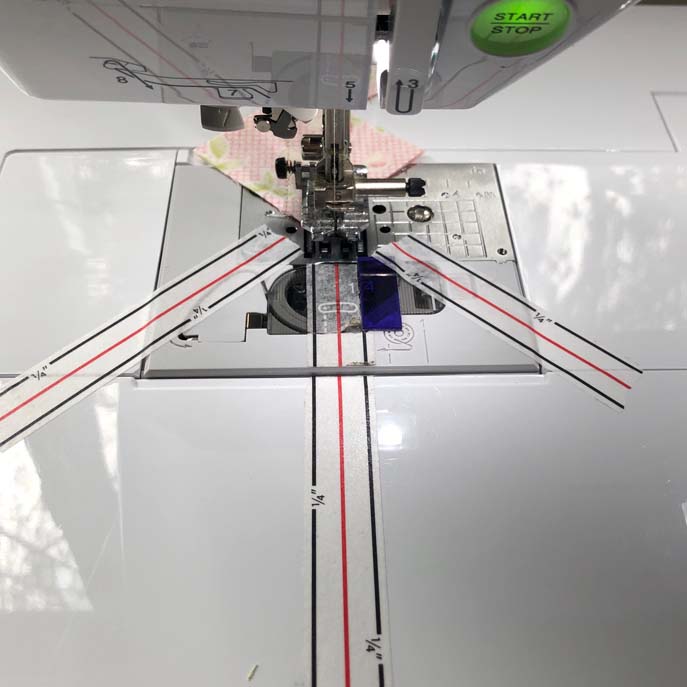
Once I had the Diagonal Seam Tape set up on my sewing machine, I immediately used it to making flying geese, HST’s and “stitch and flip” seams. I noticed that it was easy to see where the bottom edge of my pieces should line up, but I had a hard time figuring out where to start. The tape only goes up to the feed dogs and my presser foot is not 1/4″ from the center needle position. To position the starting edge, I had to guess a little. I don’t have a good picture to show you what that looks like, but you can see what my presser foot looks like below.
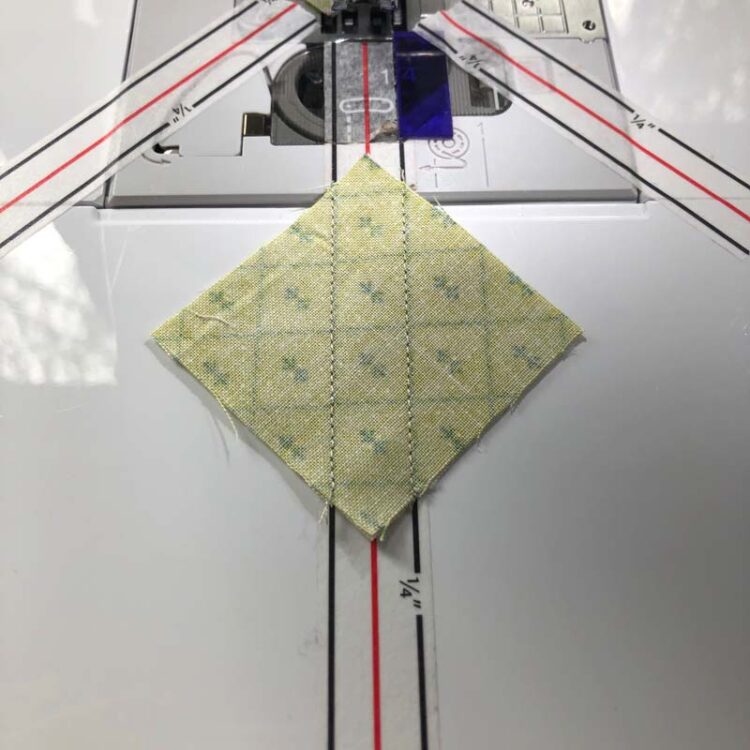
My solution is to add Diagonal Seam Tape at a 45 degree angle from the center line – on both sides of the presser foot. This gives me the correct angle to feed my fabric into the presser foot. You can see below that I haven’t marked any lines on the fabric squares for my HST unit. I’ve lined up the bottom corner with the left guideline and the upper left side with the red guideline from the 45 degree Diagonal Seam Tape. This gives me the perfect position to sew a seam that will be 1/4″ away from the center line.
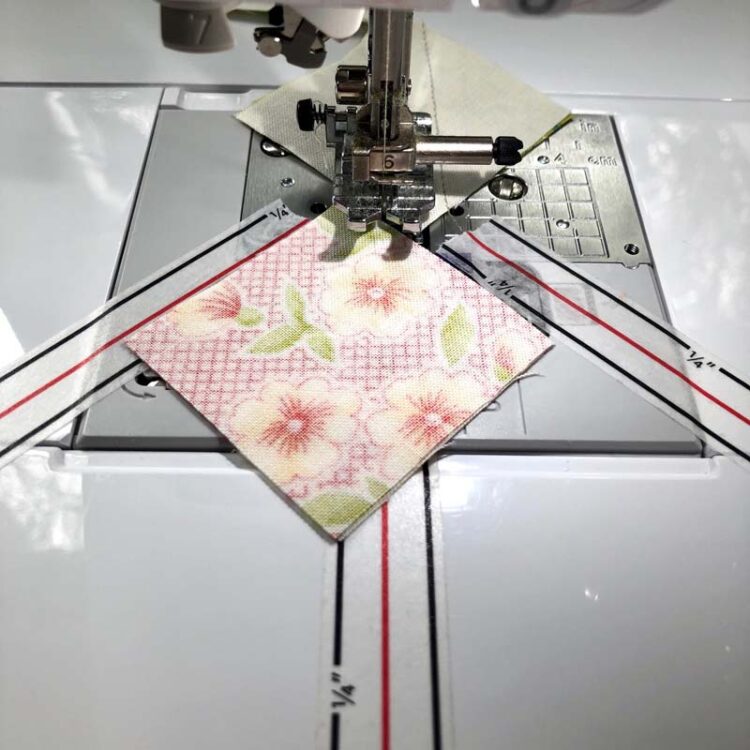
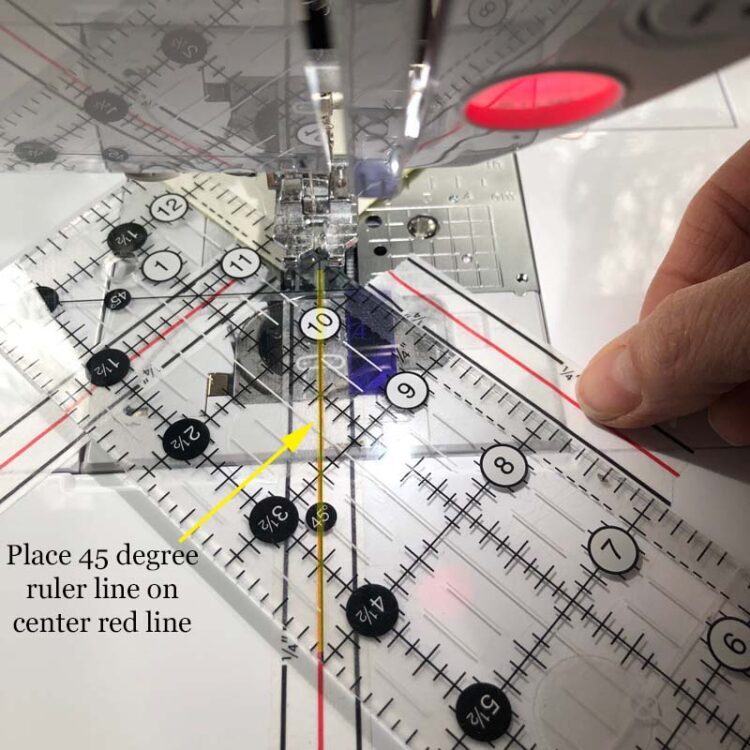
To position the 45 degree tape, you’ll need a ruler that has a 45 degree line on it. Position the ruler so that the 45 degree line is on top of the center red line of the tape. Place a strip of Diagonal Seam Tape even with the edge of the ruler and as close to the feed dogs as possible. Repeat for the other side.
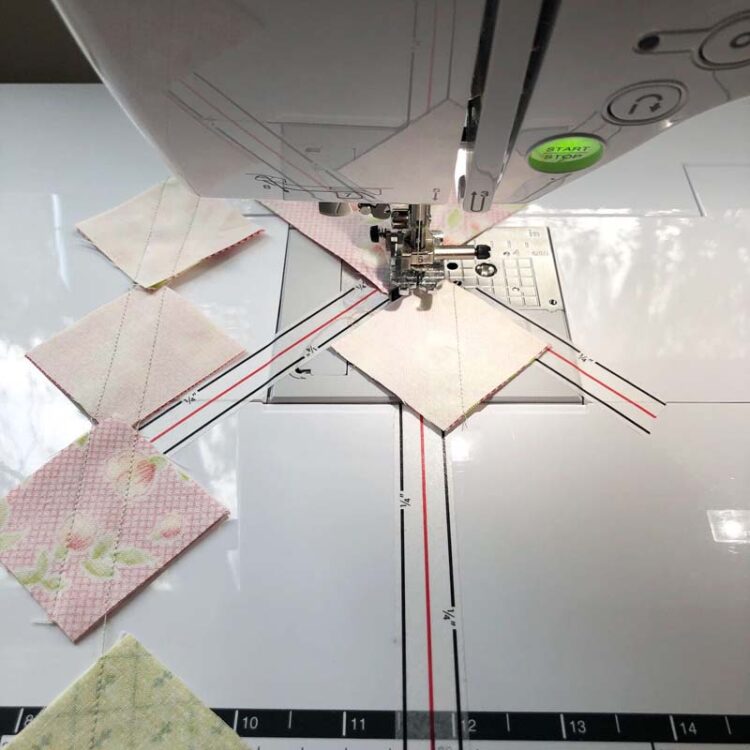
Now you can line up your HST unit (or other) to either side and have it positioned perfectly. This works like magic and will make this process so much easier and exact.
So there’s a simple solution for using Diagonal Seam Tape with the same type of presser foot that I have. If you own a Bernina #37 Patchwork foot, you probably won’t have a problem lining up your fabric. The edge of the foot is exactly 1/4″ from the center on both sides. (It’s one of my favorite presser feet, and I wish other manufacturers would make them too).
Another tip is to use the Diagonal Seam Tape as a 1/4″ seam guide by lining up the fabric to the inside of the 1/4″ line to get a scant 1/4″ seam.
A new project
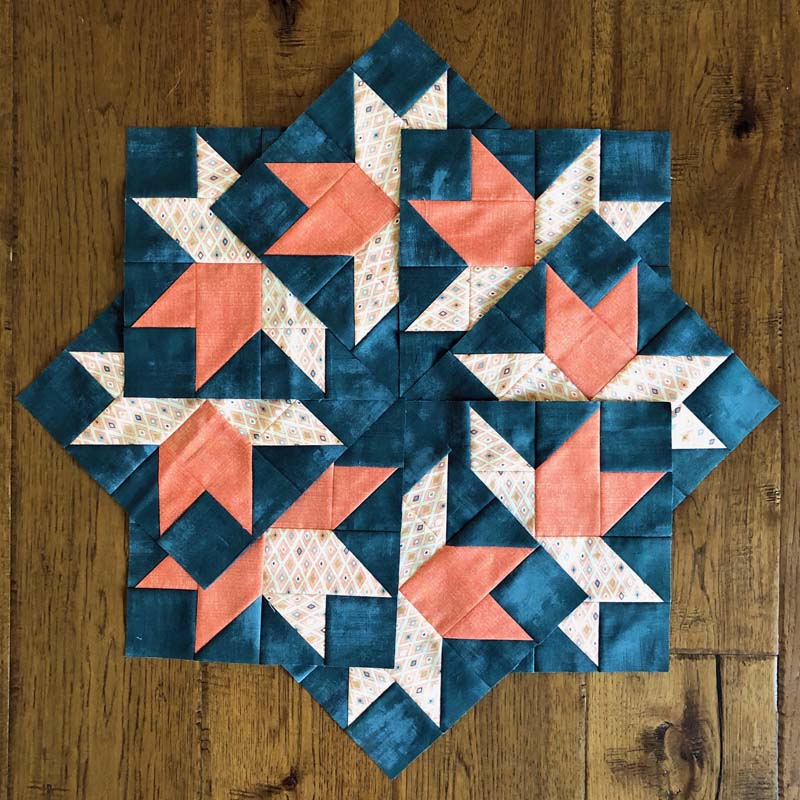
I just started a new mystery block of the month, and I’m really excited for it! I’m participating in the Strawberry Garden Mystery BOM from Fig Tree & Co. This program is no longer taking sign-ups, unfortunately, but I thought I would share my first set of blocks. The color palette for this is right up my alley with color names such as coral, cantaloupe and lime. Eventually it will include yardage from their soon-to-be-released Strawberry and Rhubarb fabric line.
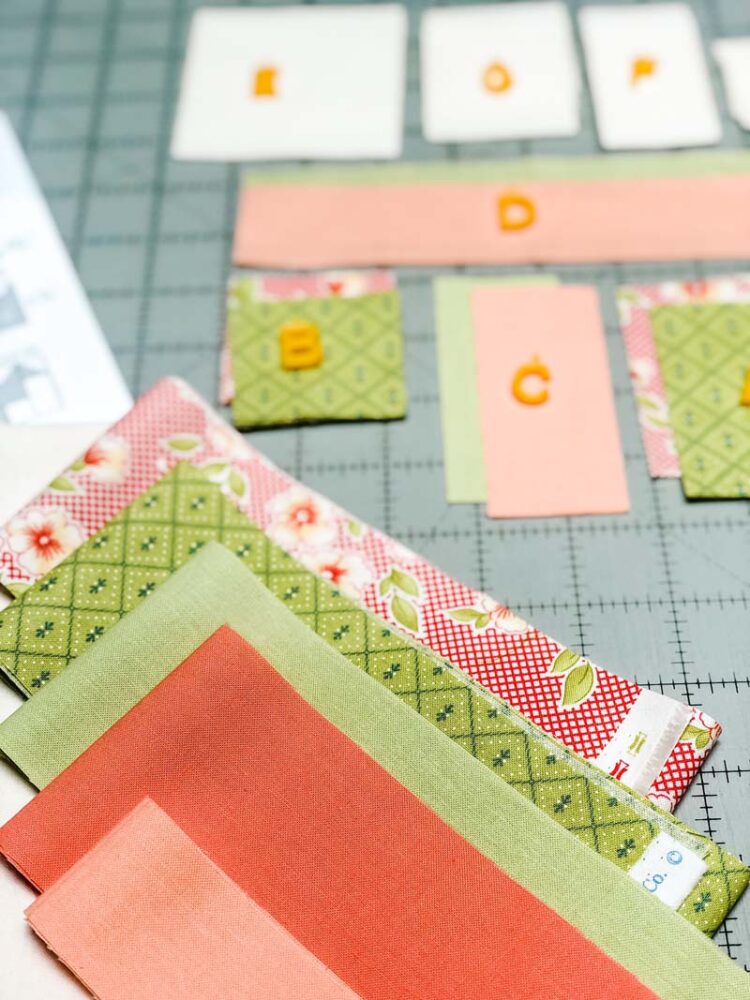
To keep my pieces organized, I use quilt block markers from Purple Hobbies. This is so helpful when you have lots of pieces to keep track of for a block. It takes a little extra time in the beginning, but it pays off in the end.
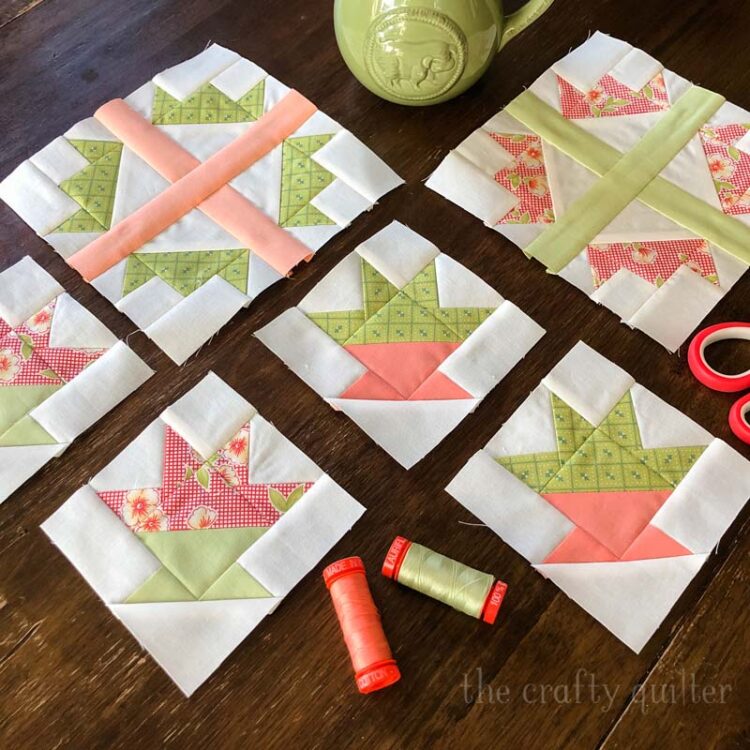
The first set of blocks are as cute as can be! There are a total of six blocks this month. The smaller ones measure 4 3/4″ unfinished and the larger ones are 7 1/2″ unfinished.
I now have two BOM’s that I’m doing and a few other UFO’s on the top of my list. I recently received a special package from Shannon Fabrics that I’m going to dive into and share more about next month. I hope you’re all making time to do what you love. Happy Quilting!

Discover more from The Crafty Quilter
Subscribe to get the latest posts sent to your email.


Great idea!
Thanks for this great tip! My current project has a ridiculous amount of folded corners. This is so much faster and easier than drawing lines. Love your newsletter.
Jennifer
Great ideas! I love Bernina Feet. I don’t have the patchwork for my B530 but I do for my vintage 910–my very first sewing machine! I do have the #57 (gated foot). It has the advantage over other gated feet in that it is (1) sturdier and (2) the gate has a little 4wd action that allows it to not get caught on stuff. HOwever, my FAVORITE piecing machine is my 1946 Kenmore Rotary (White). It is single hole, straight stitch only. It has the most wonderful machined seam guide that screws in. It also has a small feed dog in front of the needle (and two on either side). It pulls very powerfully and straight. I just love it. Of course, it only does one stitch (and has backwards!) but does it exceedingly well.
Thank you Soooo much for this tip. I got it to work, but an extra hand would have helped to get the tape on correctly. Luckily, it is easy to move around. I placed it across the add on table and just sliced it so that it lines up when I put the table on. Brilliant!
This is so smart! Thanks for the tip.
Hi Julie, I would like to know how many times you can sew through the tape before you have to change it. I have just made 336 half square triangles and this would have been a blessing.
The tape is just stuck onto the bed, and you don’t sew through it at all, so it will last a long time.
Hi Julie, great tip with the seam tape! I too have a top loading bobbin, what do you do about this? are you replacing the tape frequently? or have you sliced through the tape for bobbin changes. I didn’t notice any break in the tape in the pictures. This tip will really help me as I do not have a “perfect” 1/4 inch presser foot.
This was Very Helpful. Thank You
I found out that by position my point either to the right or left of whichever seam line I’m following, I get better scant 1/4 seams.
Brilliant hack for the diagonal seam tape. I’m going to buy some and try it. Thanks!
You are brilliant! I had the same problem trying to figure out the starting point. Will add some diagonals next time I sit at the sewing machine.
This is Great! I keep ‘a line’ of diagonal tape on my sewing machine, but this new look at it really is amazing! Thank you sew much !!! It’s Brilliant!
Hi Julie, this IS a great tip. Thanks. I’ve pinned this for future reference.