Heart bookmarks and grandkids
I love anything with hearts which means February is such a fun month for me! I’m always looking for quick projects to make that include heart shapes, so I whipped up these cute heart bookmarks with scraps of fabric and some paper crafting supplies. I’ll give you the details so you can make your own. Plus, I have some recent pics of the grandkids to share (I just got back from Austin).
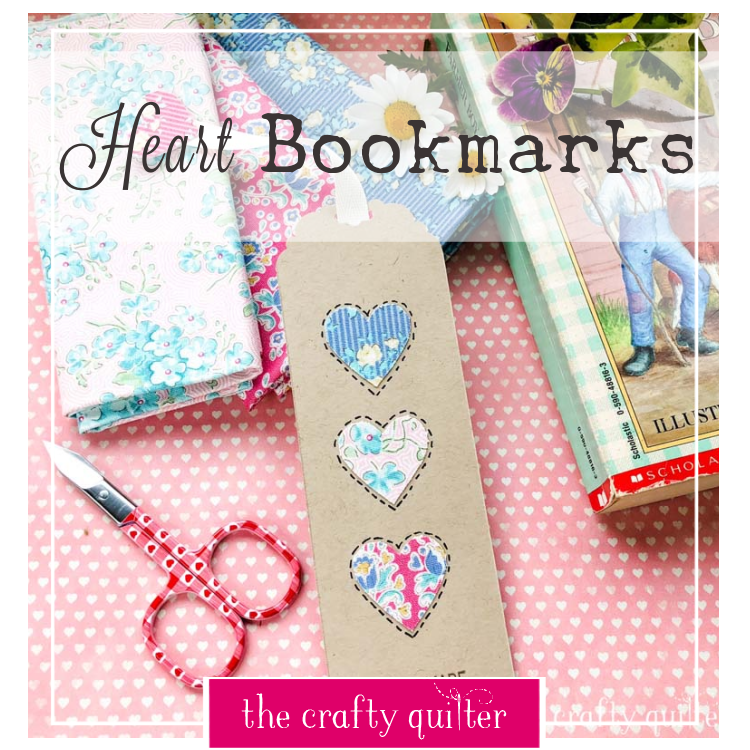
Heart Bookmarks
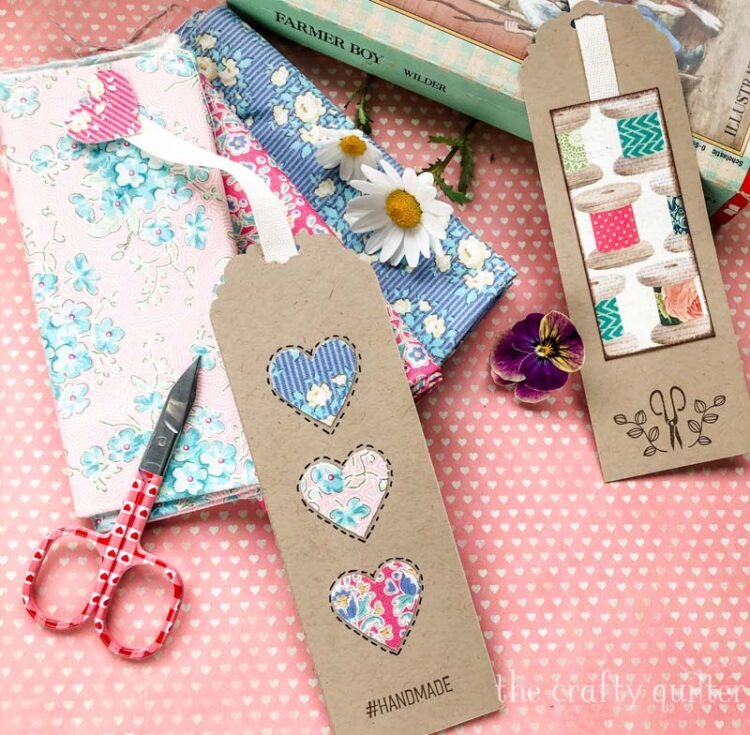
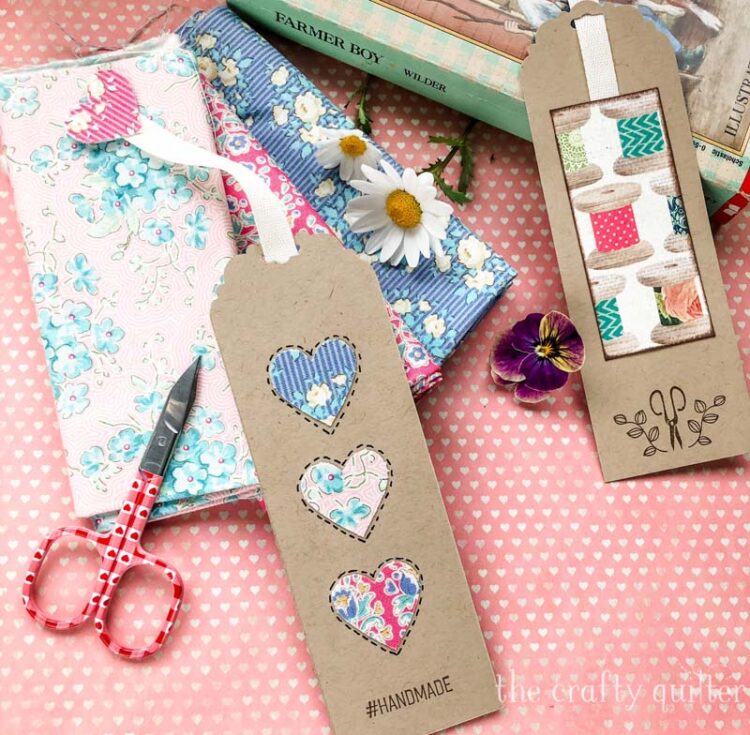
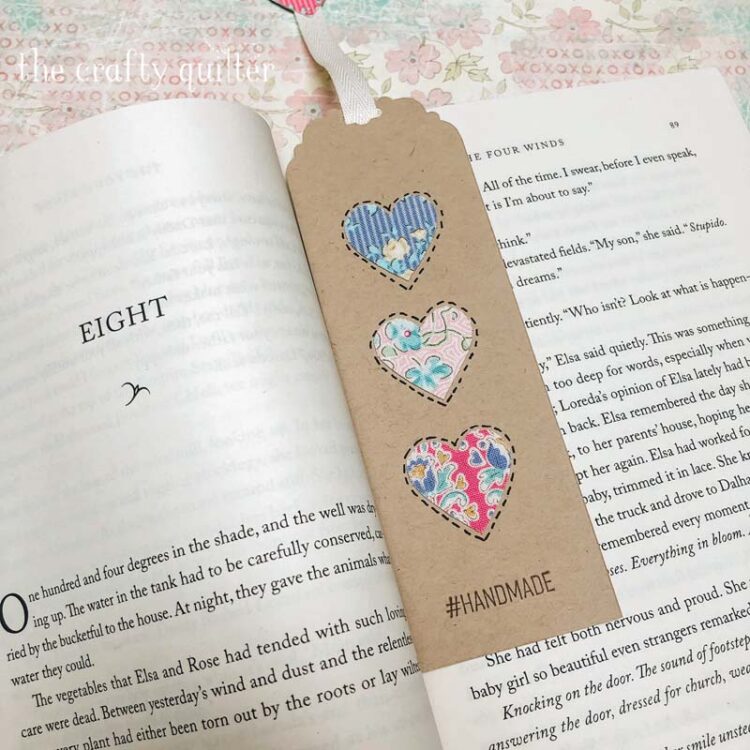
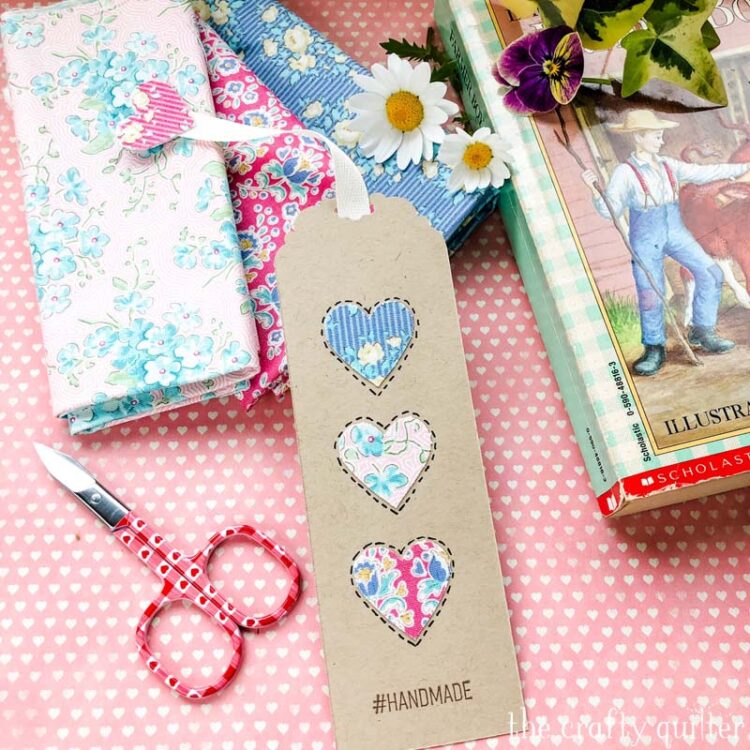
These heart bookmarks are so cute and really easy to make. I made a dozen of them in one afternoon! They can be as plain or fancy as you like. In addition to a large fabric stash, I have lots of paper crafting supplies; so, I glammed mine up a bit with pretty cardstock, stamps and punches.
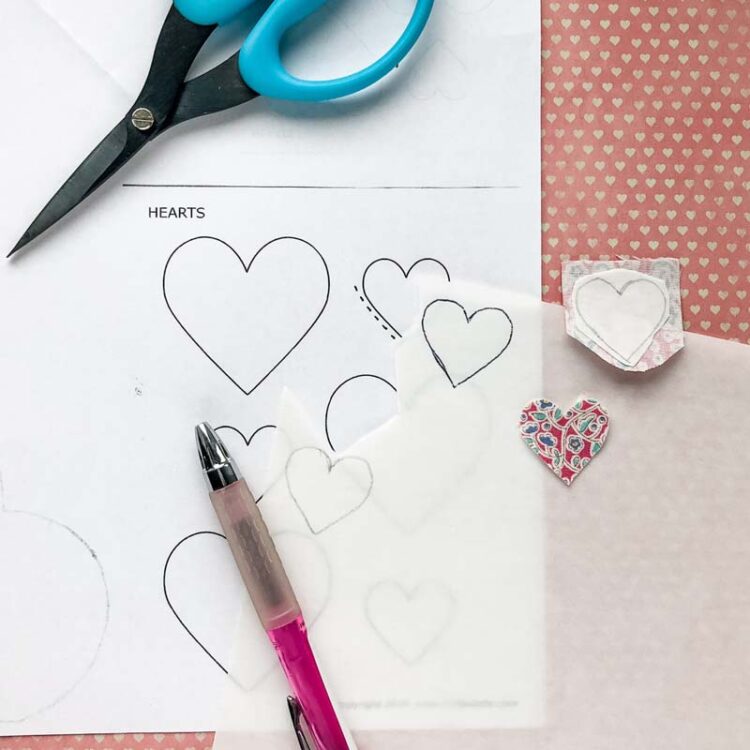
For basic supplies, you’ll need small scraps of fabric, a heart shape to trace that is about 1″ square, a fusible web product such as Heat ‘n Bond, cardstock or heavy paper or cardboard, and a fine permanent marking pen (for stitching lines).
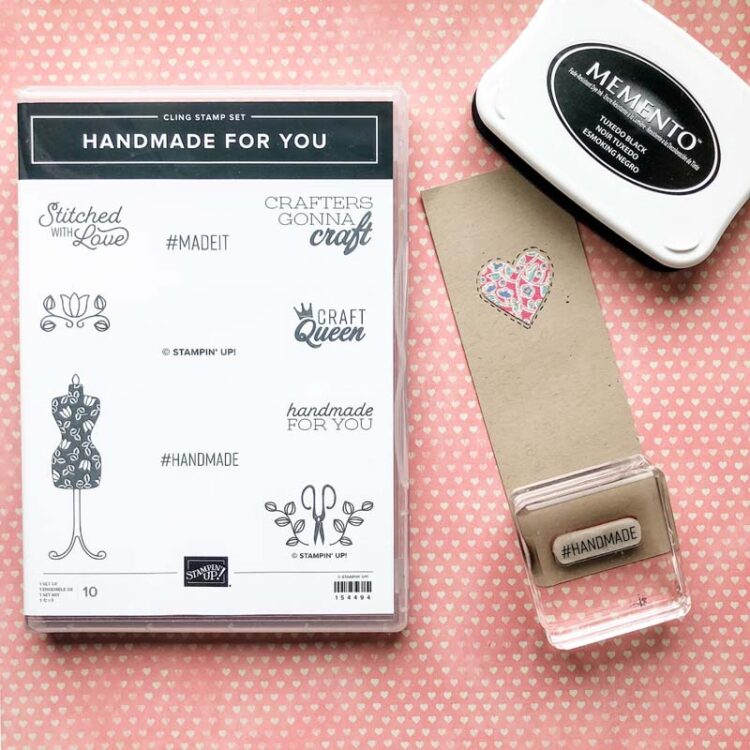
The specific stamping supplies I used for the heart bookmarks pictured are Handmade for You Cling Stamp Set by Stampin’ Up, Crumb Cake Cardstock by Stampin’ Up, and Fancy Tag Topper Punch by Stampin’ Up. I used a dark brown ink pad (not pictured), but any kind will do. I also used an ivory twill ribbon 3/8″ wide and older scraps of designer cardstock that had images of thread spools for the back. The fabric I used for the hearts for some of the bookmarks were made of Tilda fabric (I don’t know which line). It’s very romantic and pretty. I also used scraps of some Bonnie & Camille fabric for the other bookmarks.

Basic instructions:
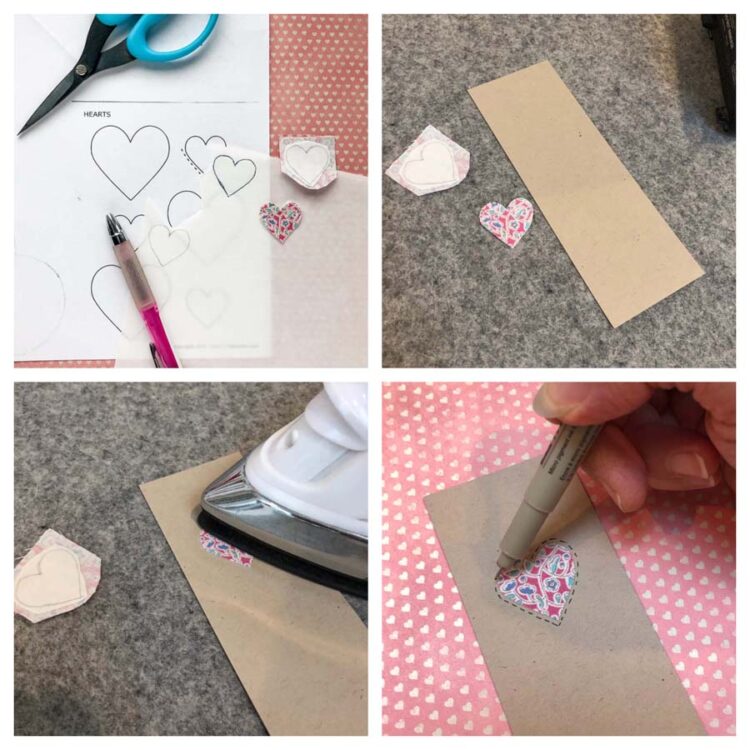
- Cut the cardstock into 2″ x 6″ rectangles.
- Trace three heart shapes onto the paper side of fusible web.
- Cut out the heart shapes leaving a 1/4″ border around the outside.
- Fuse the heart shape onto the WRONG side of fabric.
- Cut out fabric heart exactly on the lines of the heart shape.
- Peel off paper side of fusible heart shape.
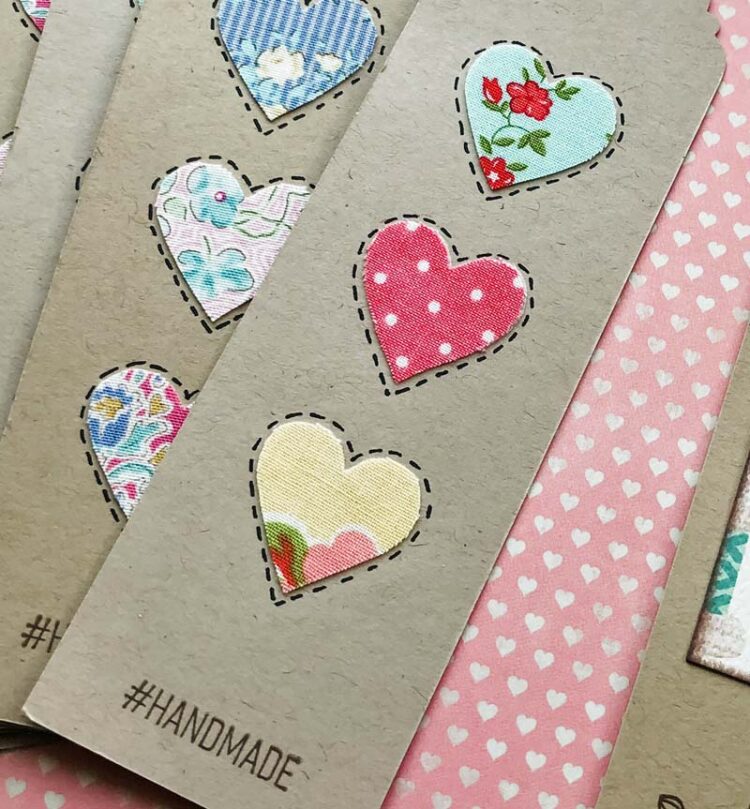
- Place the hearts in the center of the card stock rectangle, spacing them apart vertically.
- Fuse in place following the manufacturer’s instructions.
- Using a fine point permanent marker, draw stitching lines 1/8″ away from each heart shape.
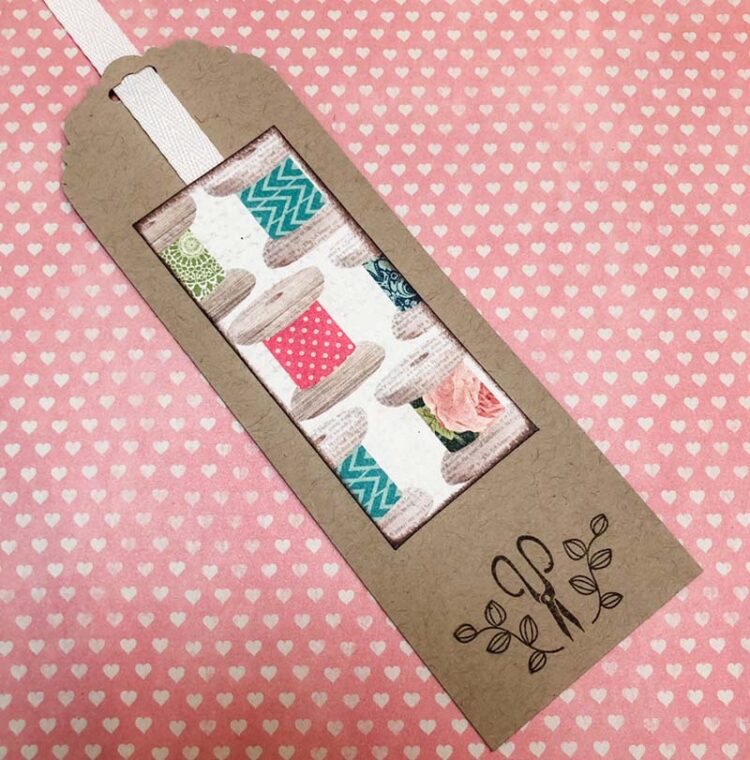
At this point, you can add stickers or handwritten sentiments or other treasures to your bookmark. I chose to add a small rectangle of pretty cardstock onto the back of the bookmark. I cut an 8″ length of ribbon and taped it underneath the small rectangle first. I then placed it through the hole at the top of the bookmark. I used two additional fabric hearts and fused them to the top of the ribbon.
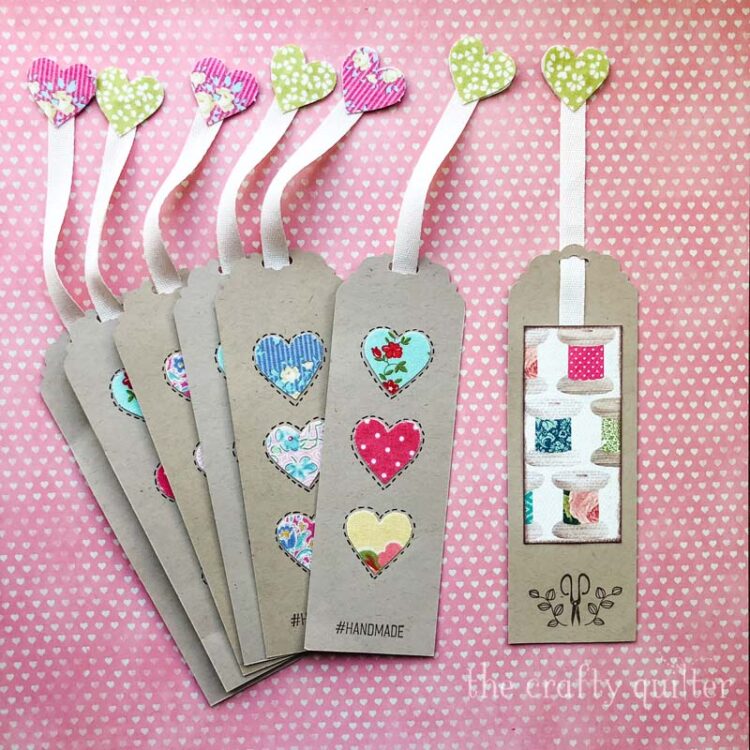
Aren’t these heart bookmarks so cute!!! I love easy projects like this, but I have to admit that my sewing room looked like something exploded inside. I had fabric, ribbon, paper and stamping supplies spread out everywhere. And it was FUN!
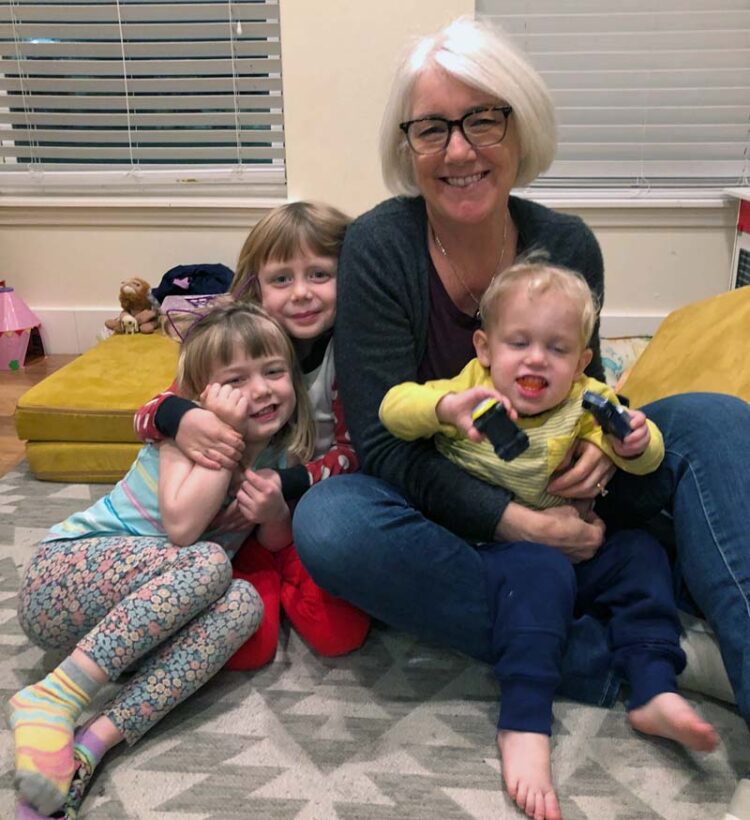
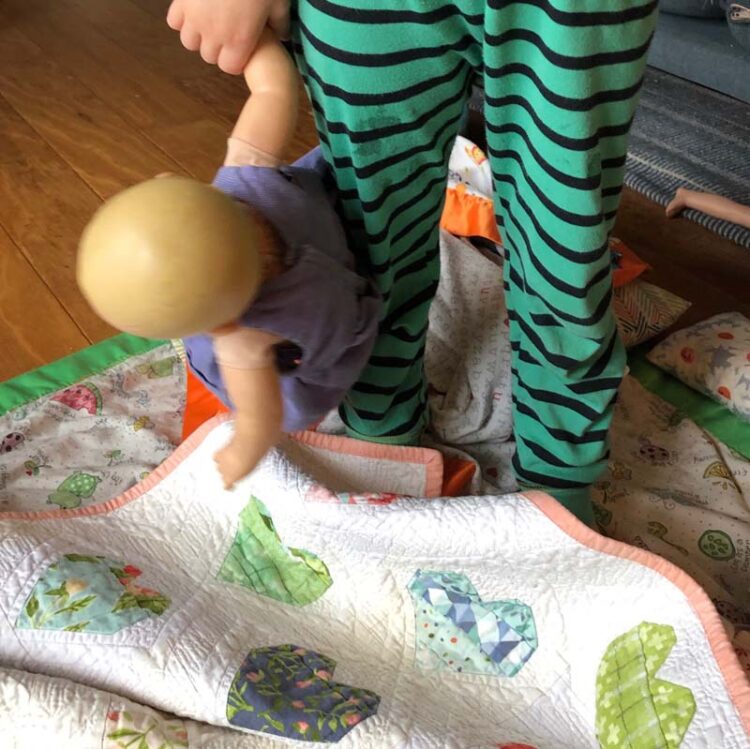
I was in Austin at the beginning of this week visiting my grandkids and helping my daughter out while her husband was out of town. I had a blast playing with them and just being grandma for a few days. We did some Valentine’s Day decorating, and I was happy to see some of my handmade heart projects at play.

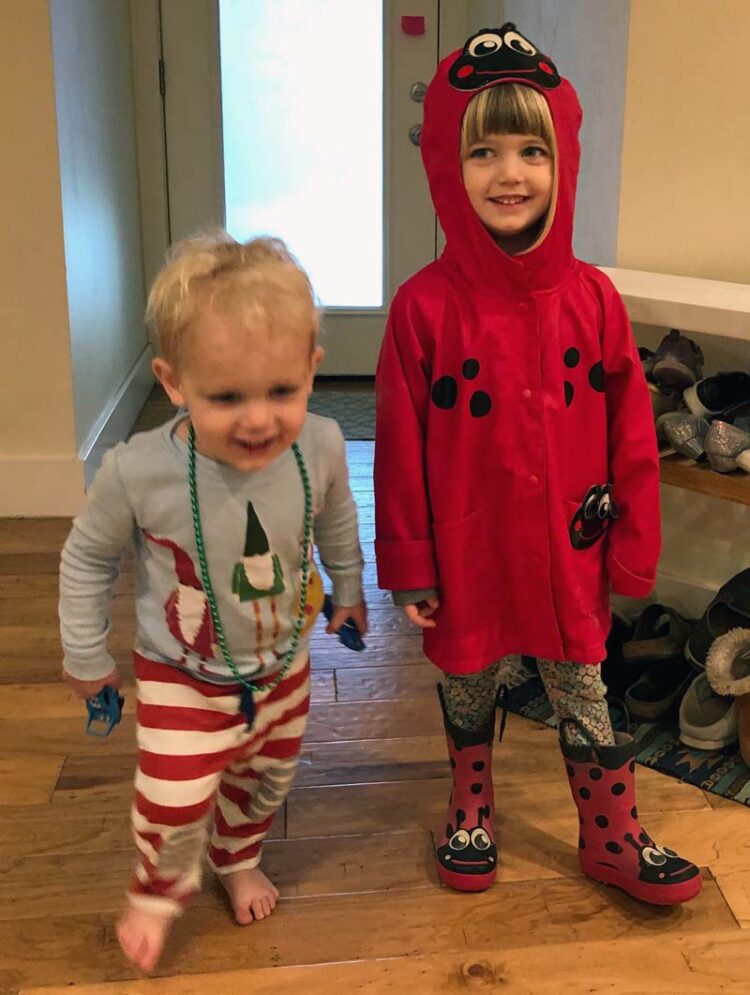
I was lucky to have one of the last flights home before a freezing rain hit the area. They cancelled school for the next two days which made the oldest one quite happy. Snow in Austin is becoming a common thing.
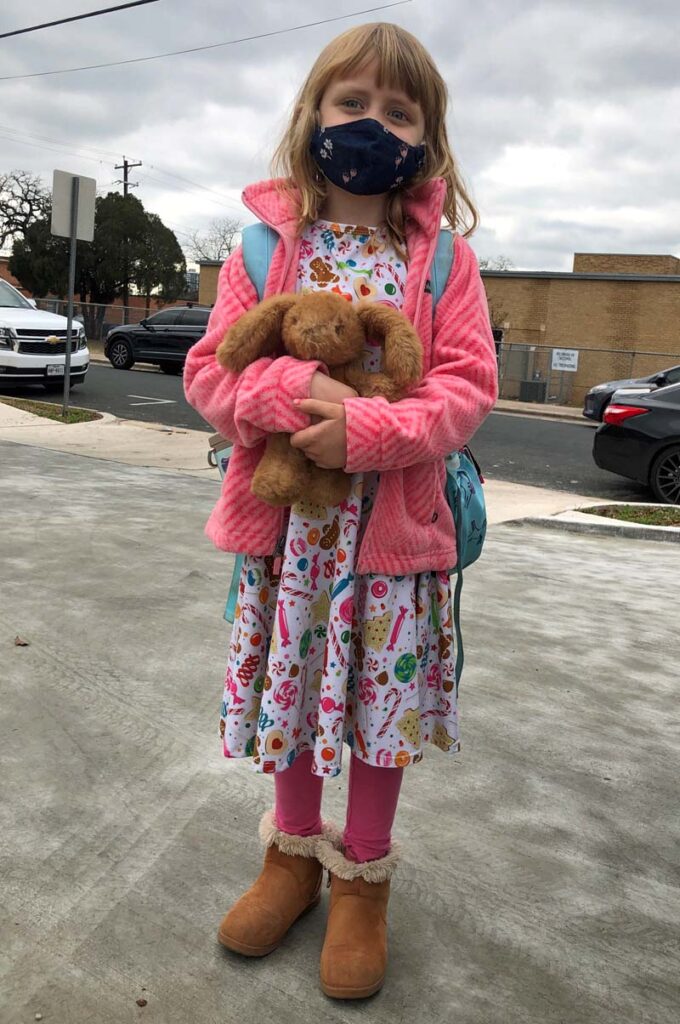
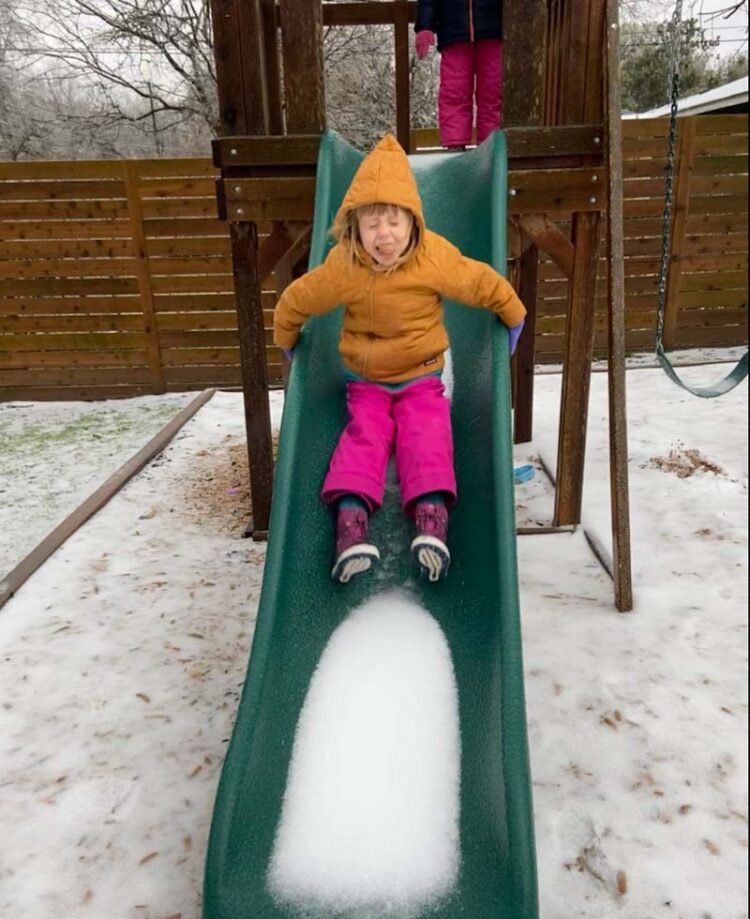
I miss them when I leave, but I always love coming home.
I want to thank you for all of the lovely comments you left for my 10 year blogiversary post. I appreciate each kind word and wish that I could respond to each of you individually. I am beyond flattered and so grateful to have you following me here. Thank you! I’ll be picking two winners tomorrow morning for the blogiversary giveaway!
One final note. Tomorrow is the first Sunday of February. Usually you’ll find a Sew Thankful Sunday blog post on that day. That is no longer part of my blog post schedule. It has moved to a separate newsletter format that you can subscribe to below. Once you click on the subscribe button, it will take you to my latest February newsletter. After that, you’ll receive updates once a month (sometimes more often if there is lots to share).

Coming up: I have another heart bookmark that I’m working on and it’s equally as cute as this one. It’s made entirely of fabric and it’s quite clever. I’ll show you how to make one next week!
Enjoy the rest of your weekend,



Being a grandmother (Nana) is wonderful. Enjoy every minute!
Sweet pictures with and of the grandkids. I love those bookmarks, a fun idea. Had to laugh at the explosion in the studio….it happens so often in mine that my new years resolution is to try not to have to clean off spaces in order to use them…its working a bit.
I consider you a Heart-to-Heart Friend! We share love of fabric, sewing, paper crafting, family and grandkids. Thank you for the good you add to the world and to my life! ♥️
Those bookmarks look great; I might try that with my son! Thanks for a fun project.
Julie, isn’t being a grandparent the best thing in the whole wide world?! And your bookmarks are very cute. Thank you for the tutorial. Have a wonderful day.
Sorry I missed your Anniversary Blog – Congratulations!! I love following your blog and use your tutorials on a regular basis. Lots of fond memories of your virtual quilt class last winter. It was a wonderful experience to participate in your class. You are an amazing teacher and I hope I get to take part in another of your classes.
Carol Anne Maisey from High River, Alberta Canada
Really cute bookmarks, and I loved seeing Farmer Boy used as a prop.
You have such a neat family. I love spending time with my grandkids. I say they are my rewards for having three boys to raise. My son’s have given us such wonderful grandchildren to love. We feel so blessed and I see that in you.
What a lovely, beautiful, family you have!
Those are very cute bookmarks.
Thanks so much for the wonderful heart bookmark tutorial…great idea and so pretty and practical.
Julie,
Love those bookmarks and your family pics! I am glad I subscribed because I looove sew thankful posts 🙂
Kathi
Good morning from Australia Julie, my your grandchildren are growing up fast. Ours are as well leaving school entering Uni and in late high school… we hadn’t seen our son and his two for 2years due to Covid as they were in another state it has been so wonderful to see them this summer, our 2 girls are near us. I don’t know just what we would do without our sewing and crafts. I’ve made three Mystery quilt alongs. Just finished a quilt for the youngest grandson turning 14, about to start one for one turning 18…you do a wonderful job keeping us all sewing. Noelene
Always fun to see how the kids are growing!