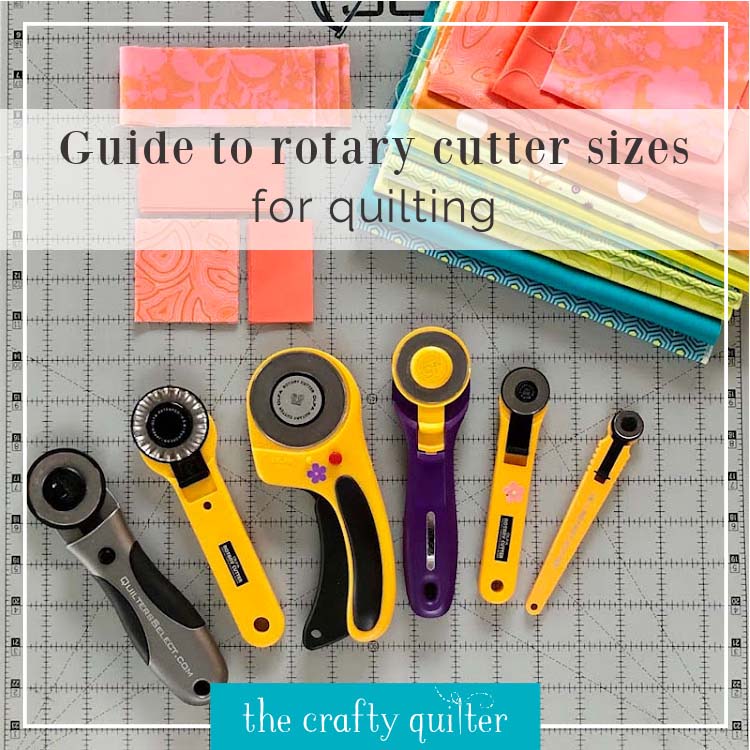
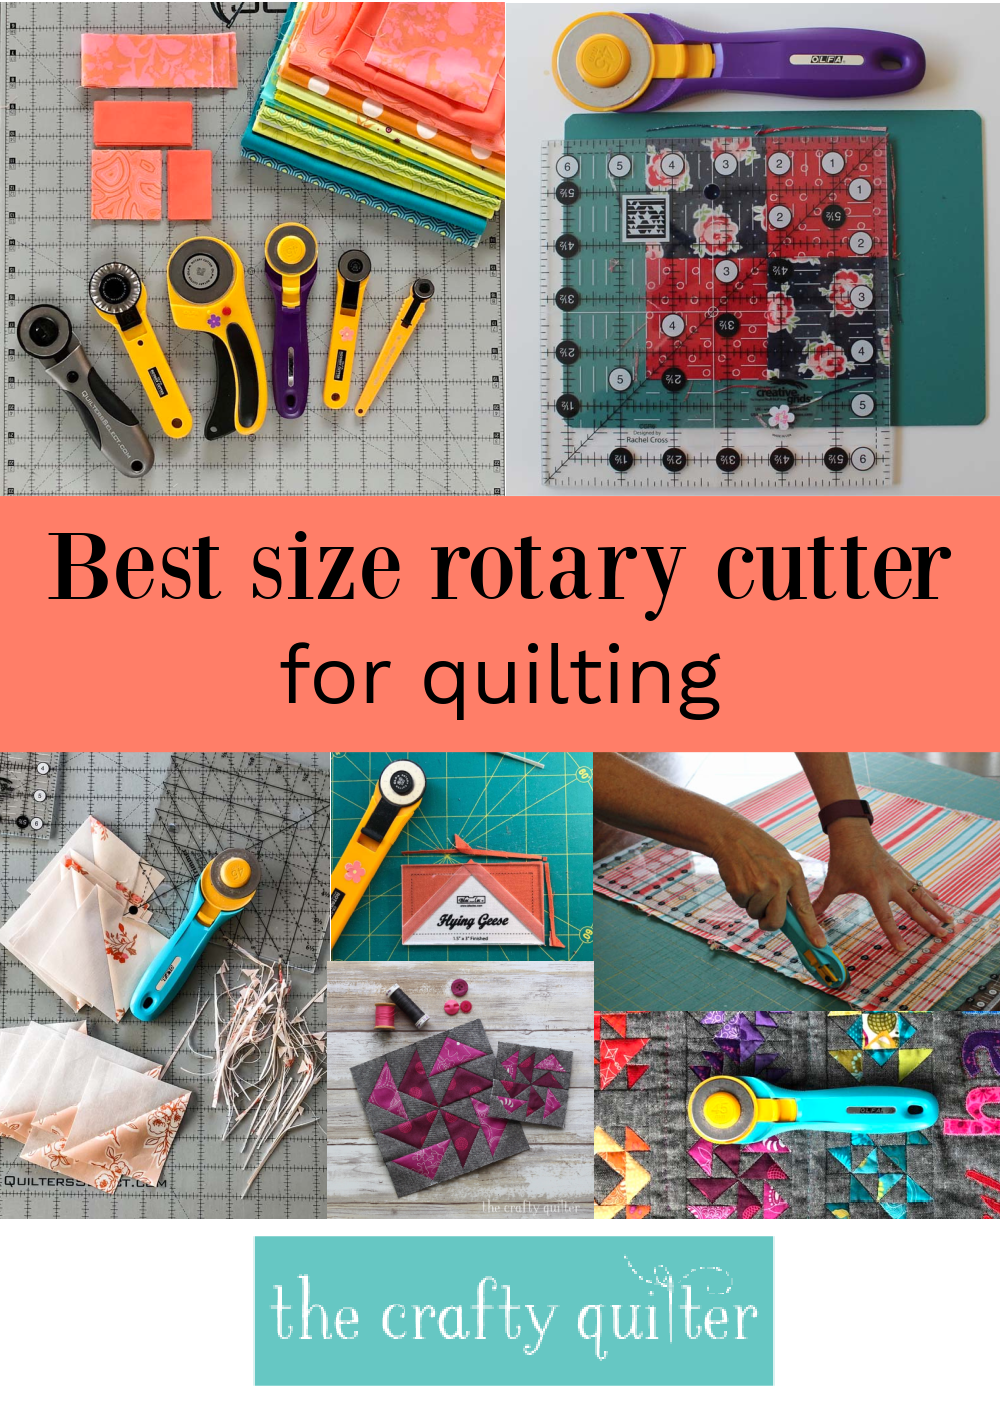
What size rotary cutter is best for quilting?
The days of scissors and templates have given way to rotary cutters and rulers. Like everything in quilting, there are many options to choose from. A common question is what is the best size rotary cutter for quilting? I have your answer in this guide to the different size rotary cutters available.
What size rotary cutter to use?
There are four sizes of rotary cutters on the market: 18 mm, 28 mm, 45 mm and 60 mm.
They each have their place in the sewing room depending on the task at hand. I’ll share information about each size (starting with my favorite) along with safety tips and maintenance.
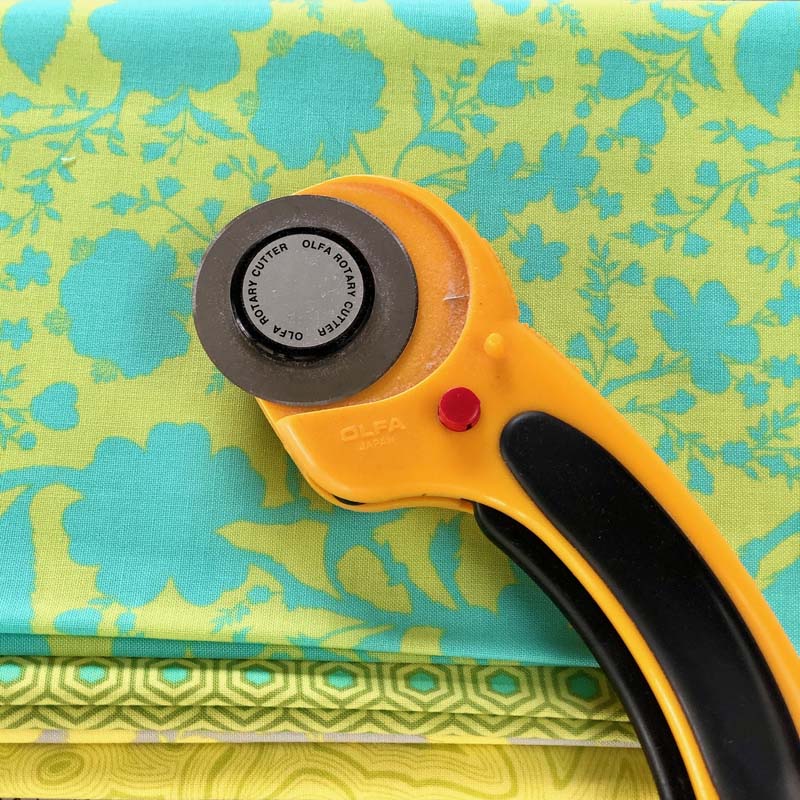
45 mm rotary cutter – best all purpose
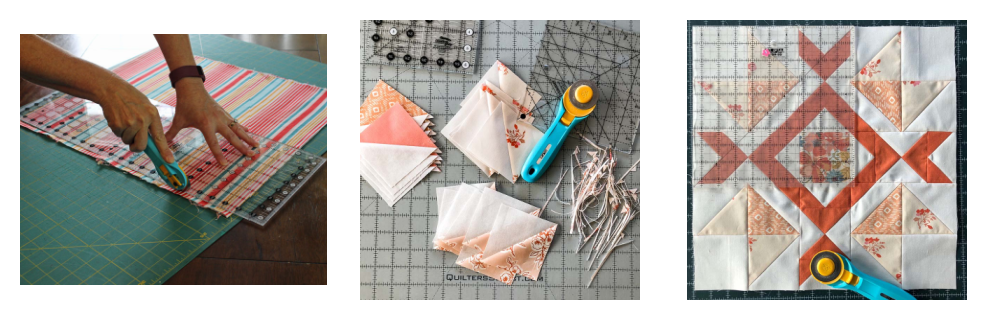
If I had to pick just one size rotary cutter to bring on a retreat, I would choose the 45 mm. I consider this one “best all around” for most quilting jobs. It’s perfect for cutting fabric strips, trimming half-square triangle units and squaring up blocks. This is the rotary cutter I reach for most often.
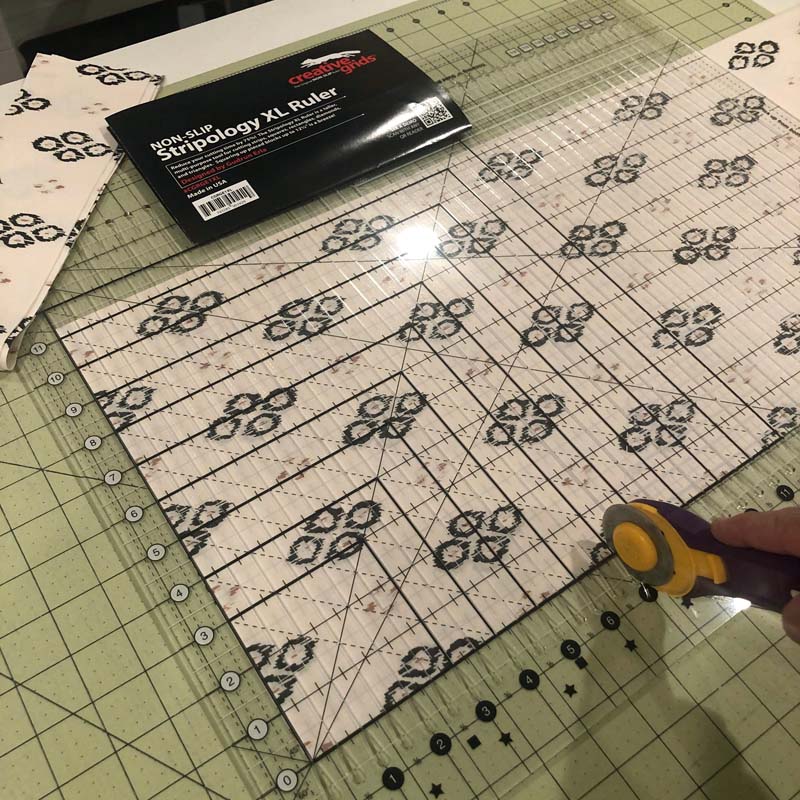
It also fits well into most slotted rulers such as the Stripology Ruler by Creative Grids and Clearly Perfect Slotted Trimmers by New Leaf Stitches. Smaller blades may not reach the cutting surface as easily as the 45 mm and larger blades may be too snug. It’s always good to test first.
You can cut between 1-4 layers of fabric easily with the 45 mm rotary cutter. It can handle more than four layers, but I feel like I’m testing fate with more than that. Other tasks, such as curves and trimming quilts, can be accomplished with the 45 mm size blade, but it’s not always my first choice. Hence the other sizes!
Pros
- Can handle most quilting tasks
- Can cut through four layers easily
- Perfect for using with slotted rulers
Cons
- Not best for mini projects or small pieces
60 mm rotary cutter – great for big jobs
The 60 mm rotary cutter isn’t used as often, but it still has a solid place in my sewing room. When I have a big job, this size comes in handy.
The 60 mm size is great when you have lots of long strips to cut. For example, a quilt that requires (20) 2 1/2″ x WOF strips – this would be a good time to bring out the large rotary cutter.
It’s also perfect for cutting through many layers; so if, you want to stack up 6 layers of fabric, the 60 mm will cut through them easily (assuming it’s sharp).
Because of its large size, the 60 mm blade takes fewer rotations to cut from point A to point B. This makes the blade last longer than smaller blades.
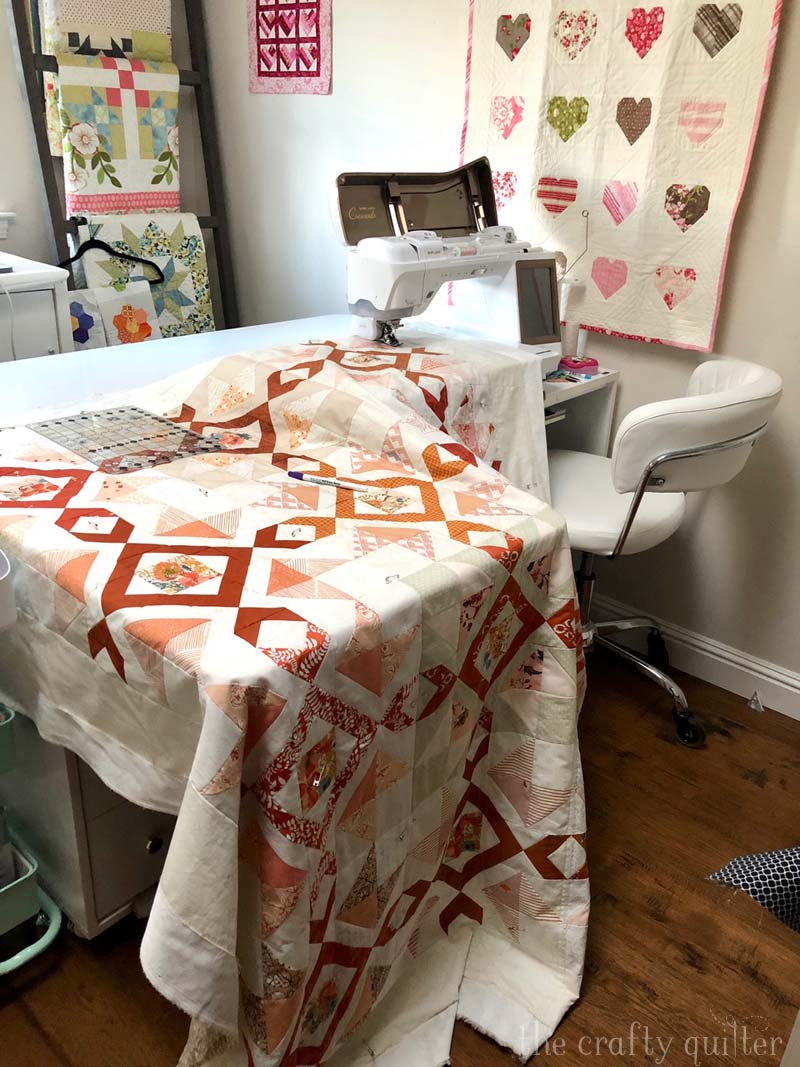
I also reach for this rotary cutter when I’m squaring up a quilt after it’s been quilted. It quickly and easily cuts through all the layers.
Pros
- Great for cutting lots of strips
- Can cut through more layers easily
- Perfect for trimming quilted quilts
- Blade will last longer than smaller sizes
Cons
- Not great for small projects or small pieces
- Can be too big to fit into slotted rulers
- Not good for cutting curved pieces
18 mm & 28 mm – just right for curves and mini projects
I’ve grouped these two smaller sizes into one category because they are so similar in function. I honestly don’t use my 18 mm rotary cutter very often, but they are both great when working with small pieces or cutting curved pieces.
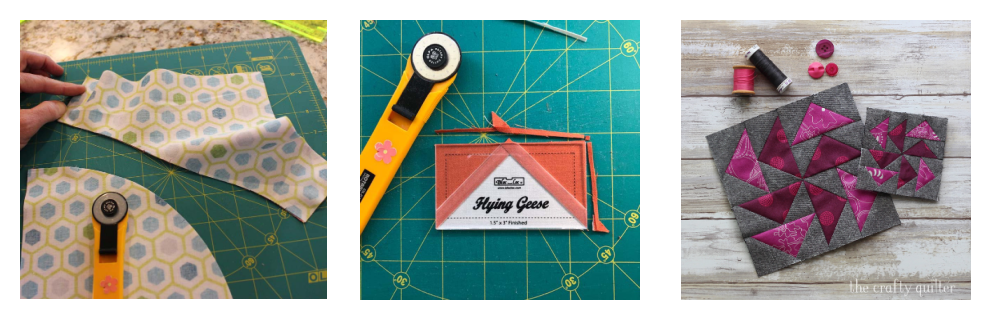
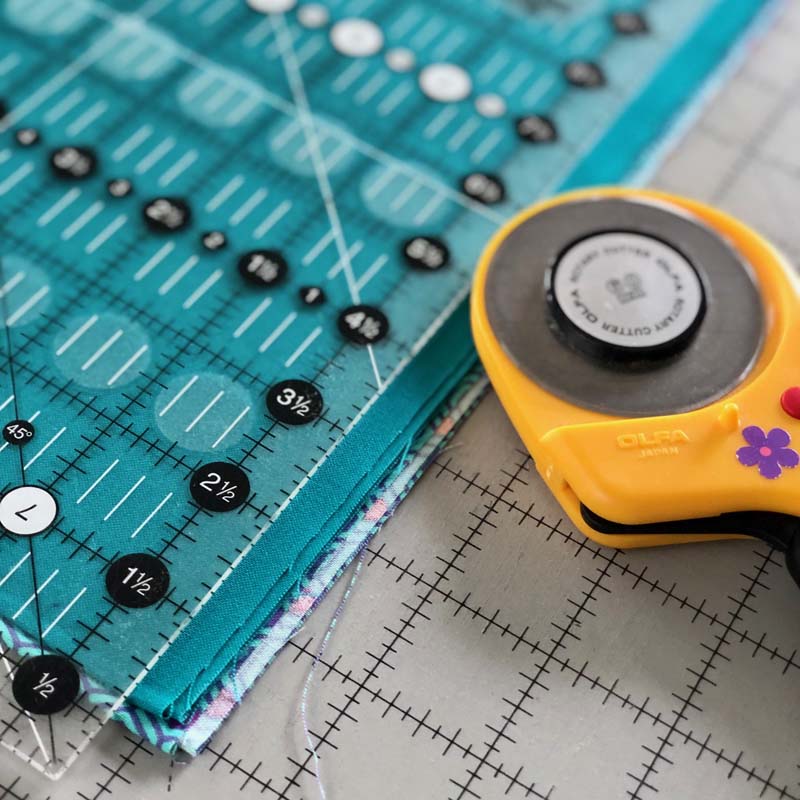
Any time I’m working on a mini quilt or tiny units, I grab my 28 mm blade. Using a smaller size blade to trim a 1 1/2″ HST unit feels better and easier than a larger size blade. Perhaps it’s even more precise with such tasks, but whatever it is, you should definitely give it a try.
When cutting curves (whether free form or with a template) you’ll get better control with the 28 mm rotary cutter. The 18 mm may not have enough clearance to use with a curved ruler/template, so test it first.
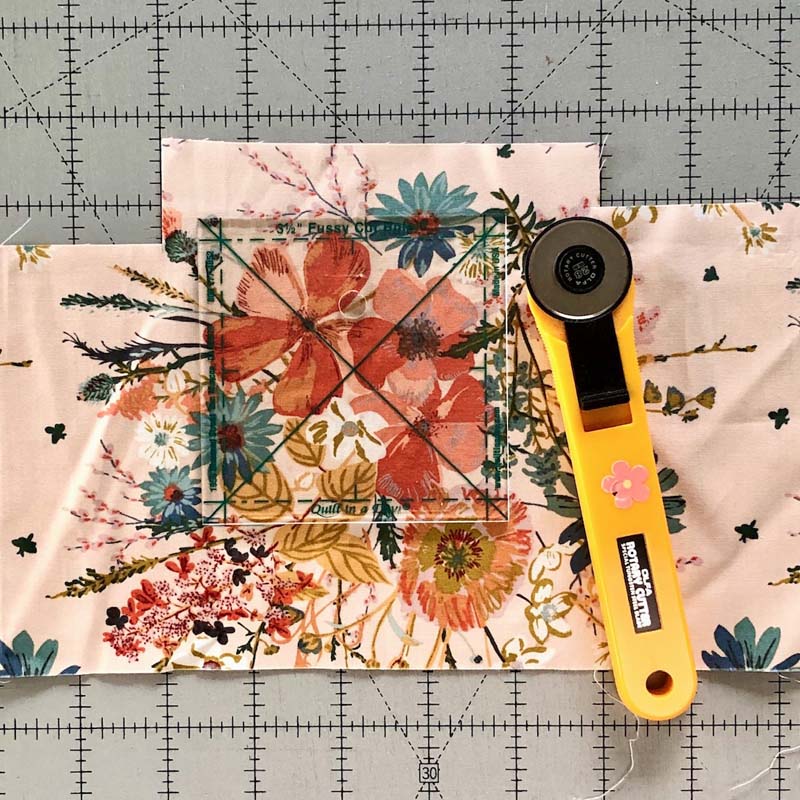
I like to use the smaller blade size when cutting individual shapes or when fussy cutting. It’s easier to determine where the blade will stop cutting at the end of a shape. Have you ever fussy cut a square and your blade cuts 1/4″ beyond the end of the ruler? This doesn’t happen with the smaller blade. So, if you’re making “swiss cheese” out of your fabric or fussy cutting, you’ll be more precise with your cuts.
Pros
- Great for mini quilt projects
- Perfect for cutting curves
- More precise when fussy cutting
Cons
- Can’t cut through more than 2 layers
- Can be too small to fit into slotted rulers
- Blades don’t last as long
Rotary cutter safety tips
We’ve all heard horror stories of quilters cutting themselves with a rotary cutter. As a quilt teacher and quilt shop employee, I’ve seen (or heard about) my share of accidents; these are sharp instruments! Here are some basic safety tips when using a rotary cutter.
- Always keep the blade retracted when not in use.
- If your rotary cutter has a locking mechanism, use it.
- Always cut away from yourself.
- Make sure you have a comfortable “reach” when cutting.
- Keep fingers away from the ruler’s cutting edge.
- For maximum protection, use Rotary Cutter Safety Gloves.
- Sharp blades are safer in use than dull ones.
Rotary Cutter Maintenance
Rotary cutters require very little maintenance besides changing the blade. Sometimes fabric dust can collect around the nut that holds the blade in place or in between the safety shield. This can be cleaned when you change the blade.
Let’s talk about changing the blade. We quilters are frugal. We want to make that blade last until we can’t make a clean cut without three passes of the blade. I’m guilty of this, even though I know I’ll be so much happier and safer with a fresh blade!
You’re better off working with a sharp, fresh blade for two reasons. (1) It’s safer. You’re not exerting as much pressure which might result in poor form, and (2) It works better and more efficiently!
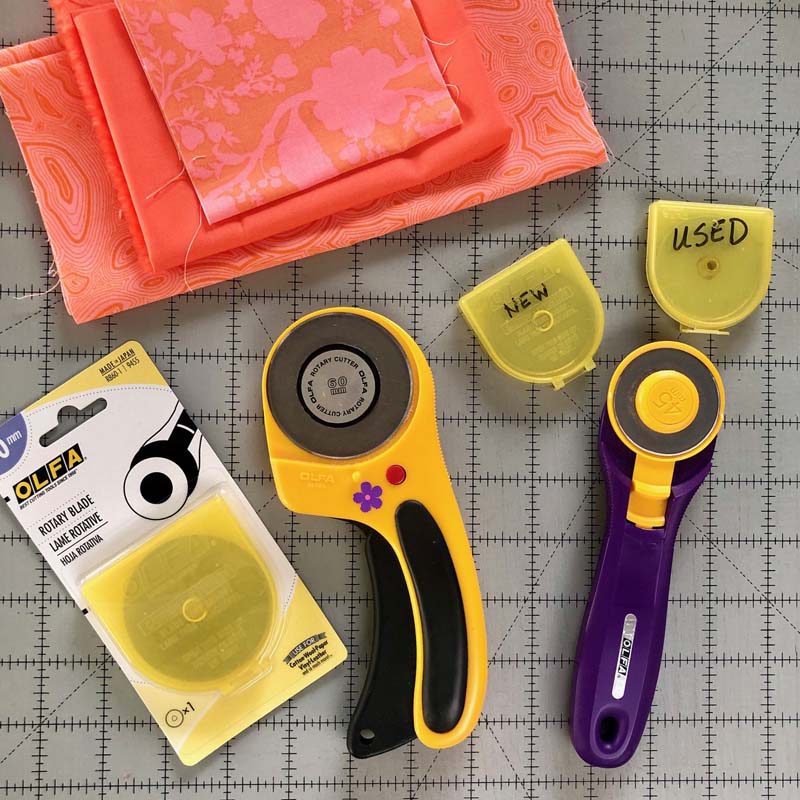
Most rotary cutters have a similar mechanism for changing the blade. You unscrew the nut, remove the small center shield (it covers the blade) and then the blade. Clean any dust from the center and replace with a new blade. Reassembling is always the tricky part. If you use Olfa cutters, you can find blade change instructions here.
Olfa has come out with a quick change rotary cutter (one of my favorites) that has a sliding mechanism to easily release the blade without having to worry about re-assembly with nuts and washers. Quilter’s Select rotary cutters have the same type of easy release system.
I hope you’ve found this information on the best size rotary cutter for quilting helpful. The 45 mm blade size is the one I reach for most often, but the others serve a purpose, too!
For more information and tips on general rotary cutting, check out my Rotary Cutting Tips.
Happy and safe quilting!

Discover more from The Crafty Quilter
Subscribe to get the latest posts sent to your email.


Great information, TFS!
Great post Julie! My very first quilt was made with cardboard templates that I traced around with a pencil and then cut out with scissors. We have come a long way and rotary cutters have made quilting so much faster and fun.
What is the best way to dispose of used blades? There used to be a place that would take old blades and replace them with either new or re-sharpened blades, but they seem to have stopped offering this service.
Thanks Julie! Excellent article. Which reminds me I need to put a fresh blade in my rotary cutter.
Julie,
Good morning. Always good information! Have you ever tried a rotary blade sharpener? They seem like such a good idea.
Hi Carol,
I have not tried a sharpener (nor an Endurance blade.) I’ve heard mixed reviews on both. It might be worth a try though!
Julie
Thanks, Julie, for your very helpful tips on rotary cutters. I find I am always cutting myself on the new blade when I attempt to make a change because the blades in the new pack are stuck together with some type of oil or lubricant. I have tried pulling them apart with duct tape but it does not work very well and I always slip and nick my fingers. Am I buying them wrong blades? How do you get them apart? Maybe I need to get those special gloves?
Hi Joan,
Great question. Blades are lubricated in the packaging and over time the oil becomes gummy and hard to separate. You can apply heat with a blow dryer to loosen it up. Use a pencil eraser to slide the top blade away. You can also try using a straight pin or seam ripper to separate the blades (without heating).
Julie
This was a great article and clearly shows the variety in cutters as well as the best uses for each size.
Thank s for all the cutter info. Very well done!
Belated … but nonetheless sincere, wishing you and all a Happy and Healthy 2023.
As ever, LOVE your tutorials, in house or online, SO clear. Thank-you. x
Thank you for taking the time to put all of this information together, especially listing the pros and cons for each size. Great safety tips, too.
Interesting post I am more interested these days in the handles of the blades as I have a wrist problem and there are many different handles on the market what do you find suits your way of cutting best.
Talking about rotary cutters horror stories, one of my friends, one evening was using her embroidery machine while cutting some fabric. the next minute she went through the embroidery machine cable. She, almost electrocuted herself, and left the whole house without power.
Thank you for the wonderful info about different rotary cutters
Thanks for the information. What is a safe way to dispose of the used blades?
Wow! You nailed it, Julie!! Spot on with your rotary cutter information. Thanks for a great review!! I hope that you are doing well. I hope that your area is not too soggy from all the rain that CA has received these past few weeks. Stay safe and dry.
Thank you for this information. Always a good reminder.
I needed a refresher course. Good information. Thank you