The Perfect 1/4″ Seam Allowance
The perfect 1/4″ seam allowance – some people call it “the great mystery” or “the never-ending battle”. I’m going to give you some great tips so that you can call it “easy”.
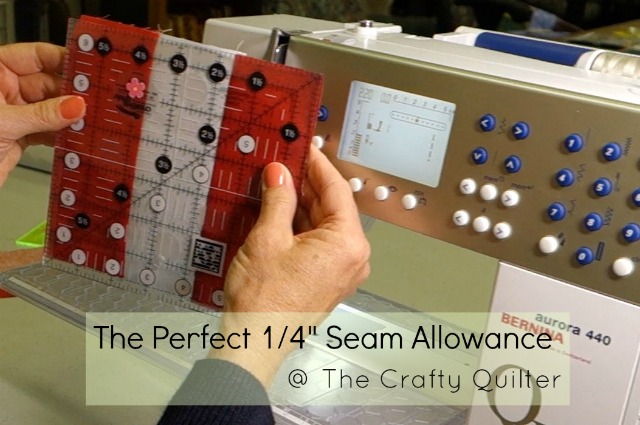
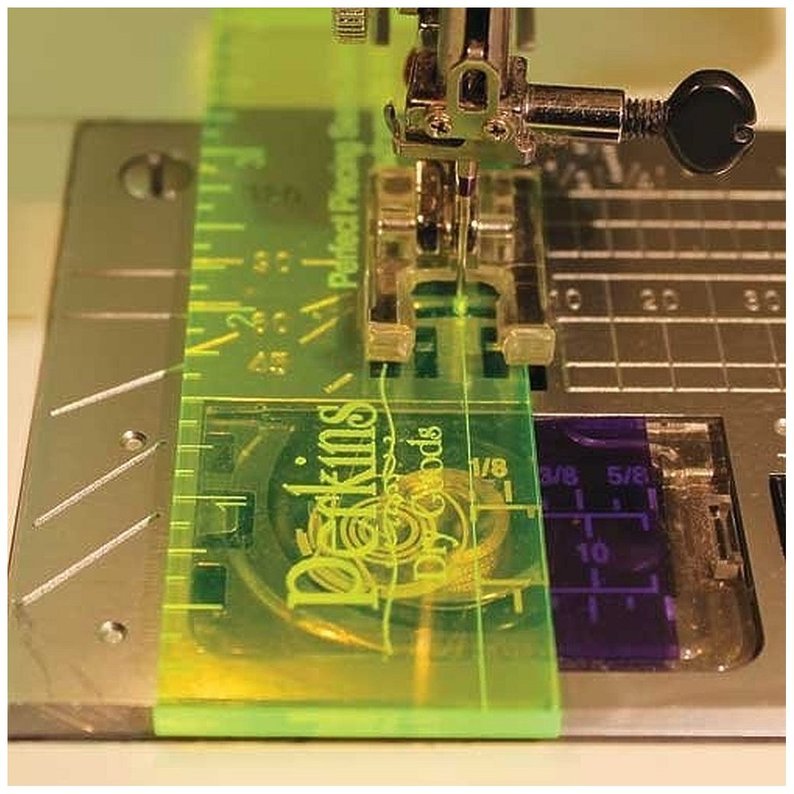
I have two tools that I like to use myself and that I suggest for my beginning quilting students. The first tool is the Perfect Piecing Seam Guide.
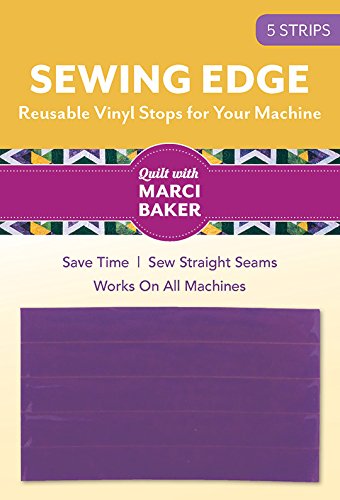
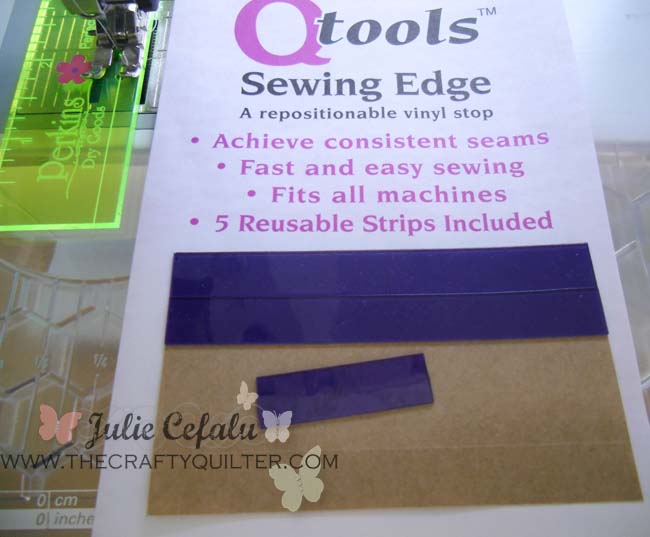
This guide works in conjunction with the second tool, Qtools Sewing Edge, by Alicia’s Attic.
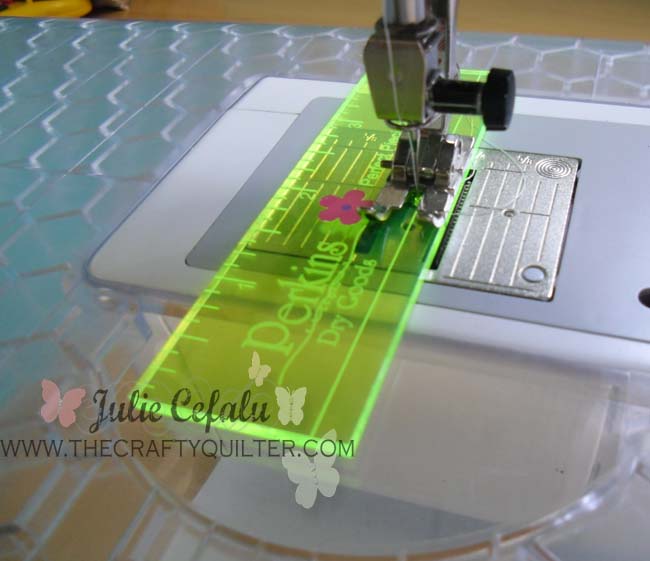
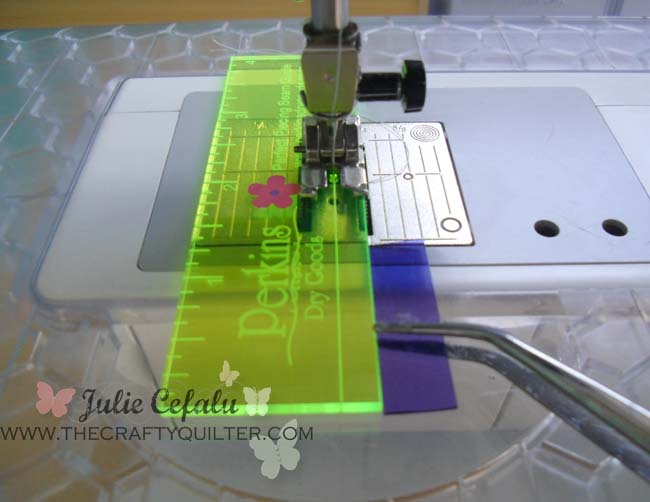
Here’s how I use them: I start with the Perfect Piecing Seam Guide and position it under my presser foot. There is a hole in the guide for your needle to go through. Once your needle is in the hole, make sure that the guide is lined up straight with your throat plate. Now, lower the presser foot.
Next, place a small piece (1″ – 2″) of Sewing Edge right next to the seam guide. Make sure it is in front of the feed dogs. If you have a top-loading bobbin case, cut a smaller piece that just covers the bobbin case cover so that you can open and close it.
I use tweezers to hold the Sewing Edge, or “purple tape” as I sometimes call it, as I put it in place. You want it to be snug and straight against the ruler.
Now you can remove the seam guide and you have a nice edge to guide your pieces as you stitch.
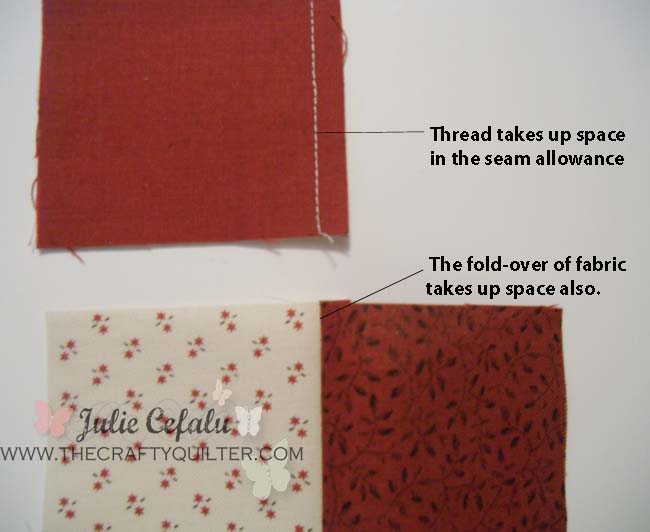
What we are aiming for is a scant 1/4″ seam allowance. Let me tell you why:
The thread that you use to make your stitches takes up space in the seam allowance. So does the fabric that gets folded over as you press it to one side.
So if you were to use a full 1/4″ seam allowance, your piece would shrink up just a bit because of those two factors. If you’re making a block that has lots of seams, you could end up with a block much smaller than you want. Sound familiar?
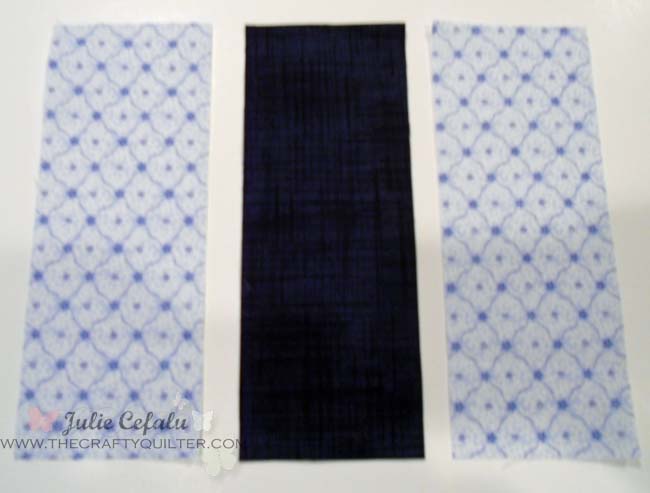
So now let’s test to see how accurate your 1/4″ seam allowance is. You will need three strips of fabric that measure 2 1/2″ x 6 1/2″.
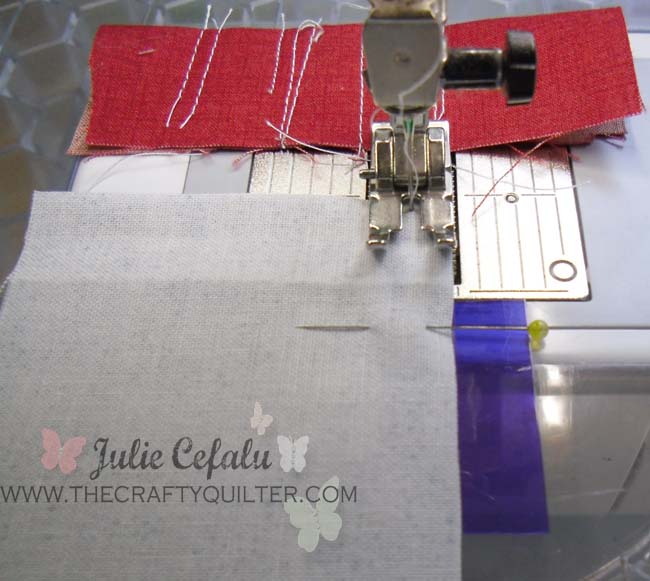
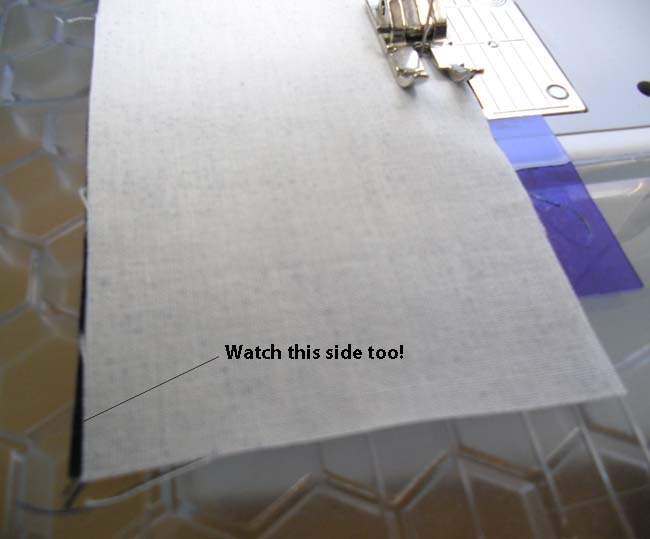
I want you to sew the first two strips together with whatever guide you currently use to attain 1/4″ seams. I’ll be using my purple tape as my guide.
You might have noticed that I used a “starter scrap” which is that red piece of fabric behind the presser foot.
I like to start and end with one of these scraps because it does 3 things:
- Tells me that my machine is working properly.
- Prevents that thread nest from developing on the back of my fabric.
- Forces me to clip my thread tails at the beginning and end of my piece.
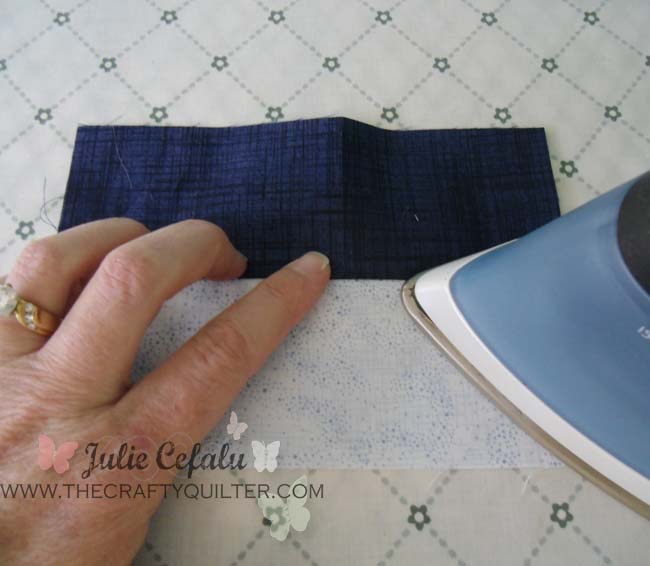
Next you need to press the seam that you just made. Always start by setting your seam – pressing the seam just as it was sewn. This sinks the stitches into the fabric and smooths everything out.
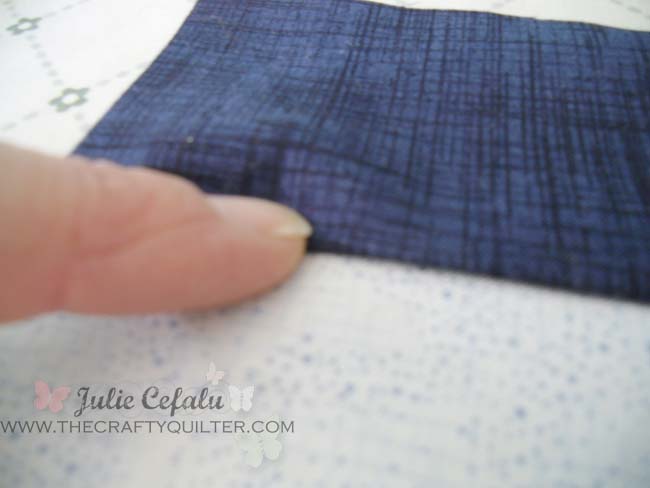
With the darker fabric on top and the seam facing away from you, open the fabric up and finger press the seam before hitting it with the iron. Then use the iron to press the seam toward the darker fabric. Tip: Don’t use steam because it can distort the fabric and burn your fingers!
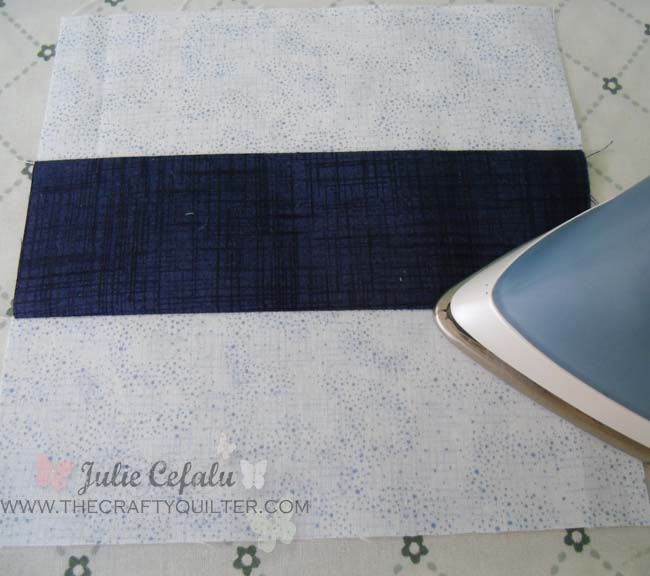
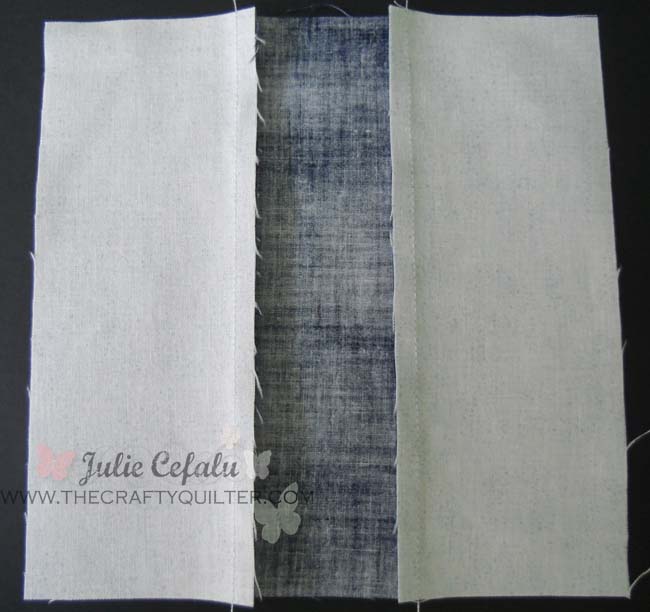
Now sew the other strip to the opposite side as before and press towards the darker fabric.
The back side should look like this:
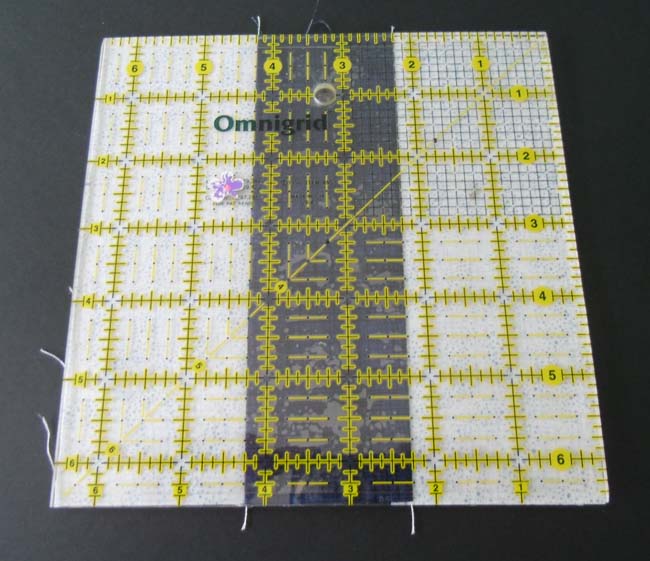
Cross your fingers – you should now have a square that measures 6 1/2″!
If your square is less than 6 1/2″, then your seam allowance is too “fat”. You need to adjust your seam guide accordingly, probably a skooch to the left .
If your square is larger than 6 1/2″, then your seam allowance is too “skinny”. Again adjust as necessary, probably a smidge to the right.
Something that could also impact your final measurement is your pressing. Make sure that your seam is flat. It’s easy to have a tuck or fold at the seam if you’re not careful about your pressing.
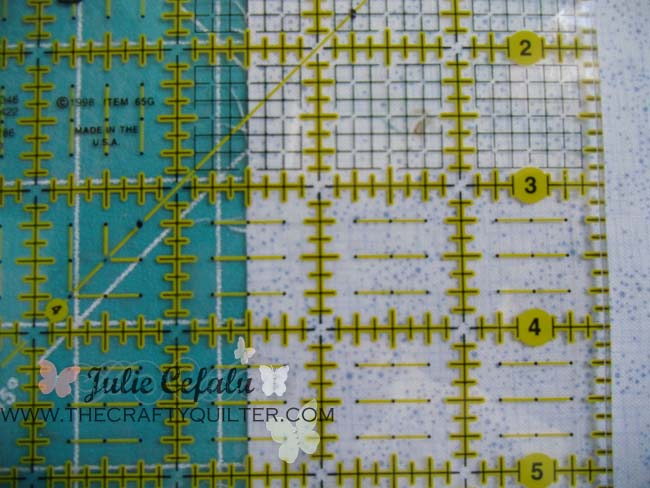
Another thing to check is your rotary cutting. You should line up the raw edge of your fabric exactly on the desired line measurement of the ruler. The line should be straddling the raw edge, not completely on or off the fabric.
Do I sound like a person with OCD? I’m far from it! I do think little adjustments can make a big difference in your final product.
Check out my YouTube video to see how I set up my machine and more details of the perfect 1/4″ seam allowance:
I hope these tips help you to get a perfect 1/4″ seam allowance so that your blocks are accurate and to make piecing easier for you. Be patient with yourself – it took me years to get my seams just right (I’m sure you didn’t want to hear that)!




Hello Julie and thanks for the great website.
Have read these replies with interest as my quilt piecing has stalled!
I also have a machine where you can’t adjust the needle position (an old Toyota), and am frustrated that my 1/4″ foot with a guide is exactly 1/4″ and not scant (as you recommend), as by the time it’s sewn and pressed the seam it’s bigger than 1/4″.
Can I ask a question please? If all the seams are the same (even if the same is a fraction too big) wouldn’t the only negative repercussion be to make the overall quilt size a little smaller?
Thanks in advance
I have trouble getting my dresden to come togethere. Can you help me on this I would appreciate any help you can give me ok. I hope I can get the 1/4 inch right to ok Thanks
Hi Betty,
A Dresden block can be tricky if your 1/4″ seam allowance isn’t just right. You need test your 1/4″ seam as described in this blog post. If it’s too big or too small, try adjusting your needle position or using a 1/4″ presser foot. The tools I mentioned will also help with that.
Great tutorial,thanks , where can I buy the ruler and tape
Thank you for helping beginners learn how to quilt. I have tried to “join” a group but there aren’t any where I live. I have been reading all kinds of quilting blogs but have never completed anything-just try different things. Your tutorial was great for someone like me. You did a great job and will go to my sewing machine to see if I can get a scant 1/4″ seam. Thank you, thank you thank you.
I never quite understand… if the thread choice for piecing is consistent and the pieces are cut with an accurate and consistent ruler/template, who cares precisely how much invisible (from the front) fabric is in each seam allowance so long as it, too is consistent throughout the project? So what if you make a queen-size quilt that ends up being an inch shy of the pattern’s suggested dimension?
Thanks so much for this very helpful tutorial…I am going to try sewing using a “starter scrap”.I hope to be able to find the Perfect Seaming Guide and Qtools Sewing Edge.
This is very helpful. I will set up my seem allowance straight away.
Dankeschön
Thank you, Julie! I came straight home from our 1st El’s Kitchen BOM meeting and found your tip!!
HI – Im here via Geta – this is so well explained – even for those who have been doing it for “A while” – thanks
Julie,
This is a great tutorial – I’m glad you find the seam guide useful. And the Q-Tools for marking is brilliant. Thanks so much for the post!
Celine Perkins
Thank you for the valuable info, especially on the ruler placement for cutting. I’ve asked about this from friends, but didn’t receive a definitive answer; yours was perfect, especially the close-ups. Looking forward to using the seam guide to check my 1/4″ foot. I suspect my cutting may be at the bottom of my somewhat skimpy seam allowances and that all 1/4″ feet are not created equal. Thanks again.
I’m so glad I could help! I’m sure your piecing will continue to improve with practice!
Hey I’m Jean and I love machine embroidery applique and a beginner quilter your tutorials are great, where can I purchase the Perfect Piecing Seam Guideand the Q tools sewing edge tape…I would like to get it also u must have a Bernina I saw the 37 foot that’s what I have.:)