One-seam flying geese cutting chart
If you joined me for the Dots on Dots Blog Hop, you saw my one-seam flying geese tutorial. I’ve had several people ask for cutting measurements to make other sizes. Here it is:
ONE-SEAM FLYING GEESE CUTTING CHART
| Finished Size | Cut (1) Rectangle | Cut (2) Squares |
| 1 ½” x 3” | 2” x 3 ½” | 2” x 2” |
| 2” x 4” | 2 ½” x 4 ½” | 2 ½” x 2 ½” |
| 2 ¼” x 4 ½” | 2 ¾” x 5” | 2 ¾” x 2 ¾” |
| 2 ½” x 5” | 3” x 5 ½” | 3” x 3” |
| 3” x 6” | 3 ½” x 6 ½” | 3 ½” x 3 ½” |
| 3 ½” x 7” | 4” x 7 ½” | 4” x 4” |
| 4” x 8” | 4 ½” x 8 ½” | 4 ½” x 4 ½” |
For a PDF version with instructions, click here: One-Seam Flying Geese Cutting Chart
I have a few other projects to share using this same technique:
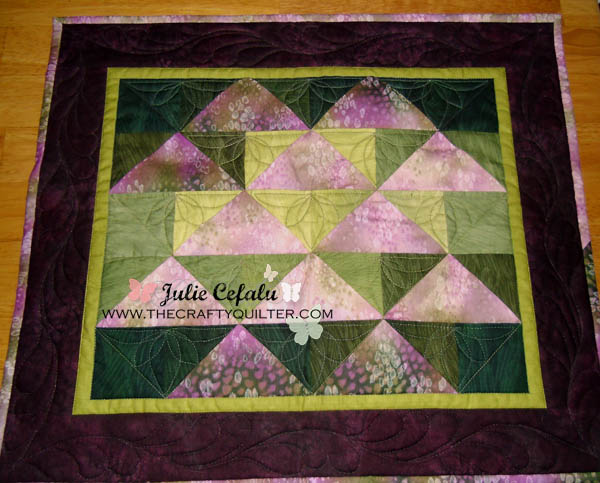
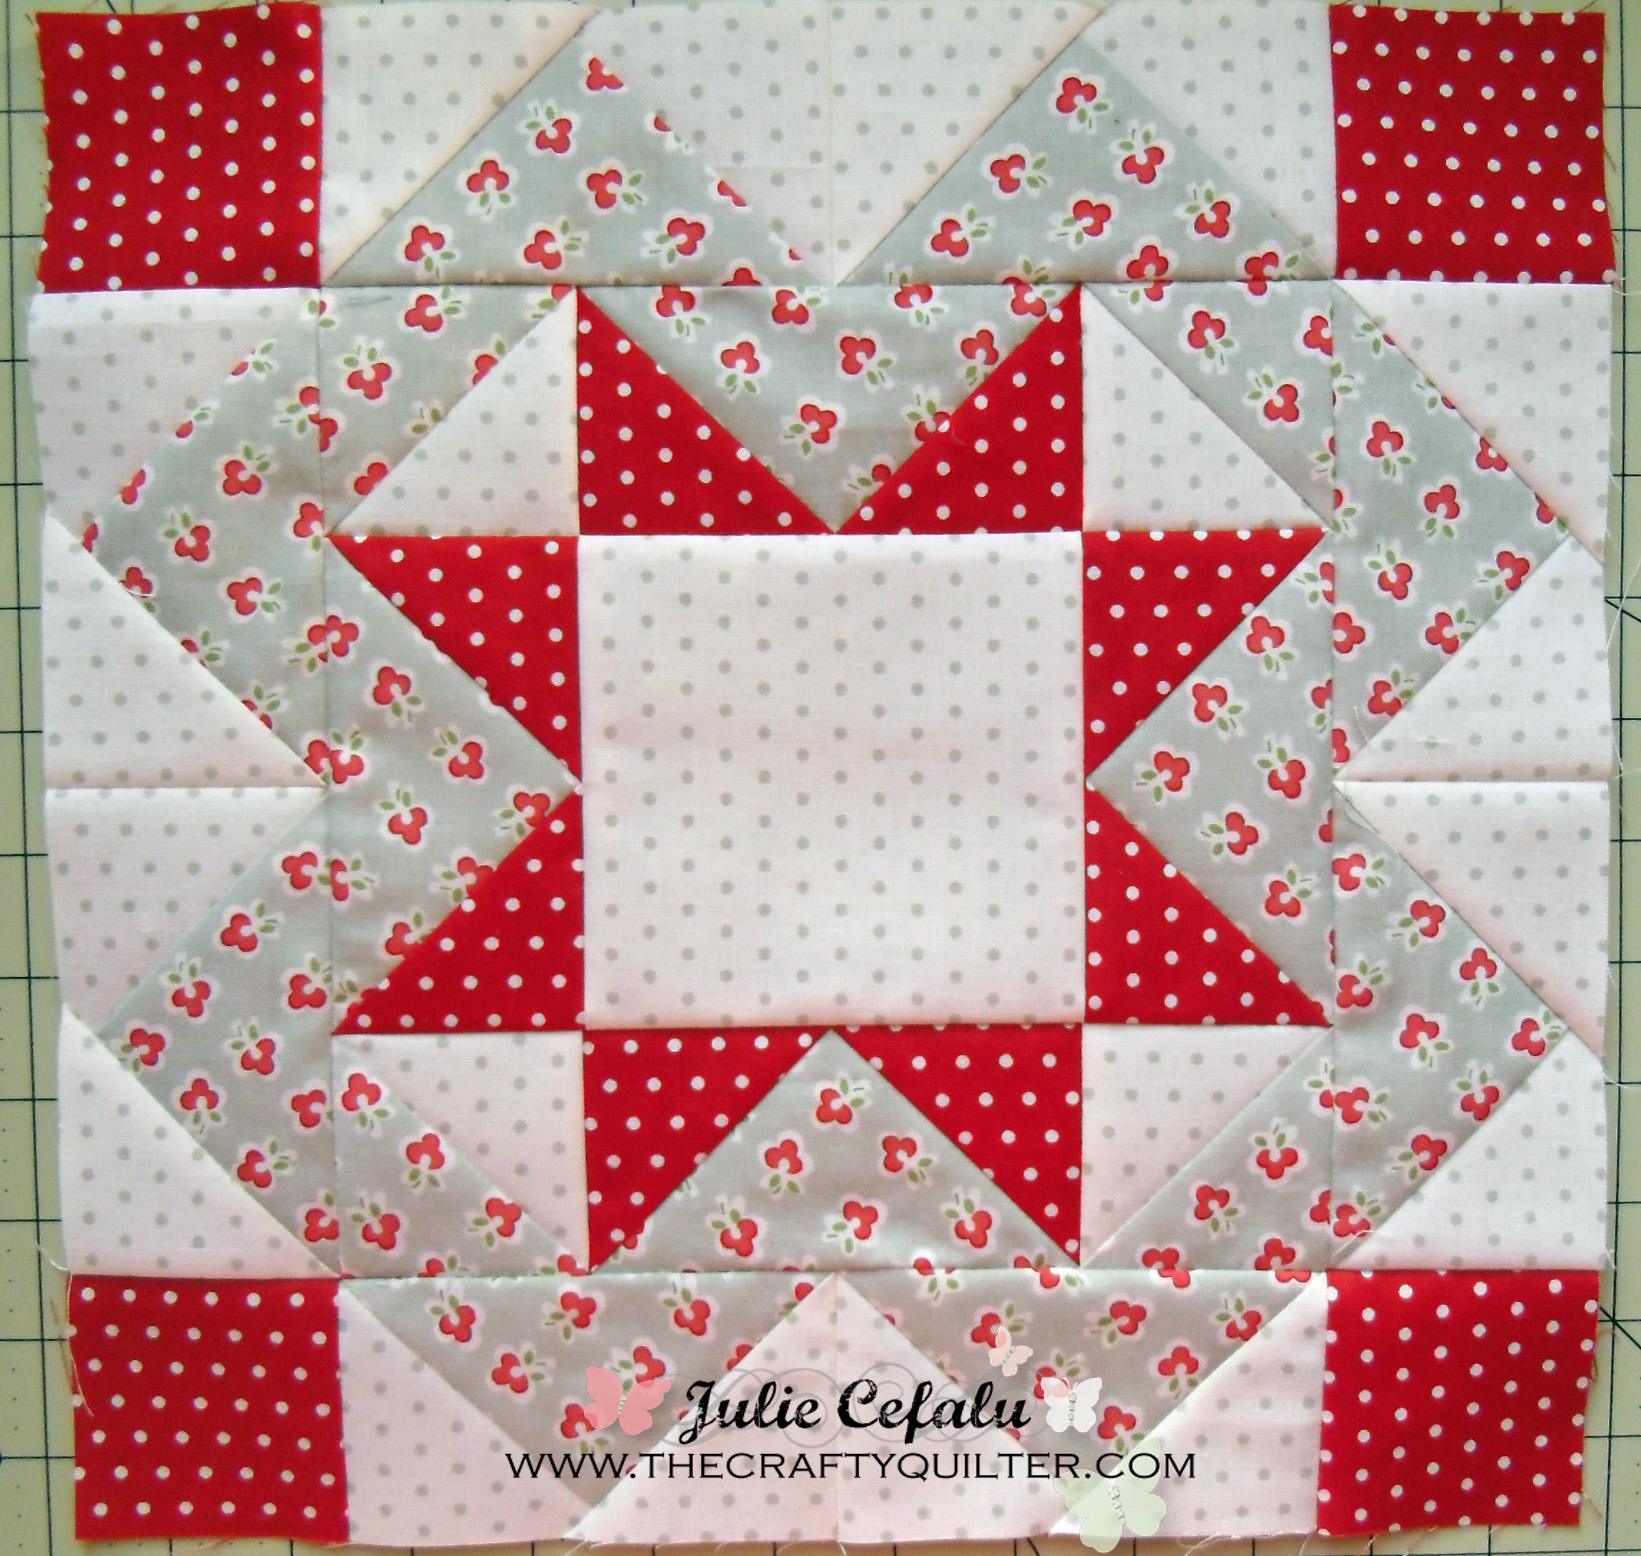
The above sample was made several years ago using ombre fabric (which I no longer have so I can’t tell you where it came from).
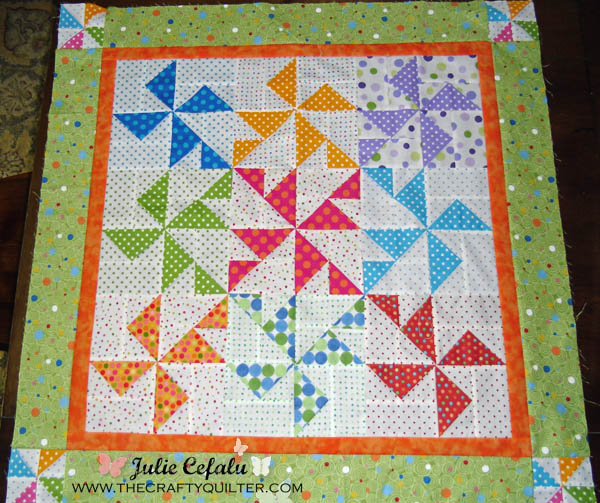
This next quilt is very similar to the one I shared in my last post. It uses all kinds of dots and I added dimensional pinwheels (using half-square triangles) in the corners.
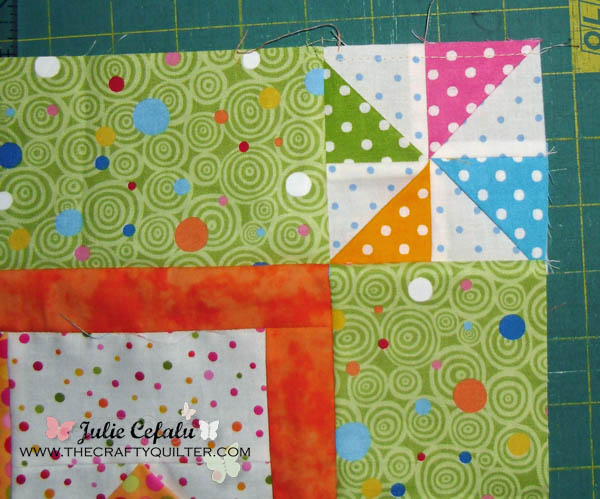
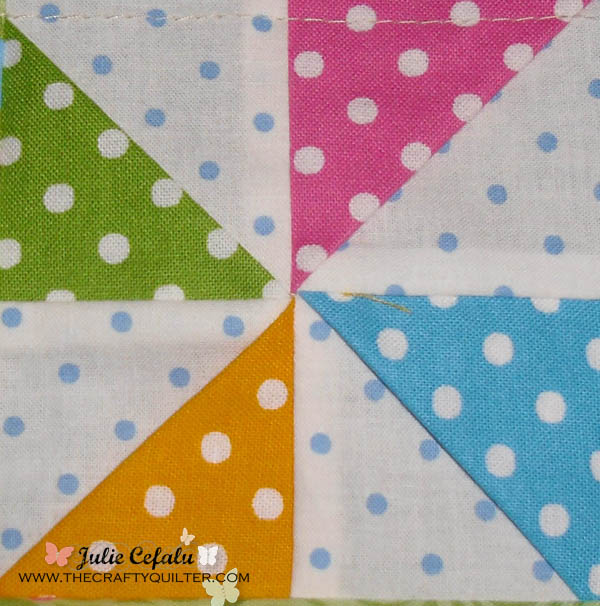
Here is a close up of the corner pinwheels:
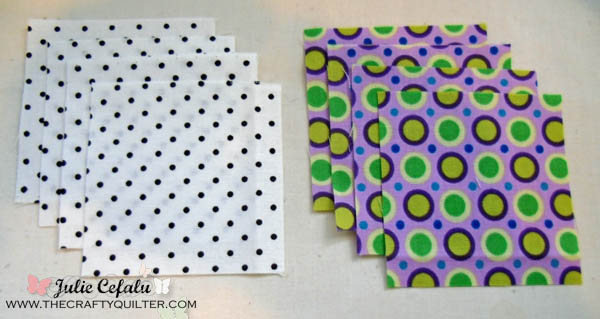
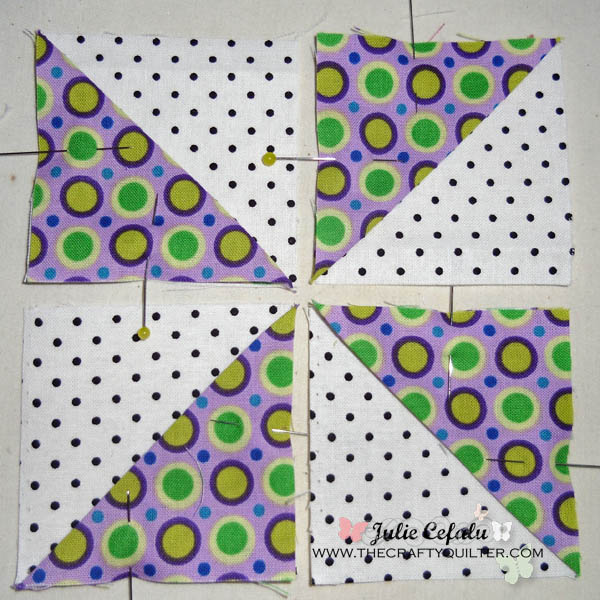
The pinwheels use a similar technique as the one-seam flying geese. You start with 4 squares of background fabric and 4 squares of contrast fabric – all the same size. (Shown below in a different color combination):
You fold the contrast fabric in half on the diagonal (right sides out), press and pin-baste onto the background square to form a HST. Make 4 and join together to form a pinwheel:
Here is what it looks like (finished) in the original sample:
It’s really easy to do and there’s no sewing a diagonal seam or trimming down to size, etc.
Nothing beats easy peasy in my world!
The Dots and Dots Blog Hop is still going on! Visit Sew We Quilt to see this week’s participants.
And thanks to everyone who joined me last Thursday. I have some new followers and I was voted one of the top two participants for the day! May wonders never cease! 😉
Have a great week everybody!
~Julie
Thanks for the visuals for the one-seam flying geese. Of the several sites I tried, none indicated which fabrics are wrong -or right- sides up or together. Your fabrics let me see the plan more clearly.
Thanks for the measurements Julie! Bless you! Just what i need
Really appreciate your size chart for the flying geese blocks. Thanks so much for sharing.
pat
Thanks for making up a cutting chart for the one seam flying geese. I could have done it, but it was so much easier to find yours.
Thanks again.
I love 3-d blocks. Do you have any others?
great site!
If I block wanted to make a 18″ square block what will the measurements be for the center square, 4 corners and the the geeses. Thanks In Advance
I’m going to assume that you want an 18″ finished size block with squares in each corner and the center and with flying geese units on all sides. I’ll give you the finished measurements first and then I’ll give you the unfinished sizes:
Finished: 4 1/2″ center block and (4) 4 1/2″ corner blocks. A total of (8) 2 1/4″ x 4 1/2″ flying geese units.
Unfinished: 5″ center block and (4) 5″ corner blocks. A total of (8) 2 1/2″ x 5″ flying geese units.
I hope that helps. Good luck!