Quick trick for hanging a small quilt
I apologize for being away for a bit. I moved my youngest daughter into her dorm room last weekend (yes, I’m a little depressed, although she looks quite happy!)
….and I’m still working on my sewing room remodel. There’s so much “stuff” to go through!
Anyways, I’m finally back with a tip on hanging those small to medium wall hangings easily.
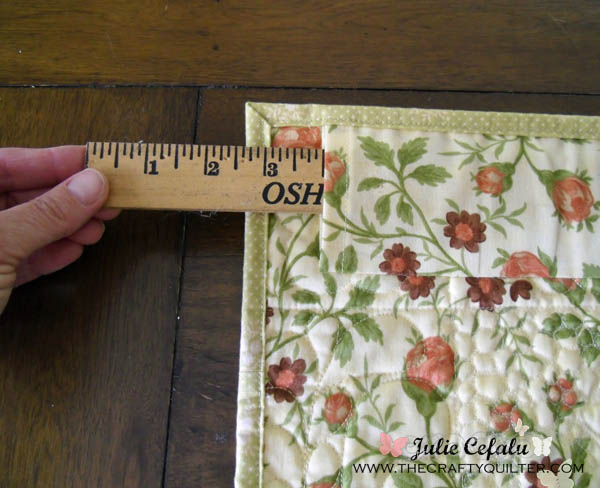
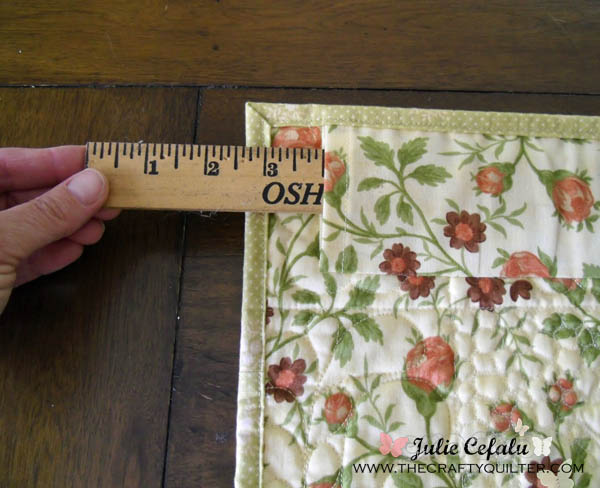
First, you’ll need to add a hanging sleeve to the back of your quilt. I don’t have a tutorial (yet) on how to do that, but you can find a good one here. My hanging sleeve is about 2 1/2″ wide:
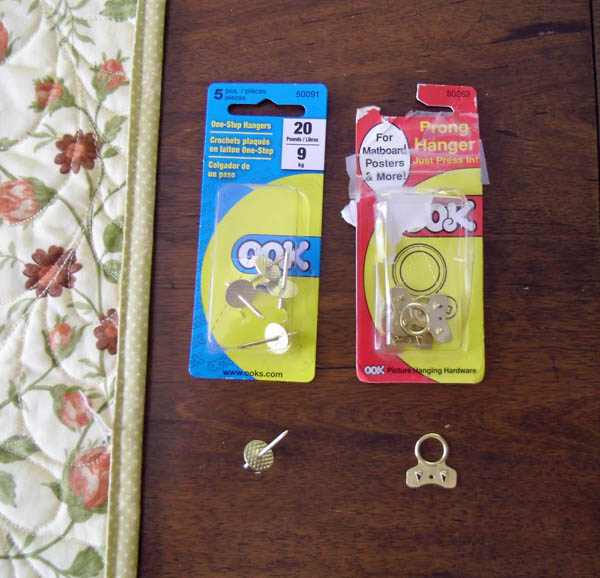
You’ll also need a cheap yardstick (the softer the wood, the better), a prong hanger, a one-step hanger (both by OOK), and a measuring tape.
Cut the yardstick to fit the length of your hanging sleeve. I cut mine with an exacto knife.
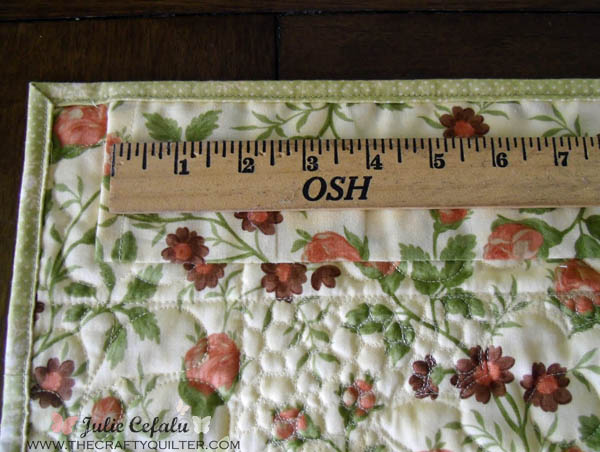
Slide the yardstick into the hanging sleeve and make sure it is resting along the top edge of the sleeve near the binding:
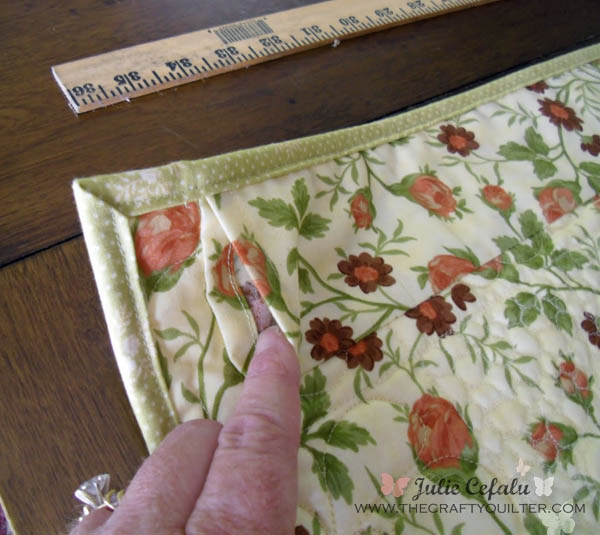
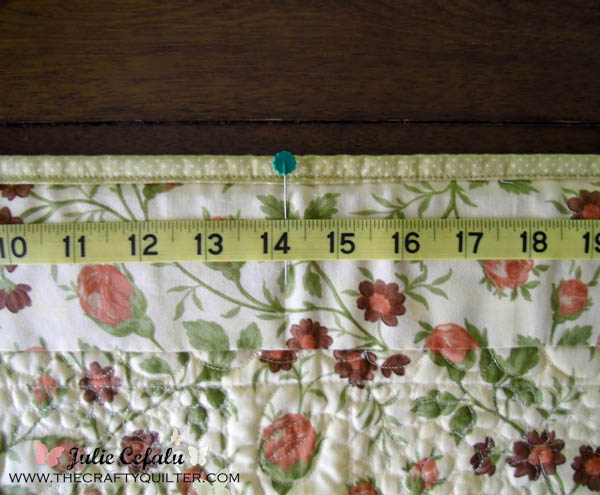
Find the center of your quilt (not the center of the hanging sleeve): Take your tape measure and measure the top from edge to edge. Mark the center with a pin:
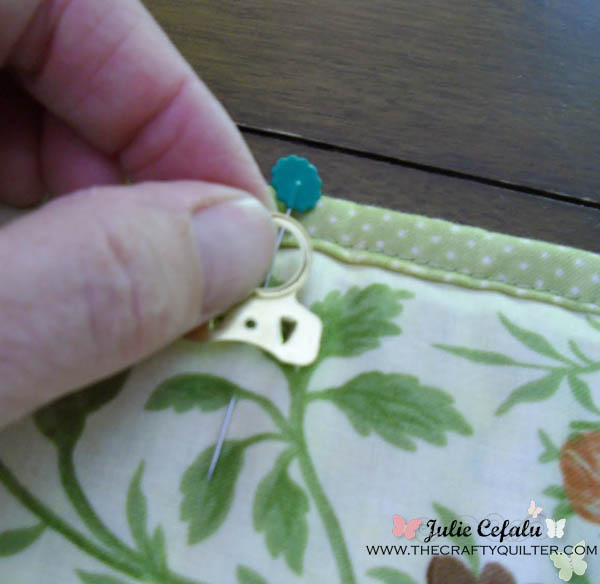
This is where you will insert the prong hanger. Lay the hanger over the pin with the prongs facing the quilt and push down with your fingers until it “bites” into the yardstick:
Yes, you’ll be making some small holes in the fabric of the hanging sleeve, but it’s a small price to pay for an easy hanging device. 🙂
Next, determine where you want to hang your quilt and mark where the hanging prong from the back of your quilt touches the wall. Insert the One-step Hanger into the wall at the mark using a hammer.
It should sit flush against the wall. Now, just hook the hanging prong from the back of your quilt onto the hanger and you’re done!
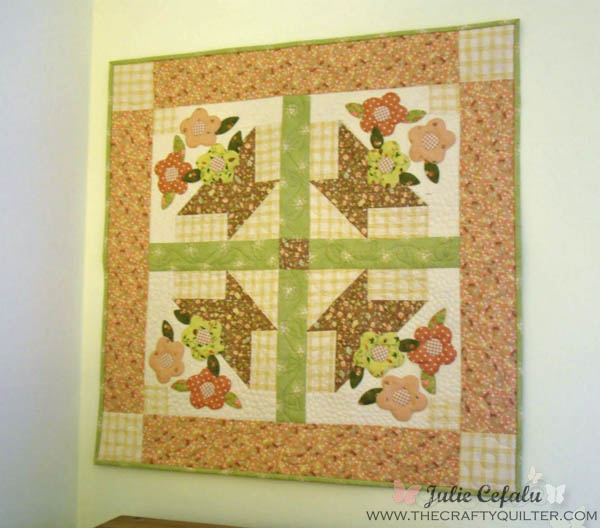
The yardstick keeps the top edge of the quilt straight and steady, as long as you inserted the prong hanger in the exact center of your quilt. I’ve used this method on quilts up to 36″ wide (the width of my yardstick) and it works great. I love the “invisible-ness” of it and it’s easy to switch out wall hangings.
I have also heard of adding small weights to the bottom corners of a quilt to make sure that it hangs correctly. I haven’t tried it myself (too lazy), but it sounds like a good idea!
I’ll be back soon with some more sewing room updates. Have a great weekend!
~Julie



Thanks so much Julie. Everything I do, I really try to do in a simply manner. I don’t have time otherwise. You are my kind of girl! Thanks for being there for me!
Dear Julie, thanks for being there *_*
A warm hug from Rio de Janeiro
You’re welcome!
Marilyn
I have used this method almost exclusively on my wall hangings for years using a similar size strip of wood found at Home Depot
To avoid the hole in the fabric, divide the hanging sleeve into two pieces, leaving a one inch separation to line up with the middle of the quilt. Then the hanging hook goes only into the wood. It means sewing little hems at both ends of both pieces but prevents fraying of fabric.
Marilyn
Julie: check out this tutorial for an alternate method of hanging smaller quilts. I love the way it works!
http://www.heirloomcreations.net/sewing-tips/how-to-hang-small-quilts/
Thanks for this tutorial. Looks sew easy to do.
Yael From HomeGarden.Diggers.com
Love this… I’ve bookmarked for future reference. Thanks for sharing!