“LOVE” Letters Mini Quilt
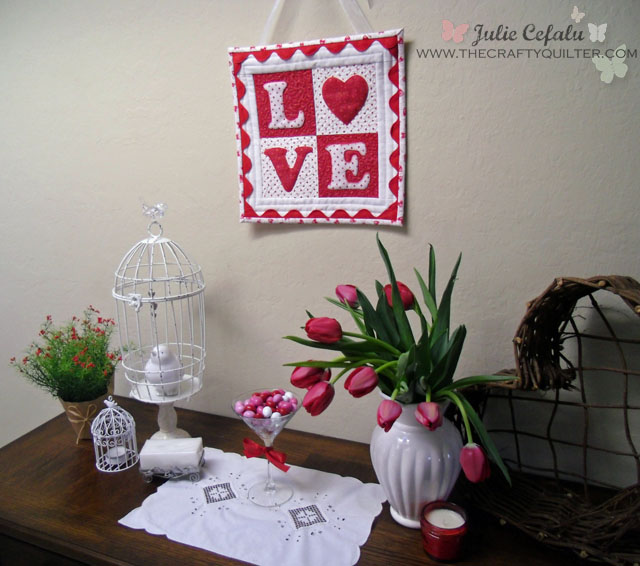
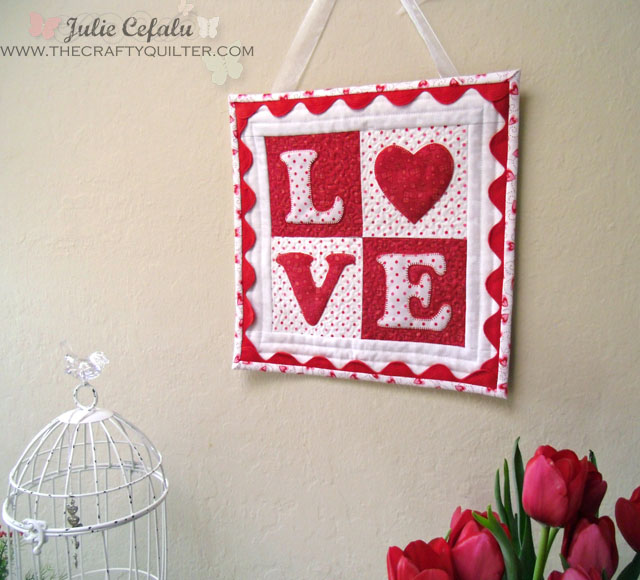
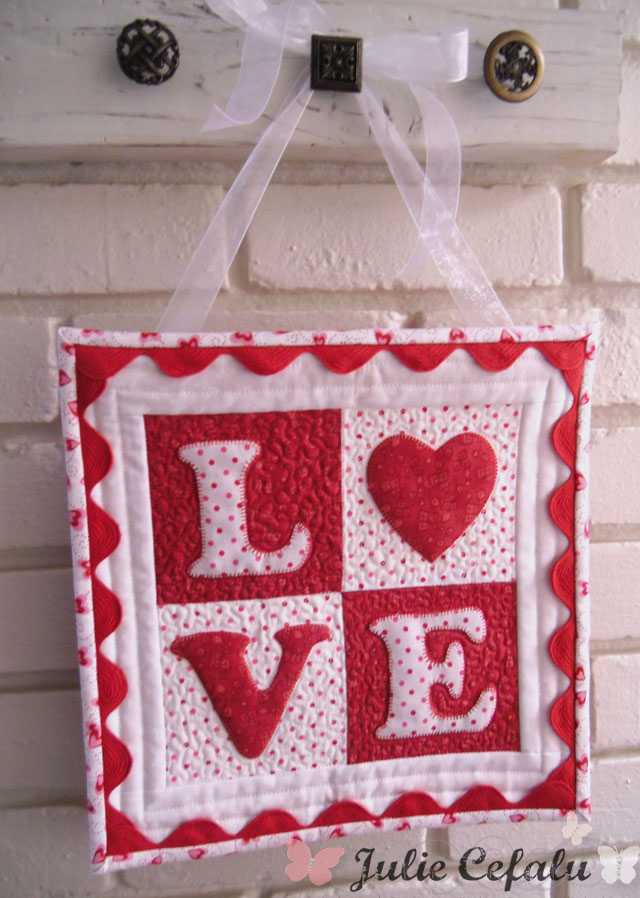
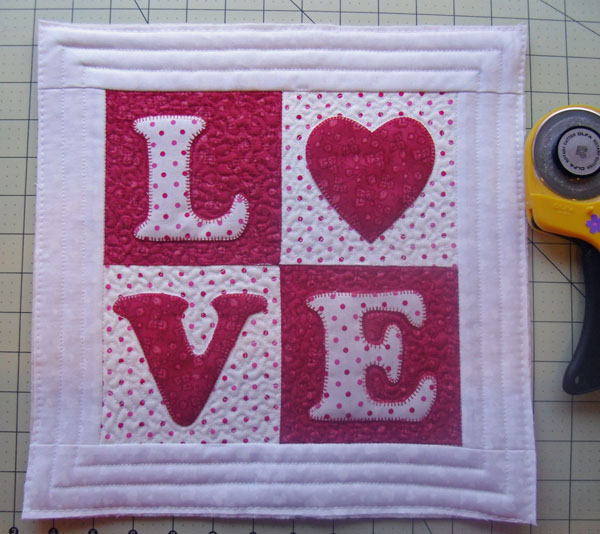
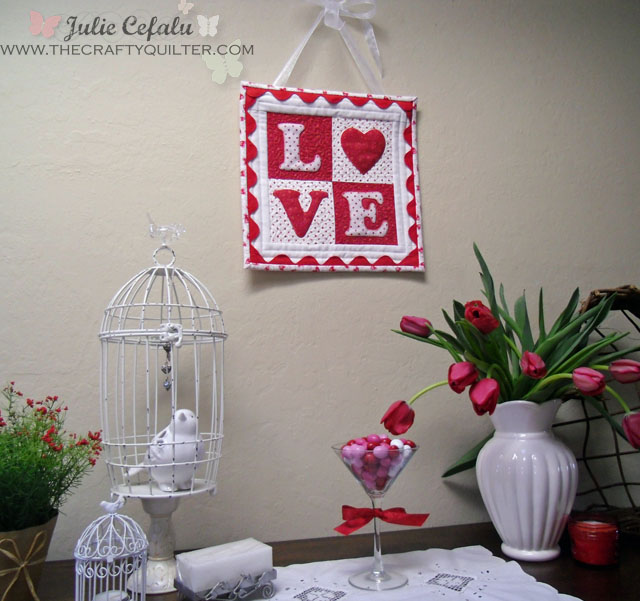
I “LOVE” Valentine’s Day and to celebrate, I made this little mini quilt to share with you. This little guy is 12″ square and it hangs nicely on the wall along with some other Valentine props:
Supplies:
- 2 Coordinating Fat quarters (or scraps) for letters, heart and block squares
- 1/4 yard (or fat quarter) white fabric for border
- Fat Quarter for Backing
- 1/4 yard binding fabric
- Fusible Web
- 1 1/2 yards of jumbo ric-rac
- Ribbon and dowel (optional)
Instructions:
Prepare applique: For more detailed information about applique, please visit my Applique Series.
- From the two coordinating fabrics, cut out (2) 5 1/2″ squares of each.
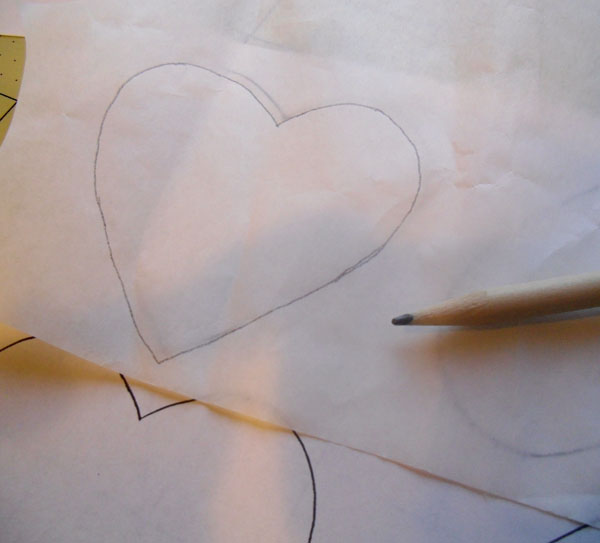
- Print out the letters and heart template from the pdf file: LOVE Letters pdf Make sure that it prints out at the actual size; no scaling or shrinking to fit. The letters have already been reversed for fusible applique.
3. Trace onto the paper side of fusible web. Cut out roughly around each shape.
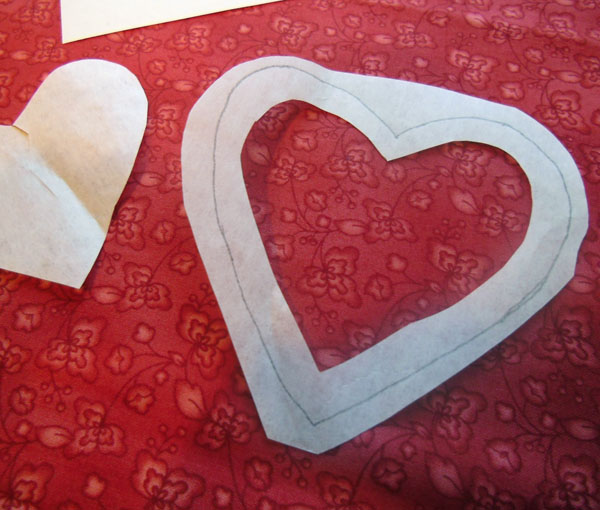
4. Also cut out the middle of the heart only leaving about 1/4″ around the inside – this will keep the shape a little more flexible (optional). The letters aren’t big enough for this step.
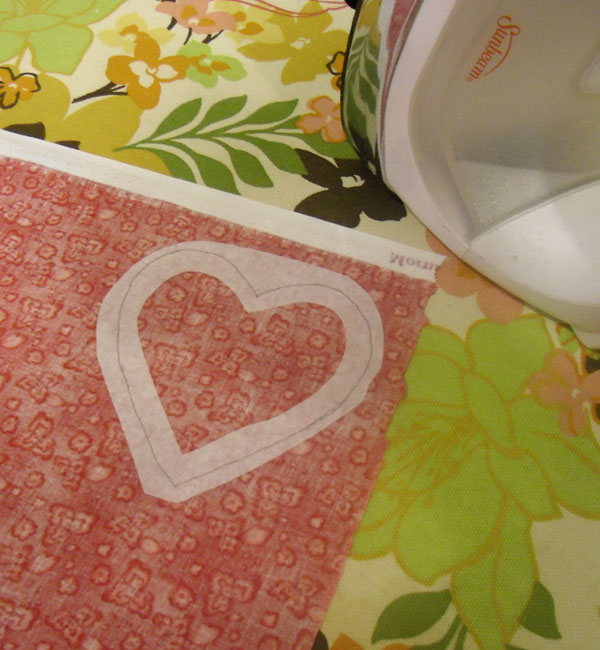
5. Press onto the wrong side of fabric scraps. Make sure the colors are such that they will be the reverse of each other when put into the “LOVE” four patch.
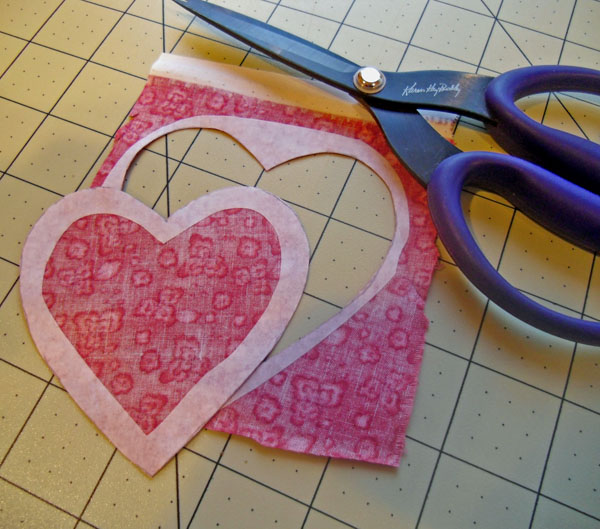
6. Cut out shapes on lines (carefully).
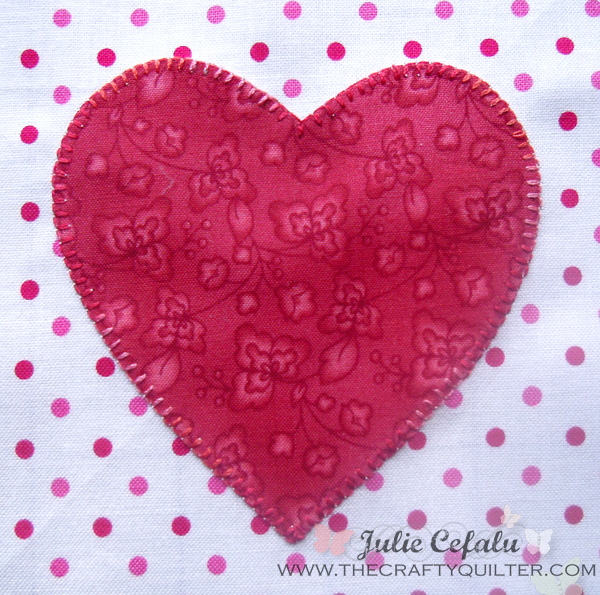
7. Remove paper backing from shapes and fuse onto the right side of the 5 1/2″ squares.
8. Machine stitch the edges of the applique shapes with a zig zag stitch or blanket stitch. Use a stabilizer on the back if necessary.
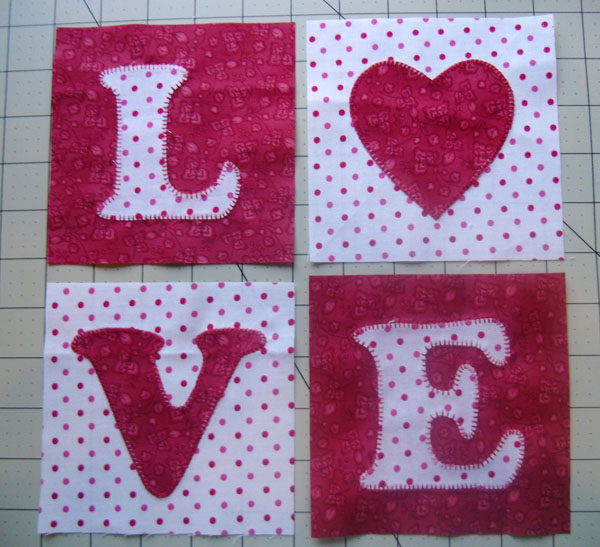
9. Repeat the steps above for each letter and trim the four applique blocks down to 5″ square.
Assemble Block:
Sew the four applique squares from above into a four-patch. Make sure the letters and heart spell out “LOVE”. This unit should measure 9 1/2″ square.
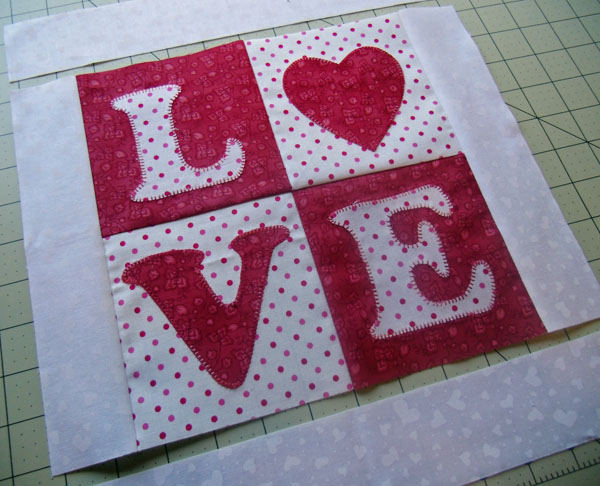
Cut 2″ wide strips from white border fabric. Sub-cut into (2) 2″ x 9 1/2″ strips and (2) 2″ x 12 1/2″ strips.
Stitch border strips onto four patch, creating a 12 1/2″ (unfinished) block.
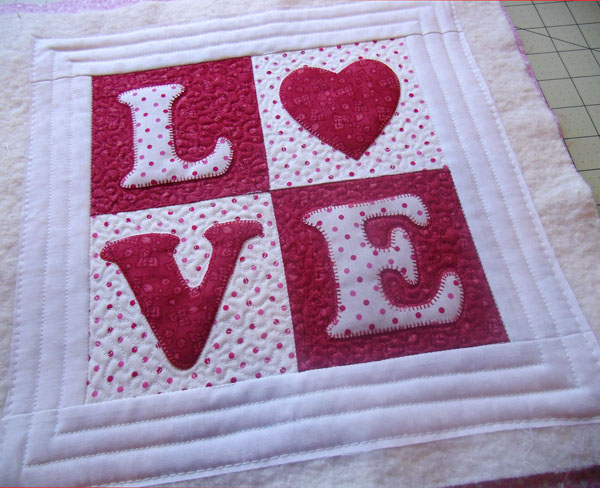
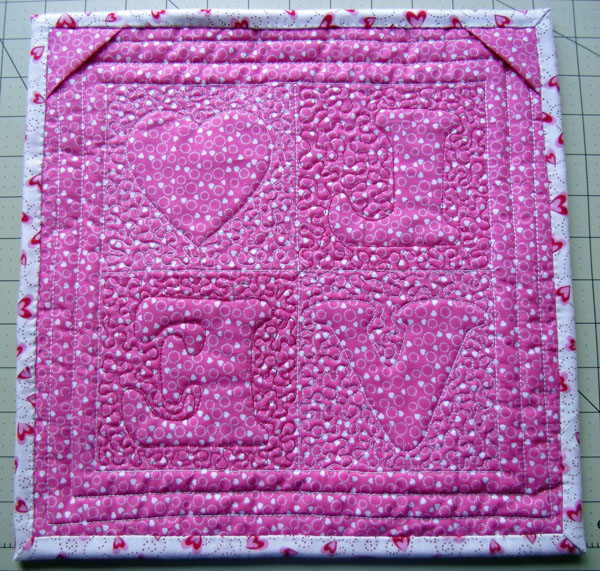
Layer with batting and backing fabric and quilt. I stitched in the ditch along the main seam lines and stippled around the applique. I added straight lines of quilting along the border.
Trim excess batting and backing.
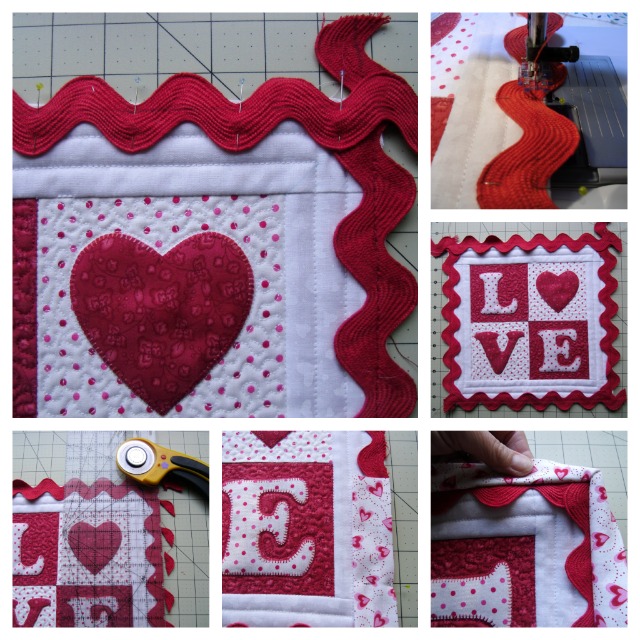
Add jumbo ric-rac. I will be doing a separate tutorial in the very near future on how to add the ric rac. It deserves its own lesson, so that it’s easier for people to find. Here’s a quick visual of the process:
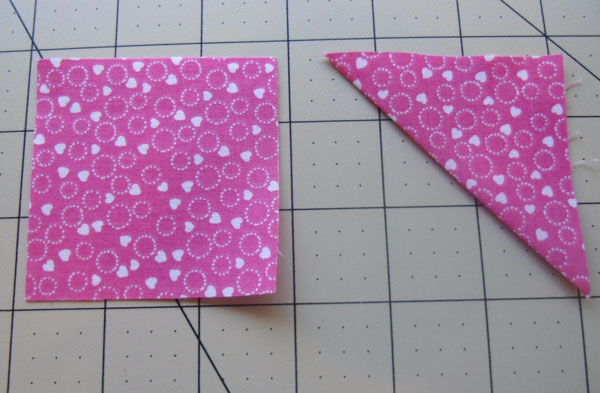
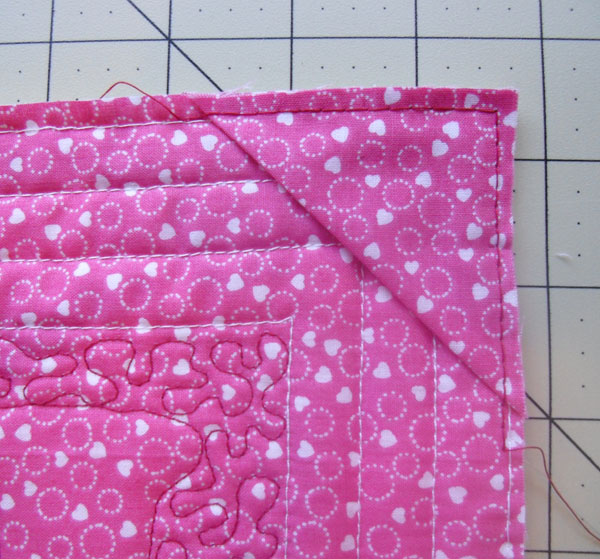
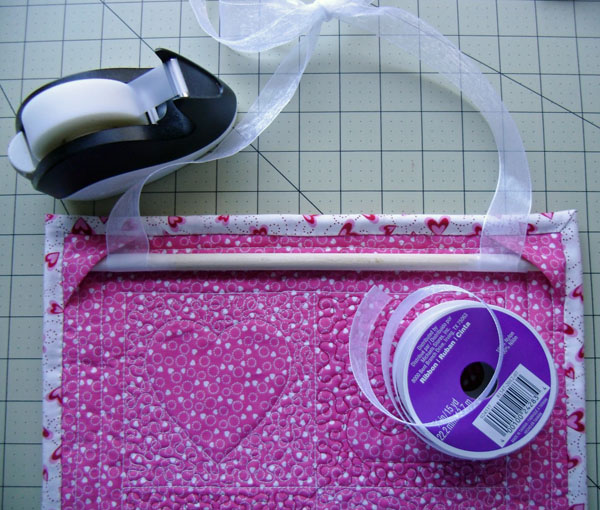
Add corner triangles to the back of the quilt for hanging. I did this by cutting 2 1/2″ squares and folding them in half diagonally.
Pin to the back, top two corners of the quilt. Baste in place.
Add binding. I used 2 1/2″ wide binding because of the added thickness from the ric rack. (Usually I prefer 2 1/4″ wide binding.)
Insert a wooden dowel into the corner triangles on the back and add ribbon for hanging if desired.
Ta Dah! One little quilt full of “LOVE”. I’ll be adding this to the Across the Pond Sew Along for February. Amy DeCesare from Amy Made That! came up with this month’s theme: hearts!
Happy Valentine’s Day!





At my quilt guild, we do a themed lotto block every month. For those who participate, her name is entered into a drawing. the winner gets to take the blocks home and make them into a quilt, wall hanging, etc. May I have your permission to share it with our members? Your block may be made between 2-10 times.
Love this cute little quilt. Thanks for sharing. Going to put it on my to do list.
Love this! Making it soon!!
Thank you for this tutorial! I’m glad to find your blog. Very inspiring!
Write more, thats all I have to say. Literally, it seems as though
you relied on the video to make your point. You obviously know what youre talking about, why waste your
intelligence on just posting videos to your weblog when you could be giving us
something informative to read?
love your patterns
I absolutely LOVE it!! Too cute! Thanks for the tutorial. We’ll be married 26 yrs. on Valentine’s Day, so I need to make this for next yr.
Tanya
You have to Love Love:). All lovely and inspiring …
Julie this is so cute and what a wonderful tutorial! I love the rick rack! Thanks for sharing.
Freemotion by the River Linky Party Tuesday
What a delightful little quilt! Absolutely adorable–thank you so much for the inspiration, and the easy to follow tutorial 🙂 Happy Valentine’s Day!
How Cute is this?!And yes, this is going on the ‘to do’ list. Thank you. Happy Heart Day to you.
Oh, another gorgeous display of love!!! You are a fountain of hearts, Julie! I am the biggest fan of ricrac and the jumbo stuff is so perfect here! That gray version…steals my heart! Thanks for your contribution to the sew along!
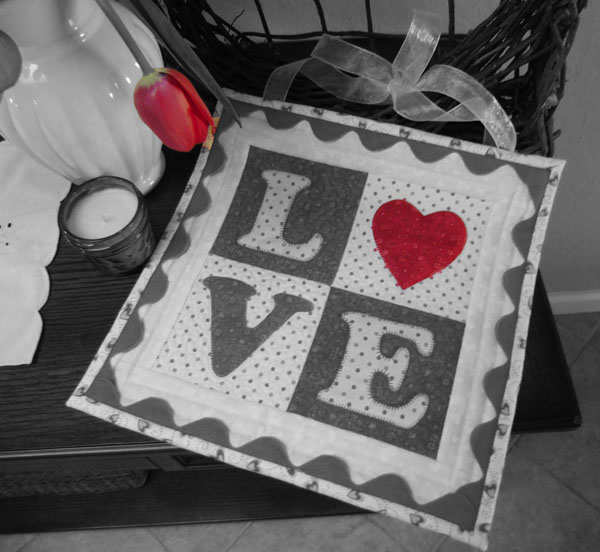
Ooh, I “LOVE” the pic where everything is “grayed-out” except the bold, beautiful red heart. Thank you.
This is so adorable!! And I am smitten with your gray version!!!!
Susie