Two Tote Bags and a Stabilizer Comparison
My youngest daughter needed a tote bag for books, so I made two tote bags, one for her and one for me!
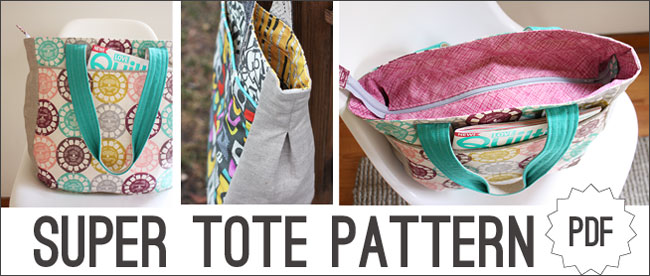
 The pattern is the Super Tote Pattern from Noodlehead.
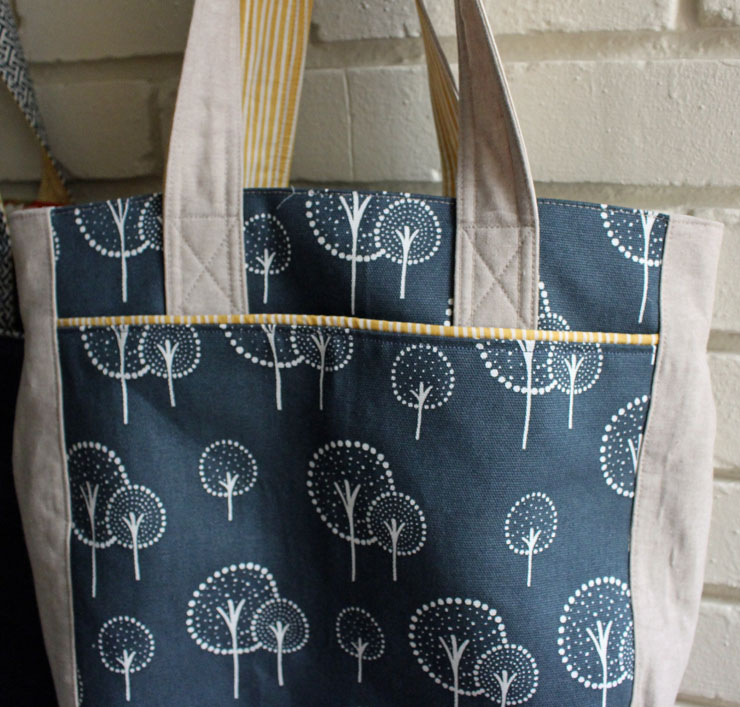
I love the end product, but it was a challenge for me. I don’t consider myself an expert in the bag making field, but I’m not a beginner either. So, I had to read and re-read the instructions for the zipper, but I finally got it! And the piping had me a little confused too. I haven’t worked with pre-made piping so I didn’t realize the 1/2″ size that was suggested wasn’t talking about the “raw” piping but the pre-made piping. There’s a big size difference! I ended up making my own piping as shown in the photo below:
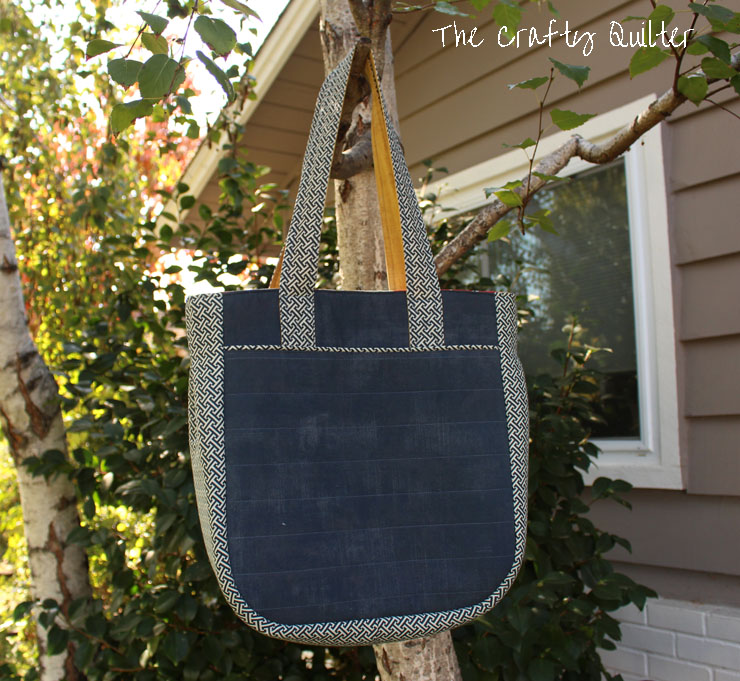
 Now let’s talk stabilizers. For the first tote bag (solid blue), I used quilting cottons so I needed a strong interfacing/stabilizer. I had a package of Soft & Stable by Annie that I’ve been wanting to try out so that’s what I used.
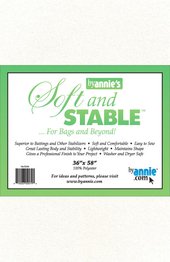 This is a thick stabilizer and it practically makes the bag stand up by itself! Some of the seams got a little thick when top stitching, but it definitely does create a stable bag. I didn’t think I liked it at first, but it’s growing on me. This is a sew-in stabilizer and I like the fact that you don’t need to quilt it. And there’s no creasing or puckering. And it’s very lightweight. It’s used in the bag on the left:
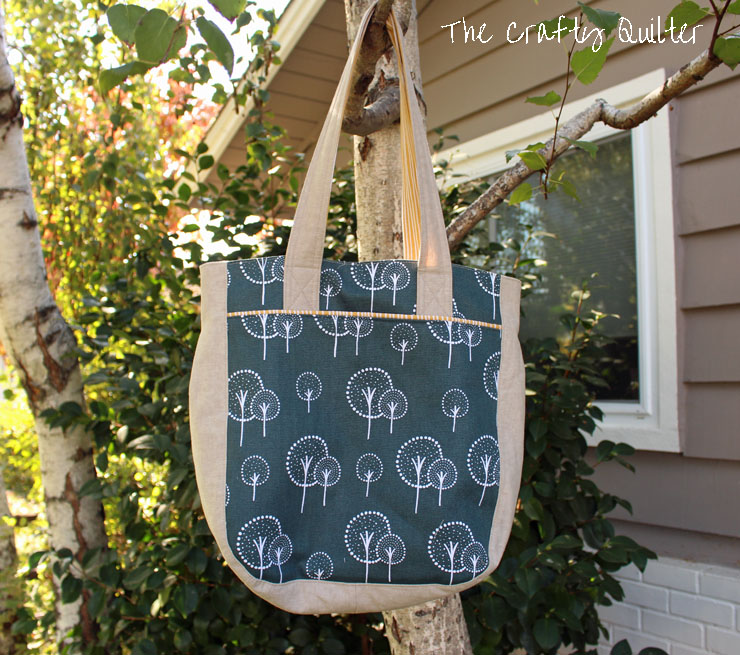
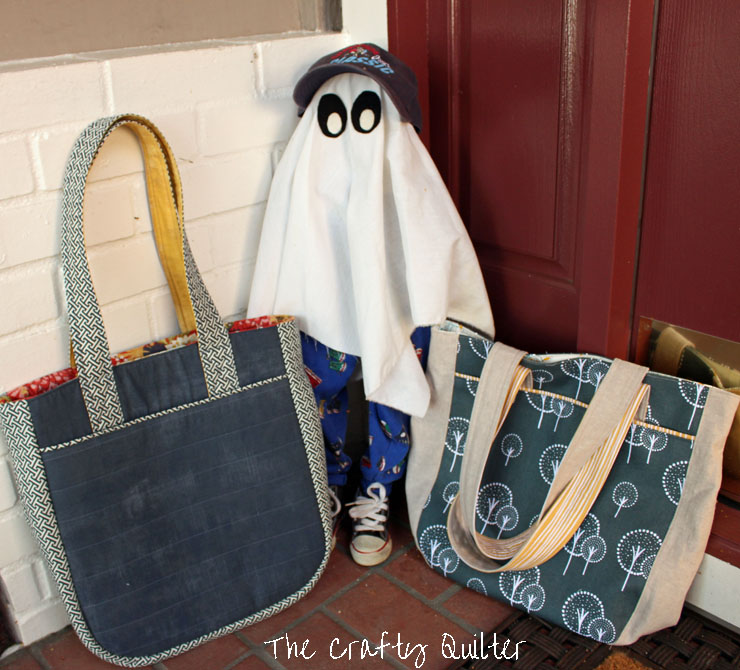
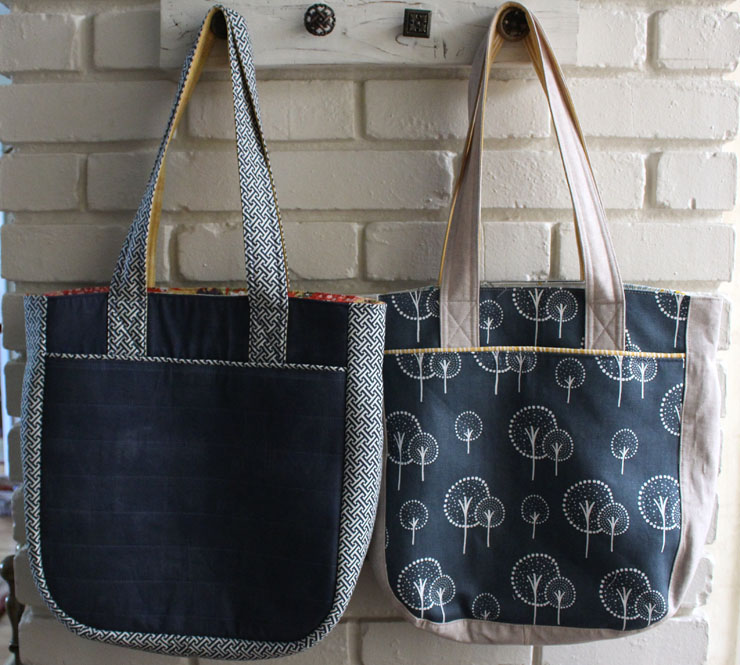 For the second bag, I used Pellon SF101 as suggested by the pattern when using a canvas type material. This is a woven, fusible interfacing. For the main bag body fabric I used canvas (Glimma by Windham Fabrics) and I used Essex linen for the sides. The Pellon did cause crinkling on the linen which is common in my experience. This bag has a softer drape than the other one. I like it too.
So I think I would use the Soft & Stable in projects such as an iPad or computer case, or a bag that doesn’t have a lot of layers or seams. The Pellon SF101 worked great with the canvas fabric. I don’t like it for cottons or linens.
There is a great blog post by Sara @ Sew Sweetness that sheds a lot of light on different bag interfacings. I highly recommend reading this one!
Here are some of the modifications I made to the Super Tote Pattern:
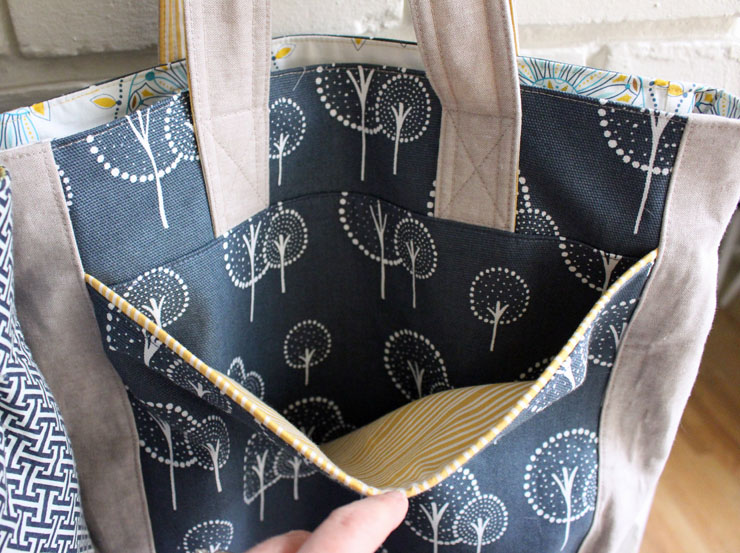
I put one pocket on the inside of each bag and I didn’t add elastic as instructed. They are divided down the middle.

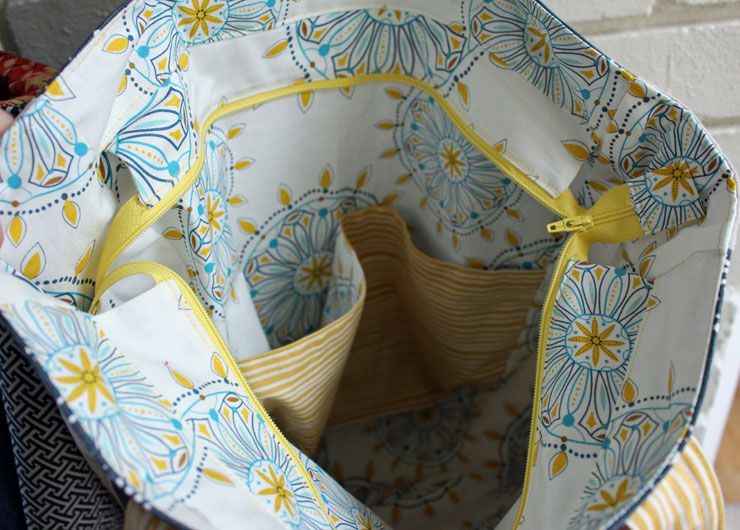 I love the zipper too! It’s so nice to be able to close a bag when you want to.
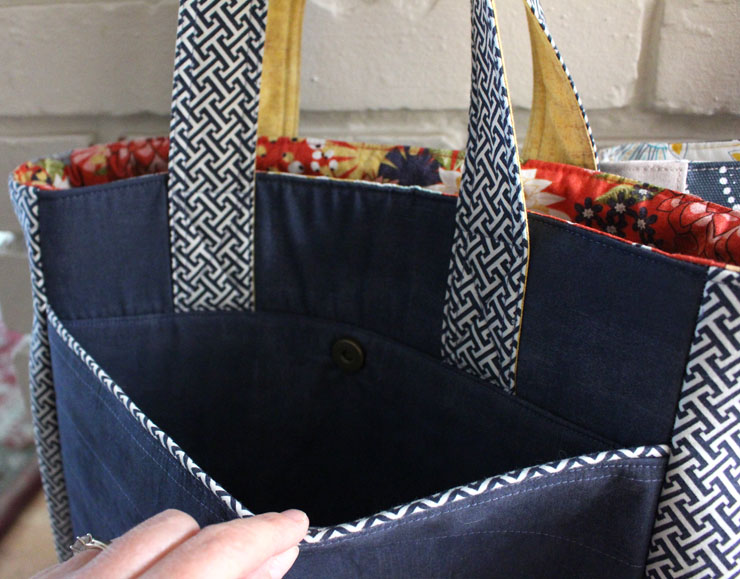
There is one outside pocket on the front of each bag. I put a magnetic closure on one of them (an option in the pattern):
 I made my gusset pleats a little smaller (1/2″ smaller) than the original pattern. This was just because I thought my Sara would like the look of the bag better that way.
Overall, I love this tote bag. It’s the perfect size for an outing, to carry books, or to take on a trip. It really is Super!
I have a little ghost guarding my front door. He likes the new tote bags too!
 I can’t wait to try one out!

Discover more from The Crafty Quilter
Subscribe to get the latest posts sent to your email.


Your bags are beautiful! And I appreciated the comparison of the interfacings. I’m also going to follow
your advice and read the article from Sew Sweetness. Thanks for sharing!
Hello! I have a massive military style canvas bag that I am converting for deliveries I do on my bicycle, it’s about 4ft tall with about an 8″x11″ bottom, I want to stabilize it so that instead of being floppy, I can roll it up or down which makes it much easier for me to get in the bag – do you have a suggestion? Do you think that this soft and stable product could do the trick?
Thanks!
Oh my goodness. I realize this is an old post – but I am SO glad to see I was not the only person who was totally confused on the piping! I’ve been sewing for years and this threw me for such a loop! Other than this, the pattern was one of the best bag patterns I’ve ever used. Thanks for sharing.
Hi Julie, bit late with my comment but hope you see it! Just love the bags, the sewing looks so professional, and the red lined one is my favourite, which one are you having?
I sewed a large bag for my daughter too last week, but it’s for toddler days out and long haul flights. I didn’t use a pattern but wish I’d seen the clever way to attach handles invisibly as on yours a few days earlier!
Thanks for sharing:-)
Great bag! I will need to add this pattern to my collection. Will make great presents for my friends (and me, of course)!
Both bags are beautiful. Thanks for the stabilized tips!
Great-looking bags! I’ve seen this pattern before, and it always turns out great. It’s nice to see all of the pockets and zipper detail up close, and I really love the comparison of the interfacings. Good stuff!!!
Cute, cute, cute. Love them both Julie. They turned out very nice.
What a great bag thanks for sharing.