Spring Petals QAL, Week 4
We are moving right along with our Spring Petals Quilt Along! How’s everyone doing so far? Your quilt top should be complete with petals appliqued into place.
Week 4 brings us to the basting and quilting stage of the process. The entire QAL schedule can be found at the end of this blog post.
Supplies for Basting & Quilting
- Completed quilt top
- Batting, 32″ square
- Backing, 32″ square
- Marking tool (blue water soluble pen, Frixion pen, or a chalk pencil)
- Stencil, optional
- *Basting spray, 505 temporary spray adhesive, optional
- *Curved safety pins, small, optional
- Painter’s tape or masking tape
- Walking foot
- Thread to compliment quilt
*Dependent upon your method of basting.
TIP: I really like using Pellon Thermolam Plus (TP970) as my batting choice for table toppers, table runners, and placemats. It is a dense, needle-punched fleece that doesn’t shrink and absorbs heat well. It lays flat and it’s the perfect man for the job when it comes to holding up under lots of wash cycles. You could also use cotton, cotton/poly blend, or bamboo.
Quilt Designs & Marking Your Quilt Top
Before we begin basting our quilt layers, I think it’s a good idea to think about how you want to quilt it. If you need to mark any quilting lines, sometimes it’s easier to mark an unbasted quilt top rather than a soft, mushy quilt sandwich. If you need to use a lightbox to trace a design onto the quilt top, then you definitely need to do that before you baste your layers together.
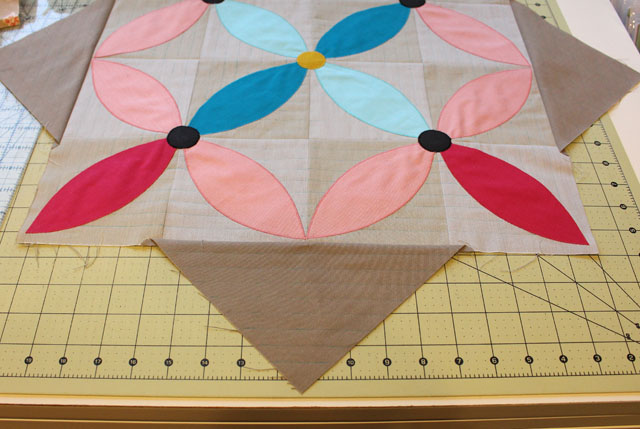
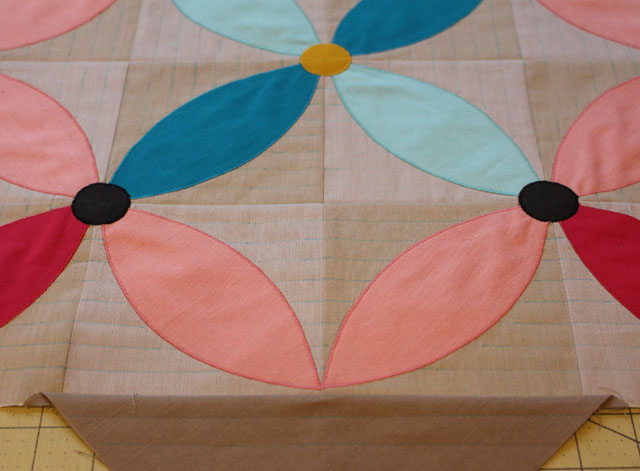
Quilting is a big part of the design process of making a quilt. It can change and enhance the look of your quilt, along with adding strength and stability to it. For this quilt, at the very minimum, I think you should stitch around all of the petal shapes. I also recommend stitching “in the ditch” at the corner triangle seams. In-the-ditch stitching means that your quilting line is as close to the seam as possible. Assuming you press your seams to the side, that usually means stitching on the lower side of the seam (that does not have the seam allowance).

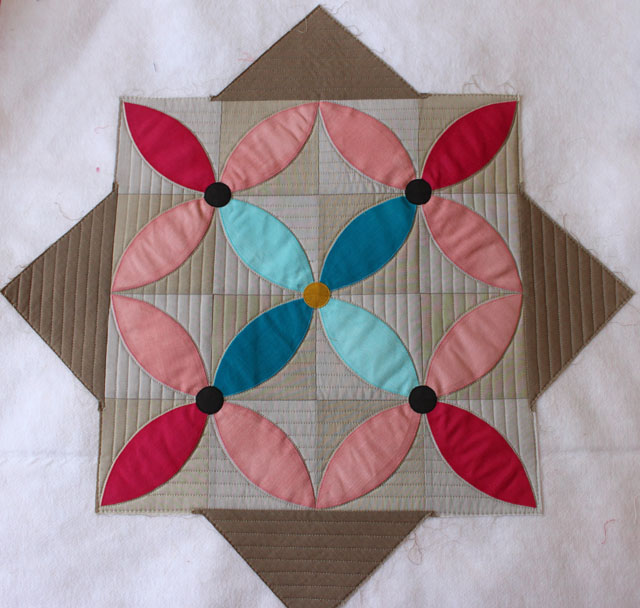
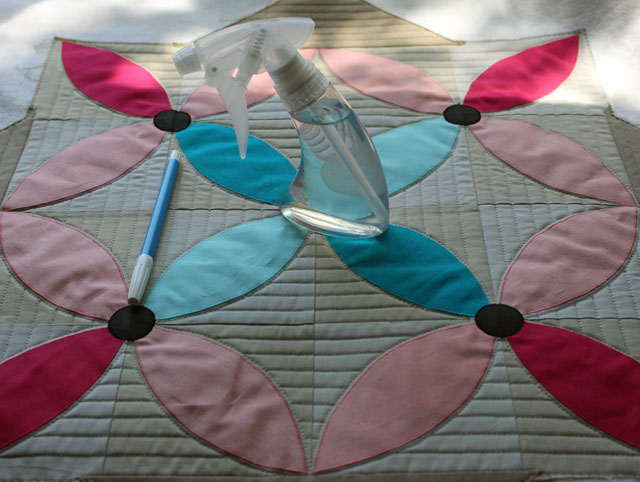
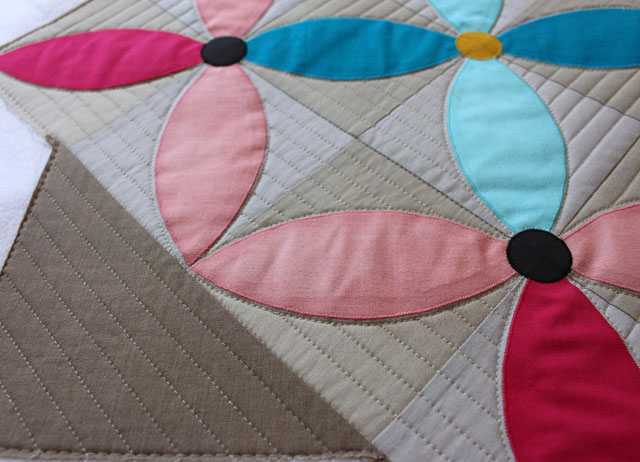
I have quilted the solid version of my Spring Petals table topper with all straight lines. I like the clean and graphic look of this style.
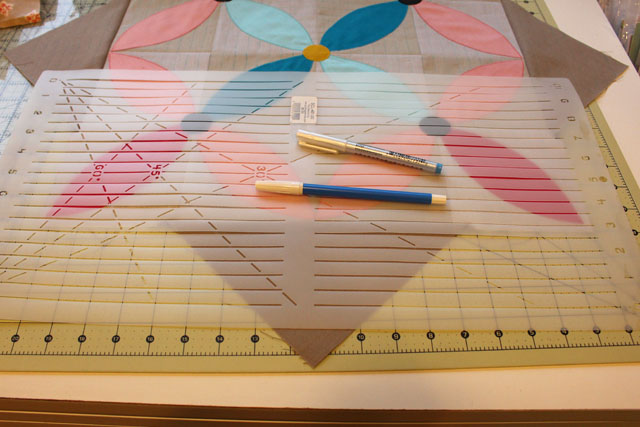
I chose to draw all of my straight lines using a blue water soluble pen (my favorite marking tool) and I used a stencil (you can find it here) that had the perfect line spacing. These lines are 1/2″ apart.
You could also use a ruler, drawing your lines 1/2″ apart. Another option would be to use the width of your walking foot as a spacing guide. My lines radiate from the center, out to the corner triangles.
Once you’re done stitching, the pen marks are easily rinsed away with water and a spray bottle. Sometimes it takes a thorough soaking if I’ve marked heavily. Always test first on a swatch of fabric.
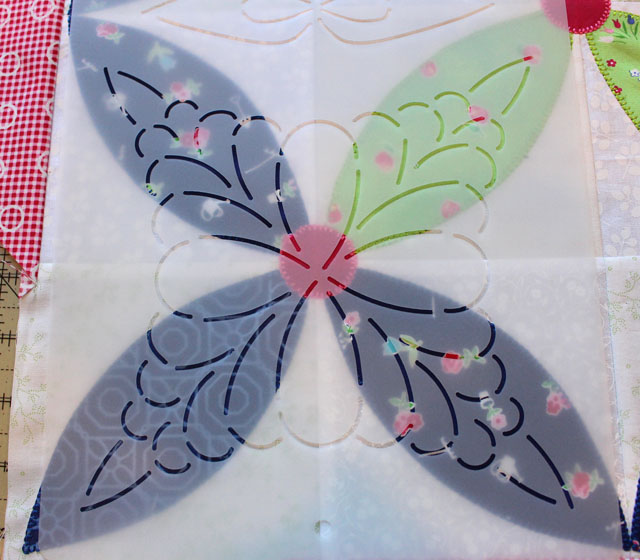
If you want to do some free motion quilting and you have stencils available, look for something that will fit into the space between the flowers.
You might also think about a stencil that will bring the petals into the design. You can find stencils at quilt shows, local quilt shops and online at The Stencil Company.
There is so much FMQ inspiration to be found on the internet. My Pinterest board, Free Motion Quilting, is full of ideas and images that I’ve pinned over several years. I am a certified Pinterest junkie!
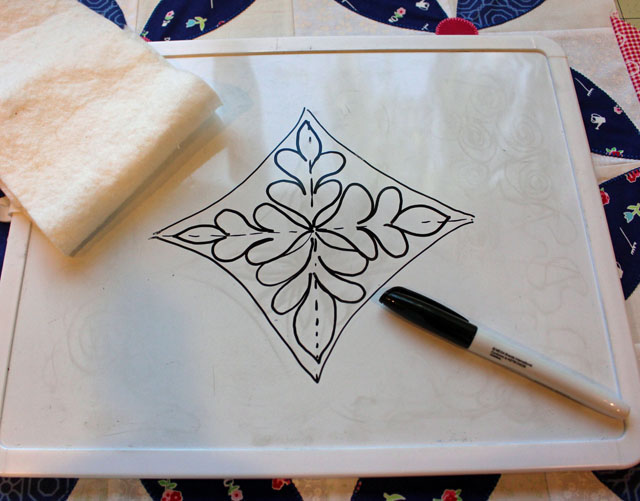
TIP: One of my favorite tools for free motion quilting (FMQ) is a dry erase board. I like to test designs on the board until I find something I’m happy with. Then I practice on the board until I feel comfortable. Left over batting scraps make perfect erasers.
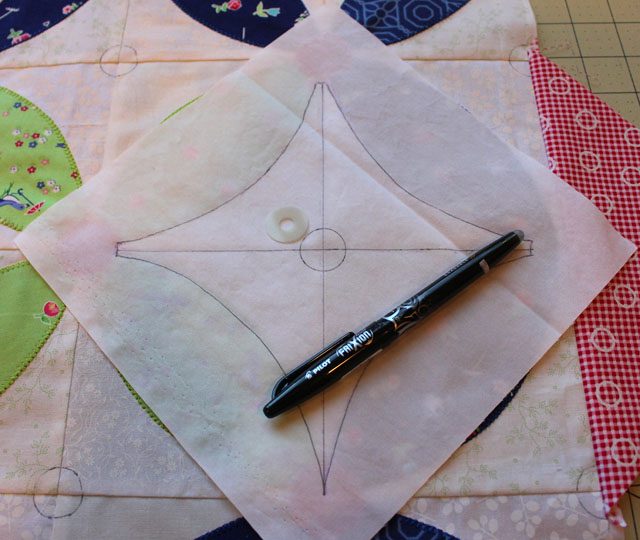
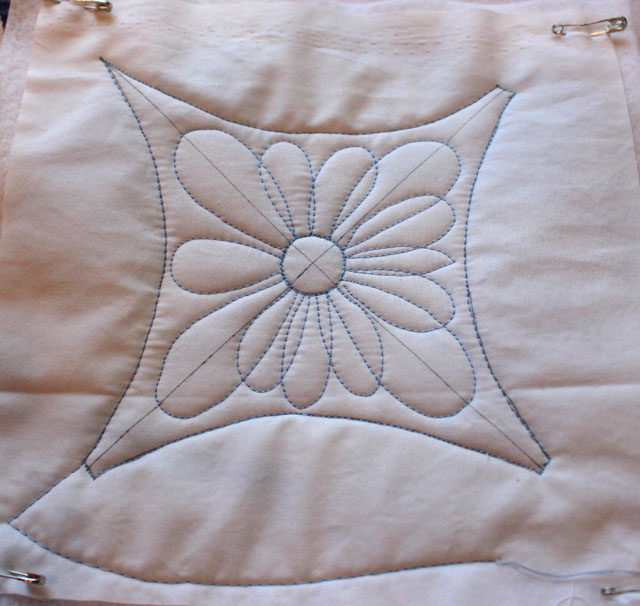
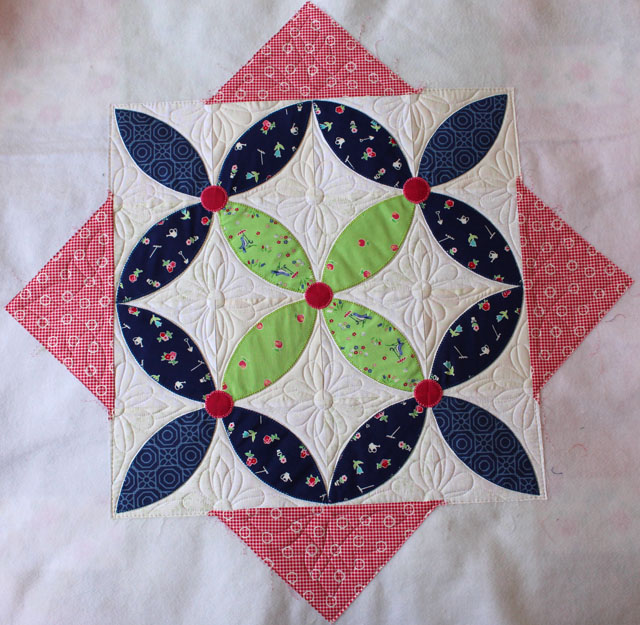
Once I find a design I think will work, I make a practice quilt sandwich and test it out there. For this project, I drew the shape of the area that I wanted to fill with a Frixion pen and marked lines for the seams. I used Karen Kay Buckley’s Perfect Circles for drawing the center circle.
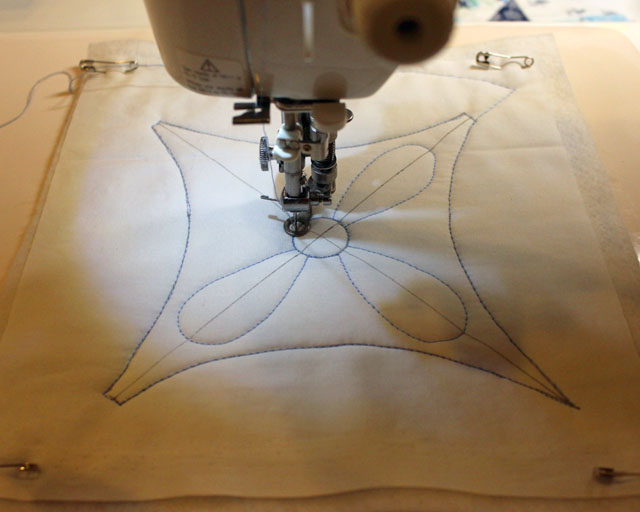
Then I layered the marked fabric with batting and backing and pinned it together. Now I can practice the design “real time”.
I tried a few different variations and sizes of petals as I worked my way around the center circle.
Basting
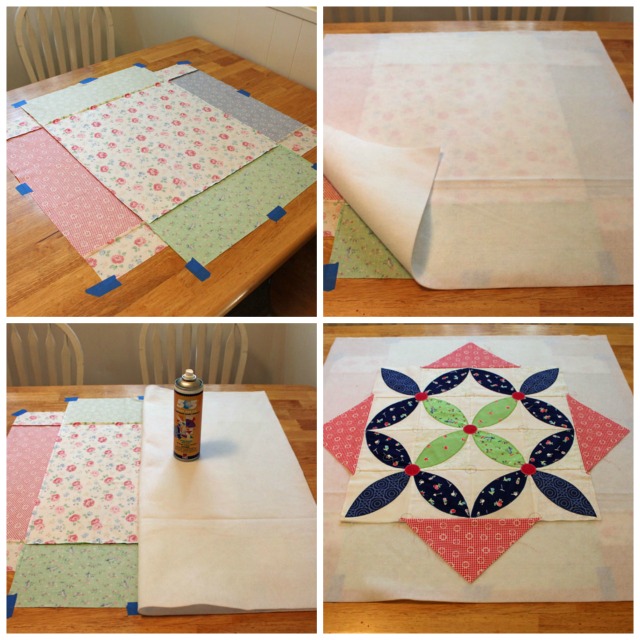
For many of us, basting a quilt is the least favorite part of quilting. However, it’s necessary to hold all of the quilt layers together well, so there’s no shifting while you quilt. For most of my quilting career (17 years), I have been using temporary spray adhesive to baste my quilts. You can find a detailed tutorial for my method of spray basting here.
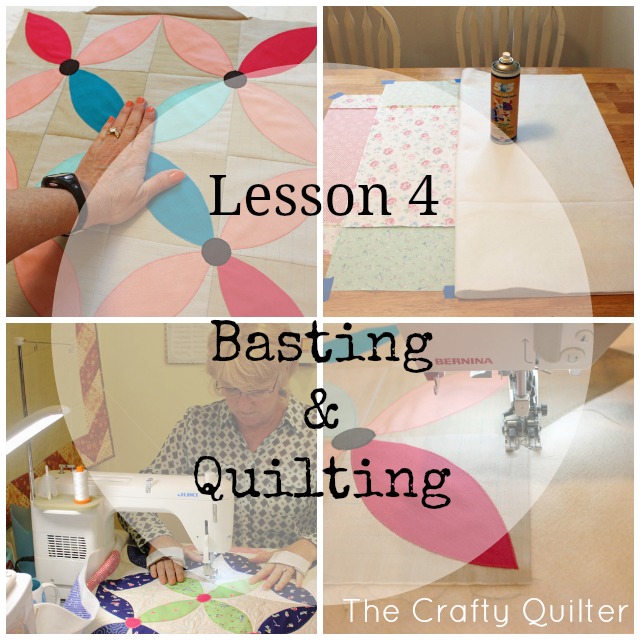
Below is a visual guide of the steps I take (although I forgot to take a picture of how I fold back half of the quilt top and spray the batting under it):
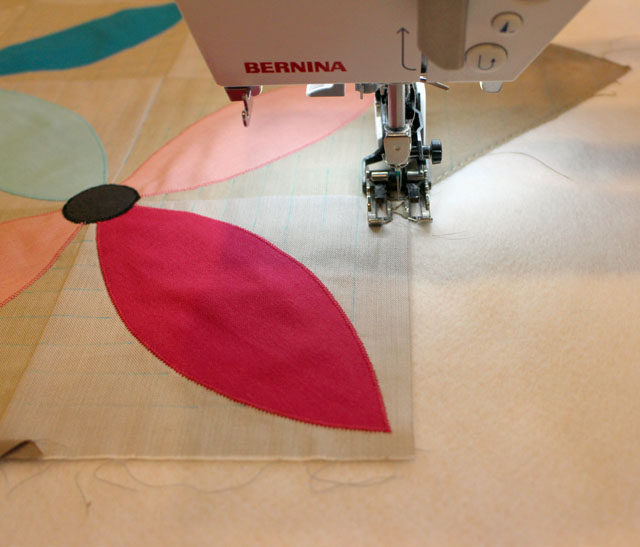
The last thing I do when spray basting is to machine baste around the raw edge of the quilt top – within 1/4″ of the edge. This adds extra security to the edges. I use a walking foot to do this and a long stitch length. You could hand baste this edge or pin paste as well.
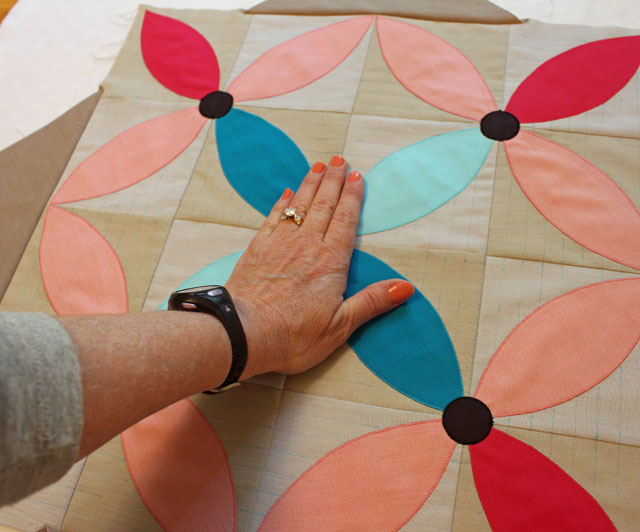
If you haven’t tried spray basting, this would be a nice-sized project to start with. However, there’s nothing wrong with pin basting either. When I do, I like to space my pins the width of my hand apart (about every 3-4 inches).
Quilting
There are so many options for quilting and it can be as intricate or as simple as you like. Once you have the quilt design planned, you’ll need to decide on thread color and type.
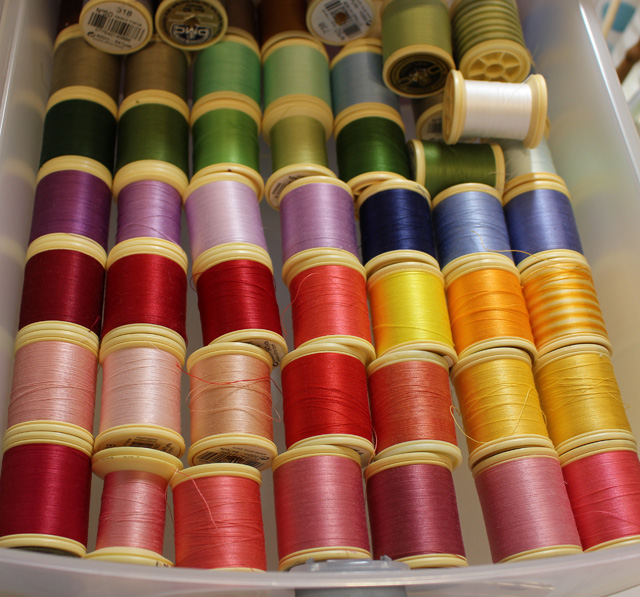
In general, I choose a thread color for the bobbin that matches my backing fabric. The top thread usually matches the quilt top fabric, but sometimes it can be a complimentary color. I prefer cotton thread, but again, there are lots of choices out there.
Most of the time, I use a combination of straight line quilting (using a walking foot) and free motion quilting to stitch my quilts. However, for the “Pam Kitty” version of my table topper, I free motion quilted everything.
FMQ allows me to continuously stitch without having to turn the quilt top around and around as I sew my design. You can find lots of information and tutorials for FMQ at The Inbox Jaunt and at The Free Motion Quilting Project.
TIP: I love using Betty Bands by Steady Betty for free motion quilting. They allow me to grip the fabric without covering my fingertips, so I can still feel the fabric and thread a needle if I have to!
The first thing I free motion quilted were the outlines of each petal. This also stabilizes the quilt top evenly so that I can quilt in sections without worrying about starting in the center of the quilt and working out to the edges.
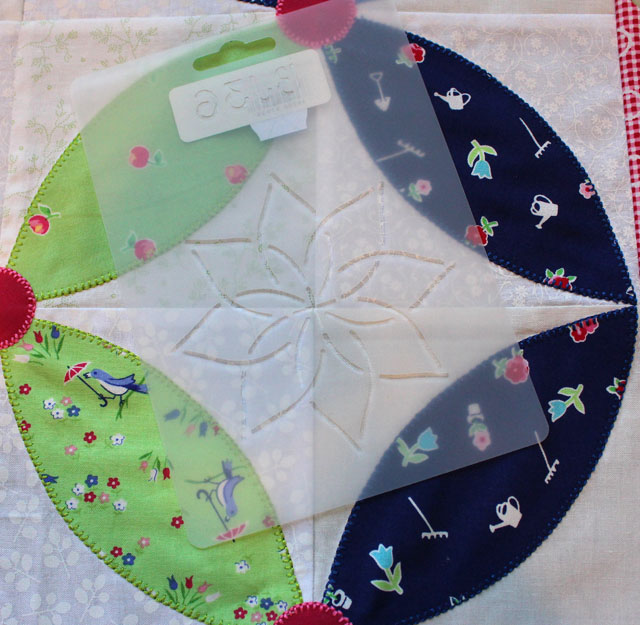
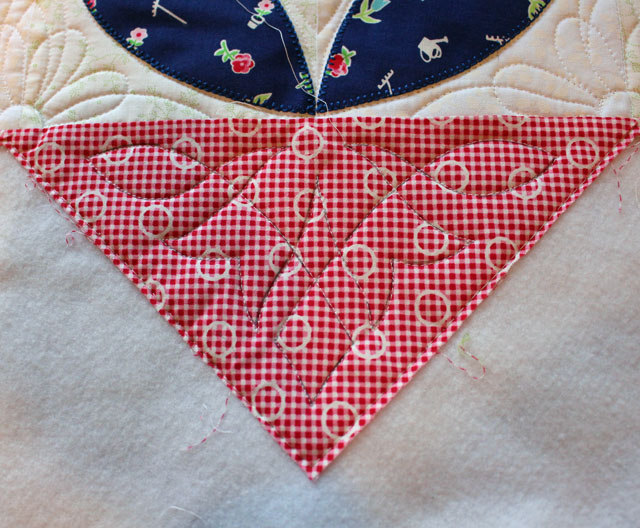
The last thing I stitched were the corner triangles. I used a stencil for this design and a Frixion pen to mark it with. Frixion pens are not my #1 choice, but it was the only thing that showed up well enough to see. I’ve seen ghost lines appear on dark fabric after ironing the pen marks, so beware. They do have their place in my sewing room; I love to use them to mark diagonal lines for half-square triangle units and to mark applique shapes onto fusible interfacing. I found a great article about using Frixion pens to mark fabric by Angela at My Three Sons.
If free motion quilting isn’t your thing, then please know that you can do beautiful quilting with just your walking foot. I love how my solid version of the Spring Petals table topper turned out. Nothing but straight lines!
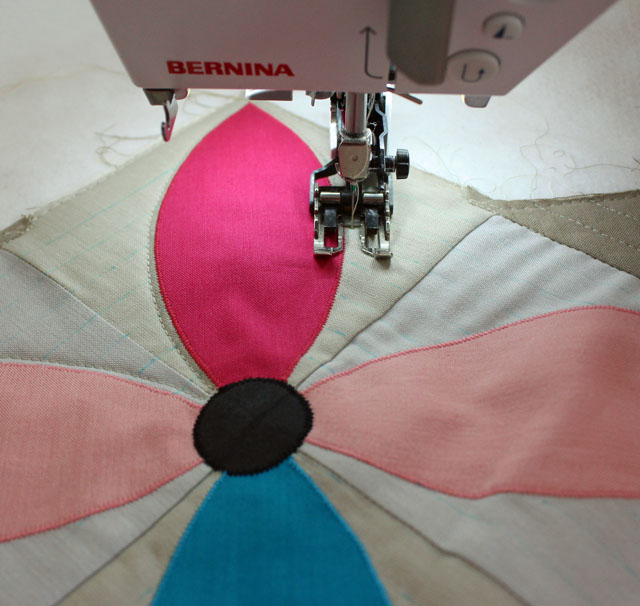
You definitely need a walking foot for quilting straight lines or gentle curves. A walking foot (also called a dual-feed foot) has its own set of feed dogs so it feeds the fabric from the top as well. This prevents tucks and puckers from forming on the top and back of your quilt sandwich. A regular foot tends to “snow plow” the top fabric ahead of the bottom fabric.
TIP: Not all walking feet are created equal and the old adage, ‘you get what you paid for’, really holds true here. Try to find a walking foot specific for your make and model of sewing machine rather than a generic one.
I outline-stitched the petals first (about 1/8″ away) and then stitched in the ditch on the corner triangle seams. Next, I stitched the corner triangle lines and then the inside lines. For a project this size, it wasn’t critical that I start my quilting in the center and work my way out to the edges.
Make sure to lock your stitches at the beginning and end of each line of stitching. You can do this with the automatic function of your sewing machine if it has one, or you can take a few backstitches, or you can take really tiny stitches to secure it.
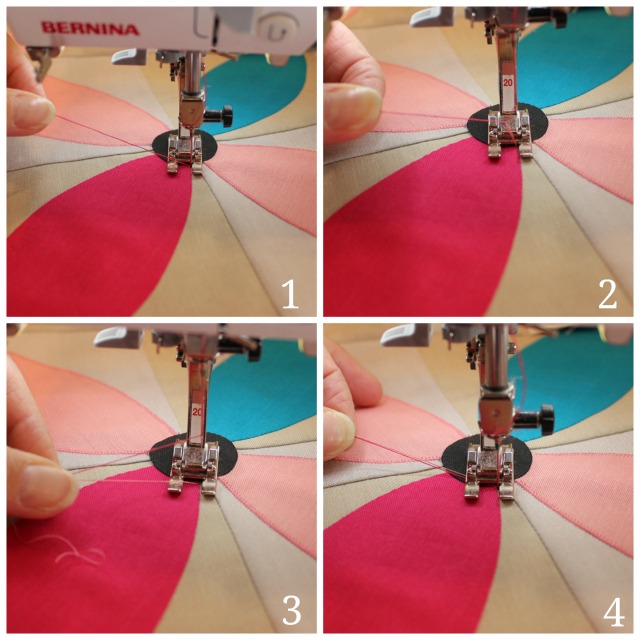
TIP: Pull the bobbin thread up to the top of your quilt sandwich to begin. Then hold the thread tails as you start stitching to prevent a thread nest from forming on the backside. This was also recommended when beginning the applique stitch.
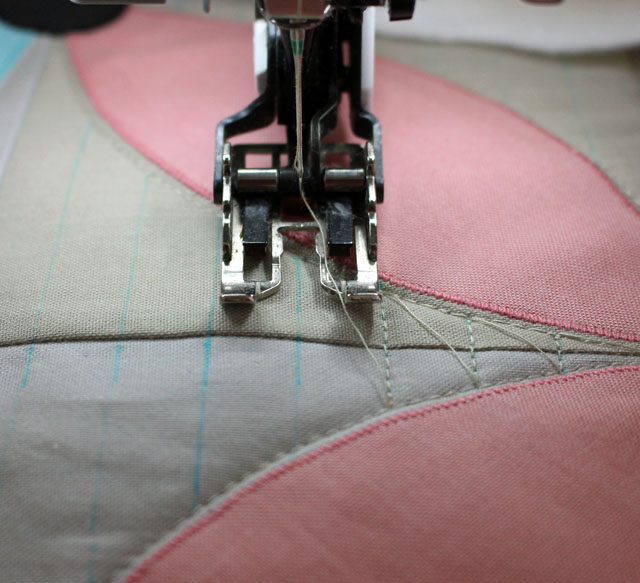
You can also travel-stitch between quilting lines so that you don’t have to pull up the bobbin thread so often. To do this, don’t clip your threads at the end of each line, but pull them to the next starting point:
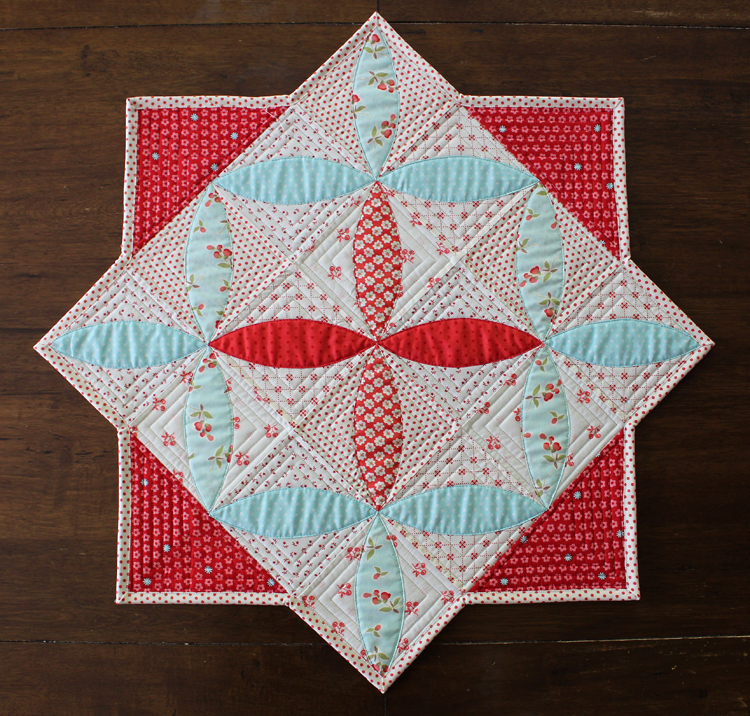
Another way to stitch straight lines is seen in the photo below. The lines are concentric squares inside each background square, but broken up by the petals. It looks a little bit like tiles.
If you’re making the table topper version without petals (directions are here), you have lots of possibilities for quilting. I’m using an orange peel design for the center squares. I found a small metal bucket that fit inside of each square and drew a circle around it. Then I found the center point of each side of each square and drew a partial circle between these points to make the orange peel design.
I’m planning on adding straight lines to the white border space. I love the tailored look of straight lines. They can really add contrast and support to the rest of the quilting. I’ll post pictures when I get this one quilted.
I’ve really enjoyed seeing progress pictures of your quilt tops on Instagram. Remember to use the hashtag #springpetalsqal.
Here is the schedule for the quilt along:
- April 4 (Week 1) Pattern available as a free pdf; pick out your fabrics
- April 10 (Week 2) Cutting and piecing
- April 13 Non-applique option
- April 17 (Week 3) Applique
- April 24 (Week 4) Basting and quilting
- May 1 (Week 5) Binding
- May 8 Final thoughts and Linky Party
- June 7 Giveaway winners announced
Enjoy the process and happy quilting!






Hi Julie,
I can not believe that I found your website the very day that I was starting to search for the template that you are using to draw straight lines on fabric. I just started a new Craftsy class today and the teacher was using this same stencil. She gave the manufacturers name The Stencil Company but I haven’t found it on their website. Every search I do leads me no where! Can you tell me where you got yours and the name of the stencil?
I love your sight and will be returning! Great information.
Thank you!
Please tell me where you got the straight line stencil, it would be a great addition to my quilting tools.
thanks for the tutorial you always do a great job.
Julie, you have given me so many great tips that I will refer to in the future. Great pictures and great tips!
I love the beautiful quilting that you did! Inspiration for me! We are out of town right now and I can’t wait to get back and quilt mine! I also cut out another to make for my friend.
I love all the quilting options you provided with the pictures of the results. Thanks Julie.
Julie, you continue to provide excellent instruction and beautiful options. Thank you for this good opportunity to learn and to make such a pretty piece.
Thanks for all the information you give us. It is so helpful to see the different quilting. And yes, I think I can do this, thanks to you. I love your posts and all your help. I hope you enjoy your day.
Carole in Arizona
Thanks for the excellent explanations and pictures, Julie! I like all of the options available, and the tips , for this pattern. Your tutorials are soooo helpful, and I learn a lot from you! Your Sprint Petals Tabletoppers are stunning!
This is wonderful, so clear and inspiring, thank you so much. I spent last week practicing the appliqué for lesson 3 so I am well behind on the project but I am learning so much. 🙂 thanks again.
Thanks so much Julie… for taking time and energy required to share this lovely pattern so completely from start to finish.. not on instagram but love your blog and this in depth tutorial too! Kathi