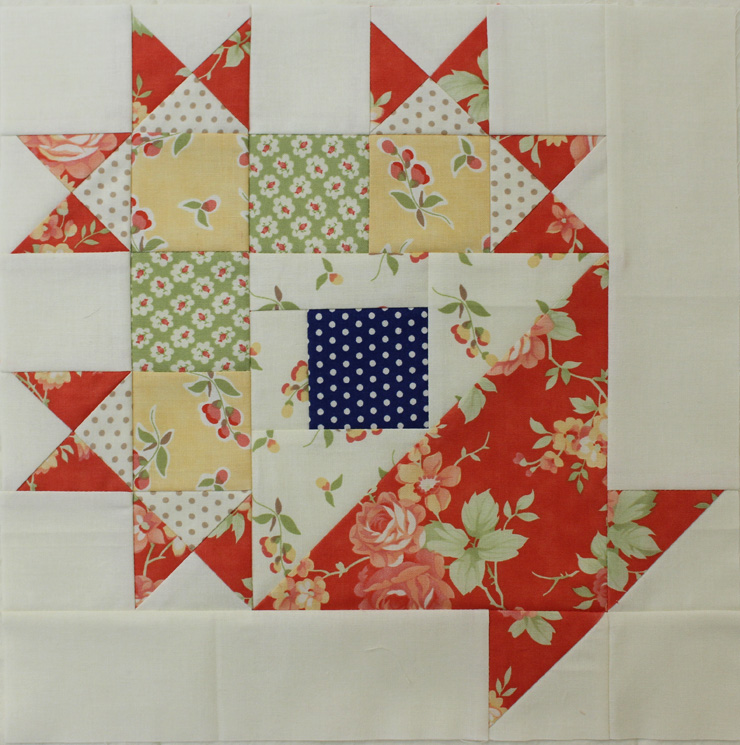
Disappearing 9-patch QAL, week 4
We’re getting to the final instructions for the Disappearing 9-patch QAL (quilt along) this week. I’ll be walking you through the steps of adding borders and then give you some quilting ideas.

Adding borders
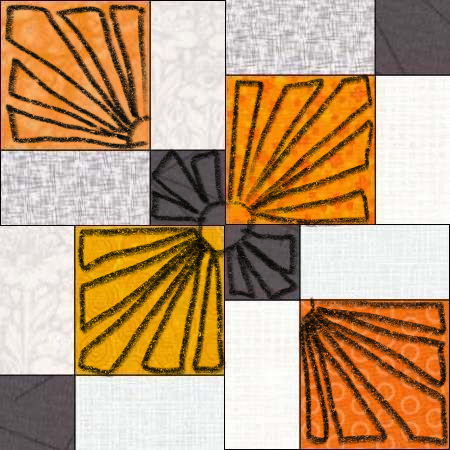
You don’t have to add borders, of course, but I like the finish they give to a quilt. I added two borders to my disappearing 9-patch quilt and they included cornerstones which are the squares in all four corners of each border.
The first border is 2″ finished and the second border is 3 1/2″ finished. I would have made the second border wider, but my backing wasn’t big enough to accommodate anything larger. My quilt measures 64″ x 77″ with borders.
Before adding borders, check the edges of your quilt top. Trim them if necessary, so you have a straight edge to attach your borders to.

I’m a firm believer in measuring and cutting your borders to fit your quilt. I do this by laying two border strips across the center of my quilt top and cutting them even with the sides. This will prevent a wavy border from occurring. I did a video all about borders for The Quilt Show several years ago. You can fast forward to minute 4 where I demonstrate how to cut your border strips.
TIP: Often, I will add an extra 1/2″ to the border length; this gives me something to square up after they’re sewn on. When attaching the border, find the center of the quilt top and the border strip and mark them. Then match the centers and pin. Pin every 5″ or so, and allow an extra 1/4″ of the border to overhang at the beginning and ending (because of the extra 1/2″ cut.) This will get trimmed and squared after the border is attached.

NOTE: If you’re adding cornerstones to the borders, you need to cut the second set of borders to the exact size of the quilt edge. This is a pieced border and it needs to fit just right. The corner stones were added to the top and bottom borders of my quilt, after the side borders were attached.


TIP: Pin the borders to the quilt top every 5-6 inches. This will prevent the border from stretching or shifting.

After sewing the first set of borders to the quilt, repeat the same process with the second set of borders. Measure, cut, pin and sew.


This is the exciting part: a finished quilt top! I can’t wait to see all of the different versions at next week’s link-up.


Now, you’re ready to baste the quilt if you’re quilting it yourself. Otherwise, just pass it along to your favorite longarm quilter. I am going to quilt this one myself. I love to spray baste my quilts. You can find my tutorial for that method here.
I am waiting on some white batting that I ordered through Fat Quarter Shop. I’m going to try White Dream 80/20 by Quilter’s Dream. It’s a bleached white cotton and polyester blend. Because of all of the white background in my quilt, I wanted a white batting, and I like the extra loft and lightness that the 80/20 blend gives.
Quilting Ideas
Since I haven’t quilted my disappearing 9-patch quilt, I can’t show you anything yet. But, I do have some ideas and suggestions.
There are a few ways to audition quilting designs for a quilt. I’m going to do a separate blog post, hopefully next week, on how to do that. For now, you can visit 5 ways to audition quilting ideas at APQS and find out some clever tricks for envisioning a quilting design on your disappearing 9-patch quilt.
Let me show you a few of the ones I came up with. Next week I’ll show you how I got them onto my quilt design.
This quilt would be a great candidate for some simple grid quilting, either diagonal or straight. There is a strong diagonal element to mine because of the setting I chose for my blocks. Below is a mock-up of what that might look like. These quilting lines are very minimal. You could add more lines inside each grid.

I love orange peel quilting and I think this would work really well for this quilt as well. It’s also based on a grid pattern, and it’s really inter-connecting circles. My attempt on the computer (below) is not perfect, but I get a picture of what orange peels might look like.

I like the texture that straight line quilting gives to a quilt. Modern quilting has made this a popular choice. Squiggly lines are a fun alternative.

Another quilting design would be to put a motif in the center of the large squares and fill in the white rectangle with an all-over pattern. I used a daisy motif for the squares and ribbon candy for the rectangles below.

I like the radiating design of the pattern below:
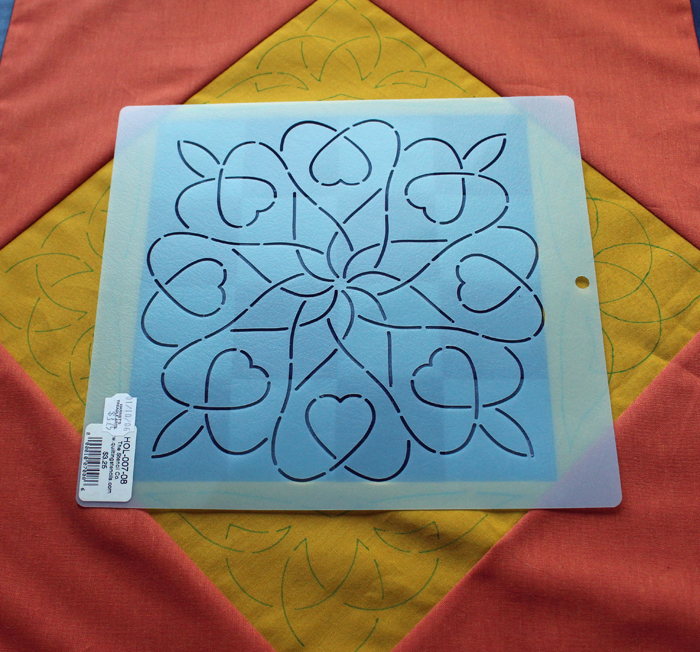
If you have stencils, these would work really well for this quilt. A few years ago, I worked with The Stencil Company and did a blog post about How to use stencils for quilting. They’re a great tool for quilting and it takes some of the guess work out of the quilting path.

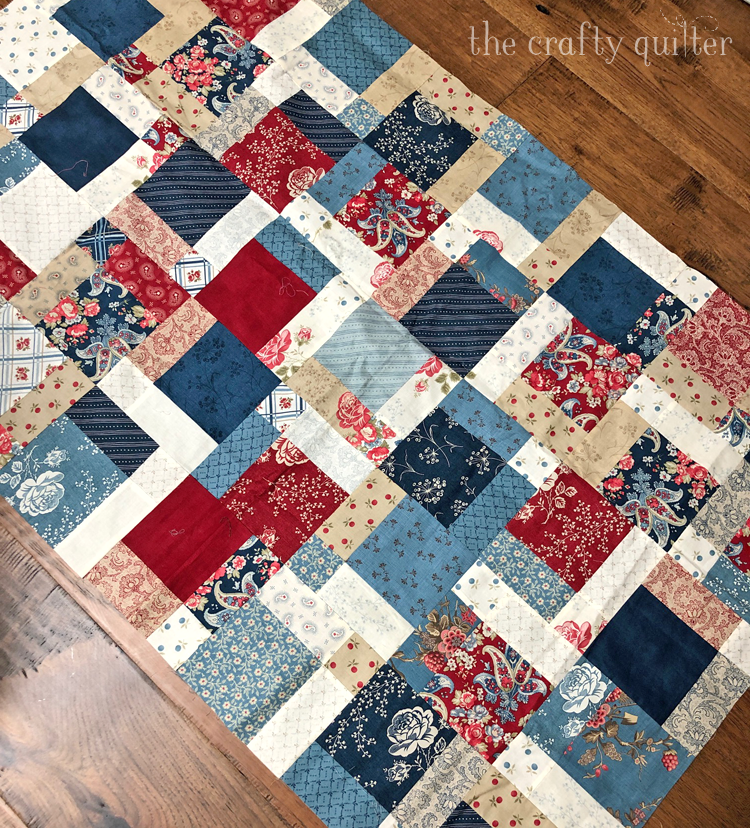
If your disappearing 9-patch quilt has a random layout like my red, white & blue version, then an all-over quilting design would look great. Something like meandering or loops would be easy enough if you’re just beginning with free motion quilting.
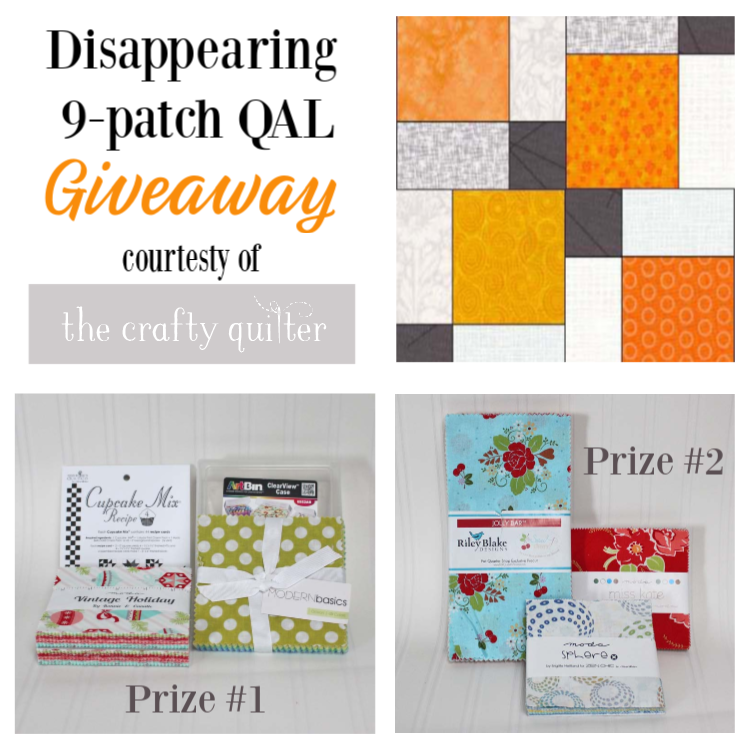
I hope this gives you something to start with. You have the rest of the week to put everything together for your quilt top. The link-up will be open next Saturday, July 13, for one week. You don’t need to have your project quilted to enter the link-up, just a completed quilt top.
Have a wonderful week and I’ll be back soon with more quilt auditioning information!

Discover more from The Crafty Quilter
Subscribe to get the latest posts sent to your email.

I learned this quilt block at a guild meeting and have taught it a couple of times. Its a great beginner block since there are no points to match. Just accurate cutting and accurate seams. Love your colors. Will definitely use your color scheme. Happy quilting.
I haven’t done a disappearing nine-patch before. It was very easy and looks much more complicated than it is. Thanks for this quick quilt along – a great way to try a new block.
In all honesty, I really wanted to participate and kept putting it off because have been so busy… Well, when I saw this post in my feed, I got busy, did a marathon quilt day yesterday and am determined to finish my blocks today. My quilt kept growing but I found a size that I was happy with. Now after looking back at your posts for this QAL, I want to do another one with more white! My goal is just to get the first one finished. It is very scrappy but was going to frame in the blocks but now may just leave it scrappy. I am the typical “so many quilts, so little time…” Thanks for all the direction! I love your blog and hope you don’t mind but put a link to it on my FB page…if you want, I can take it off but wanted to let you know…
Thank you so much for all the tips! I am just waiting for my border fabric to arrive! Connie 🙂
Hi Julie, Thanks for all the tips. I purchased the border material and am very glad I didn’t attempt to put it on before you sent this how to add borders info to us.
Top all done with borders..can’t wait to post the picture. Can we do it now?
Hi Lori, You’ll be able to post your picture next Saturday on the link-up blog post. I love your enthusiasm!
I’m still sewing blocks and rows together, but it’s going quickly. I never thought about borders when I began and am hoping I’ll find something in my stash that will work well. Great post, Julie! You certainly cover all the bases!
I plan to do 1/4” from the seams, which will be tricky since my layout is random!
It’s a rainy, dull day here so it’s a nothing but sew day. Hope to finish up my disappearing 9 patch. I’ve enjoyed this quilt along. Will be fun to see all the different quilts in the link up. Thanks for doing this.
The top is completed, thanks for sharing wonderful quilting ideas.
Hi Julie, such a wonderful post! So much to see and learn about. I’m going to watch that video, thanks. Borders have given me fits in the past. Your work is so nice to look at.
I love how your dog is in a lot of pictures! So adorable.
Hi Julie,
Have you tried the bamboo batting and what do you think? I don’t have the brand in front of me but I believe it’s Quilters Dream. My longarm quilter prefers it now and I would like your review or thinking on this product.
Jane Ellen Hillis