How to audition quilt designs
I enjoy each step of the quilt-making process, but the hardest part for me is figuring out what design to use for the quilting. Today’s blog post is all about how to audition quilt designs. This will help make the quilting part an easier and more fun process for you.

Software programs
I recently tried using a software program, Microsoft Publisher, to audition some quilt designs. This is a great way to test out a quilting idea in order to see if it will look good on your quilt without doing any sewing. For my recent disappearing 9-patch quilt, I used the Publisher software to audition diagonal grid lines. First, I imported the quilt image and resized it to fit the page. (I used a digital image that I saved from EQ8). Then I clicked on insert > shapes > line and used my mouse to insert diagonal lines where I wanted them.
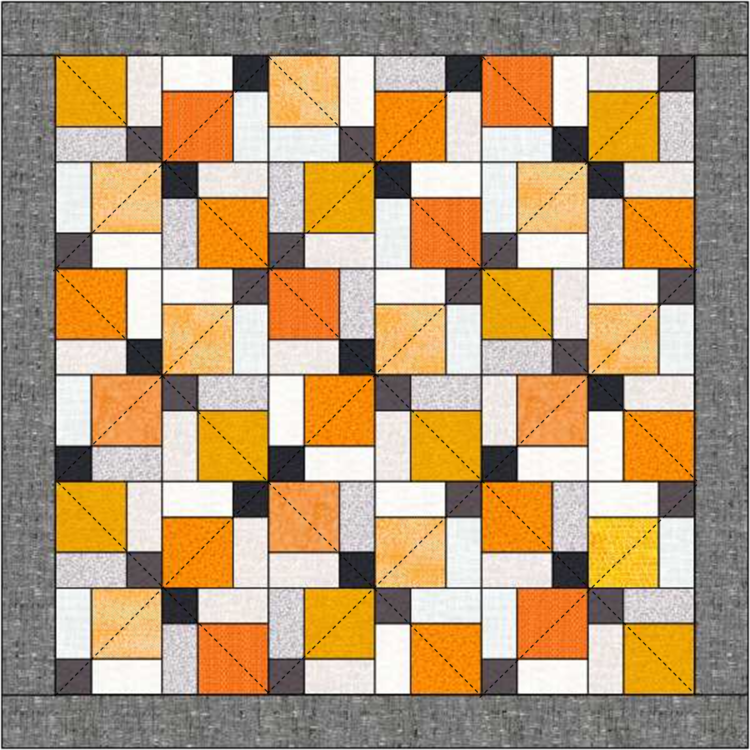

Once I inserted a line, I formatted the line by clicking on format > shape outline > dashes and then selected the dashed line I wanted. You could skip this step and just leave the lines solid.

I love orange peel quilting and I thought this would work really well for the quilt as well. It’s based on a grid pattern, and it’s really a bunch of inter-connecting circles. My attempt on the computer (below) is not perfect, but I get a picture of what orange peels might look like. This was done by inserting a bunch of circles and sizing them appropriately. You can group shapes together and copy them, so you don’t have to insert so many individual shapes.
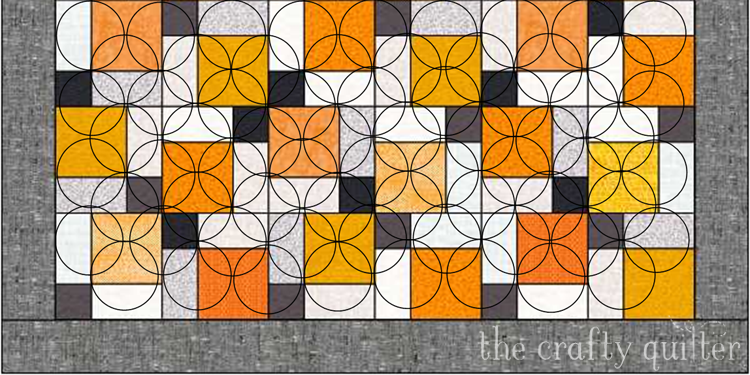
I’m sure there are many other photo editing and illustration software programs that would work just as well, if not better than Microsoft Publisher. This is what I have and it works for me. If you have EQ8 (Electric Quilt software), it also allows you to insert quilting motifs onto a digital quilt.
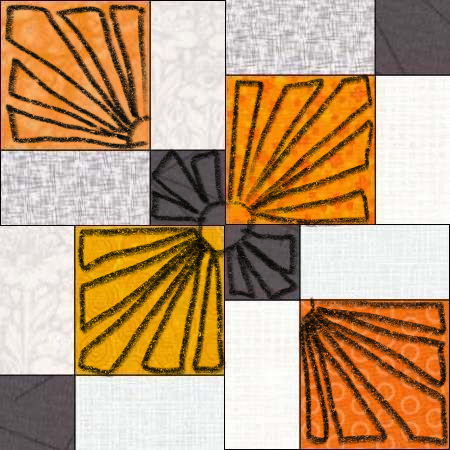
Another tool for testing out designs is a digital illustration App called ProCreate. I can import an image onto my Apple iPad Pro and use ProCreate to draw quilting designs onto a quilt or a quilt block with an Apple Pencil. It’s just like drawing on smooth paper. The App itself isn’t that expensive, but the iPad Pro and Apple Pencil will set you back quite a few dollars.

Here are a few quick attempts that I made (and not very well done), but it’s just a sketch and you get the idea.
Clear vinyl
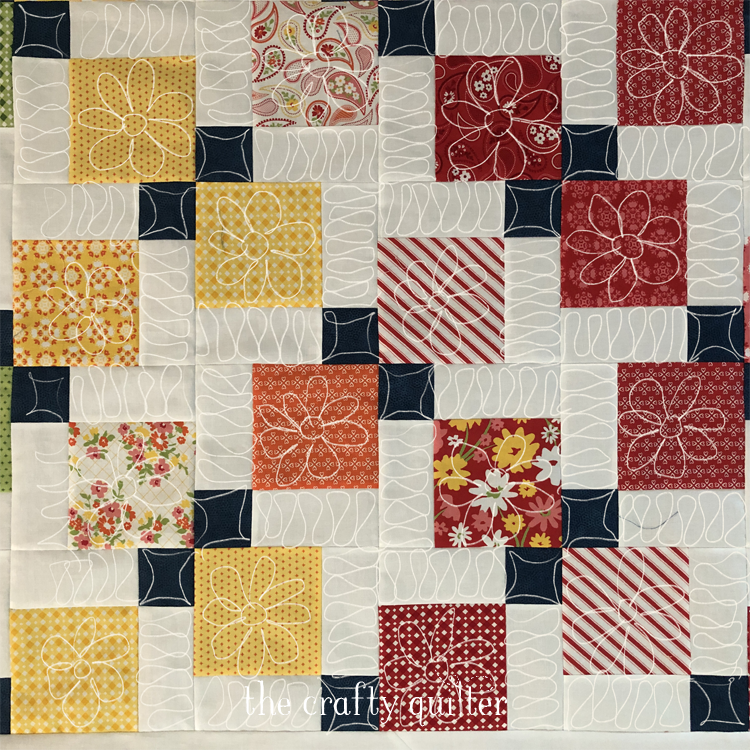
For those of us that are not computer savvy, there are other options. You can use clear vinyl or a clear plastic page protector and a wet erase marker. You need to be careful that you don’t get the marker on your quilt top.
TIP: I attached blue painter’s tape to the edges of the vinyl so I could see the boundaries better. I also wrote “this side up” along the edges so I didn’t accidentally place the dirty side of the vinyl against the fabric.

Place the clear material on top of your quilt and draw your design onto it. This works for testing out stencils as well. If you have Crayola Ultra Clean Washable Markers, (the same ones that I gave bad reviews for marking fabric with) this is a great place to use them.


Extra quilt blocks
If you have any extra quilt blocks, you could use them as a test sample. Make a quilt sandwich with one and try out a design. This also gives you practice for the real quilting!

Inspiration for quilt designs
One of my favorite things to do is look through quilting books for inspiration (and just for the fun of it.) But books are also a great way to get quilting ideas for your next quilt!
Two of my favorite books are The Ultimate Guide to Machine Quilting by Angela Walters and Christa Watson, and Free-motion Quilting Idea Book by Amanda Murphy. Magazines are also a great resource for quilting designs.

If you’re familiar with Pinterest, you’ll already know there is a whole world of ideas and inspirations for quilting. I have a Free Motion Quilting Pinterest board that is full of beautiful quilting ideas that I’ve collected over the years. Be careful, Pinterest is a rabbit hole and you never know where you’ll end up or remember how you got there!
I hope that you give some of these ideas a try the next time you’re ready to quilt your project. If you know of a trick that I missed, please share in the comments. Happy quilting!

I use sheets of Glad Press and Seal wrap spread over a quilt block and then draw my design on it with a marker. I can audition different designs on adjacent quilt blocks to see what works best. Just be careful about the marker not getting on the fabric!
I love all those ways of working with figuring out the quilting design! It is so helpful to see. Now, for me to start making a record of designs, haven’t figured out the best way to do it just yet…
All great ideas, esp with the vinyl. I can quilt small projects and enjoy using stencils (a tip I got from you a few years back) 🙂 and have collected quite a few stencils over the years. I have also looked at others quilting patterns for ideas as well. i will be reviewing your “SUMMER” mini on the quilting because I think that is up next month for my UFO 🙂
Julie, I really appreciate the great ideas you give us in all of your posts: I know it takes time to write these blog posts, and I’ve gotten some great ideas from you. I’ve used the low-tech vinyl idea before, but didn’t think of using the washable markers. Great tip! Thanks! Hugs, H
Wonderful tips and illustrations Julie. Thank you!
Great info, great tip on the clear vinyl, never thought about it, will try it very soon,
Thank you very much Julie
Another stellar post, Julie! So very well thought out and encouraging. Thanks for all the quilting tips. I’m still working on sewing in those borders! Hopefully, I can link up tomorrow. I know, I know, I’m so pokey!
All great tips, Julie! I never thought to use my WORD program for designing. My favorite tip is pretty simple…write THIS SIDE UP on the vinyl. Why didn’t I think of that? 🙂