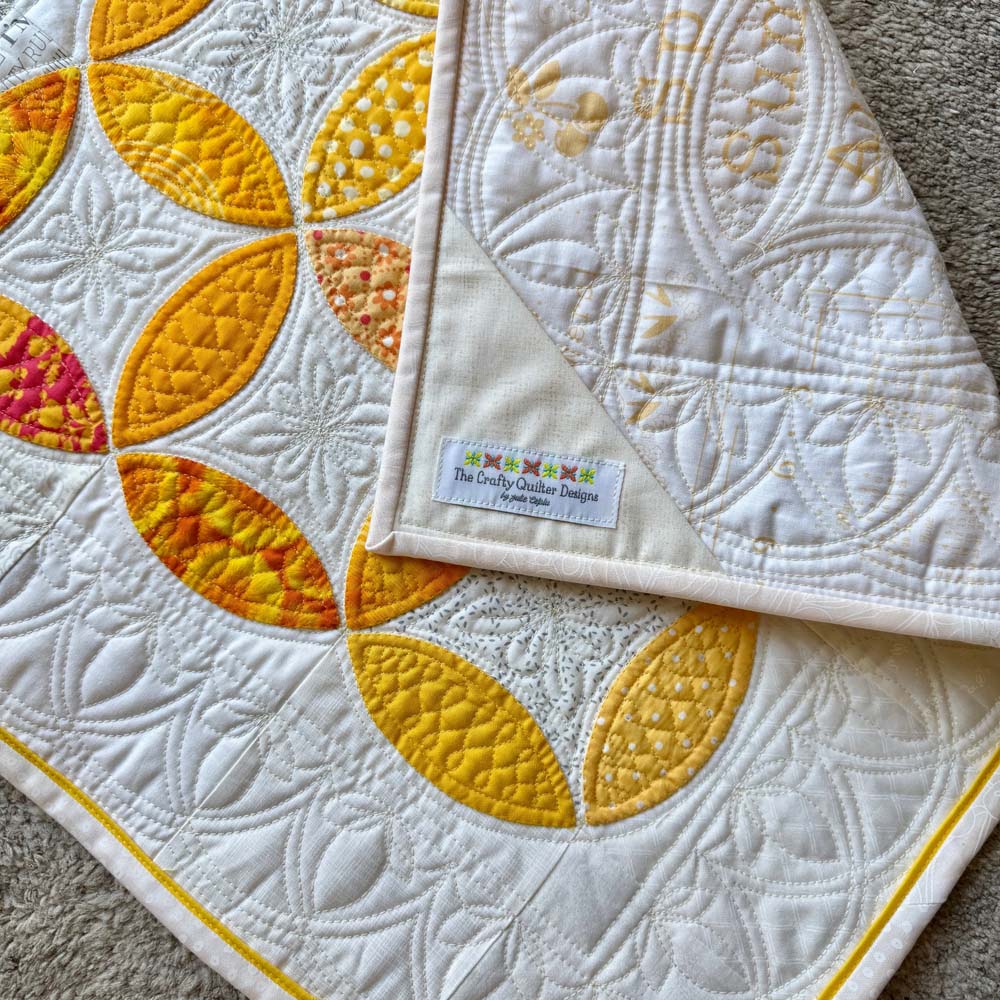
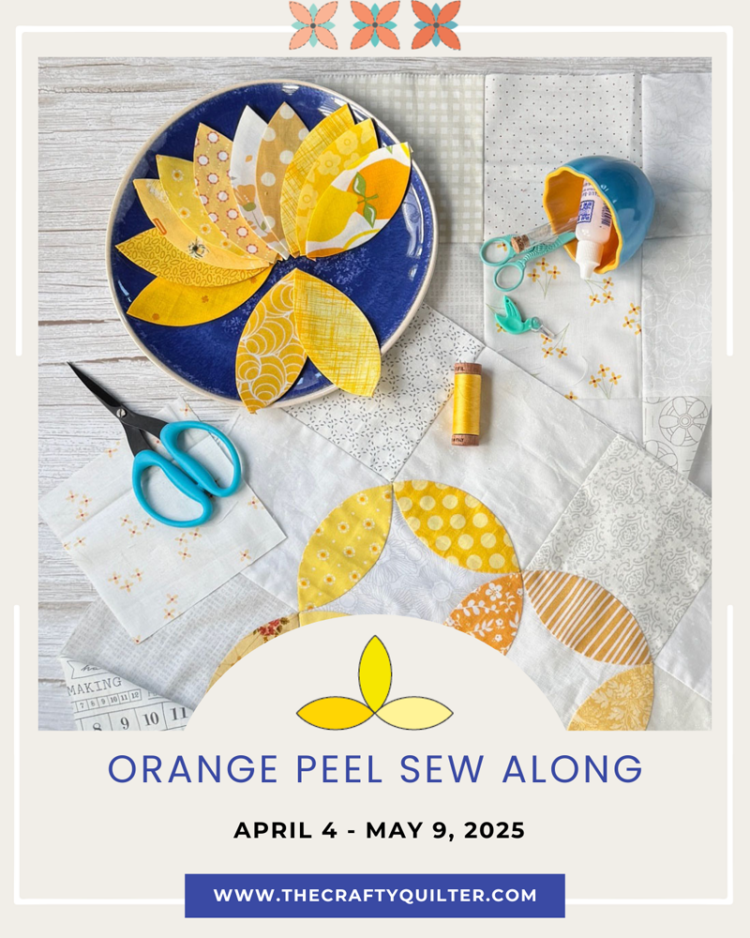
Orange Peel Sew Along Week 1
Welcome to Week 1 of the Orange Peel Sew Along! This week we will be gathering supplies and choosing fabric for our quilt. I love this part, but I know it can be stressful for some of you. Not to worry, I have some great tips and color inspiration for you!
If you’re new to this sew along, I’d love to have you join me. It’s free! You can sign up (below) to receive the weekly emails. It’s the best way to receive the lessons, pdf’s and videos without the distraction of display ads. You can read more about the Orange Peel SAL here.
Welcome video
This video will give you an overview of the orange peel design and the applique techniques used.
Fabric
My favorite part of making a quilt is choosing the fabric. There are so many possibilities! If you’re working with a charm pack or a fabric collection, much of the work is done for you.
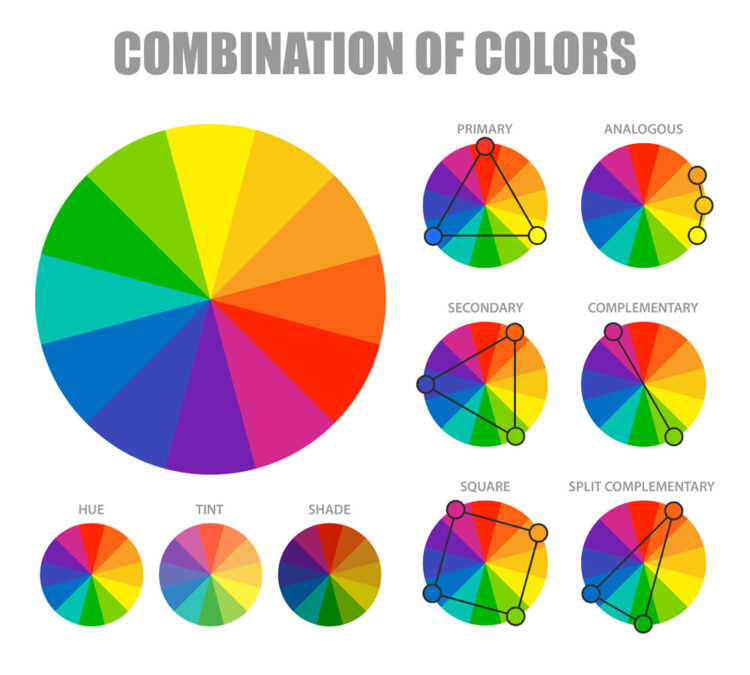
If you’re working with your fabric stash or scraps, then you’ll probably want to decide on a color scheme. It can be monochromatic (one color), analogous (three neighboring colors), complementary (opposite sides of the color wheel) or scrappy happy (all over the color wheel).
Coloring page
It’s time to bust out the crayons or markers! I’ve made a coloring page for you to audition different color combinations. You can download it below and print as many copies as you need.
Color inspiration
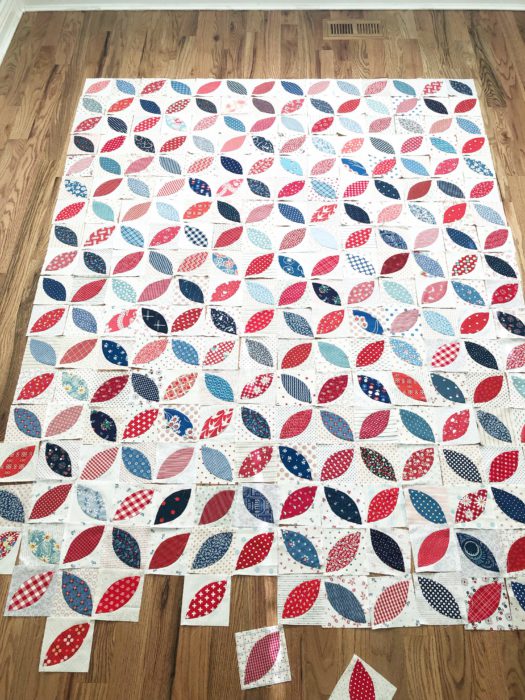
If you do an image search for orange peel quilts, you will see quilts in a variety of colors and styles. A quick look around Google and I found so much inspiration. The photos below are just a few of what I found. If you click on an image, it will take you to the original photo source. (If you’re reading this in an email, you may need to open this in a browser to see the photos).
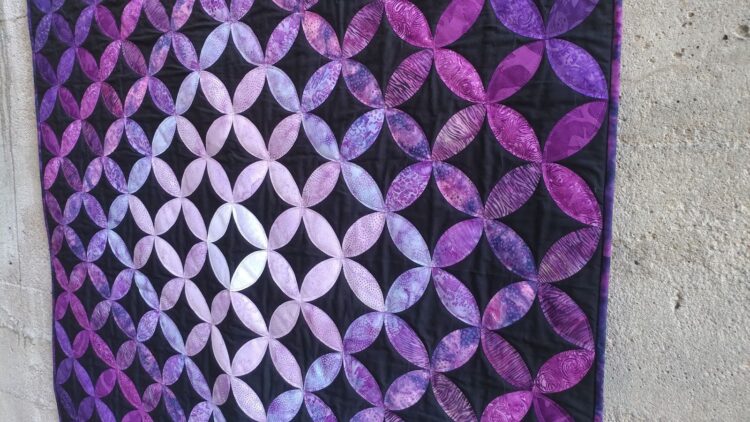

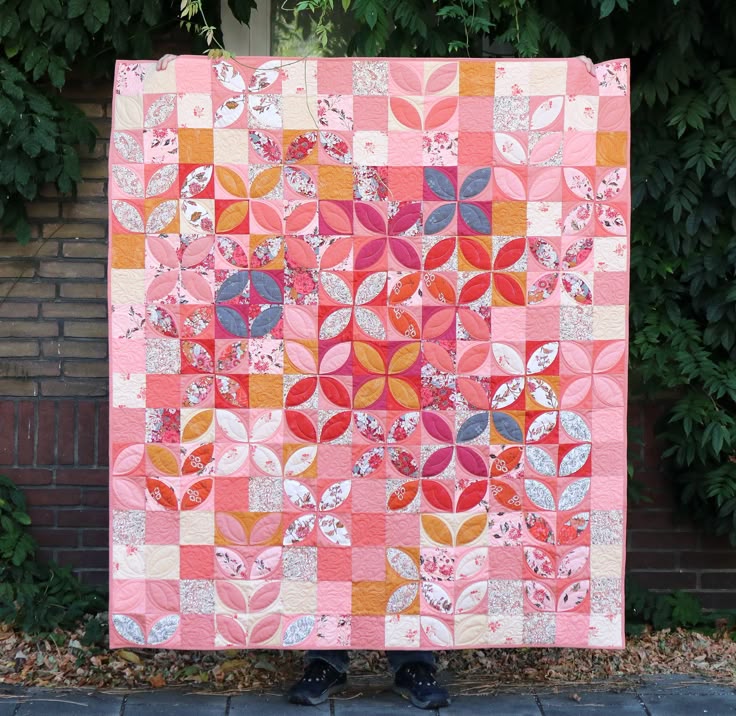
- Top left: A perfect example of a monochromatic color scheme. I love the color gradient!
- Top right: Red, white & blue is a great combo! Holidays are great for color inspiration.
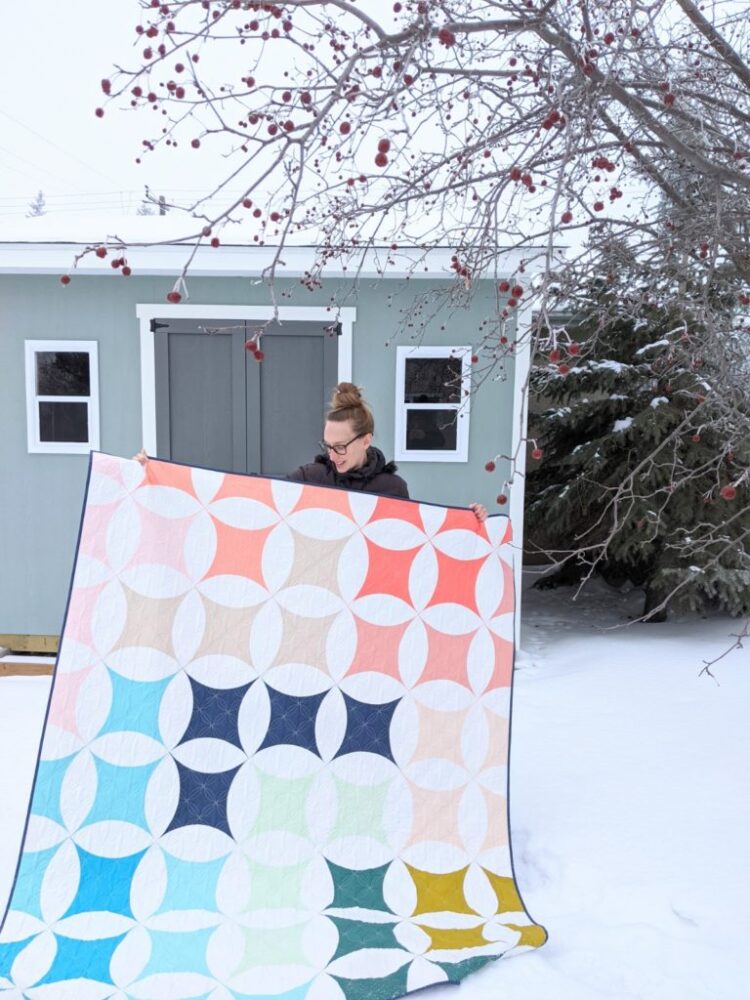
- Bottom left: This lovely rainbow of colors is a sure win. It’s bright and cheerful, too.
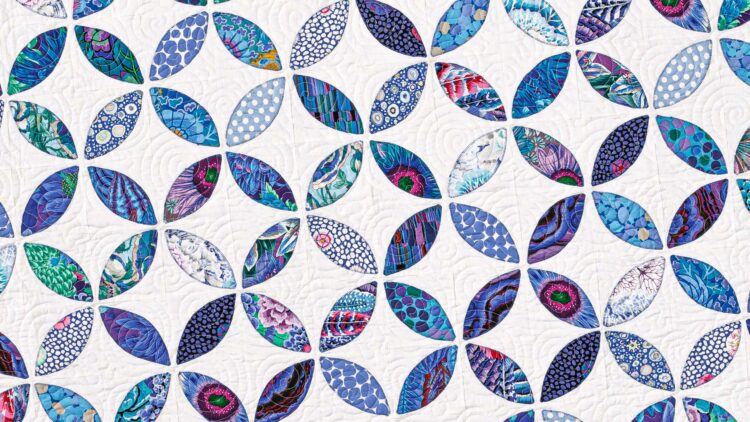
- Bottom right: A great example of working with a fabric collection (Kaffe Fassett).
A few things to consider when deciding on your color palette is where will the color focus be? Most often it’s the orange peel shapes that draw in the most color while the background supports it.
The other option is to add color using the background squares and keep the orange peel shapes a neutral color that contrasts well with the background as shown below left.
As you can see in the photo (bottom right) the background fabric is also very colorful but good contrast is maintained throughout.
Quilt size & fabric amounts
If you have a quilt size in mind, I’ve got you covered! I’ve made a chart of the number of background squares and applique squares you’ll need for each quilt size. Any quilt larger than a throw size is going to be a long-term project, especially if you’re doing hand applique!
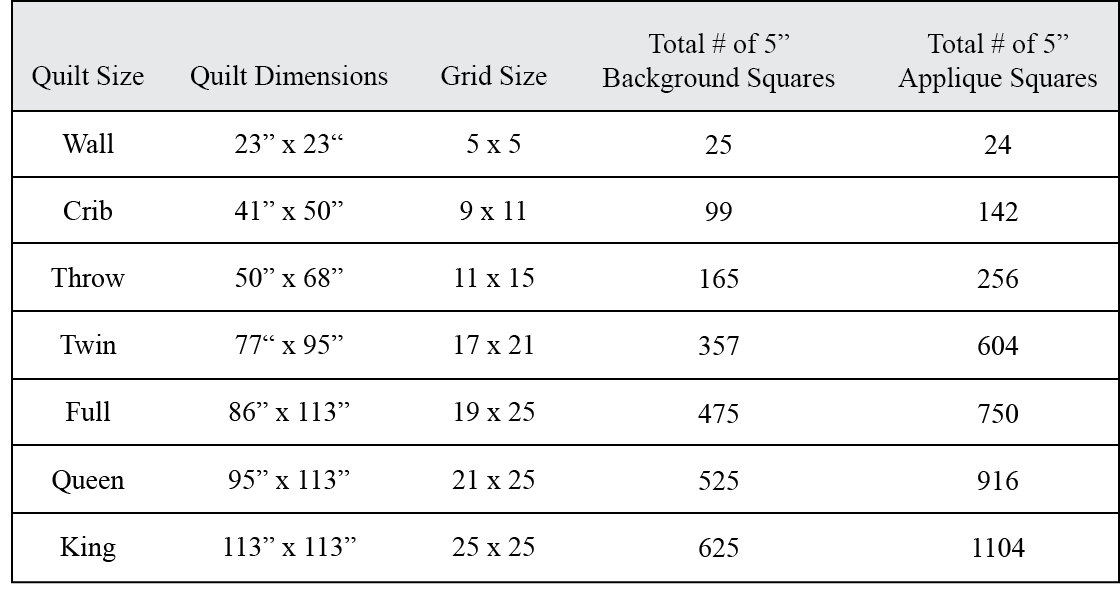
- The background fabric will be cut into 5″ squares. It can be cut from yardage, from scraps or by using charm packs of precut 5″ squares. Most of you will use scraps so I am not providing yardage amounts at this time.
- The applique squares do NOT need to be exactly 5″. That’s just a good reference for determining how big a scrap of fabric needs to be.
- The quilt size and dimensions provided are based on grid sizes. In other words, how many 5″ squares in each row (across) and how many rows down. My grids are all odd numbers, but they don’t need to be!
Orange peel template
The orange peel template is a pdf that you can download and print. Make sure to print it at actual size. You will use this in Week 3.
If you already have an acrylic template that you would like to use, you can compare its size to the one in the pdf. If it’s not the same size, you will need to make adjustments to the size of your background squares. I’ll give more details on that in week 3. In the meantime, you can email me if you have any questions.
Applique supplies
In this section, you’ll find a complete list of everything you’ll need to make an Orange Peel Quilt. I’ve separated the list into four sections, and I’ve added links for some items that might be unfamiliar to you.
Note that there are two methods to prepare the applique shapes and two methods to stitch them down. You will need to choose one method for each. You may find you already have the supplies for the applique method you want to use.
Freezer paper & starch applique method
- Orange peel template PDF (download button above).
- Iron, any size.
- Spray starch, any kind. My favorite is Magic Quilting & Crafting Spray.
- Freezer paper, any kind. Reynold’s is readily available, or you can purchase applique freezer paper online. I’m excited to try CutRite Heavy Duty Freezer Paper. Another option is Gypsy Quilter Heavy Weight Freezer Paper (currently on sale).
- Small paint brush. If you don’t have one, a Q-tip will work in a pinch.
Faced applique method
- Lightweight fusible interfacing. In the video I mentioned Pellon 906F and Quilters Select Cutaway.
- Frixion pen. This is ideal for tracing the template shape onto the interfacing. A regular pencil or chalk pencil will also work.
- Pinking sheers are helpful, but not necessary.
- Point turner tool or wooden chopstick. This tool by Dritz works well.
Hand applique
- Water soluble glue. My favorite is Roxanne’s Glue Baste It or Elmer’s Washable School Glue.
- Thread to match orange peels. I recommend Aurifil 80 wt. cotton or a 60 wt. thread. Some people like silk thread which is 100 wt. (very fine). Feel free to use what you have.
- Sewing needle for hand applique. I recommend Tulip size 10 Big Eye Applique Needles or size 10 Straw needles by Foxglove Cottage.
- Flexible rubber thimble (optional). This helps protect the finger that pushes the needle from the top. A Band-Aid works too!
- Needle threader (optional). I can’t live without one of these when threading needles with a small eye (which these needles have). Young eyes can be helpful, too! 😉
Machine applique
- Thread that coordinates with color of orange peels. Cotton 50 wt. thread or finer thread (60-80 wt.)
- Open toe applique foot for your sewing machine is helpful but not necessary.
Sew along schedule
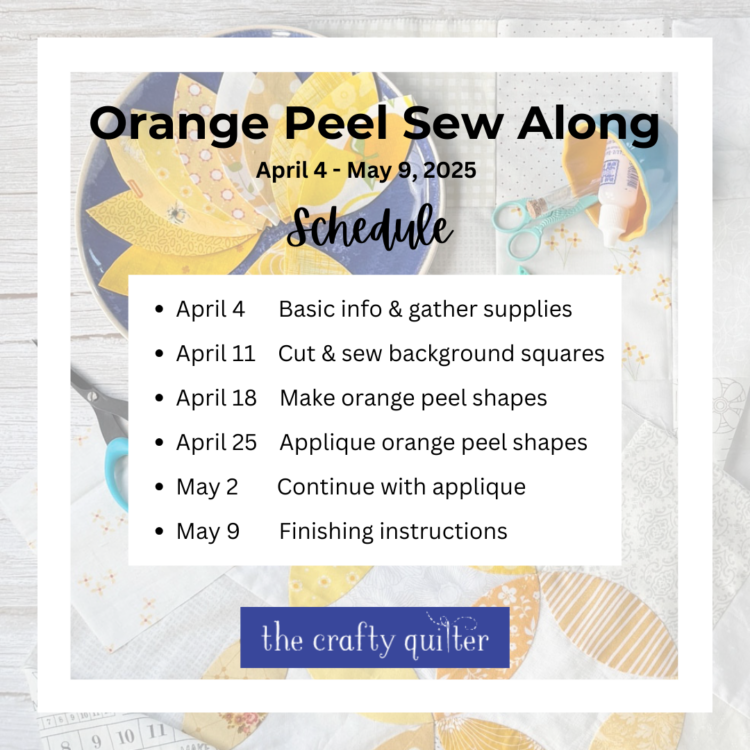
WEEK 1 (April 4) – You’ll be gathering your supplies for the project. I’ll give you lots of ideas for fabric color combinations, and quilt sizes will also be discussed. An overview of the applique methods will also be included.
WEEK 2 (April 11) – This week we will cut our background fabric into 5″ squares and sew them together. I’ll talk about seam allowance, piecing and pressing tips.
WEEK 3 (April 18) – Big week for applique! Detailed instructions and videos will be given for making the orange peel shapes using both methods of applique. Pick your favorite!
WEEK 4 (April 25) – It’s time to sew the orange peel shapes to the background. I’ll show how I create invisible hand applique and how you can replicate that on your sewing machine.
WEEK 5 (May 2) – We will continue with applique. You can’t rush this one. I’ll also address any questions that have come up in previous lessons.
WEEK 6 (May 9) – Anything related to finishing your quilt will be discussed. I’ll show how to sew together sections (if you have them) and I’ll share some quilting ideas as well.
Sharing
If you use Instagram, remember to take pictures of your progress and post them. It’s a great way to see what others are doing!
Make sure to use the hashtag #orangepeelsewalong and tag me @thecraftyquilter. Remember that only public accounts are visible to everyone (even with the hashtag).
This week’s assignment
- Select your fabric – your assignment for this week is to pick a color palette and then choose your fabric for the background and orange peel shapes.
- Gather applique supplies – purchase the supplies that you need. If you’re still not sure which applique technique you want to use, that’s totally fine. We won’t be starting the applique until Week 3.
Have fun playing with color pallets and picking your fabric. Next week we start sewing our squares together! Remember, there’s no pressure to keep up with the schedule. You can learn along with us and put everything into practice when you’re ready. Thanks for following along!

Discover more from The Crafty Quilter
Subscribe to get the latest posts sent to your email.


I’m excited to begin this project! I’ve appliqued orange peels to individual charm squares, but haven’t actually made a quilt with them (I know! I know!). Now I’d like to try the spray starch-and-freezer paper method and your idea for placement on a pieced background. Hand work to do in the evening keeps me from staring at my phone, so bring it on!
Thanks, Julie. This will be fun!
Hi Julie,
quite a while back you showed labels you had purchased to sew on projects. I did order some but they are all used. I can’t find anything with the business name on it to order more. Will you help me? I’m sure your memory is better than mine.
Thank you,
Suzanne McGurk
I’m “sew” excited. Just printed off some coloring sheets and the templates on to the Gypsy Quilter freezer paper. Looking forward to following along in this project:).
I would love to explore this quilt along with you
Please add me to your list.
Looking forward to your lessons.
Can you make a PDF of the quilt size and fabric amounts chart? I would like to print it out.
Hello Julie
I am excited about the Orange Peel Sew Along.
I may have missed the email with the fabric yardage amount needed. I see the chart with the number of 5” squares …do I need to calculate that into yardage…if so…what is the formula?
Many thanks Patsy
You are very thorough and I hope many take advantage of your expertise.