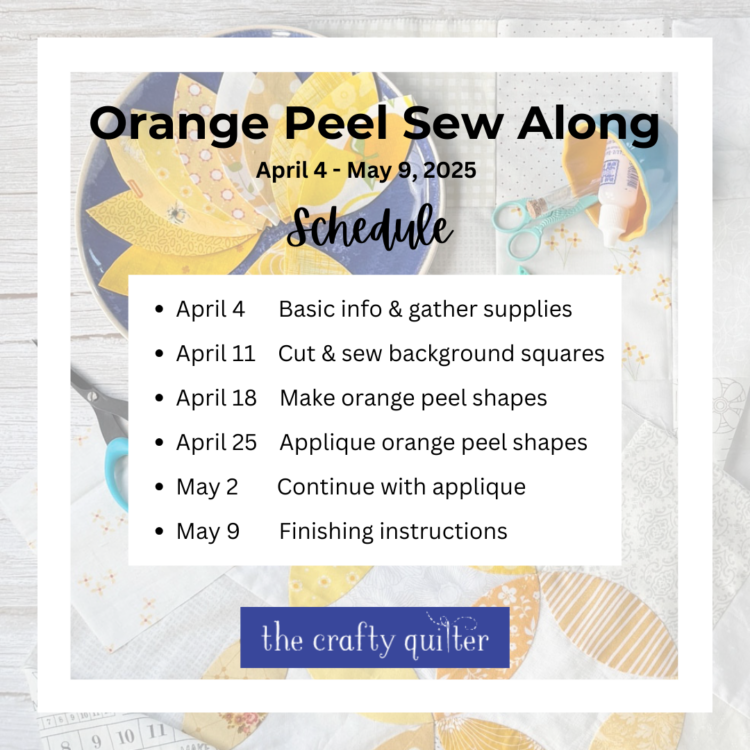
Orange Peel Sew Along Week 5
This is Week 5 of the Orange Peel Sew Along and we’re getting towards the end! Make sure to read the Giveaway Update section for a special giveaway and how you can enter.
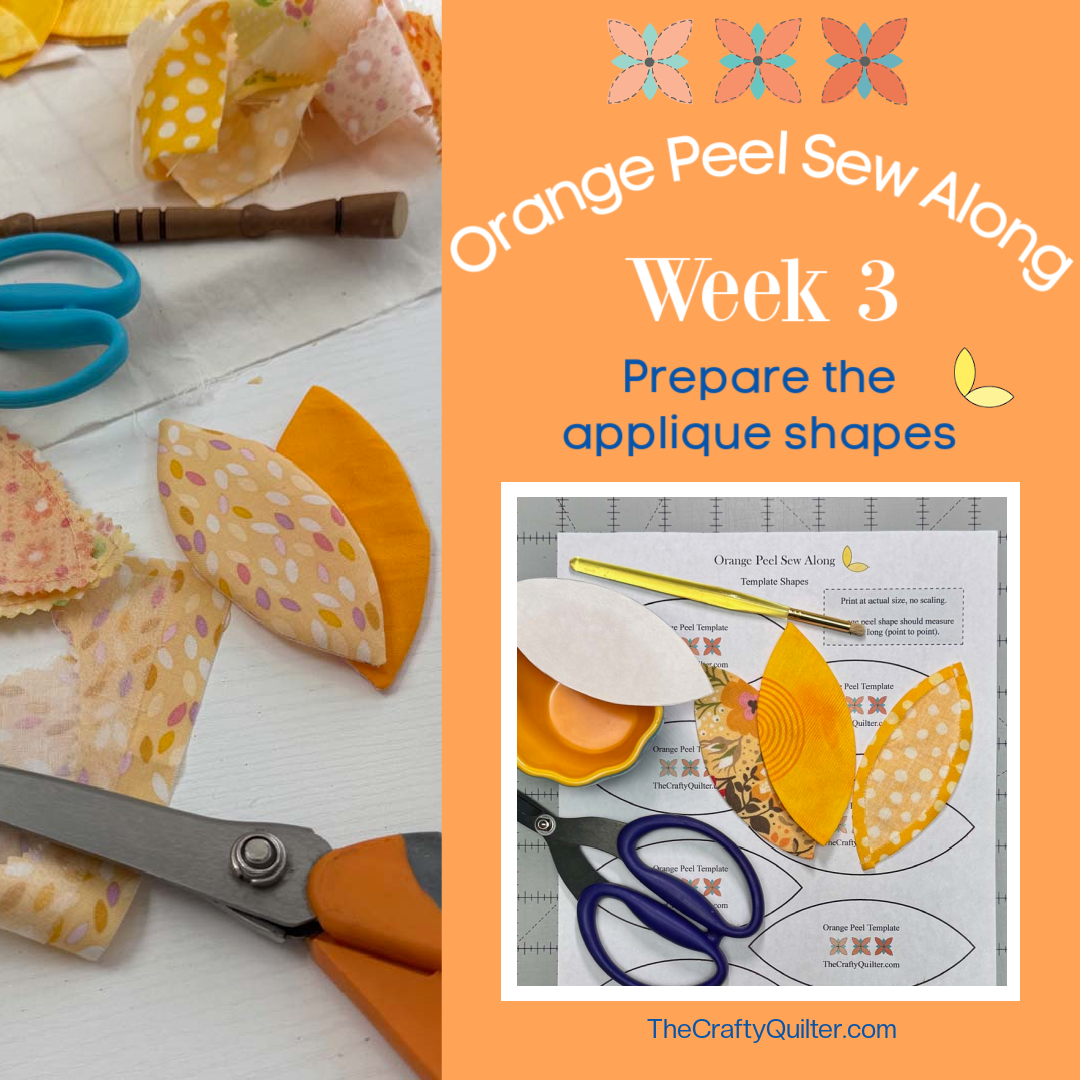
This week will be a continuation of sewing our applique shapes in place. If you’re working in sections to make a larger quilt, I have a few tips on sewing the sections together. No videos this week; just keep stitching!

If you’re new to this sew along, I’d love to have you join me. It’s free! You can sign up (below) to receive the weekly emails. It’s the best way to receive the lessons, pdf’s and videos without the distraction of display ads. You can read more about the Orange Peel SAL here.
Giveaway Update
I would love to see more photos of your Orange Peel Quilts. I know that not everyone uses Instagram, so I’m going to have a link-up on my blog on May 16 where you can upload a photo for everyone to see. It doesn’t have to be a completely finished quilt. Progress photos will be fine!
The link-up will be open for one week. I’ll choose TWO winners from all of the entries. Prizes are still being determined, but they will be good I promise!
Applique continues

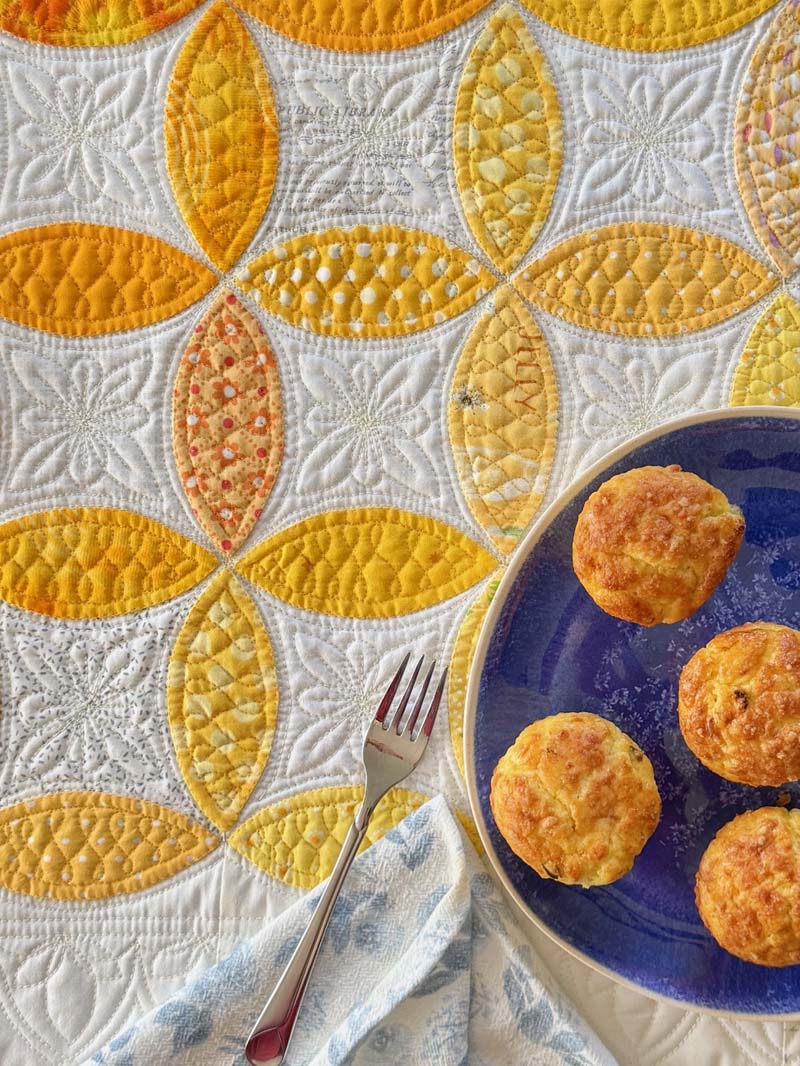
The process of stitching the orange peel applique in place may take the longest amount of time for this project, especially if you’re doing it by hand. Either way, I hope you’re enjoying the process and perhaps learning something new as well.
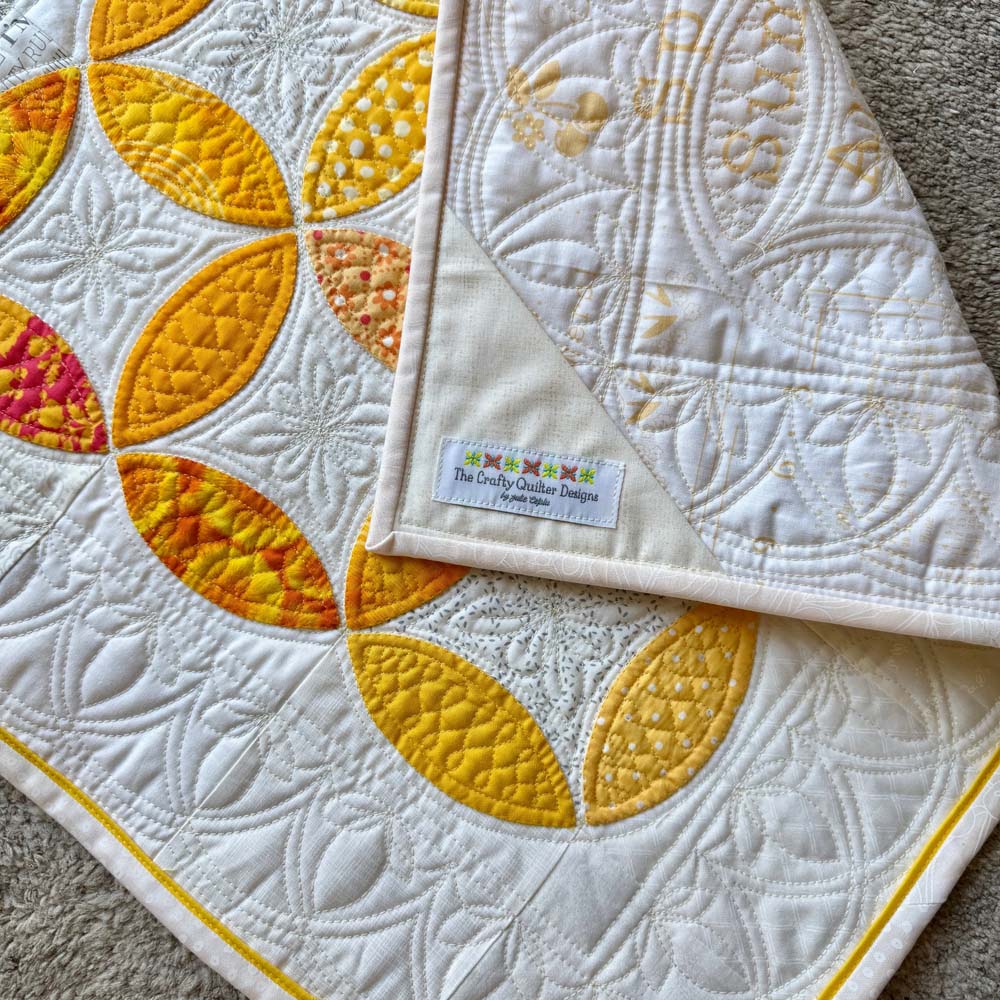
My progress
I’m working on my second section of my orange peel quilt. I still haven’t made up my mind as to how big I want this to become. That’s okay with me. I like having an open-ended project that I can continue as I have time. In particular, I like having something to sew that does not involve a sewing machine and that is portable. I’m actually in Texas right now and I have my orange peel section with me!

As I showed in a previous blog post, I completed a small orange peel quilt completely by machine so I would have something finished to share with you. It felt good to knock something out in a few days, plus it was good for practice and for process photos.
Joining sections together

You might be working in sections, as I suggested in the second week of the sew along. Here’s a recap of how that goes:
- If you want to make a larger quilt, it’s best to work in smaller sections. This makes the hand applique process more manageable. You can start with a background of 25 (5″) squares and then make another section of background squares. Eventually all of the sections will be sewn together and you’ll only need to add applique along those joining seams.
- Remember that for any section that will become the outside edge of the quilt, you don’t need to place an orange peel along those outer seams.

Steps
Note: When sections are joined with a 1/4″ seam, there may be some resistance from a regular presser foot as it goes over the seam intersections; the appliqued orange peels add a lot of bulk to this area. You will have much more success if you use a walking foot when sewing these joining seams.
- Check the raw edges of the sides that will be stitched and trim if needed. Remember, you’ll need a 1/4″ seam allowance beyond the tip of the orange peel shapes.
- Place the sections RST, and pin at the seam intersections.
- Set up your sewing machine with a walking foot.
- Sew the sections together with a 1/4″ seam allowance.
- Open up the just-sewn seam and check to make sure it looks okay. By that I mean look at where the applique points meet. They may be a little bit off which is okay. (My tolerance is no more than 1/8″.) If there’s an obvious mis-match, you may want to adjust and re-sew.

- Press the seam. You can press it open or you can “spin” the seam intersections as I described in Week 2.
- Place orange peel shapes along the joining seams to “fill in the blanks”.
- Baste with temporary glue or fuse in place (if you used the faced applique technique).
- Stitch the basted orange peels to complete the section.

FAQ’s
Q: In Week 2 you talk about sewing the squares together. Am I understanding correctly that you recommend sewing ALL the squares together, THEN attaching the peels? If so, would it be possible to do a section at a time, say 2 or 3 rows, then sew them together? A: I suggest you sew the squares together in sections (as you thought). I’ve been working with 5 squares across and 5 rows down. That’s the max number for a comfortable hand applique experience. If you’re sewing them down by machine, it might be okay to work with the entire top at once.
Q: Are the orange peel shapes cut on the straight of grain or the bias? A: Either way is fine. Since the curve is so gentle, it doesn’t make a big difference.
Q: Can I use an acrylic template to make my orange peels? A: It depends. First, it needs to be the right size. Second, it should NOT include the 1/4″ seam allowance. With the applique methods we’re using, you would just be tracing around the acrylic template. The only acrylic template I know of that fits the criteria is the KT Melon Template by Kansas Troubles Quilters.
Q: Can I place my orange peel shapes diagonally in the center of each square? A: Yes, you are certainly welcome to do that. You should check the size or your applique shapes; you’ll most likely need to increase the size to fit the diagonal.
Q: If I plan on machine stitching the orange peels, can I used double-side fusible web? A: Yes, you can use a fusible web product such as Heat ‘n Bond Lite; however, that’s a different technique used with fusible raw edge applique. Follower the manufacturer’s instructions.
Q: When using leaders & ender (or chain stitching) how do you *lock* your stitches so the seams don’t fall apart (backstitch)? A: It’s very prohibitive to backstitch at the beginning or end of a seam when you’re chain piecing. Since most seams are bisected by another seam, that’s enough to lock them in place. It’s also helpful to use a shorter stitch length such as 2.0.
Sew Along Schedule
Orange peel pattern
The orange peel pattern is a pdf that you can download and print. It includes basic instructions along with the template page. Please note this is a free pattern and has not been tech edited.
This week’s assignment
- Continue stitching the orange peel shapes to the background.
- Join sections together (if you have them).
Previous week’s lessons
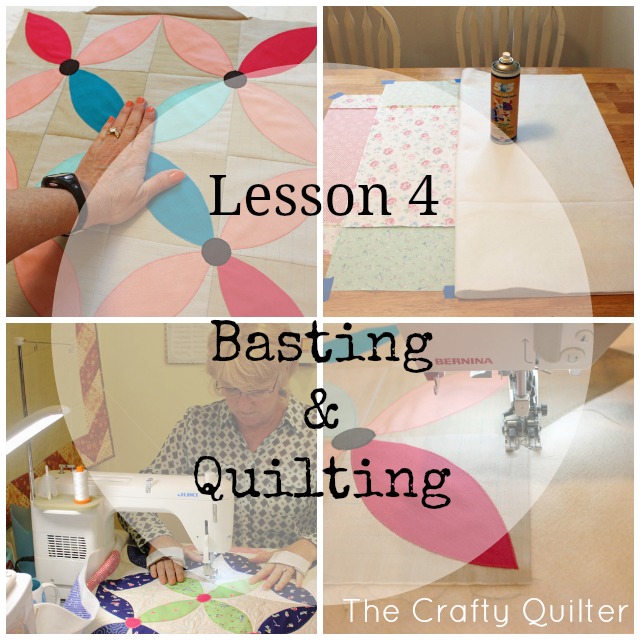
- Orange Peel SAL Introduction
- Orange Peel SAL Week 1
- Orange Peel SAL Week 2
- Orange Peel SAL Week 3
- Orange Peel SAL Week 4
Sharing
If you use Instagram, remember to take pictures of your progress and post them. It’s a great way to see what others are doing!
Make sure to use the hashtag #orangepeelsewalong and tag me @thecraftyquilter. Remember that only public accounts are visible to everyone (even with the hashtag).
We’re getting towards the end of the Orange Peel Sew Along. Keep stitching, and I’ll be back next week with some tips for finishing your quilt!


Discover more from The Crafty Quilter
Subscribe to get the latest posts sent to your email.

DISCLAIMER:
Some of the links on this site are affiliate links and I may be compensated a small commission when you make a purchase by clicking on those links. I only promote products and services that I use and love myself. Your support enables me to maintain the content of this blog and I am truly grateful!