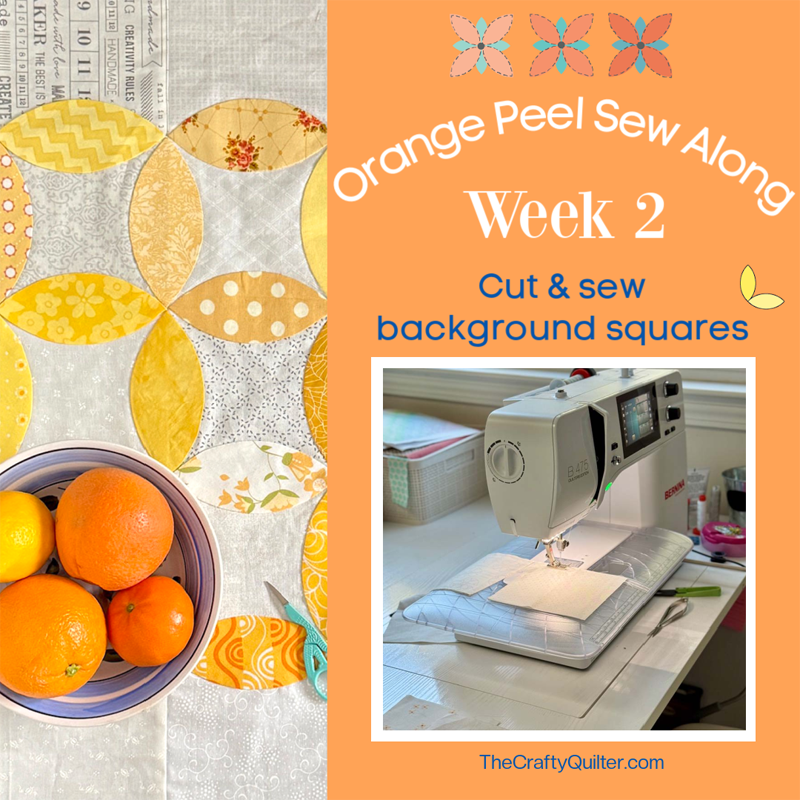
Orange Peel Sew Along Week 2
Welcome to Week 2 of the Orange Peel Sew Along! This week we’re cutting our background fabric into squares and sewing them together. We’ll focus on cutting, piecing and pressing, as I share some of my favorite tips with you!
If you’re new to this sew along, I’d love to have you join me. It’s free! You can sign up (below) to receive the weekly emails. It’s the best way to receive the lessons, pdf’s and videos without the distraction of display ads. You can read more about the Orange Peel SAL here.
Fabric prep
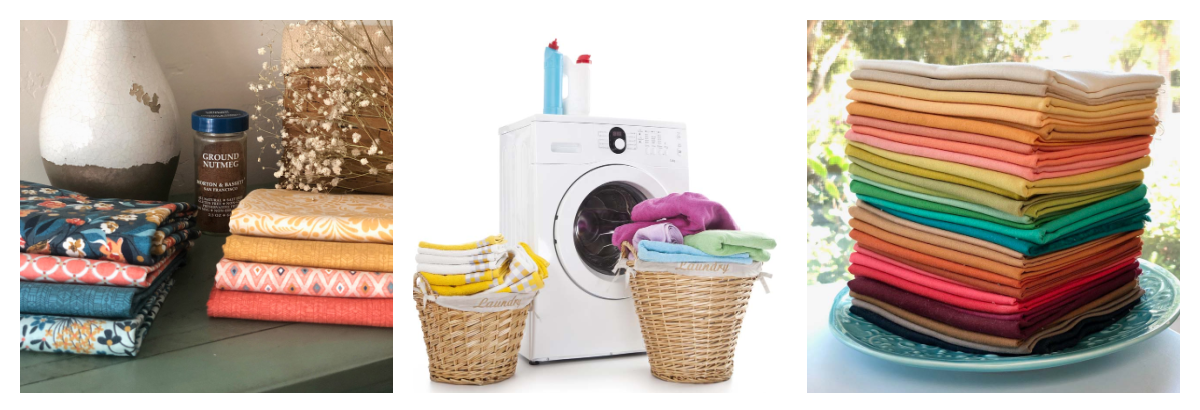
Pre-wash or no pre-wash?
Whether to pre-wash fabric is a big question for many new quilters and it really comes down to personal preference. Old school sewists were taught that you must always wash your fabric before cutting into them. Shrinkage and color fastness are the two main factors. Shrinkage has more relevance for garment sewing than quilting, except when working with flannel. Always pre-wash flannel because it shrinks more than quilting cotton.
Modern fabric dying techniques have come a long way and really taken away the fear of color bleeding. However, that doesn’t mean it won’t ever happen (Batiks are known to be more prone to bleeding). Color Catchers are worth adding to your wash load to trap excess dyes just in case.
Personally, I rarely pre-wash my fabrics. I like working with fabric straight off the bolt; it’s crisper and more stable that way. It takes a lot of time to wash fabric, dry it and then press it. I want to dive right in, and that’s one less step I need to do!
There’s certainly no harm in washing your fabrics first! One caveat is precuts. I recommend you do NOT pre-wash precuts because it can distort their size and shape. Many times when a pattern calls for a certain pre-cut, it needs to measure the exact size. I’ve had a layer cake shrink just from spraying with starch and pressing; sadly, I couldn’t use it after that.

Starch vs. no starch
I prefer to starch my fabric before cutting into it, and I highly recommend using a spray starch product if you wash your fabric first.
REASONS TO USE SPRAY STARCH
- It stabilizes the grains of the fabric
- It adds stiffness to the fabric
- It allows for more control when cutting and piecing
- It helps you maintain better accuracy
- Seams stay pressed in the direction you want them
- Makes the machine quilting process smoother and easier
I think of it as the difference between working with tissue paper vs. construction paper. It’s going to be much easier to cut something from construction paper than it is from tissue paper and you’ll get a more accurate result as you work with it.
At the moment, my favorite spray starch is Magic Quilting & Crafting Spray. You can read my full review here.
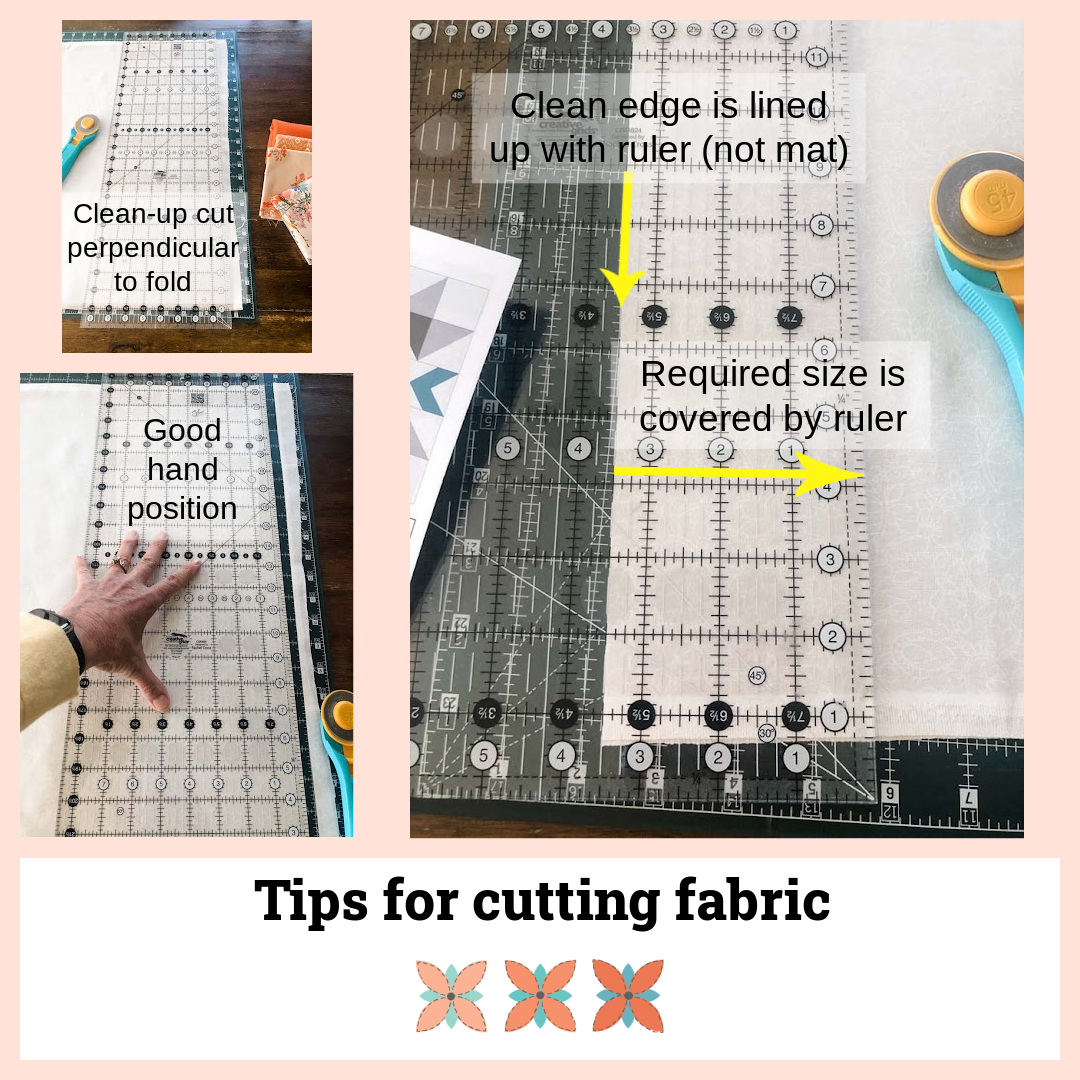
Cutting
Here are a few general guidelines when cutting fabric.
- Make sure you have a fresh blade in your rotary cutter. It makes a huge difference! Dull blades cause you to press down harder than you normally would which might make your ruler slide out of place.
- Try not to “see-saw” back and forth with your cutter. You’ll end up shredding the cut edge of your fabric.
- Always try to cut your fabric on-grain. This is achieved by making your cuts perpendicular to the selvage (or sometimes parallel to the selvage for border strips). For yardage, fold your fabric in half, matching the selvage ends. Make sure there are no ripples or creases; it should lay flat or hang straight (if you’re holding it up in the air). For fat quarters or large scraps, I usually fold them in half, making sure the fold is parallel to the selvage.
- Hold your ruler securely. Your fingertips should be spread out across the ruler with your pinky off the edge of the ruler to prevent movement. Make sure no fingers are along the cutting edge!
- Make your first cut (I call it the clean-up cut) so that it’s perpendicular to the fold.
- Whenever possible, use your ruler to measure and cut instead of the cutting mat. Don’t place your fabric on the cutting mat and count the inches on the mat to determine where to place the ruler. Find the measurement required on the ruler and place that line directly on the cut edge of your fabric. Then make your cut. Using a ruler to measure is much more time effective than lining everything up with the cutting mat first. Some say it’s more accurate as well, but that depends on your mat.
My favorite rulers
The ruler that I reach for most often is the Creative Grids 8 1/2″ x 12 1/2″ ruler. This size is the most versatile (for me) because it can cut fat quarters and smaller fabric pieces as well. When I’m cutting long strips from yardage, I use the 8 1/2″ x 24 1/2″ ruler. You should definitely own a square ruler as well – the 6 1/2″ square is also one of my most used.
Creative Grids’ rulers have anti-slip circles on the back that grip the fabric and help prevent it from shifting. I especially appreciate the frosted 1/4″ and 1/2″ edges on the ruler which are great for trimming up pieced units. You can find Creative Grids rulers at most local quilt shops.
Piecing
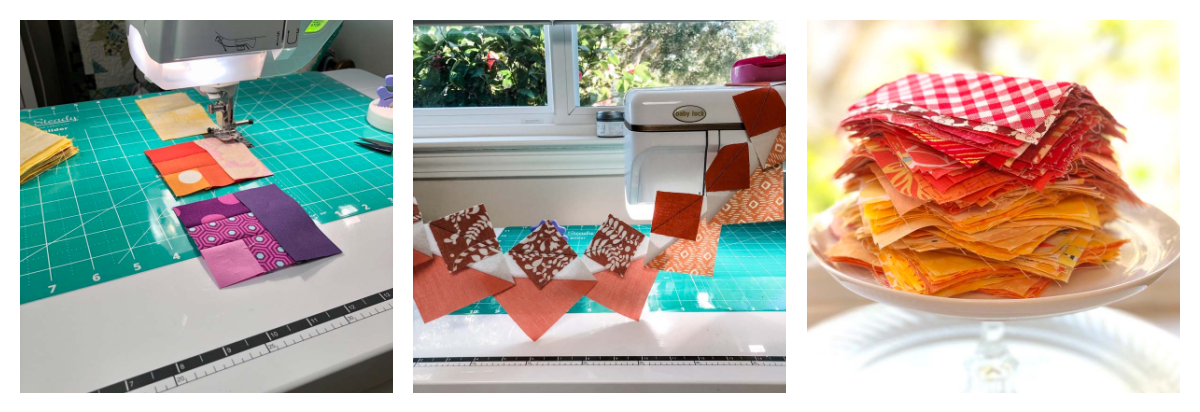
Piecing is my favorite part of the quilting process. It hasn’t always been that way, but I’ve developed some great habits that make my piecing super accurate. Even though our piecing for the Orange Peel quilt is very basic, I thought I’d share what works for me.
Make sure to use an accurate 1/4″ seam allowance. What’s accurate for you, may not be the same for someone else. Variables that can effect your1/4″ seam allowance are the thickness of fabric and the weight of thread being used. You’ve probably heard of the term scant 1/4″ seam allowance. This means that your stitching line is just a thread-width less than a full 1/4″. This allows space for the fabric that folds over itself when the seam is pressed (open or flat) and for the space the actual thread takes up. It’s a good idea to test your seam allowance just to make sure it’s accurate.
Use a leader/ender when piecing. These are small squares of fabric that are used to start and end your sewing on. It works similar to chain piecing. When you get to the end of your chain piecing, you stitch onto the fabric scrap so that you always have a scrap under you presser foot ready for the next chain piecing session. Leaders/enders prevent a thread nest from forming at the beginning of your seam; help maintain a consistent (straight) seam allowance; prevent fabric from getting sucked down into the needle hole; force you to clip your thread tails and more. You can read my full blog post, Efficient Quilting with Leaders and Enders, if you want more details.
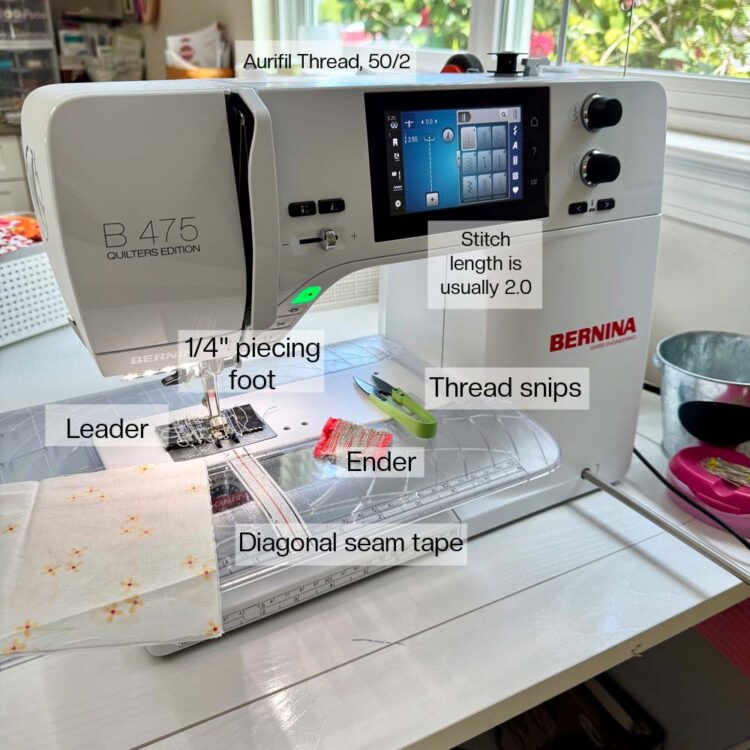
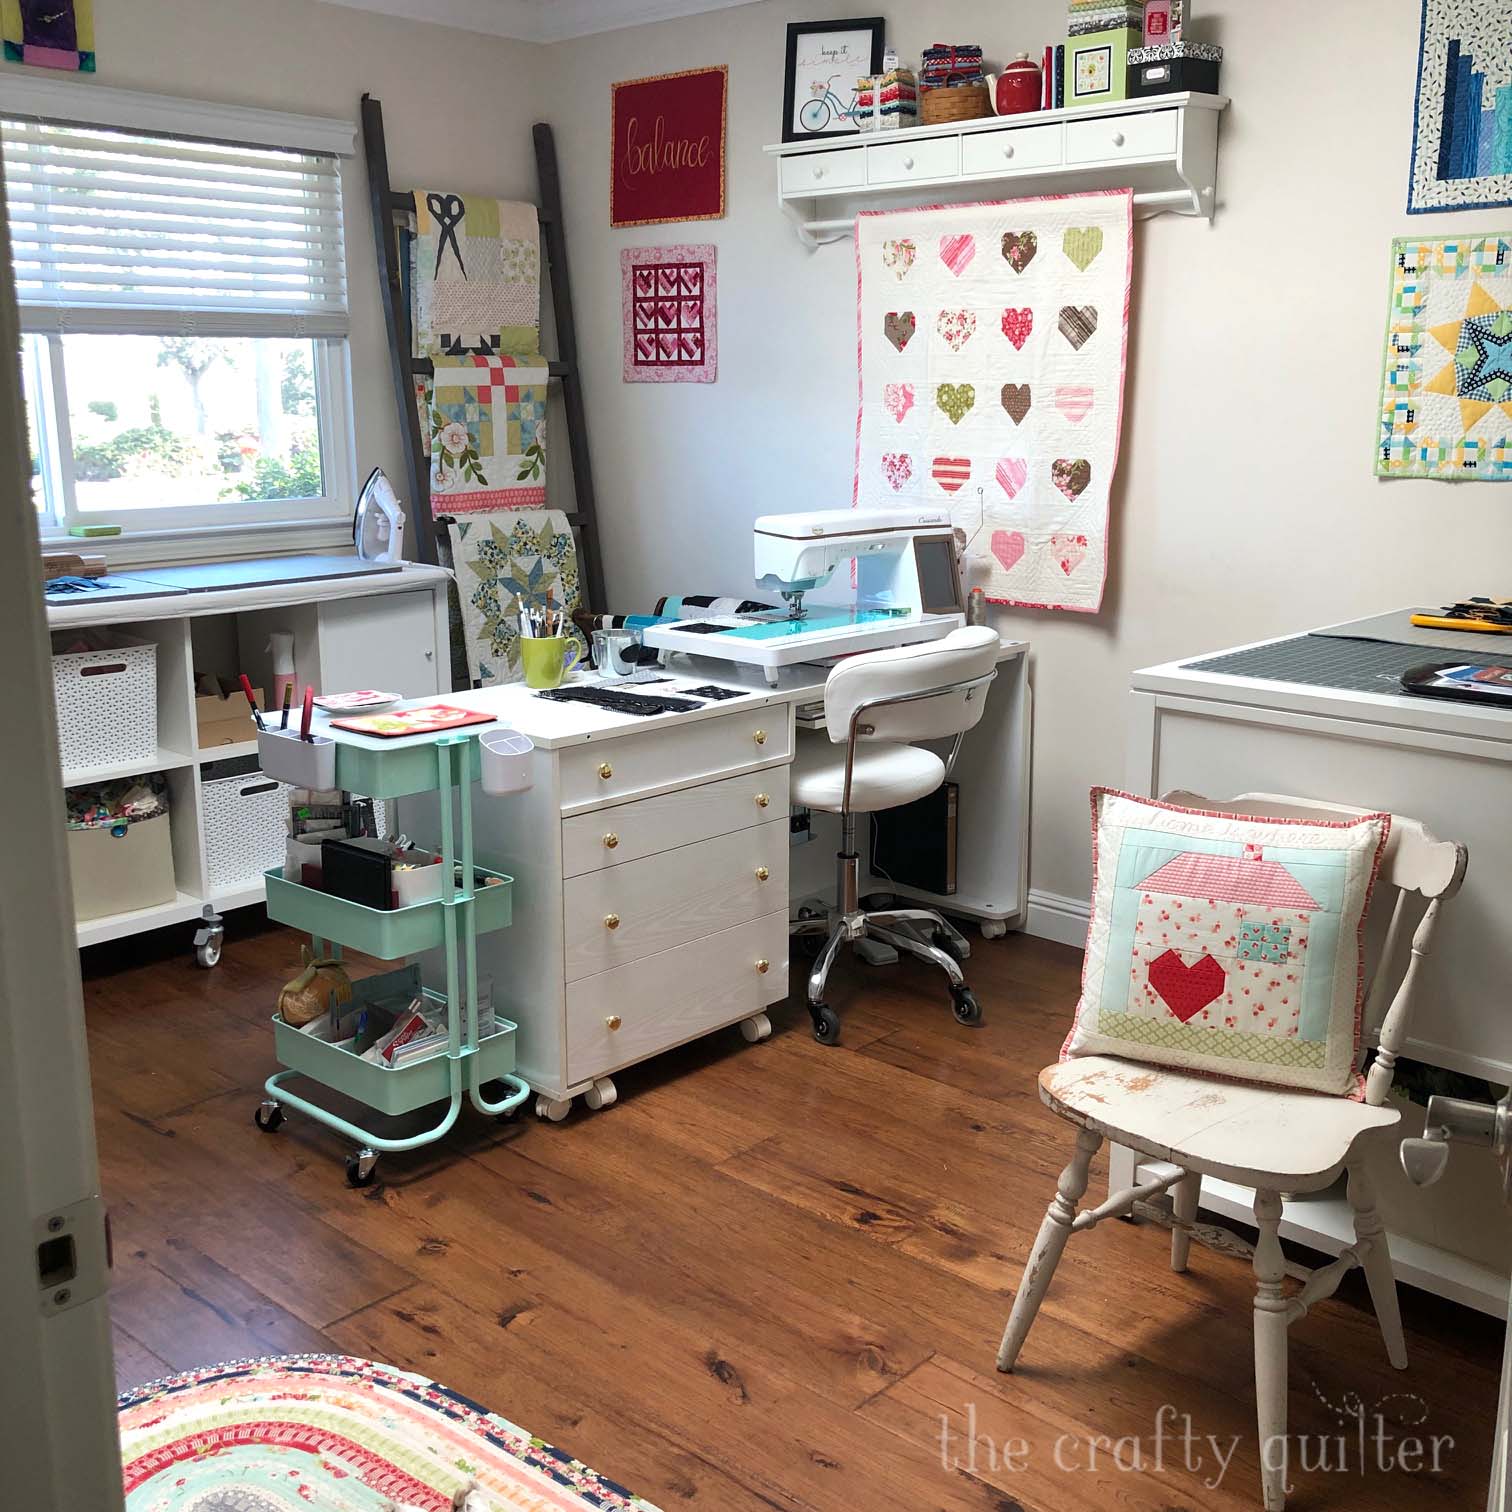
My typical machine set-up is shown below. I have Diagonal Seam Tape in front of my feed dogs. This helps guide my 1/4″ seam allowance (and my diagonal seams). I’m using a ¼” piecing foot and my stitch length is usually 2.0. I use Aurifil 50 wt. thread, and I always have thread snips close by. I have my leader and ender scraps ready to go. My current sewing machine is a Bernina 475QE (you can read all about it on my blog here.)
Pressing
GENERAL TIPS FOR PRESSING
Press seams carefully. I like to “set” the seams first by pressing them flat (just as they were sewn). This sinks the stitches into the fibers and relaxes them, getting rid of any puckers. Now they’re ready to press to the side or open.
In general, I press seams to the side so I have nested seams. When I want to avoid bulky seams due to the construction of the block, I will press them open.
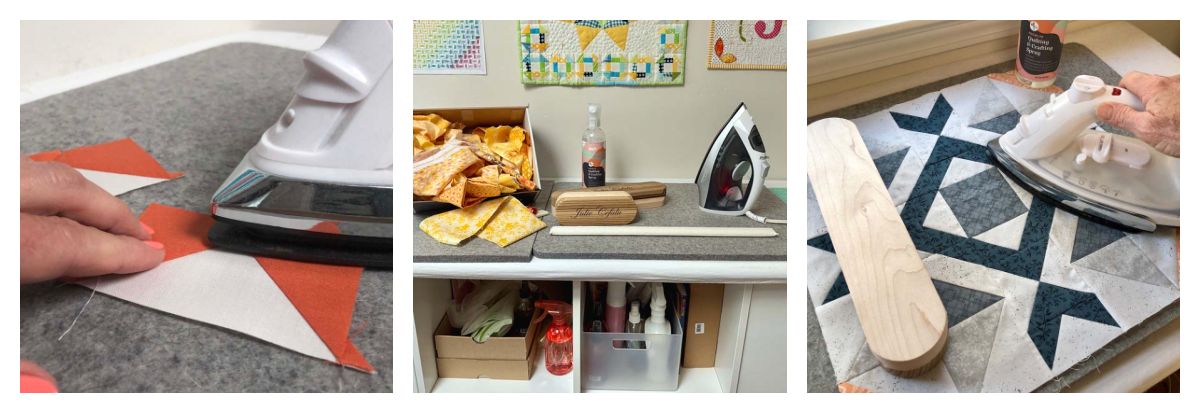
I like to use a wool pressing mat and a tailor’s clapper. A wool pressing mat absorbs heat quickly and then releases it, so it’s like pressing your fabric from both sides. It also has a fuzzy surface that keeps your quilt block/fabric in place (no sliding around). The tailor’s clapper helps to keep your seams flat. It’s made of hardwood and it also absorbs heat and has some weight to it, strengthening its ability to flatten seams.
Pressing tip: spinning seams
Swirling seams (also known as spinning seams) means to press a seam intersection so that all of the seam allowances are spinning in a clockwise or counter clockwise direction. It creates a flatter seam intersection which is really nice for the orange peel quilt because that’s where all of the points of the applique shapes come together.
You can watch the short video below to see it in action.
For the Orange Peel quilt, I suggest you press each seam in a row in alternating directions. When the seams in each row nest, you’ll be able swirl the seam. Having a flat seam here is important because the applique shapes meet at the seam intersections. Watch the video below to see what I mean and how to do it!
Double check
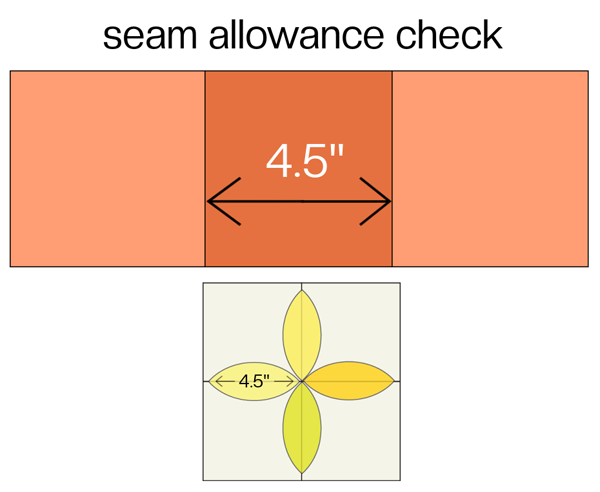
Please double check your 1/4″ seam allowance! Sew three (5″) squares together and check the size between the seam allowances (the center square finished-size). It should measure 4 ½” from seam to seam.
This is important because the orange peel shapes will fit inside this space. If the space is SMALLER than 4.5″, the orange peels will overlap or bunch up where they meet at the seam intersections.
If the space is LARGER than 4.5″, there will be a gap between the orange peel shapes (which would be okay).
Making the background
- Cut & sew the 5″ squares together – you can start with 25 squares and sew them together with five squares in a row and five rows. There is a fabric chart in the pattern for square quantities to refer to.
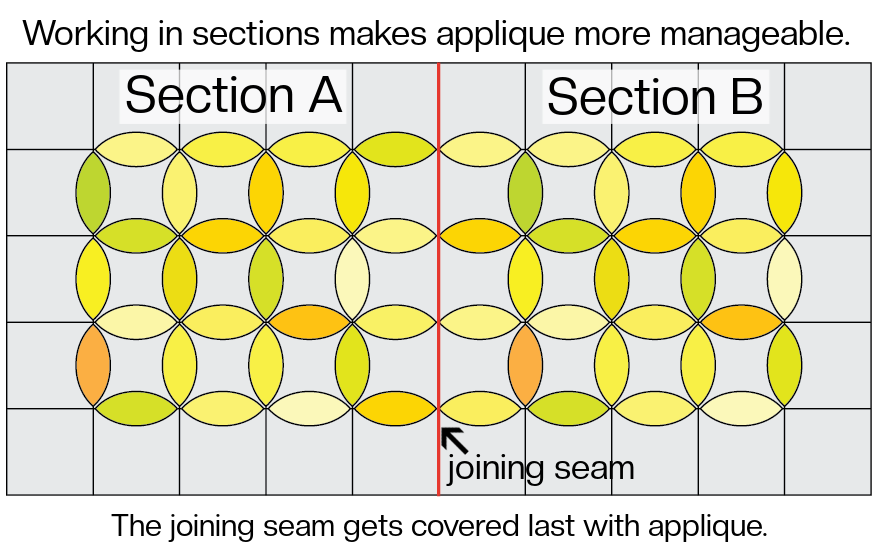
- If you want to make a larger quilt, it’s best to work in smaller sections. This makes the hand applique process more manageable. You can start with a background of 25 (5″) squares and then make another section of background squares. Eventually all of the sections will be sewn together and you’ll only need to add applique along those joining seams.
Shopping
I encourage you to shop for supplies at your local quilt shop. They need all of the support they can get!
If you don’t have access to a local quilt shop, I’ve set up an Amazon Store Front for your convenience. This is an affiliate link which I will earn a small commission from (at no additional cost to you.)
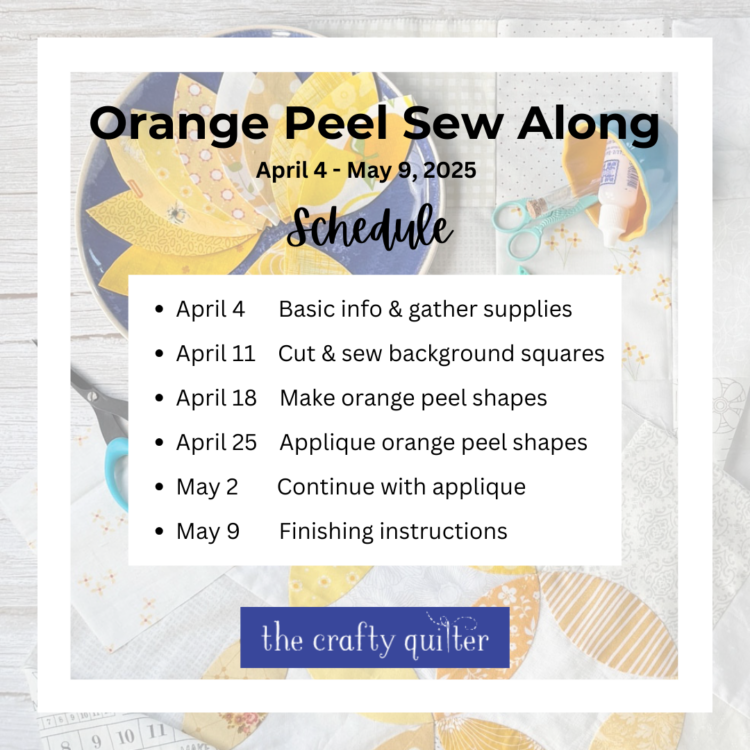
Sew Along Schedule
Orange peel pattern
The orange peel pattern is a pdf that you can download and print. It includes basic instructions along with the template page. Please note this is a free pattern and has not been tech edited.
This week’s assignment
- Prepare your fabric – starch and press your fabric.
- Cut & sew the background squares together. Remember to start with a section of 25 squares. See making the background for details.
Previous week’s lessons
Sharing
If you use Instagram, remember to take pictures of your progress and post them. It’s a great way to see what others are doing!
Make sure to use the hashtag #orangepeelsewalong and tag me @thecraftyquilter. Remember that only public accounts are visible to everyone (even with the hashtag).
I hope you’re enjoying the sew along. It’s time to start sewing!

Discover more from The Crafty Quilter
Subscribe to get the latest posts sent to your email.

Wow, Julie! What a lot of great tips! I will keep this handy to read from time to time to keep those thoughts current when I quilt! Thanks for being there to help us along on our quilting journey!
Thank you for all of the great tips. And how wonderful they’re my favorites for working on a project:). I especially love the Magic Spray. I just realized your orange peels are on the seams. I’ve only ever done them in the center of the blocks before. I’m very excited about how this project is going to look compared to others I’ve done. If we wanted to make a larger quilt, would you recommend doing it in sections and then assembling all together? I’m wondering if it would make it easier to do the applique instead of wrestling with the entire quilt at once.
Thanks ‘sew’ much!