
How to Use a Strip Stick (Pressing Bar) for Perfectly Pressed Seams
Once you’ve cut your pieces accurately and you’ve sewn a perfect 1/4″ seam, pressing might seem like the easy part. It can be – until you run into those bulky seam allowances. This is when having the right tool for the job will make the task so much easier. One of these tools is a pressing bar, also known as a Strip Stick. I started using these last year, and they’re a huge help when pressing seams open.
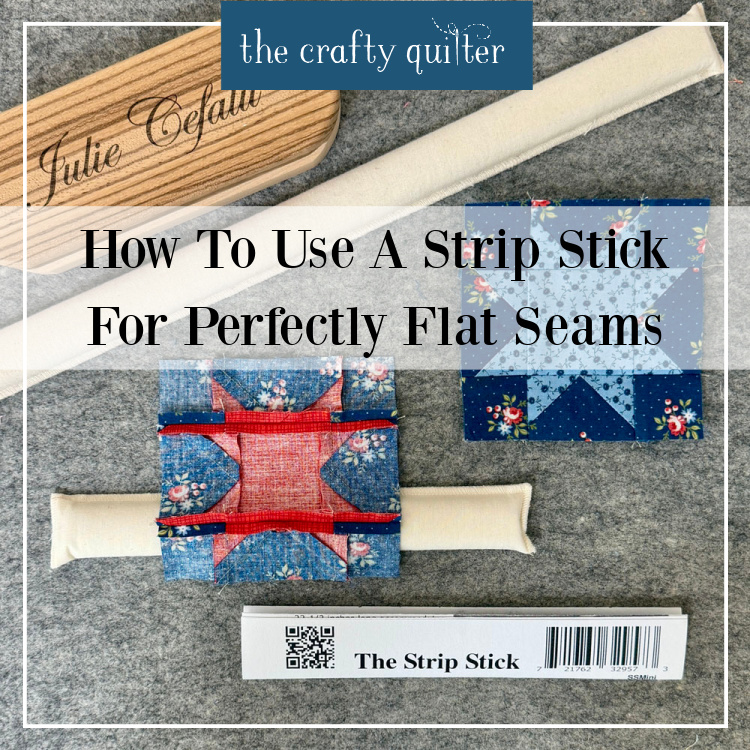
What Is A Strip Stick or Pressing Bar?
A Strip Stick is a type of pressing bar. They are long “bars” that are flat on one side and curved on the other. They’re often made out of wood and covered with batting and fabric or wool. They come in different lengths to accommodate longer or shorter seams.
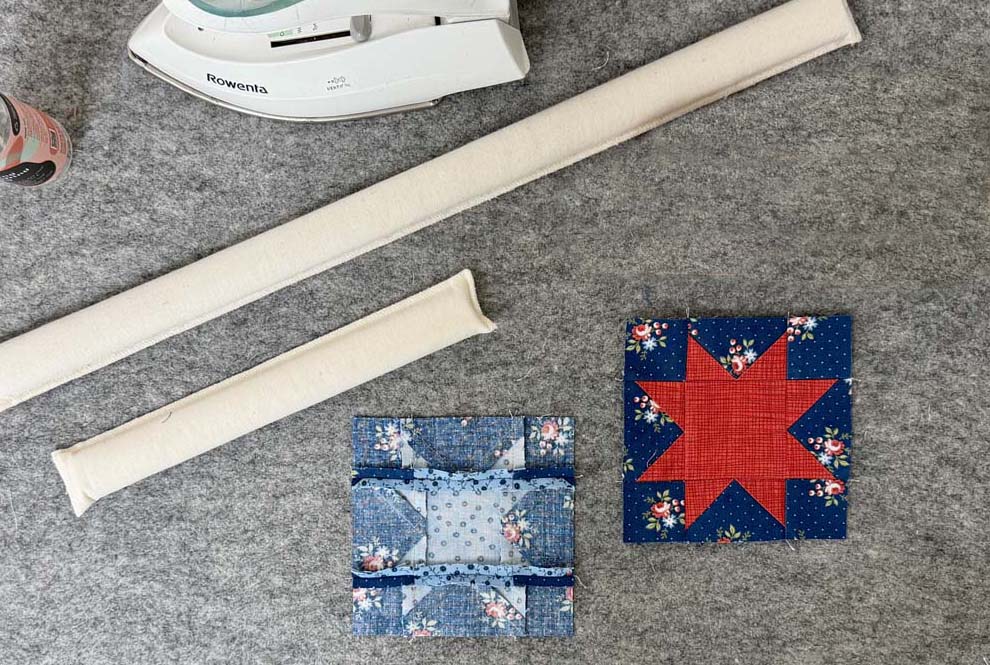
It can be frustrating to press a seam open while previous seams get in the way. The job of a pressing bar is to help press seams open without disturbing the rest of the fabric (or pieced unit) around it. It raises the seam and allows the iron to sit right on top of the seam where it’s needed. It also makes it a little easier to open up the seam ahead of the iron.
Other names you might see:
Strip Stick • Seam Stick • Pressing Bar • Seam Roller (different tool, but often confused)
Why Press Seams Open?
Most quilters love nesting seams so they press their seams to the side, while others prefer to press all of their seams open. But when you run into a bulky intersection – often found in row seams – it makes sense to press that seam open to distribute the bulk evenly so the seam lays flatter.
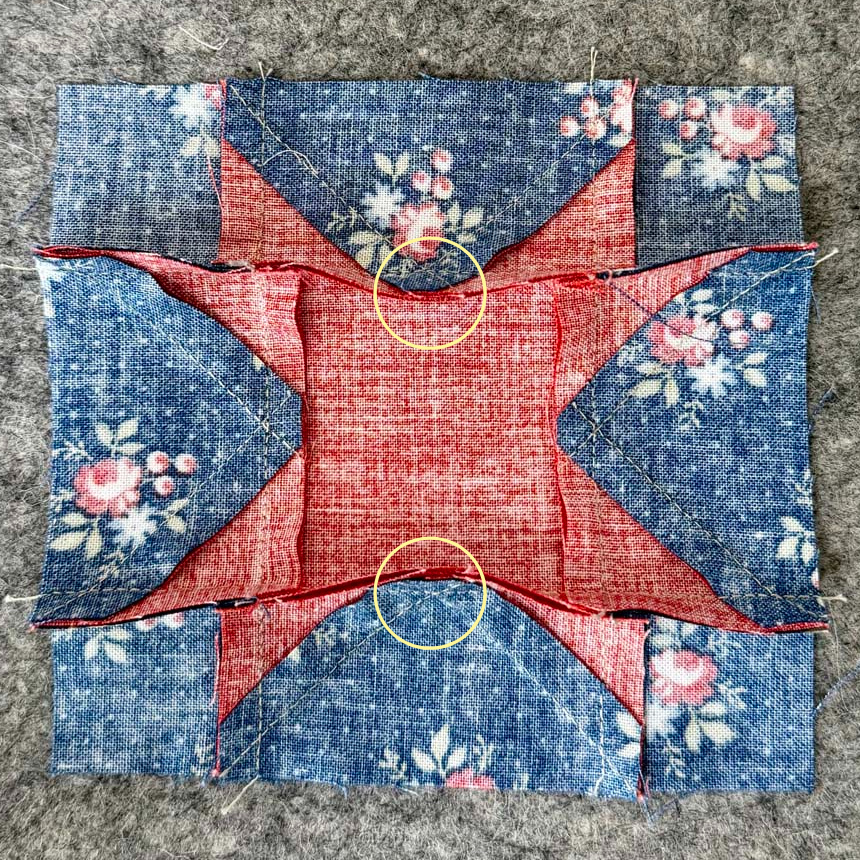
Examples of quilt units that often create bulky seams include flying geese and square-in-a-square units. Where the diagonal seams intersect, extra layers of fabric build up, creating thickness that can be difficult to press flat.
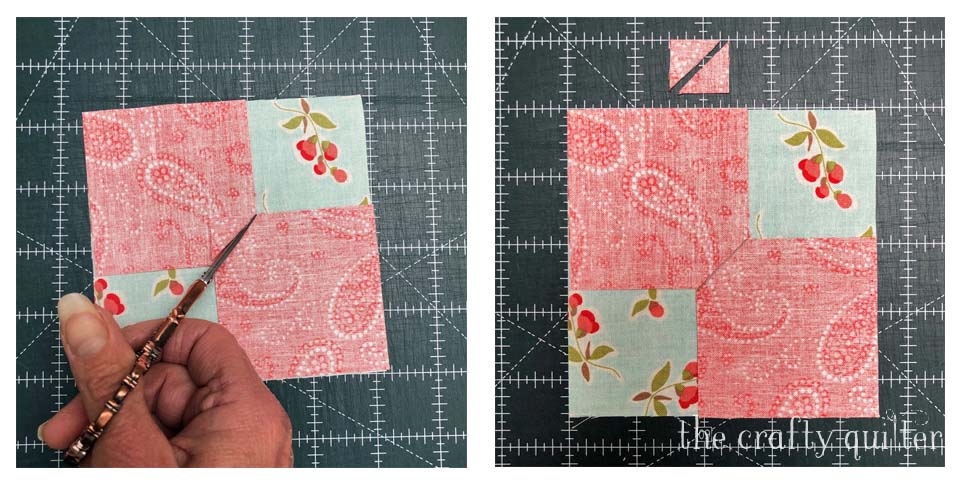
TIP: I have a great trick to reduce the bulk in flying geese units when making them 4-at-a-time. Where the two smaller squares overlap on the larger square, cut straight across. Remove the excess small triangles – your squares will now butt into each other. This removes two layers of fabric where the diagonal seams cross over each other. Continue flying geese as usual.
How to Use a Strip Stick to Press Seams Open
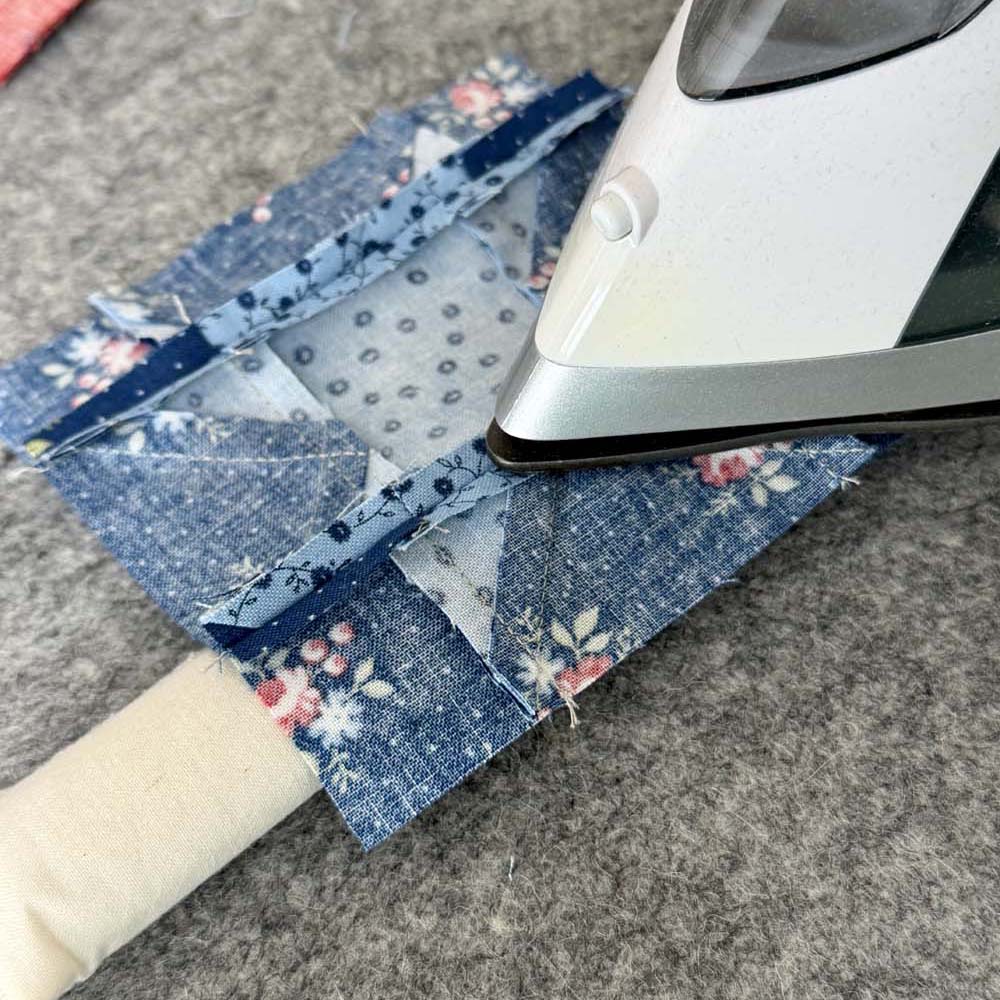
- With the curved side of the Strip Stick facing up, place the seam (wrong side up) on top.
- Use your finger to open up the seam.
- Place the iron on the opened seam and carefully press along the length of the seam.
Tips for Best Results
- Turn the seam over so the right side is facing up and press again – without the Strip Stick.
- Place a tailor’s clapper on top of the seam until cool.
- Avoid stretching bias edges.
- Work in sections as needed.
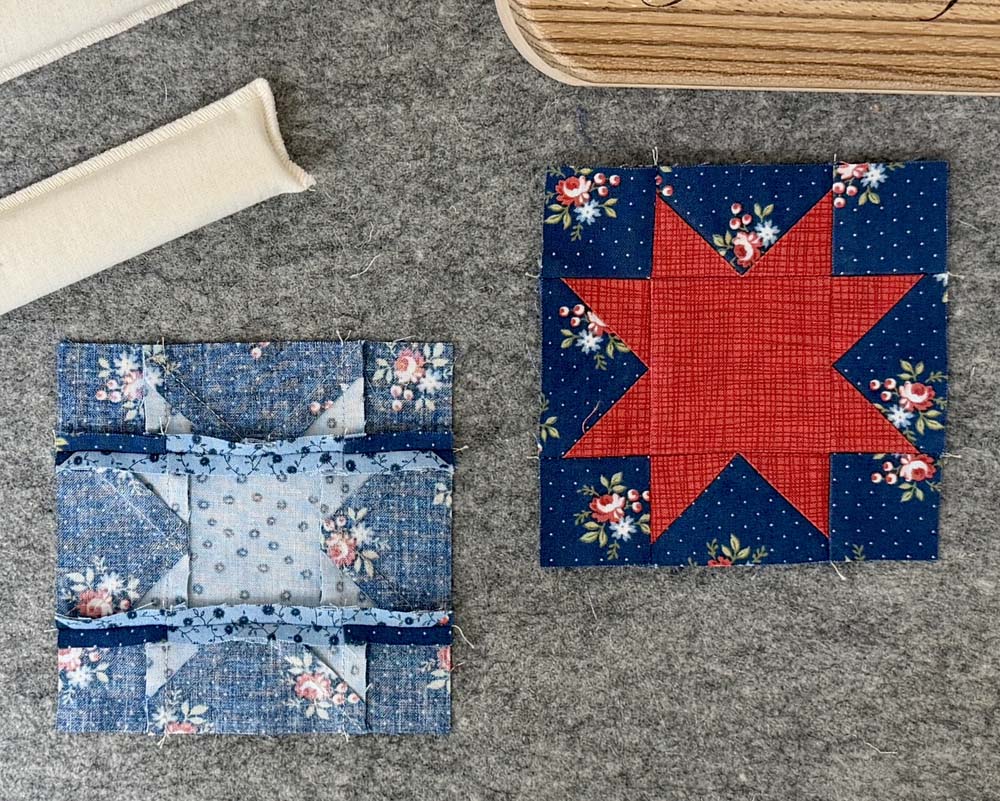
What is a Tailor’s Clapper?
A tailor’s clapper is a block of wood that is used to set the seam so it is crisp and flat. The clapper absorbs any excess moisture and traps the heat to lock in the seam. It works best on seams that have been lightly steamed or sprayed with starch, although I rarely do either of those things. The weight of the wood and longer heat exposure still helps to maintain a flat seam.
I have two tailor’s clappers and they were both a gift from my sister-in-law. She ordered them on Etsy and had them personalized with my name. I don’t know the name of the Etsy Shop, but you can purchase tailor’s clappers at your local quilt shop or your favorite online retailer.
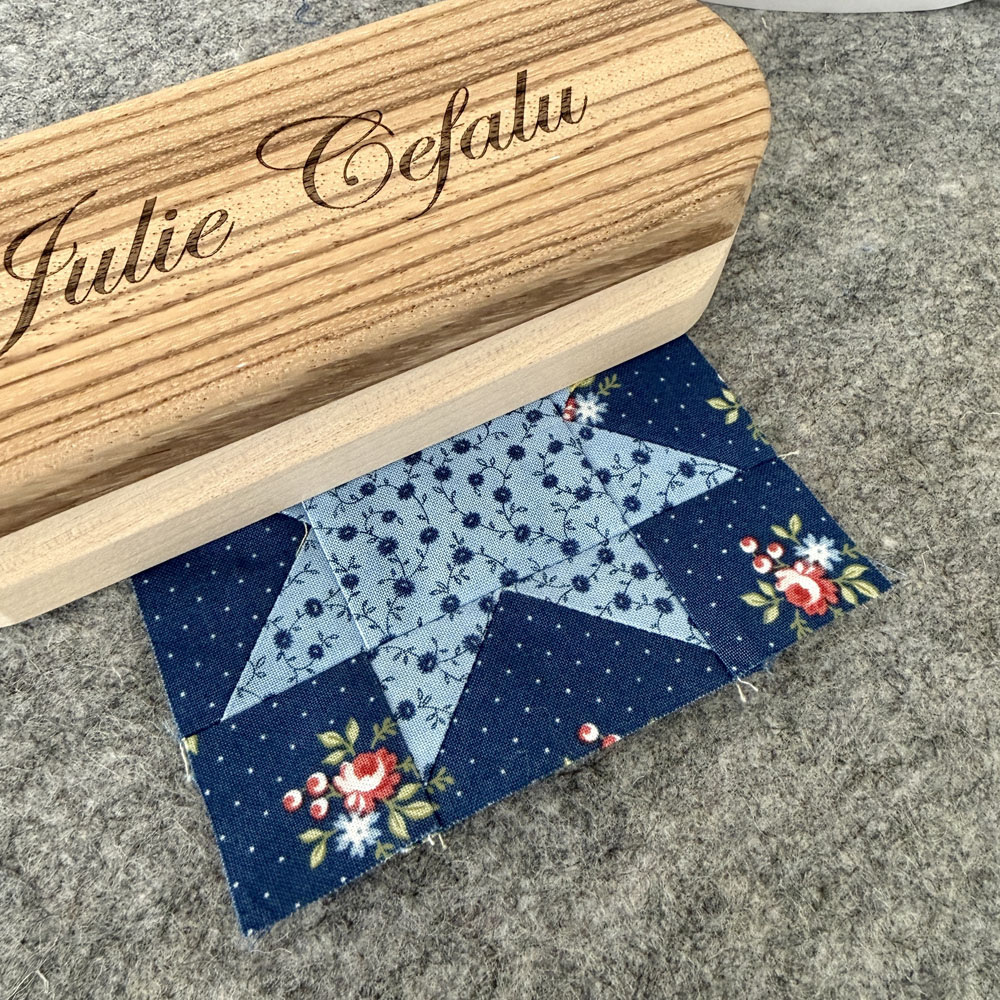
A great alternative is The Gypsy Quilter 12″ Pressing Bar with Clapper. This is a two-in-one tool that has a wooden base that doubles as a clapper and the rounded pressing bar is covered with wool.
Final Thoughts
Sometimes it’s the little tools that end up making the biggest difference in quilting. If you’ve ever struggled to flatten bulky intersections or accidentally pressed a crease where you didn’t want one, a pressing bar might become one of those quilting tools you didn’t know you needed. I didn’t expect a pressing bar to become something I use regularly, but it has earned a permanent place near my ironing board. Now I own two Strip Sticks in different lengths!
If pressing open seams has felt awkward or frustrating in the past, give one a try—you may find it makes the process faster, easier, and a lot more satisfying.
Make sure to pin this post so you can find it later!

Discover more from The Crafty Quilter
Subscribe to get the latest posts sent to your email.
Have never heard of the Strip Stick but will be trying it. Have been interested in a Tailors Clapper for a while. But your tip about snipping off the overlapping corners on the flying geese units is fantastic! So smart! Am definitely going to use that. Thank you!!
Great info Julie! I’ve used my pressing bar well over 40 years. It was a “must” when I was doing a lot of garment sewing. It naturally moved over to quilting with me. I love it.
I use a pressing bar that is covered in wool (like a pressing mat) that is connected to a tailors clapper. It’s very steady and combines 2 tools in one. One of my favorite tools!
I use a Strip Stick for almost every seam. It works just as well for pressing to the side; it’s not just for pressing open. When pressing to the side, it prevents those little pleats you get when you haven’t fully opened the seam.
Great info on open seam presssing .. thanks. Love the FG reducing bulk tip & will be using that one for sure. Thanks for sharing your experience with us; I definitely appreciate it! PattiK