Hearts and Burlap Canvas Tutorial
I have a Hearts and Burlap Canvas Tutorial to share with you today! This is a super easy project with NO sewing involved!
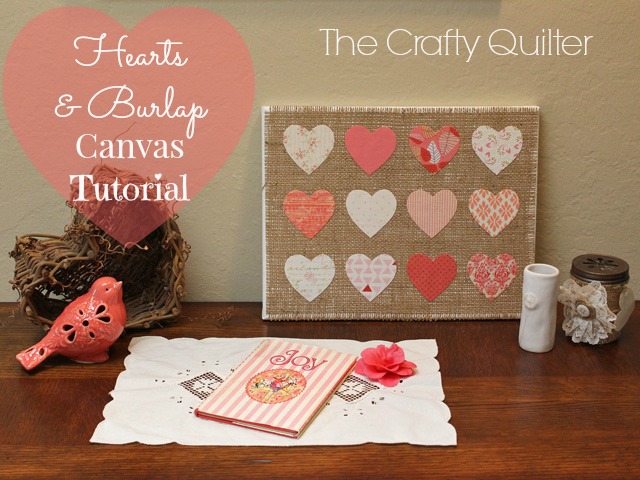
You’ll have the perfect “heart“work for Valentine’s Day in just an hour, so get out your pink or red fabric scraps and let’s get to it.

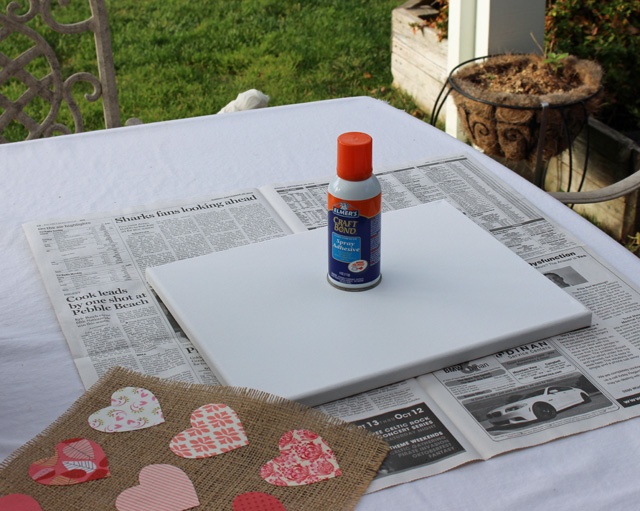
The supplies for this project may require a special trip to your local fabric & craft store (this may or may not be a good thing). You will need the following:
- Art canvas, 11″ x 14″
- Burlap, 12″ wide x 16″
- Craft spray adhesive (permanent)
- Fusible Web (I used Floriani’s Appli-Kay Wonder)
- Assorted pink fabric scraps
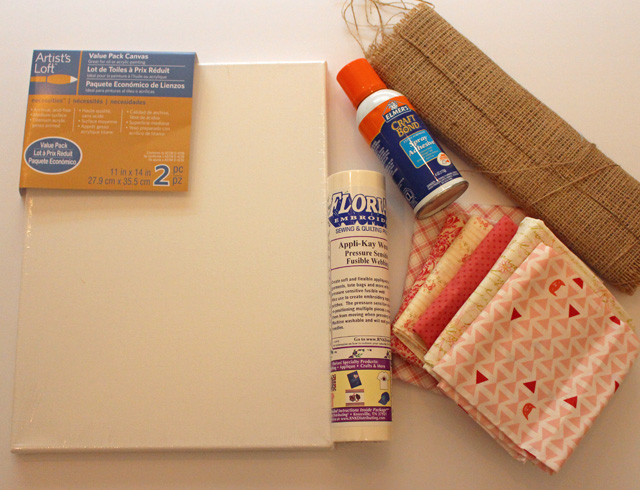
I want to take a moment to tell you about the fusible web I used for the hearts. This is the first time I’ve tried Floriani’s Appli-Kay Wonder and it was perfect for this project. It is fusible on one side and sticky on the other. When you peel away the paper, you have a pressure sensitive side that makes it really easy to position things temporarily. Once you have it all in place, then you fuse! (I’m not getting compensated for this review; it’s just my own opinion). You can use any kind of fusible web that you already have, but I wouldn’t suggest anything ultra-light for this project. The stronger the better!
Here are the steps to make your own Hearts and Burlap Canvas:
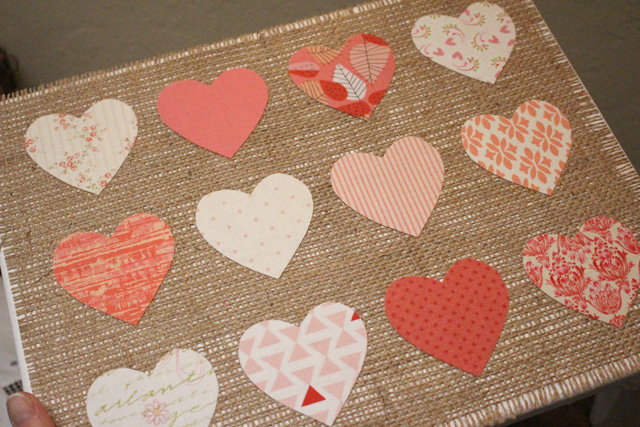
- Cut the burlap into an 11″ x 14″ rectangle. You can fray the edges very easily by pulling one or more of the burlap fibers.
- You’ll need 12 hearts for this project. You can draw your own heart or use my template. Here’s the pdf file: Canvas Heart Templates Make sure to print it out at ACTUAL SIZE (no scaling). You can even print this directly onto certain fusible web products (see manufacturer’s instructions).
- Trace the heart shape onto the paper side of your fusible product. Cut out each heart about 1/4″ outside of the traced shape.
- Press onto the WRONG side of the fabric scrap (follow manufacturer’s instructions). Cut shape directly on the traced line. Make 12 hearts.
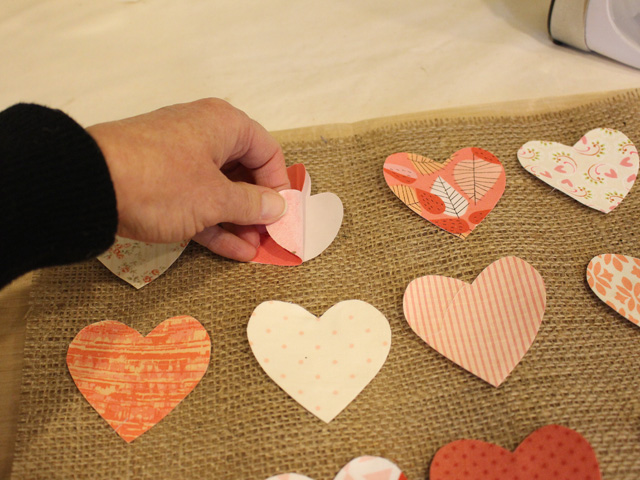
- Peel away the paper backing. Arrange the heart shapes onto the burlap rectangle.
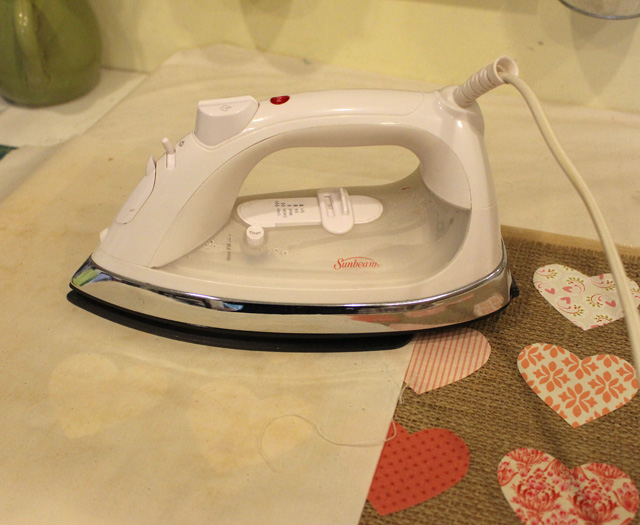
6. Fuse into place, using a teflon applique sheet or parchment paper underneath the burlap. Since burlap is such an open weave, this will keep any fusible from sticking onto your pressing surface. I also placed a piece of muslin between the iron and the hearts/burlap to protect my iron.
7. Now you’re ready to adhere the hearts and burlap onto your canvas. Lay down some old newspaper to protect your surface from getting sticky. Spray the canvas with an even coat of adhesive spray. Carefully place the burlap onto the canvas, centering it and pressing down with your hands.
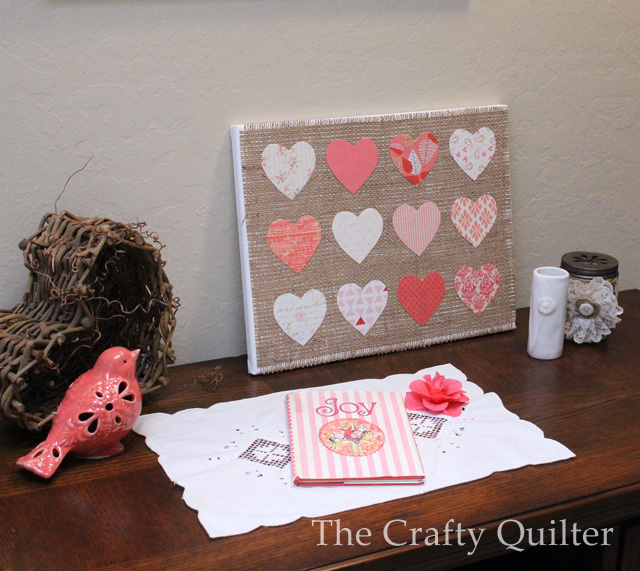
That’s it! You’re done. No sewing, no stitching around hearts, no pressing seams, no basting or binding. Sweet and simple hearts, my friends.
Now go decorate a little corner of your home:

And if you are still feeling adventurous, use the left-over burlap scraps and fabric to make a cute little Valentine’s Day card:
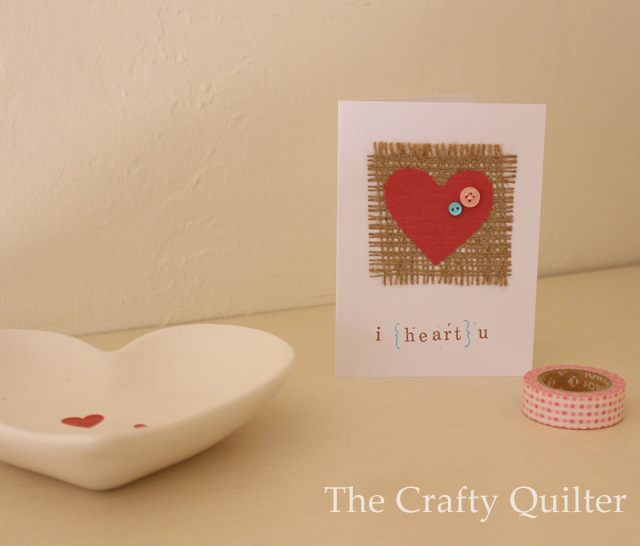
I hope you have enjoy this little project! I {heart} u, too!


Discover more from The Crafty Quilter
Subscribe to get the latest posts sent to your email.


Simply Beautiful. Thank you for sharing your easy to follow tutorial. I am visiting from Sherry at Blessings From Our Nest. I shall be visiting again as I like what I see. Creative Bliss and Happy Hearts…
I made a couple of these using your tutorial and hope to post about them on my blog tonight. Thanks for sharing this fun project.
Cute and clever! Love the little card, too!
Don’t you love hearts? I do too. Sweet project. Thank you for the heart templates. I do appreciate you sharing this.
What an adorable and fun project! I need to do this with my kids.
Thanks Julie for sharing this adorable project!!!!
Thanks Julie, you always come up with such cute things, I can’t get to the craft store right now, so I am just going to use some dark fabric under the hearts. Makes me smile.
Oh, so adorable! You make me want to make Valentine’s Day projects all year long, too! That’s my second favorite holiday, just behind Christmas.
So nice!! Happy Valentine’s Day to you and thanks.
What a beautiful project! Thank you for another awesome holiday tutorial!
This would be a fun mother and daughter project, too!
Thank you.
Another fabulous tutorial. Thanks so much for sharing.
Hi Julie,
Thanks for the great tutorial! I think I have everything I need to make one. If I can get my butt in gear and make one, I’ll try to send you a pic.
xo Linda
I bought what is called burlap ribbon. It is about 12 1/2″w and came in a good size roll. I cut a piece odd the roll and used no-fray on the end. It is very pretty with gold threads in it like stardust, is this washable? I got it at Walmart in craft section. Figuring with all edges sealed it would be ok to wash it??
Hi Elizabeth, I would wash it by hand. Soak it in some warm, soapy water and rinse. Then let it air dry. Good luck!