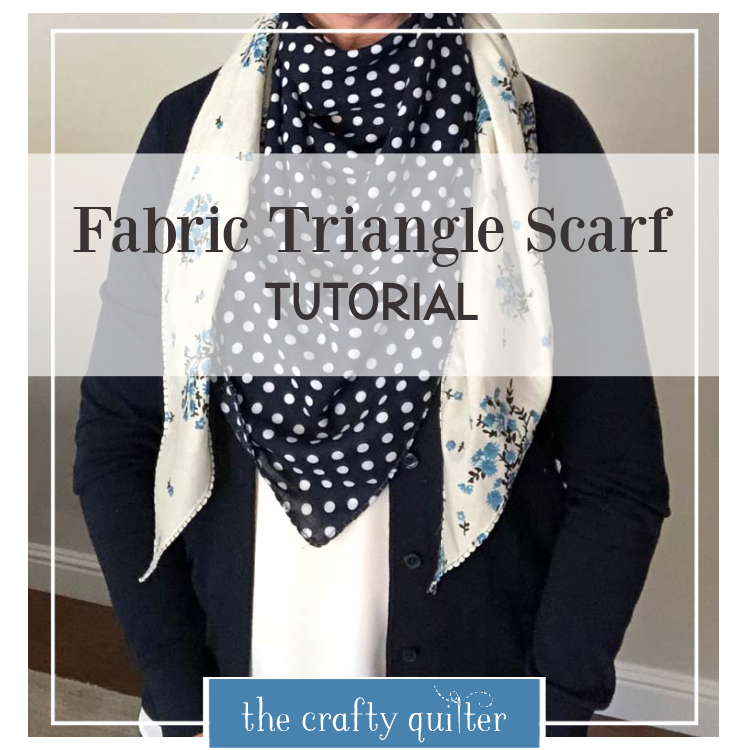
Fabric Triangle Scarf Tutorial
As the weather transitions from summer to fall, it’s nice to have a light scarf to keep you warm. I’ve got the perfect solution with my Fabric Triangle Scarf Tutorial. This is the best way to add a layer of warmth without feeling too heavy. It’s also perfect for gift-giving as the holiday season approaches!
I love accenting an outfit with a cute scarf. The fabrics I chose coordinate well with each other, and it’s a color I wear often. The polkadot fabric, above, is rayon and I can’t remember where I purchased it. The small floral is cotton voile which has been in my stash for a while. The pink/peach scarf, below, is made from two different cotton voile fabrics that have also been in my stash for a long time.

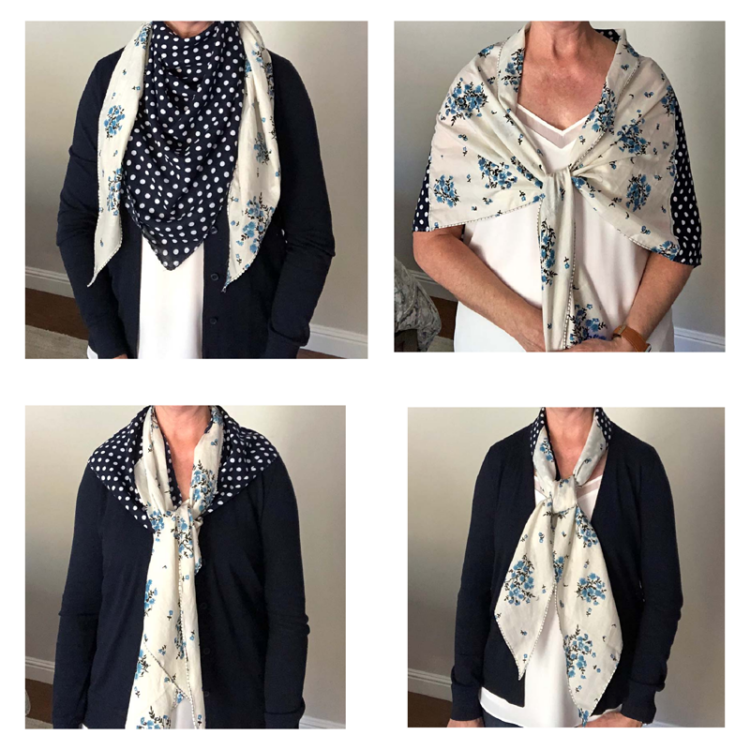
There are so many ways to wear a triangle scarf. I honestly had to look this up, because I wasn’t sure how to drape it around my neck! Below are four options, and they each have a slightly different look. More details are at the end of this post.
Triangle Scarf Supplies
- 3/4 yard each of lightweight fabric in two coordinating colors. If the fabric is 56″ wide, you’ll be able to make two scarves.
- Coordinating thread as this will show up on the scarf.
Good fabric choices are cotton voile, rayon, rayon batik, and cotton lawn. I particularly like the Voile collection from Art Gallery Fabrics. Check your local fabric retailer for any of these, or for a good online resource, I found Harts Fabric in Santa Cruz, CA, to have a good selection.
I don’t usually stray from quilting cottons, so I’m not really knowledgeable about all of the different types of fashion fabric out there. Some are really slippery and hard to sew with. Make sure the fabric does not have a distinct wrong side. It will show a little when you tie your scarf.

Triangle Fabric Scarf Instructions
TIP: If your fabric is really slippery, apply starch before cutting it. I’ve tried Terial Magic Fabric Stabilizer and it works really well for this, but any starch will help.

- From the main fabric, cut one 25″ square.
- From the coordinating fabric, cut one 26″ square, cut in half diagonally.
Arrange the main square and the triangles as shown below.

Because we want both sides of this scarf to look pretty, we are going to OFFSET the seams when we sew them. This process is similar to a french seam, but with less bulk.
Flip the top triangle onto the main square, right sides together. Match the raw edges along the top. OFFSET the seam by placing the triangle fabric 1/4″ to the left of the main fabric. Sew with 1/4″ seam. Note: The bobbin thread will be visible on the finished scarf.

Turn the extended seam allowance over the seam and press.

Press seam toward triangle, keeping the pressed seam allowance tucked under and down.


Topstitch close to the folded edge of seam from the wrong side, keeping your stitching as straight as possible.


Below you can see what the seam looks like from both sides. Also notice how the darker fabric on the left has a definite wrong side to it, whereas the fabric on the right does not. Oh well, it’s going to work fine because the large square does not show the wrong side as much as the triangles do.

Repeat this process with the other triangle.


You may need to trim where the triangles overlap, to create a straight line.
To finish the edges, turn under 1/8″ – 1/4″ and press. Turn the same amount under again and press. Topstitch along all edges. Be careful not to stretch the bias triangle edges.
If you want to add a decorate edge, you can try creating a scallop by using a blanket stitch or a hem stitch and increasing the top tension to 6 or so.

Practice this on some scraps. It worked well for one scarf and not so well for another. So, it depends on the material you’re using and your machine.

How to tie a triangle scarf
There are many ways to style a triangle scarf. One of my favorite ways is to fold it into a long rectangle and just tie it around my neck.

I also like to drape the square corner along the front and then cross the ends in back of my neck and bring them to the front. It’s a little more “showy” this way.

You can wear it more like a shawl by letting it fall across your shoulders and arms.

And finally, you can gather it slightly to create a smaller triangle in the back and tie it in the front.


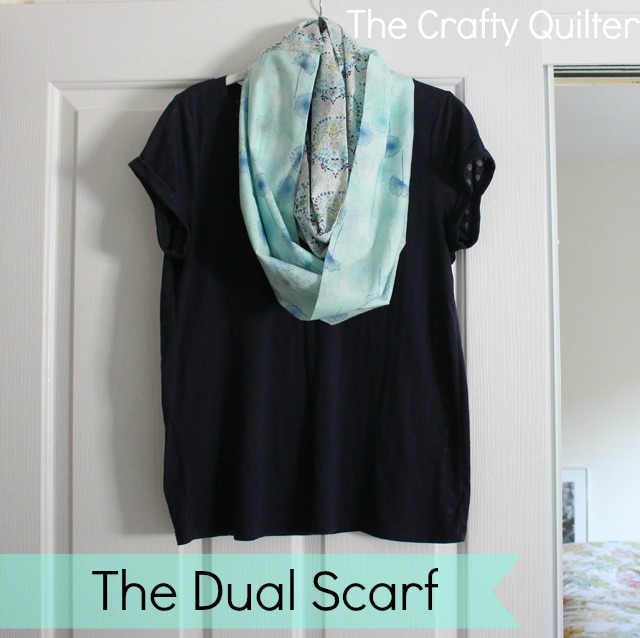
These scarves make great gifts and it is getting to be the holiday gift-making season. Once you’ve made one, you’ll have to make another! If you want to try a different style, check out my Dual Scarf Tutorial (which is an infinity scarf) for another option.
I hope you enjoyed this detour from my usual quilt-making topics. It’s nice to try something different and this takes me back to my dress-making days. Thanks for stopping by today!


Discover more from The Crafty Quilter
Subscribe to get the latest posts sent to your email.
Really cute and easy (looking) – Thanks so much for sharing!
Thanks so much for linking up, Julie.
Pretty snazzy, Julie! And a great gift giving idea. Thanks for the awesome tute!
The scarf is fabulous and could be so much fun with the right fabrics. I really like wearing them and now that it is fall, they are a needed article of clothing!
Love it, will start making one on the spot. Thank U
Christmas is coming! This is a lovely idea for a customized gift and I love the scalloped edge idea.
Very cute scarf. I’m definitely making one
A refreshing change from quilting. An easy practical project. Thanks.
thank you. this looks like it will be fun to make and fun to wear. thank you for making the tutorial easy to follow. it is a wonderful deviation.
I have seen a lot of ways to make scarfs but I have never seen this one. It’s a really nice pattern and I am looking forward to making a scarf from this pattern. Thank you for the tutorial.