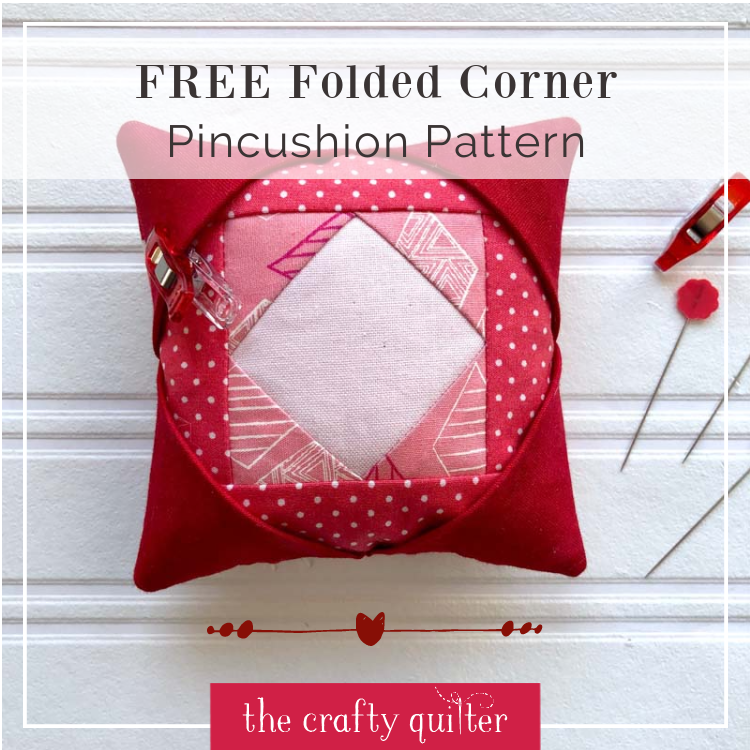
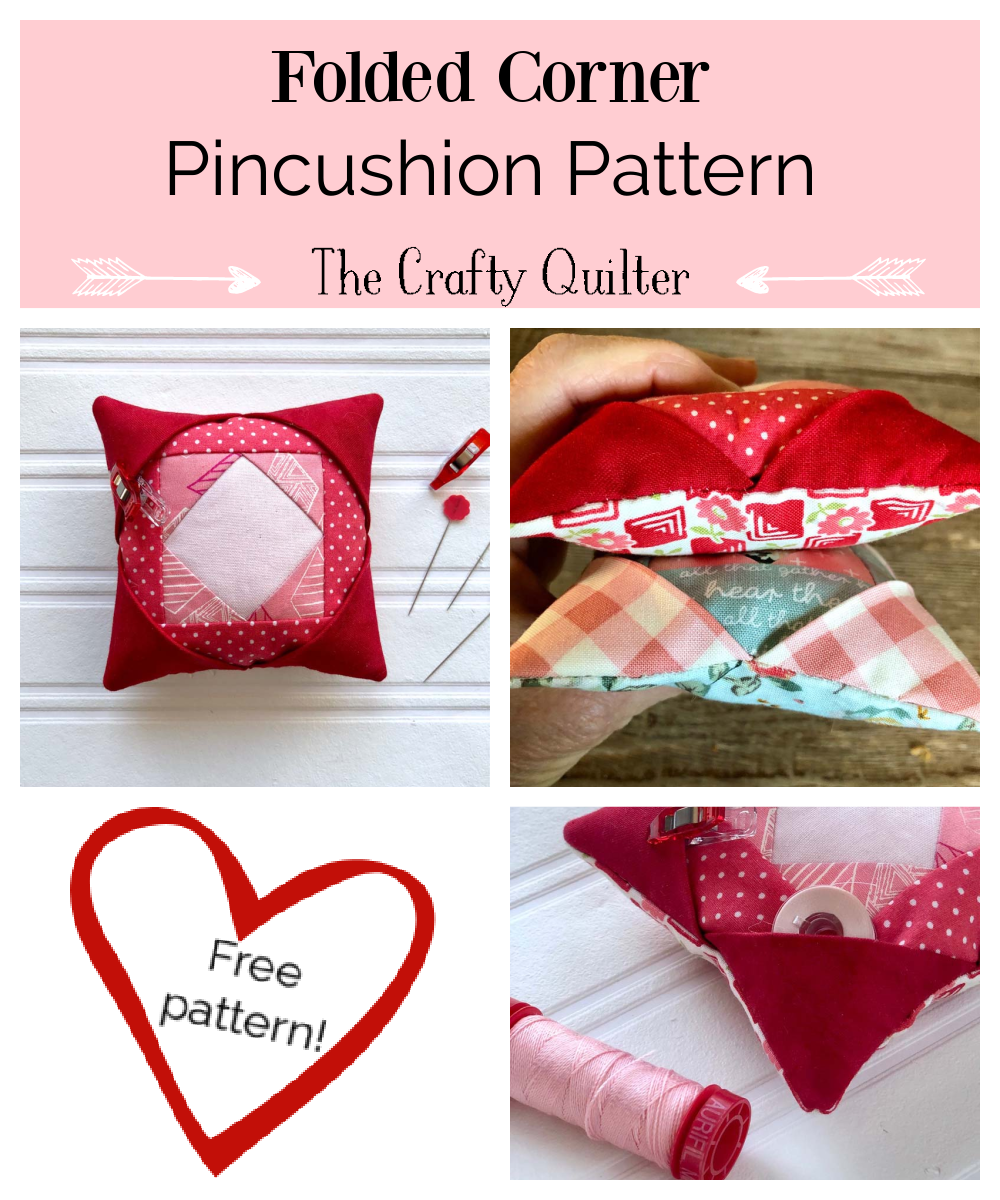
Free Folded Corner Pincushion pattern
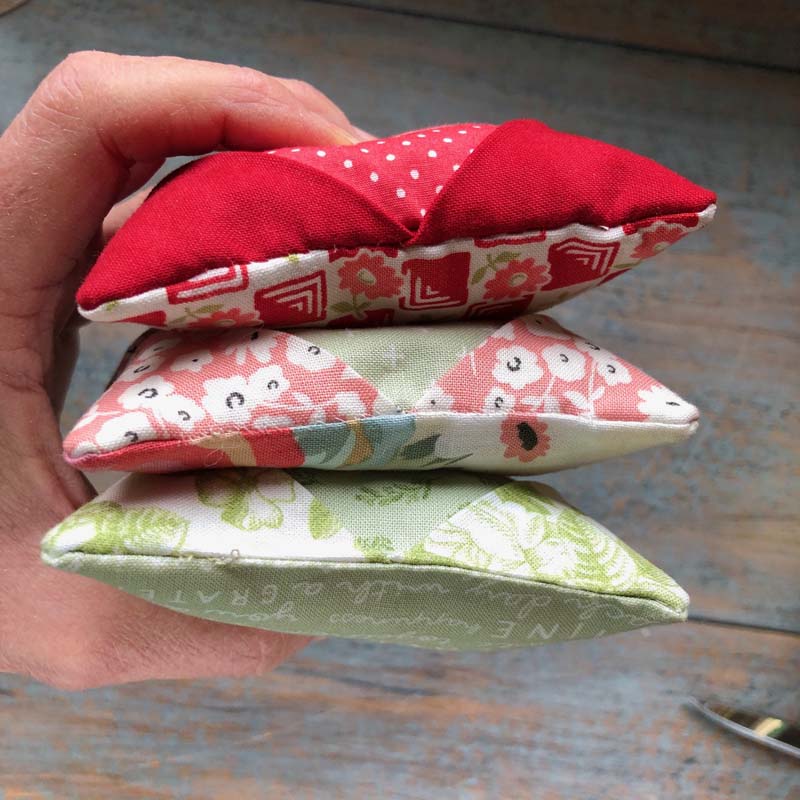
I love the quick satisfaction of making something small and easy. My free Folded Corner Pincushion pattern is perfect for that, and today I get to share it with you! This little pincushion is small at 4″ square, but mighty. I promise, you’ll want to make more than just one!
What makes the Folded Corner Pincushion so great
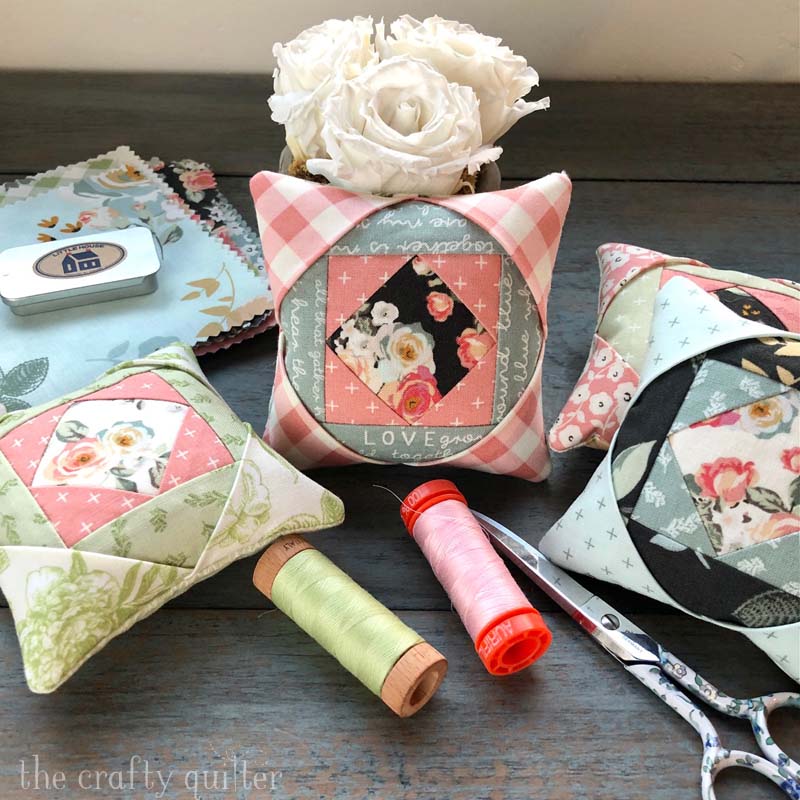
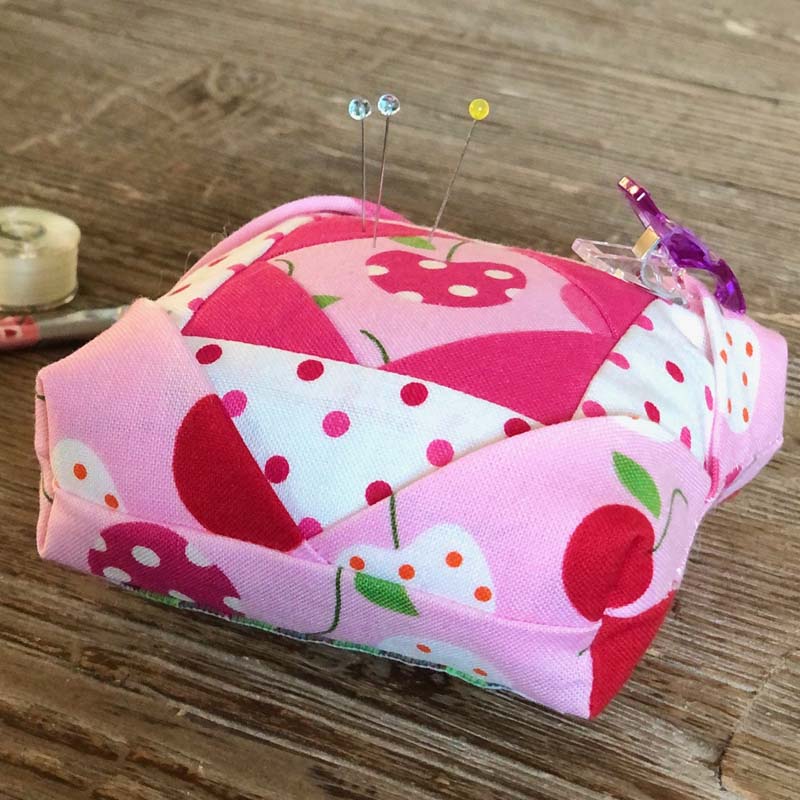
The folded corner triangles make this such a versatile pincushion. You can place an assortment of sewing notions in those corners; think Clover Wonder Clips, a needle threader or a bobbin of thread! And there’s still plenty of space for those cute pins!
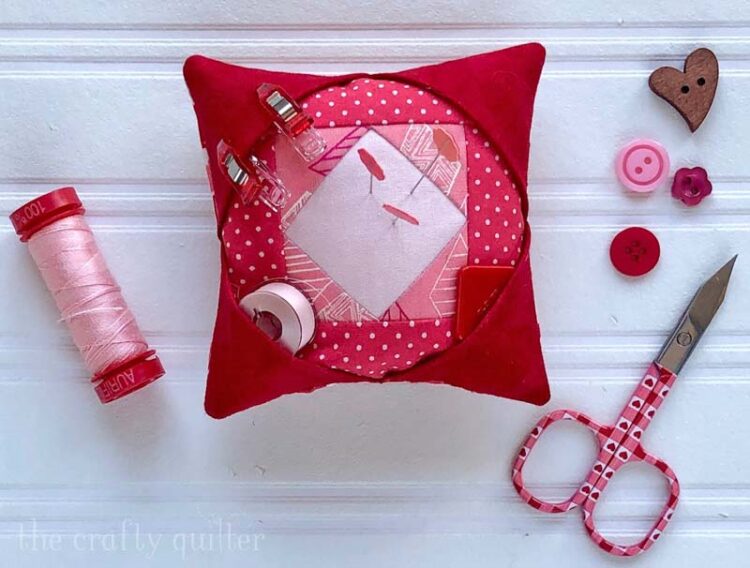
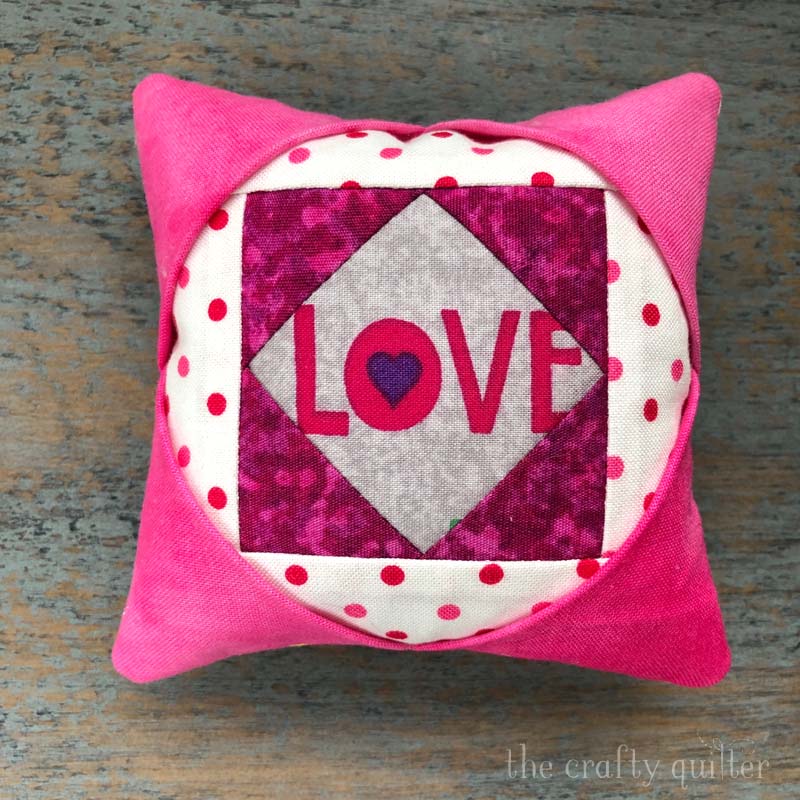
It’s really easy to add a personalized touch to the center of this pincushion with fussy cutting. Find a cute, small motif that coordinates with your fabric and you’re all set!
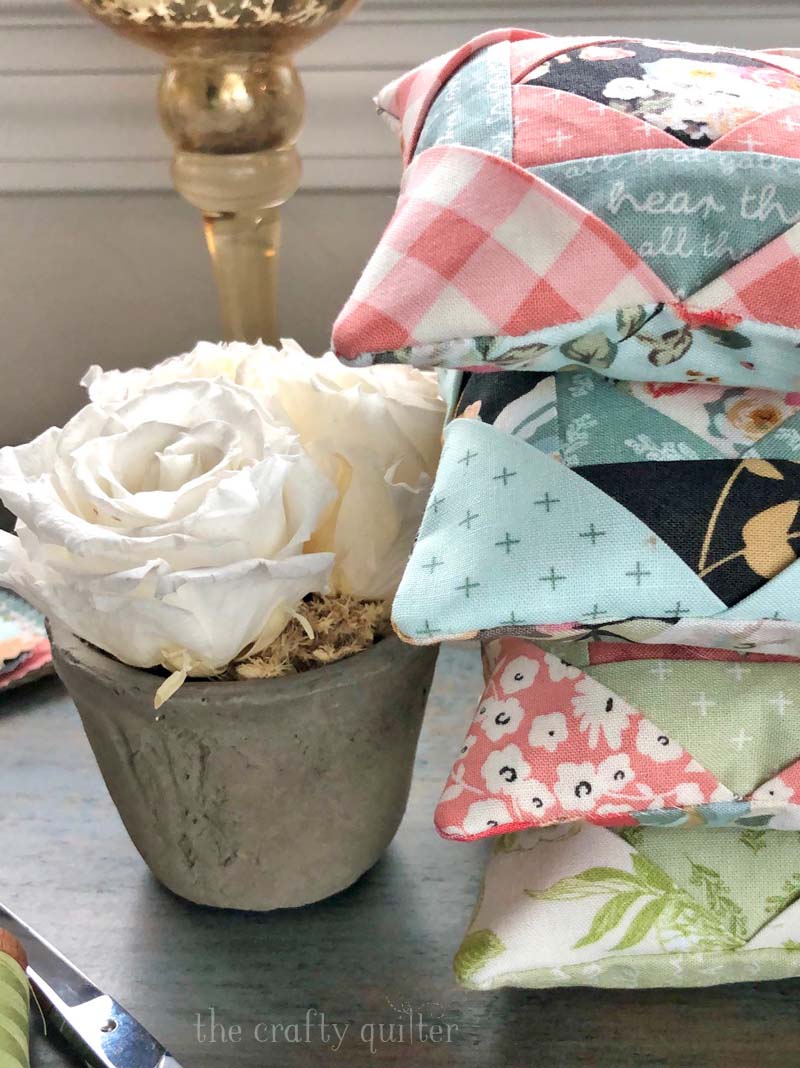
This pincushion is also super fast and easy to make. I can guarantee that you won’t be able to stop at just one!
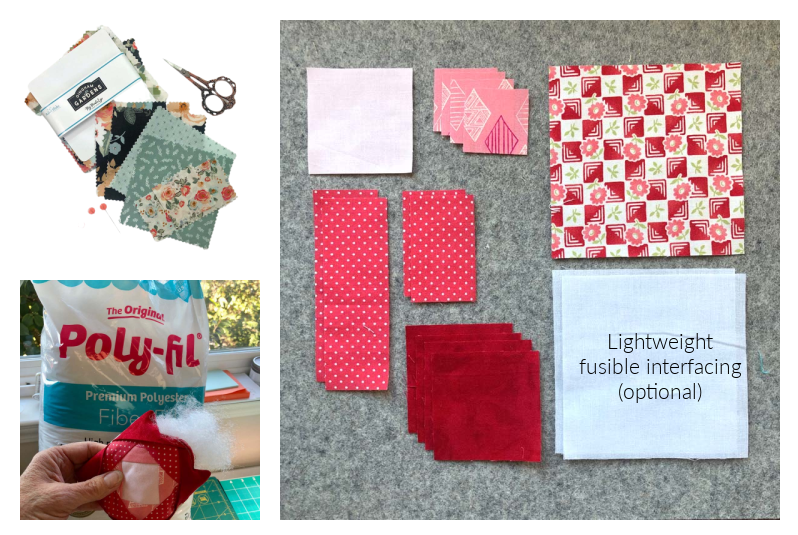
Pincushion Supplies
- You’ll love digging into your scraps for this project. It doesn’t take much! And if you have a few extra 5″ charm squares laying around, they’re perfect for this.
- You’ll also need some stuffing material. I used Poly-Fil Premium Polyester Fiber, but you could also use crushed walnut shells or small fabric scraps. (I did use tiny fabric scraps to fill my first pincushion and it turned out great!)
- I used a lightweight fusible interfacing on the wrong side of the pieced top and backing. This is optional, but I think it gives the pincushion more stability. If you’re using crushed walnuts shells for stuffing, the interfacing is a must.
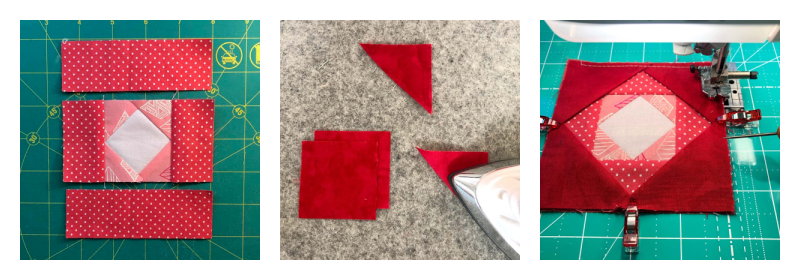
Basic steps
It’s nice to have some visual steps of the process for making this pincushion, beside the pdf pattern.
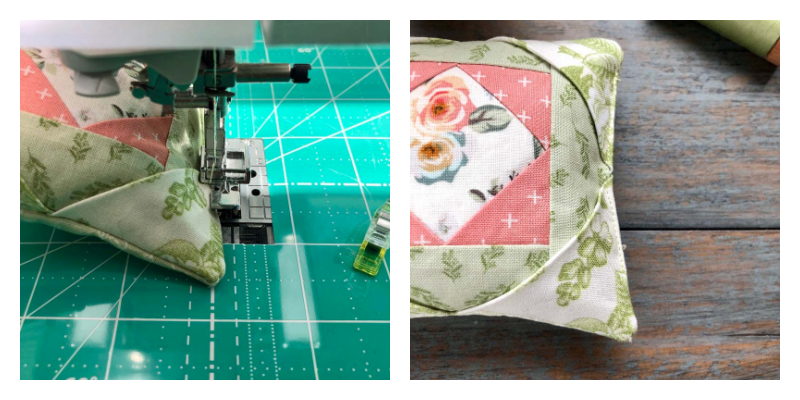
After cutting out the fabric pieces, you’ll make the pincushion top. It’s easy piecing, even for a beginner. The pocket corners are made by folding the 2.5″ squares in half diagonally, wrong sides together. These are then basted to each corner of the top.
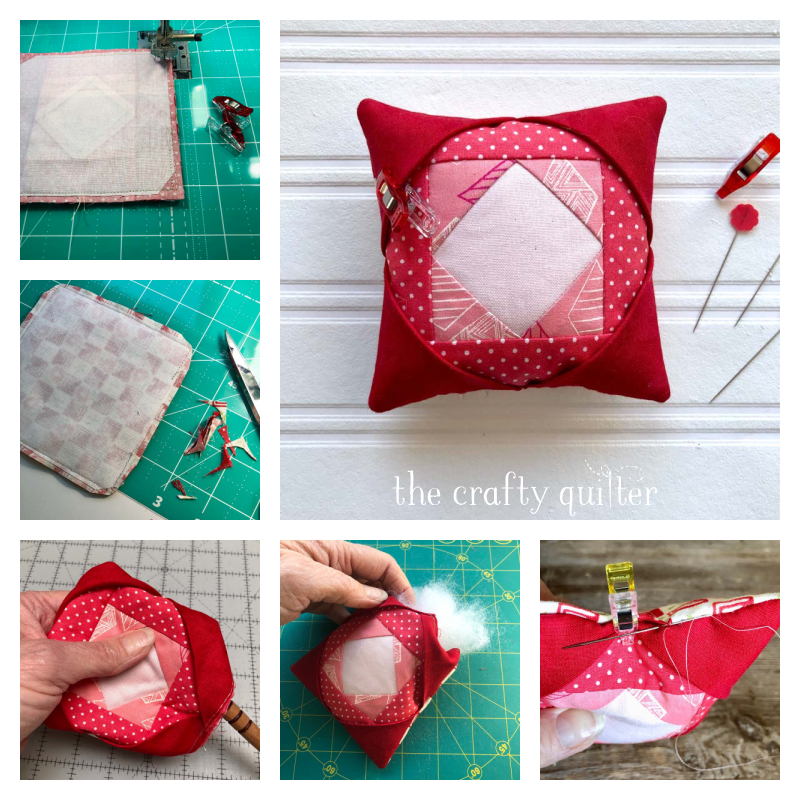
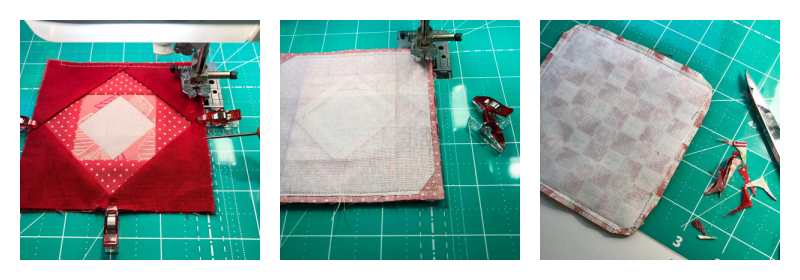
- Next you’ll apply interfacing and then sew the top and back together, leaving a 2″ opening.
- Clip corners and turn right side out.
- Stuff with your choice of material.
- Sew opening closed
Helpful hints
I have a few helpful hints that will make this pincushion a breeze to make.
- Use sewing clips to hold the corner triangles in place while basting.
- Shorten your stitch length to 1.8 – 2.0 when sewing the top and backing together.
- Clip the corners before turning right side out.
Options for sewing the opening closed
There is about a 2″ opening that will need to be stitched closed. You can do this by hand or by machine. They all work well, but if you’re using a filling material that is granular, I suggest stitching by machine. We don’t want any of that filling to escape!
Machine stitching is also the faster method of the two. I tried a regular presser foot and a zipper foot when stitching. The zipper foot was a little easier to get the stitches close to the edge without “smooshing”, but, a regular presser foot worked fine too.
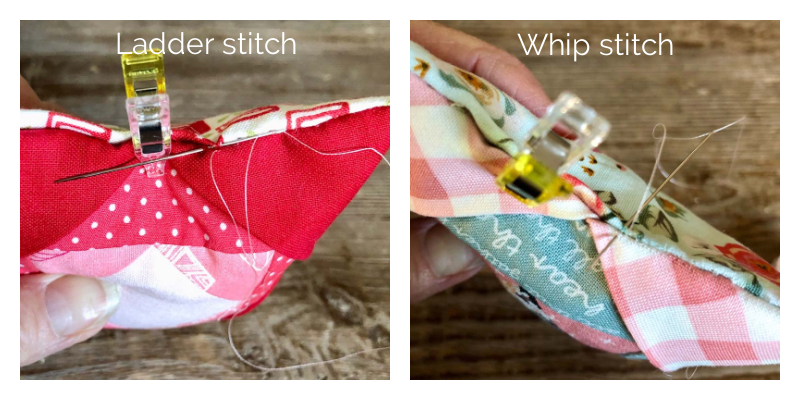
If you’re sewing the opening by hand, you can use a ladder (invisible) stitch or a whip stitch. I found the whip stitch was easier and I could close it up a little tighter. This is the same stitch that is used to join pieces together in English Paper Piecing. If you can, use a 60 wt. or 80 wt. cotton thread in a matching color. This will hide the stitches better than a standard 50 wt. thread.
PDF PATTERN DOWNLOAD
The pattern includes cutting and assembly instructions along with full color diagrams. You can download the free Folded Corner Pincushion Pattern below.
Coming up
I tried boxing the corners of my last pincushion. I really like how it turned out, so I’m going to show you how to do that in a separate blog post. That’s coming up early next week!
I’ll also be back with the winner(s) of the Fast & Fun blog hop. I enjoyed reading all of the comments and visiting all of the participants. I’d say it was super successful!
Thanks for reading, and I hope you enjoy this little pincushion pattern!

Discover more from The Crafty Quilter
Subscribe to get the latest posts sent to your email.


I love this little pincushion! I love that there are little pockets for a bobbin of thread and even a needle threader. Just what I needed. Thank you.
What a sweet project for fellow lovers of needle and thread:)
Thankyou!
Your post are such a blessing. Considering the success of your business, sharing all this information is unbelievable! Thank you
Jeannine Cook
I love this! Thank you for the tutorial! I worked on your little Love wall hanging yesterday. I hope to quilt and bind it this week so I can hang it.
thank you for generously sharing your patterns!!
Love this!! Thank you for sharing.
This is the cutest little pincushion. As soon as I saw the pattern, I just had to make it!
Thank you so much for the pattern.
Hi, Thank You for an Adorable Pin Cushion pattern !
Happy Day, Linda
Super cute, Julie! This might be like Lays potato chips…ya can’t stop with just one! Thank you! 🙂
This delightful little project arrived in my email this morning and I immediately chose some fabric and made this functional and adorable pin cushion. Thank you for sharing this wonderful pattern. I intend to make another for a friend. I love the pockets for clips and a needle threader, both of which I use.
Thanks so much for the pattern! I love it and will also be eagerly awaiting the boxed version!
Thank you< 🙂
Thank you so very much for this beautiful pattern! Can’t wait to make some for my sewing group gal pals.
Very nice, cute and handy. Thank you.
I love this! Your tutorials are so well written and photographed, thanks for another great one!
Very cute thanks for the pattern
This is really cute! Thank you for the pattern.
Patti
Really cute. Thanks for the pattern.
Thank you Julie for sharing. Love the fabrics you use in your projects. You are an inspiration to us quilters.
Very clever, cute, and quite darling! I think I’ll make one –at least 😉 –tonight!! Thank you!
This is cute, thankyou so much!
Hi Julie!
I love this idea for sewing on a button as you suggest in a photo to binding a quilt or having in your “go bag”!
Thanks!
Kathi
Adore this pincushion! Thank you Julie! ❤️