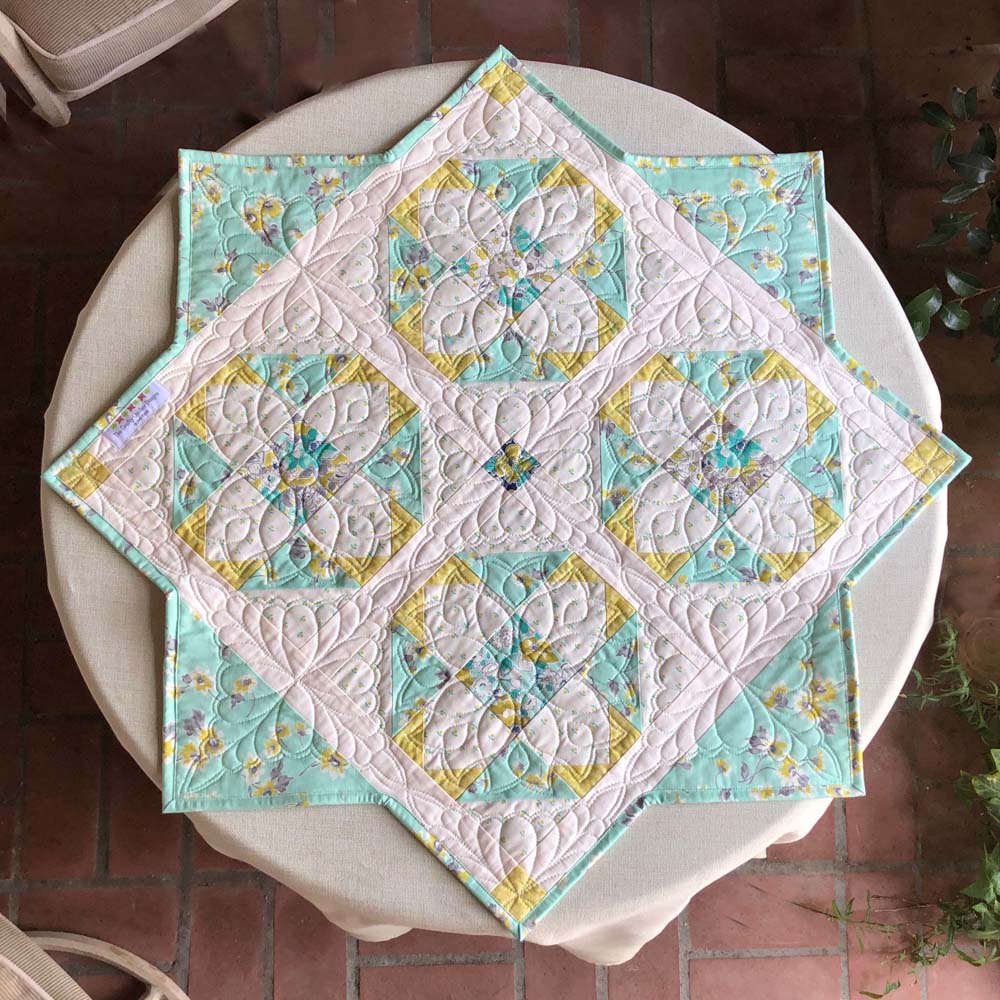
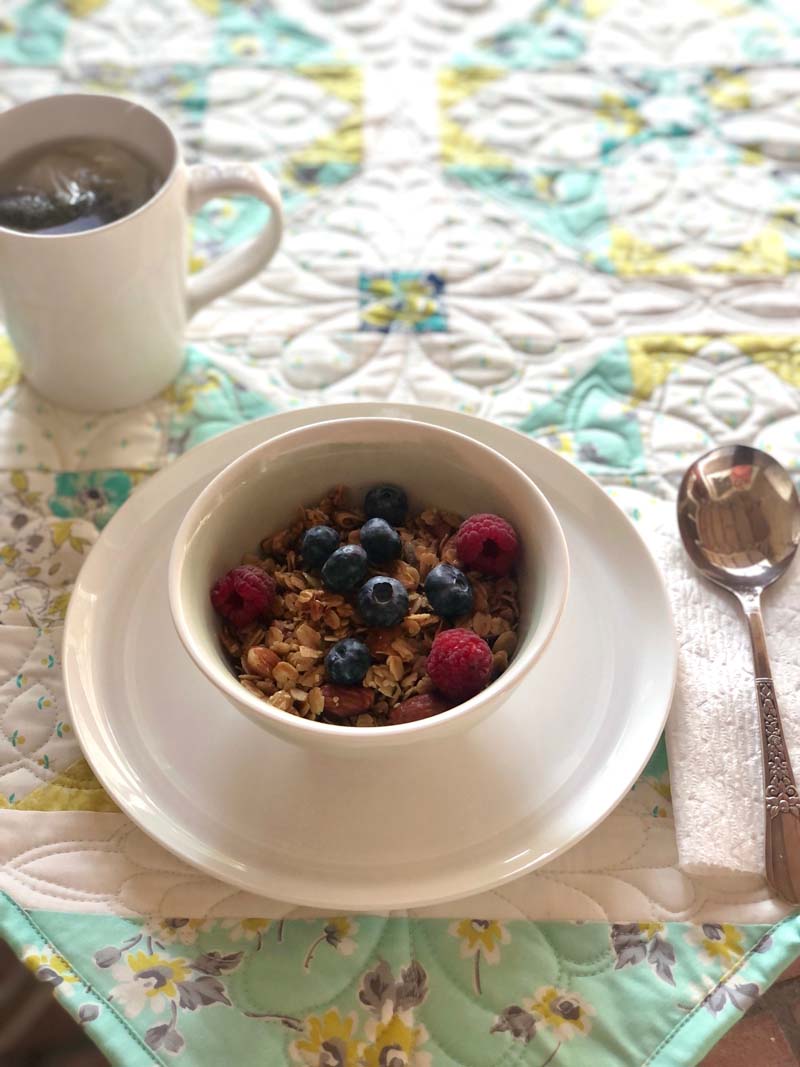
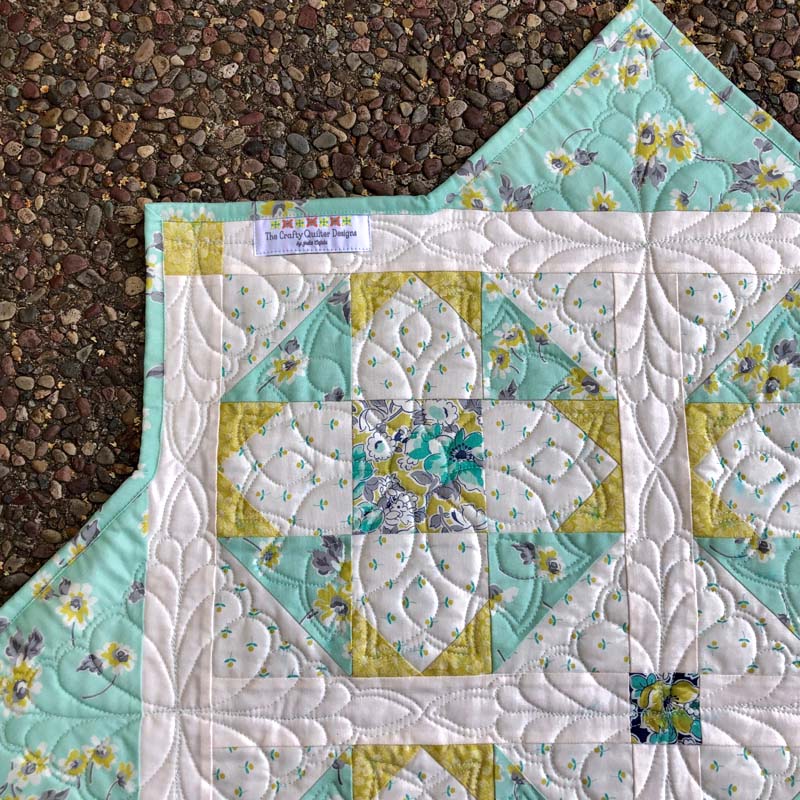
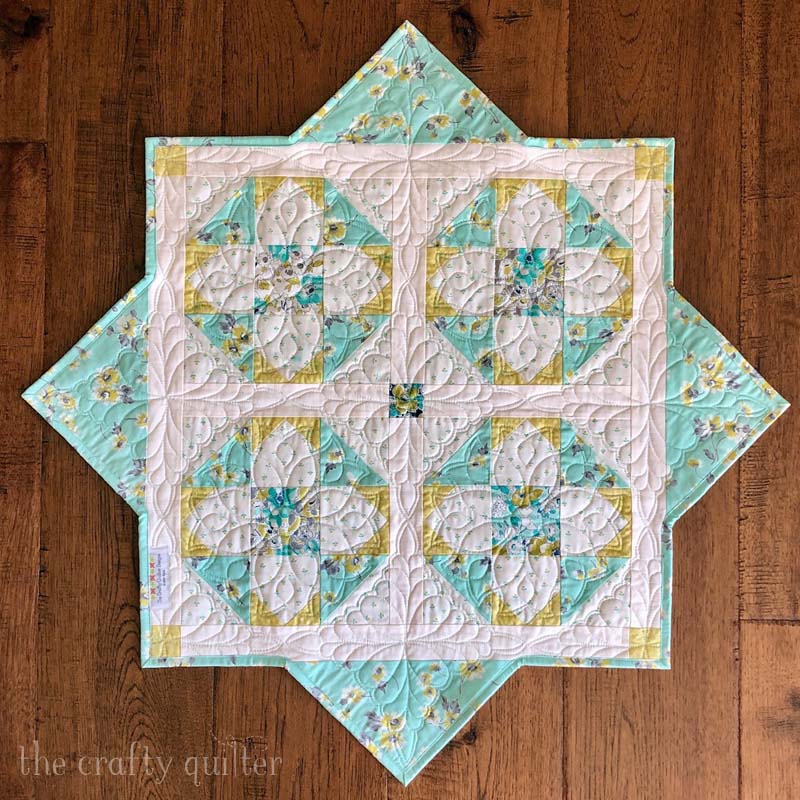
Sterling Table Topper finish & details
I’ve been using the month of August to get caught up on some older works in process. So, today I’m happy to show you my completed Sterling Table Topper! This is not your average table topper. It has eight corners making it perfect for a round or square table or to add interest to a rectangular table. It’s super easy to make; I used my Sterling Quilt pattern to make four blocks and fabric from my stash for the top and back.
Sterling Table Topper details
I love making table runners and table toppers. They’re quick to make and so useful in the home! As I mentioned above, this table topper is a little unique because of the extra triangles on the sides. I’ve used this technique many times in the past. When I wanted to do something with an extra Swoon block, I made a tutorial on How to turn a Swoon Block into a table topper. This tutorial gives you basic instructions on adding triangles to a 24″ block (instructions for the block are not included) to turn it into a table topper.
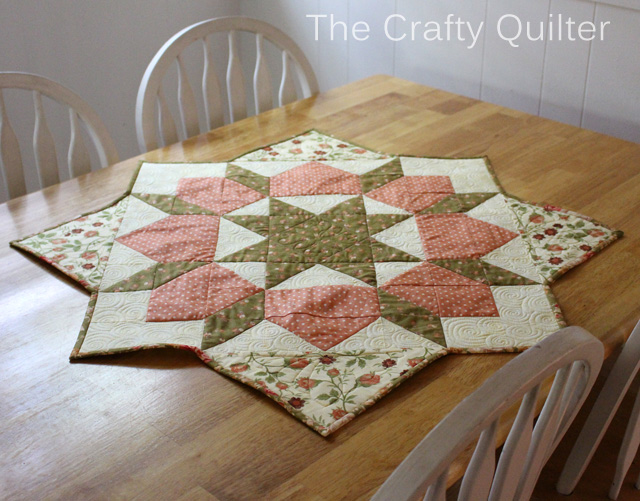
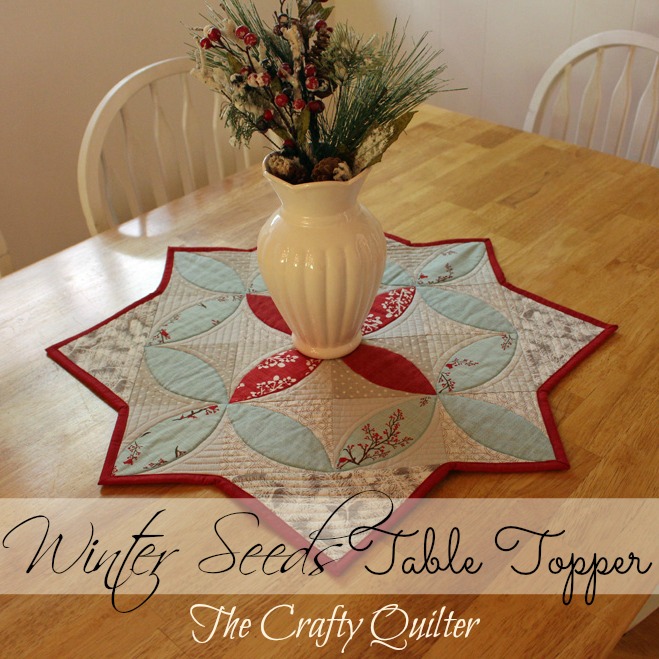
I used the same technique for my Winter Seeds Table Topper tutorial and for my Spring Petals Quilt Along. Obviously, this look appeals to me!
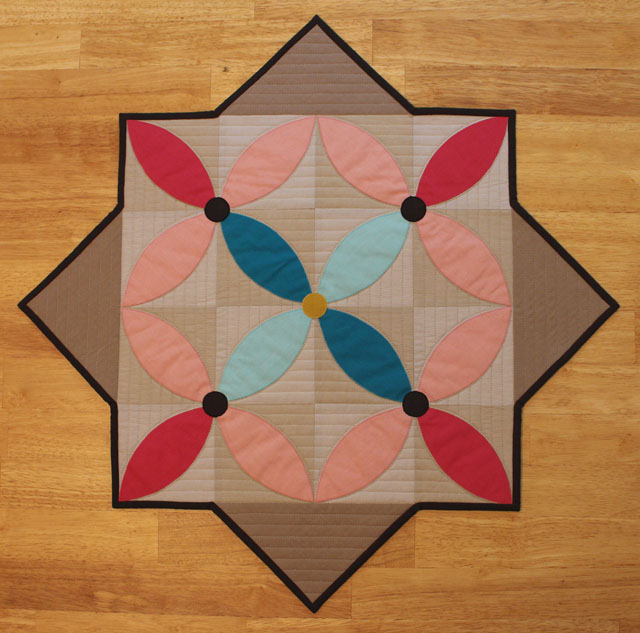
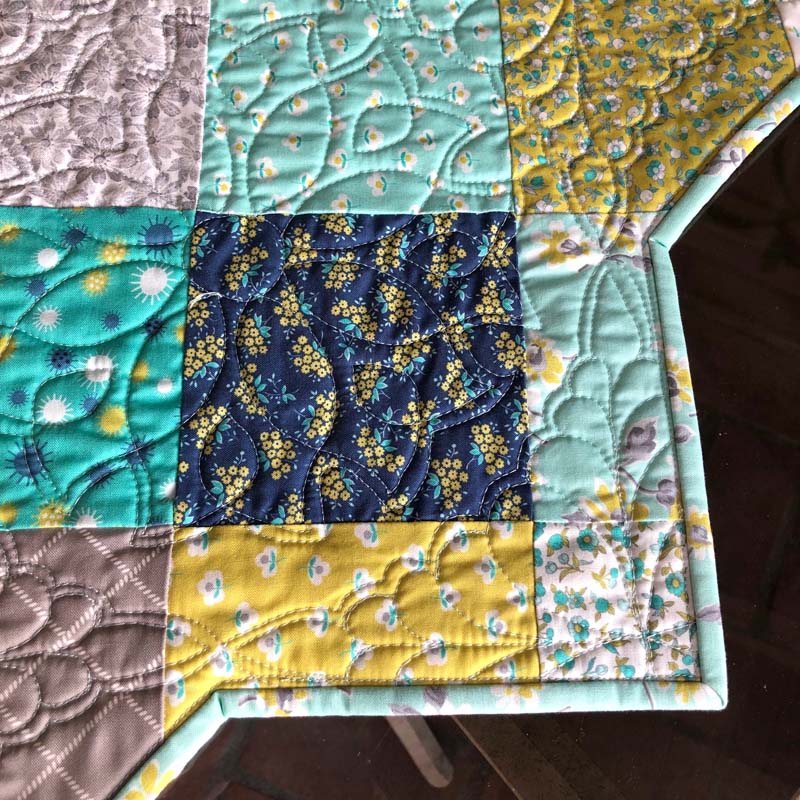
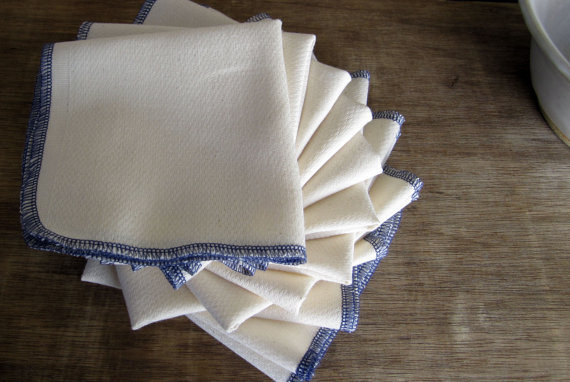
I did the same thing for this Sterling Table Topper only this time I used four 9″ blocks and sashing from my Sterling Quilt Pattern. This gave me a 22 1/2″ square to which I added the triangles to. For the triangles, I cut two 7 1/2″ squares then cut them in half diagonally to yield four triangles. The table topper measures 32 1/2″ from point to point.

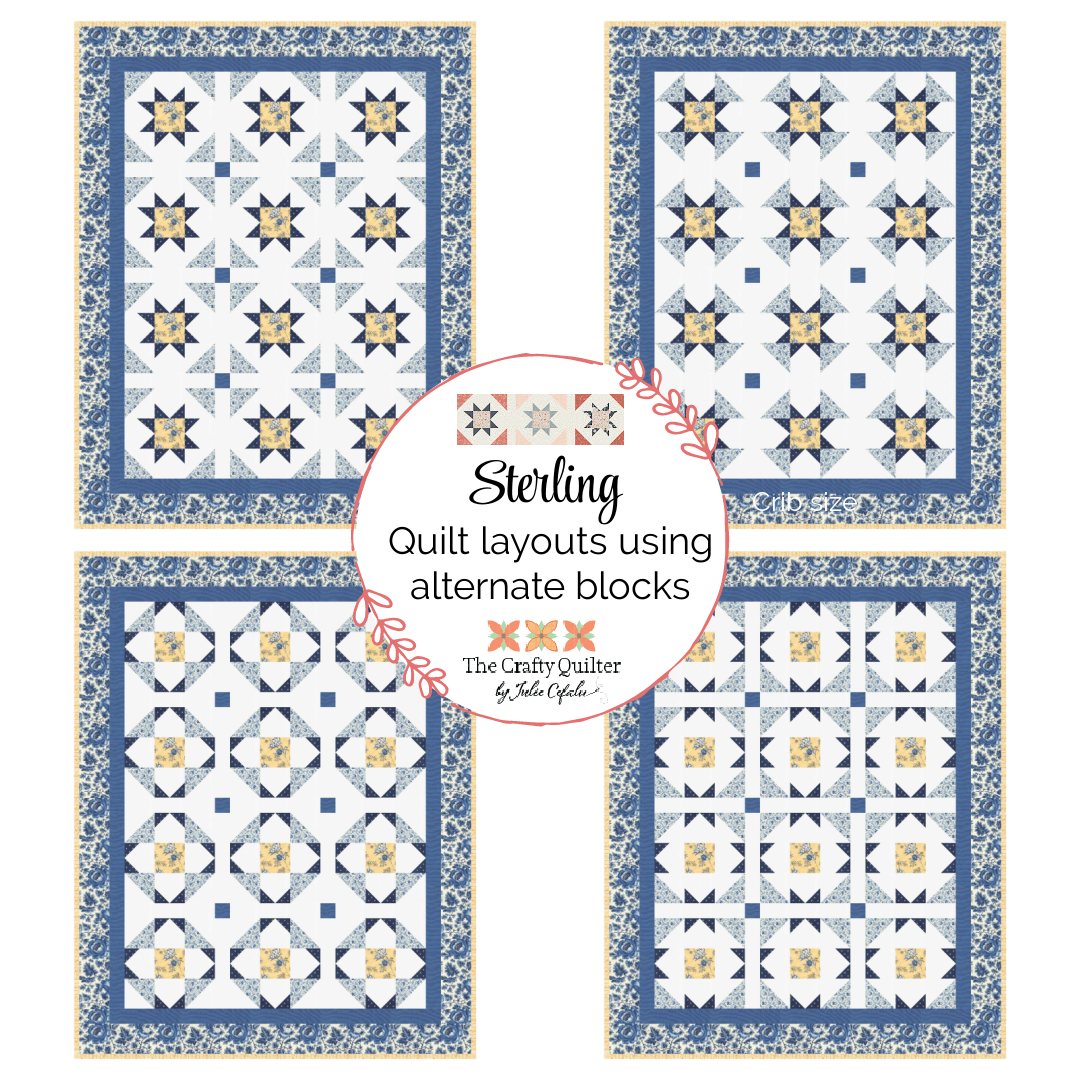
You could do the same thing with any 9″ quilt blocks or adjust the size of the triangles based on the size block used. And for those that are interested, the Sterling Quilt Pattern has instructions for the main star block along with three alternate block layouts. Below you can see how each alternate layout creates a unique quilt. For my table topper, I used the layout in the bottom left image below.
Fabric & backing
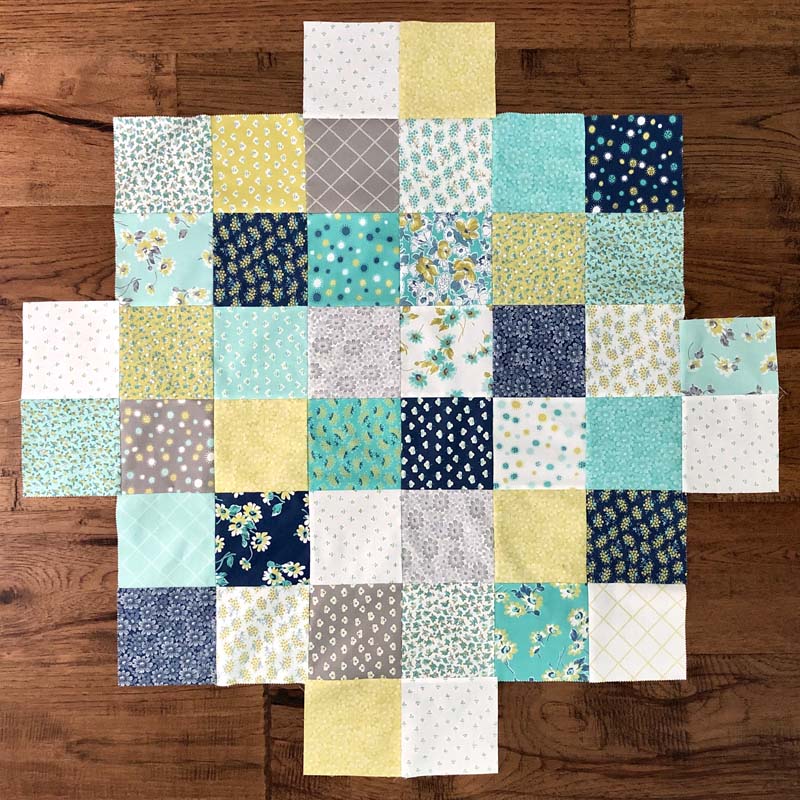
I used yardage from the Flower Garden collection (Moda Fabrics) and a charm pack to make this table topper. This fabric has been around a while, and I’m always happy when I can use my stash especially when it includes a charm pack! Most of the charm pack was used for the backing. It takes a bit of creativity to piece a backing for this odd shape, but 5″ squares were perfect for this.
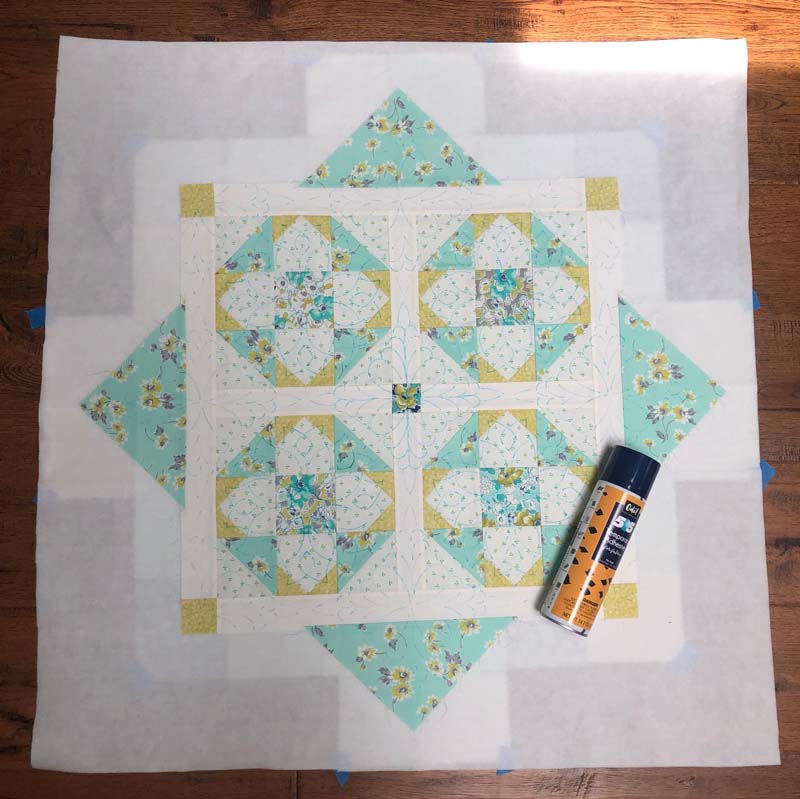
In the photo below, you can see how the top fits onto the backing. The batting is just a large square. The excess batting that was cut away after quilting will be used for mug rugs. 😉

Quilting with stencils
How to quilt it? That’s always a big question for me. On a whim, I decided to look through my stencil collection to see if I had something that would work. It turns out I did! I used two different stencils; one for the block centers and one that fit into the sashing and block corners.
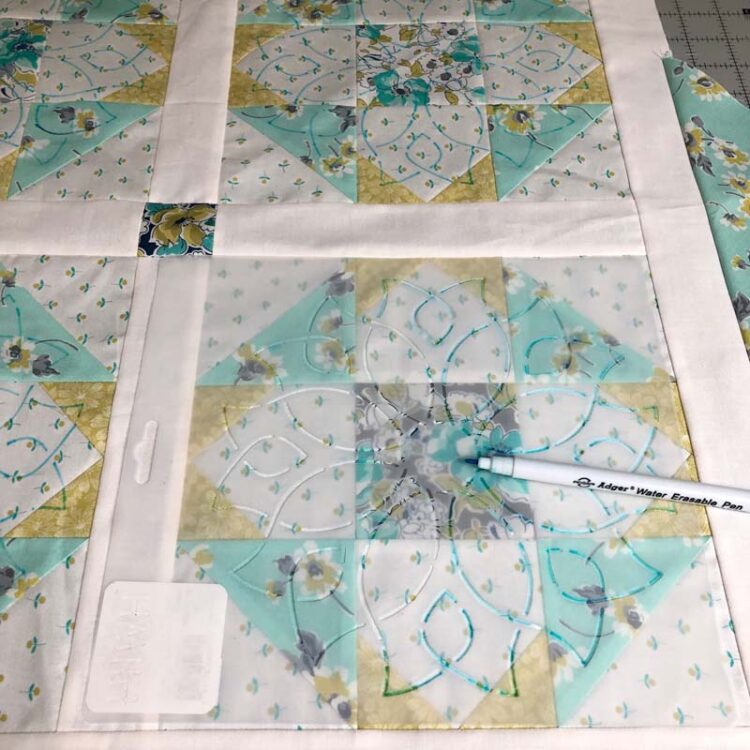

I used a blue water soluble pen to mark the top. The pen I prefer to use is the Adger Water Erasable Fabric Marker. It’s the perfect thickness and it washes away easily with water, but ALWAYS test it first. I use a spray bottle filled with water to remove the marks after the quilt is completed. Sometimes it takes a few applications of water to completely remove the marks.
The stencils I use most come from The Stencil Company. They have a large selection of stencils that are perfect for quilting. I partnered with them in 2016 for my blog post, How to use stencils for quilting and again in 2017 for a blog post on Four unique ways to use stencils. Both of those blog posts are great resources for more information on using stencils.

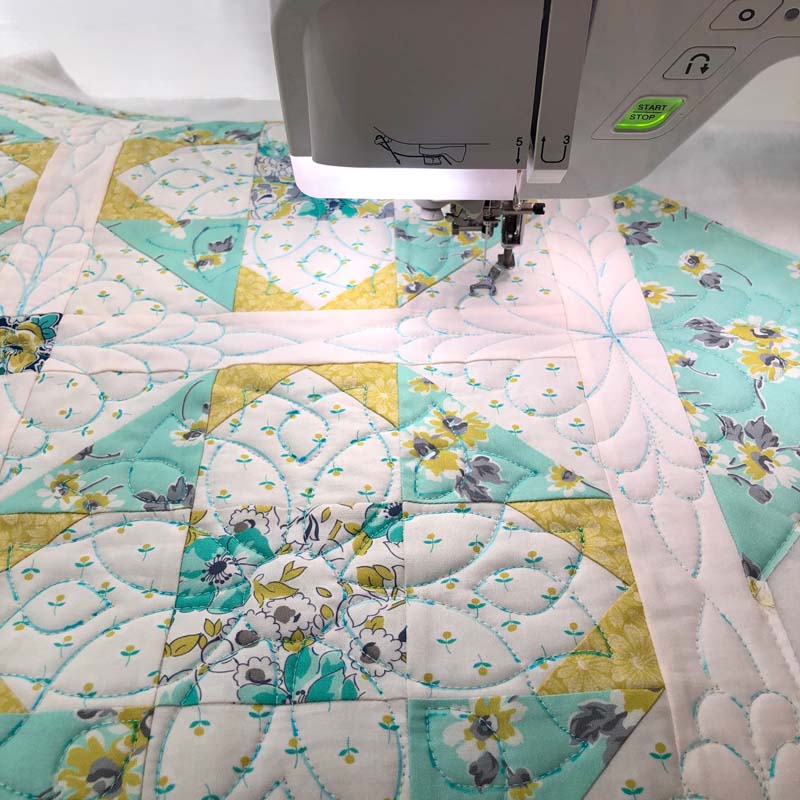
Once the quilt top was marked, I basted the layers together (using basting spray) and then started quilting. I usually do some stitching in the ditch on most of my quilts before I do free motion quilting, but not this time. That would have interfered with the flow of my stencil designs. I do all of my quilting on a Babylock Crescendo sewing machine. It has a large harp (throat) space and a large extension table. It’s been a great sewing machine for me.


Binding
As you can imagine, it’s a little more complicated to put binding on something that has eight corners and a few odd angles to boot. But, it’s not as bad as you think. The questionable part is the inside corners, but I have a tutorial that will walk you through the steps. It’s really easy once you do the first one!
I’m linking up this finish with Cheryl at Meadow Mist Designs‘ Favorite Finish Linky party and the Brag About Your Beauties pageant from Michelle at From Bolt to Beauty. Make sure to check them both out to see what other’s have been working on!
Thanks for sharing your time with me here. I’ll be back next week with a recap of some quick sewing projects I made for my grandkids. And that might lead me to a quick tutorial on a tiny trick or treat bag for the littles! As you quilters know, one thing leads to another…

Discover more from The Crafty Quilter
Subscribe to get the latest posts sent to your email.

Beautiful — and thank you for the insight into re-creating the eight-corner look in a project of our own!
This is one of my favourite pieces of yours – just…stunningly beautiful! The pieced backing is also quite beautiful – I would alternate using the top and bottom sides, just for the variety! Thank you again,
Violet
Julie, thank you for this tutorial. Your
instructions are clear and precise!
Beautiful work!
Julie
As always – a wealth of information. I looked back at your blog on Four Unique Ways to Use Stencils and never thought to use them for Sashiko! Have a great day!
Sew much info, sew many useful ideas. Thank you for sharing your abundance of unique and useful ideas. What a great way to use bits and pieces, and stowed away stash to create something pretty and useful. Time to get stitching, thank you, Julie
How lovely, Julie! I really like this idea. Thanks for all the tips and for the tutorials you mentioned! I love the one with the Swoon block!
I LOVE the 8 point table topper! What a clever idea. Thanks so much for sharing that!
Made trick or treat pillowcases for the grand kids eons ago that they still pull out as part of the Halloween decor. Fashioned the accent strip in 2 hemed-end pieces so a double draw string of thick cording could be used to secure the bag. Leading up to the treat night, it can be used as a pillowcase or chair back cover. Fond memories as now all in college or beyond…
Your table topper is beautifully quilted and looks so pretty on your table. Thanks for your blog posts; I read every one though I don’t often comment!
How clever! I’ve got a few orphan blocks. I might try to do this. What a great idea! Thanks for sharing this.