My favorite tools for machine applique
Today I want to tell you about my FAVORITE tools for machine applique. There are 8 items that I rely on to make me and my applique happy!
I love adding applique to my quilting projects. In one of my machine applique classes, a student asked me what my favorite tools are for applique. So this is my list of top machine applique tools that I use all of the time!
Note: You can find most of these items at your local quilt shop, which would be my first choice since I love to support the brick and mortar stores. I’ve provided links for you as well, if you can’t find these items locally or you want to know more about them. Some of these are affiliate links. I will receive a small commission if you purchase an item, but it won’t add to your cost. These links have no influence or bearing on anything I’m recommending in this post.
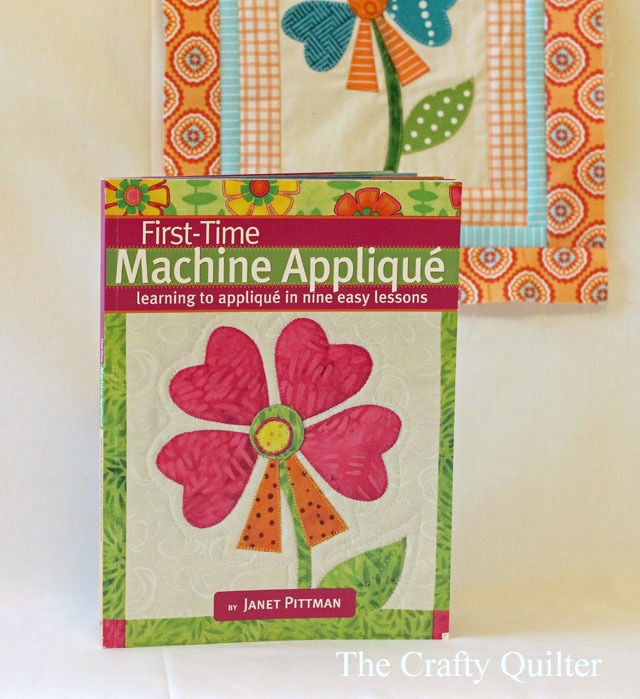
1. First-Time Machine Applique, by Janet Pittman. This is the book I use in my classes and it is the best book I’ve come across for machine applique.
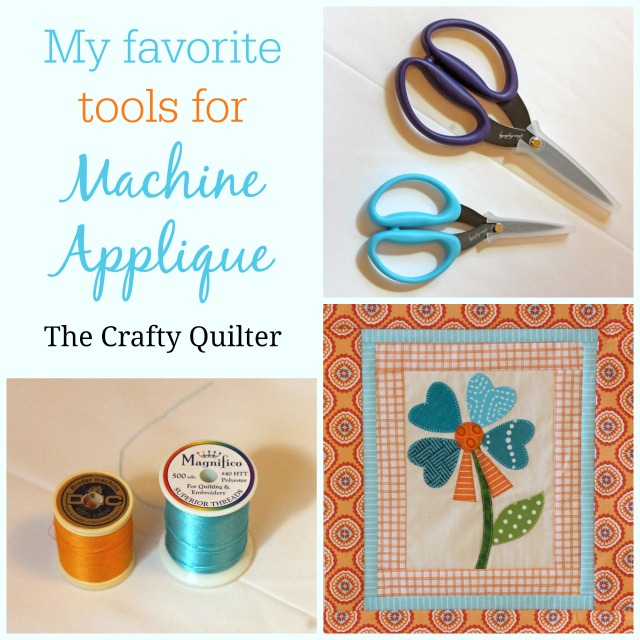
2. Karen Kay Buckley Perfect Scissors. These scissors are a dream to cut with and worth every penny! They have a micro-serrated blade so the scissors really grip the fabric as you’re cutting, resulting in more accurate and smooth pieces. Plus, the fabric won’t ravel as easily because of the micro serration. I promise you’ll love them! I use the 7 1/2″ size for larger shapes and the 6-Inch scissors for more detailed/smaller pieces.
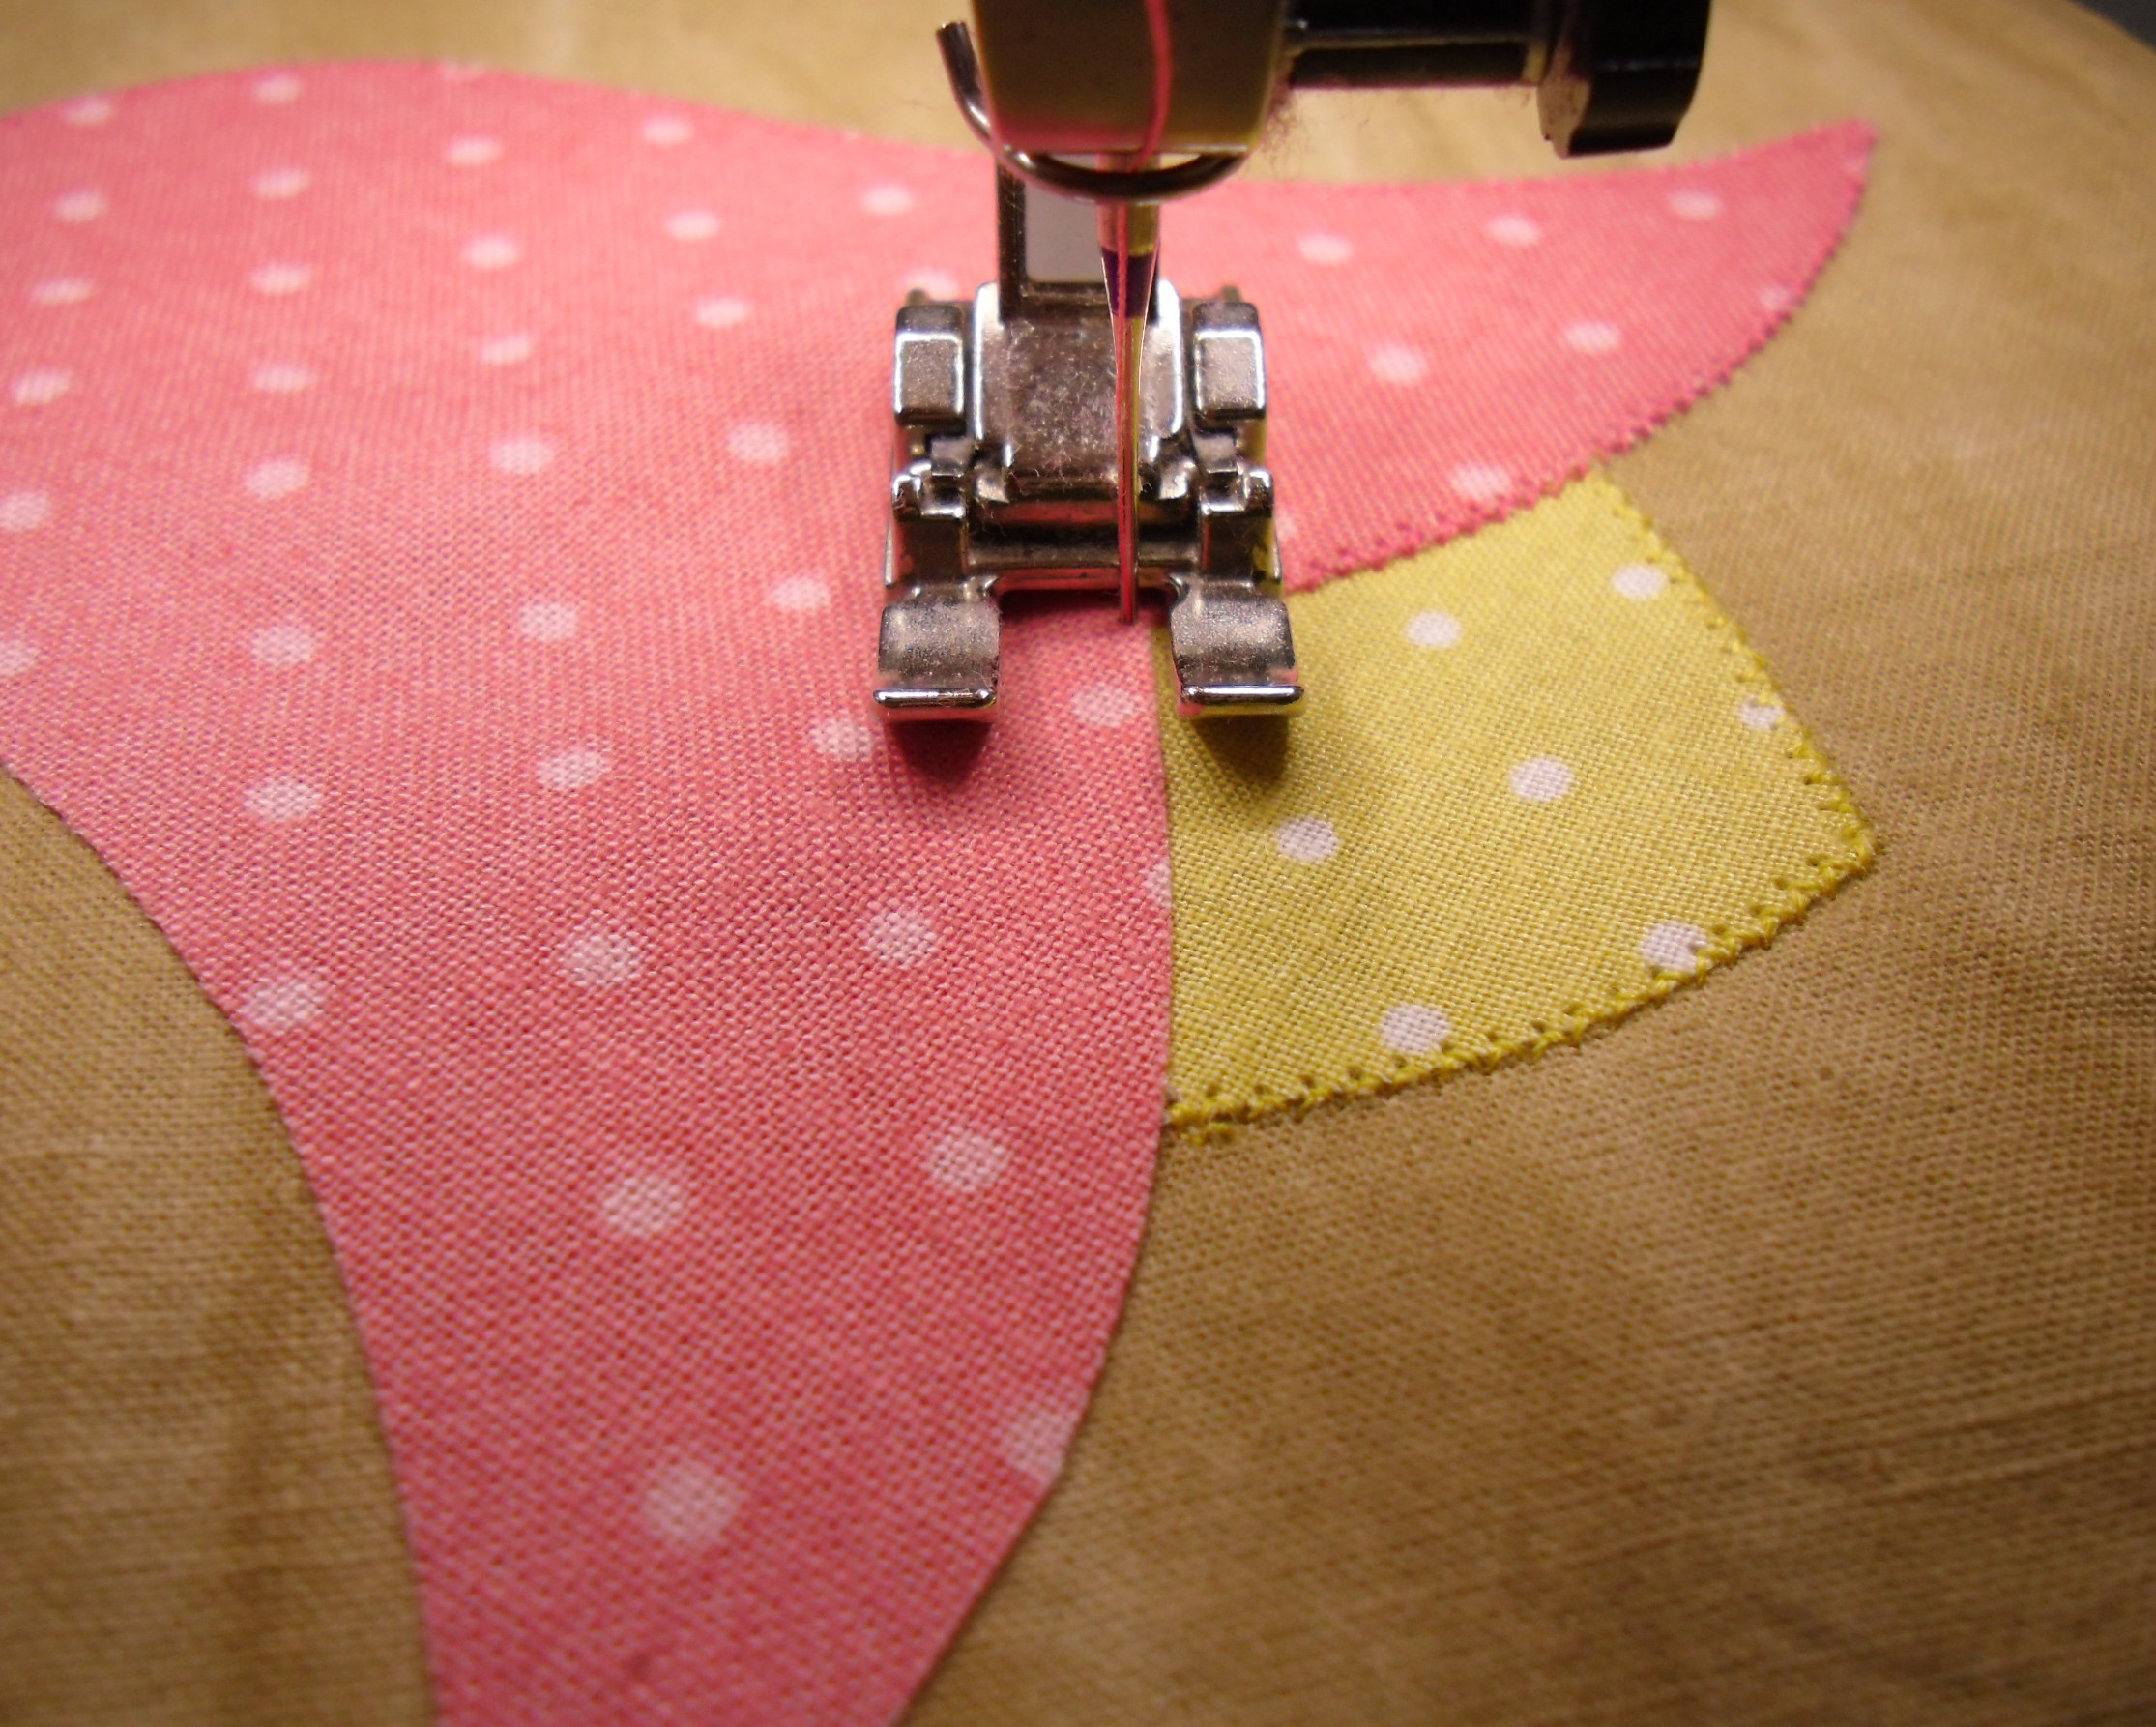
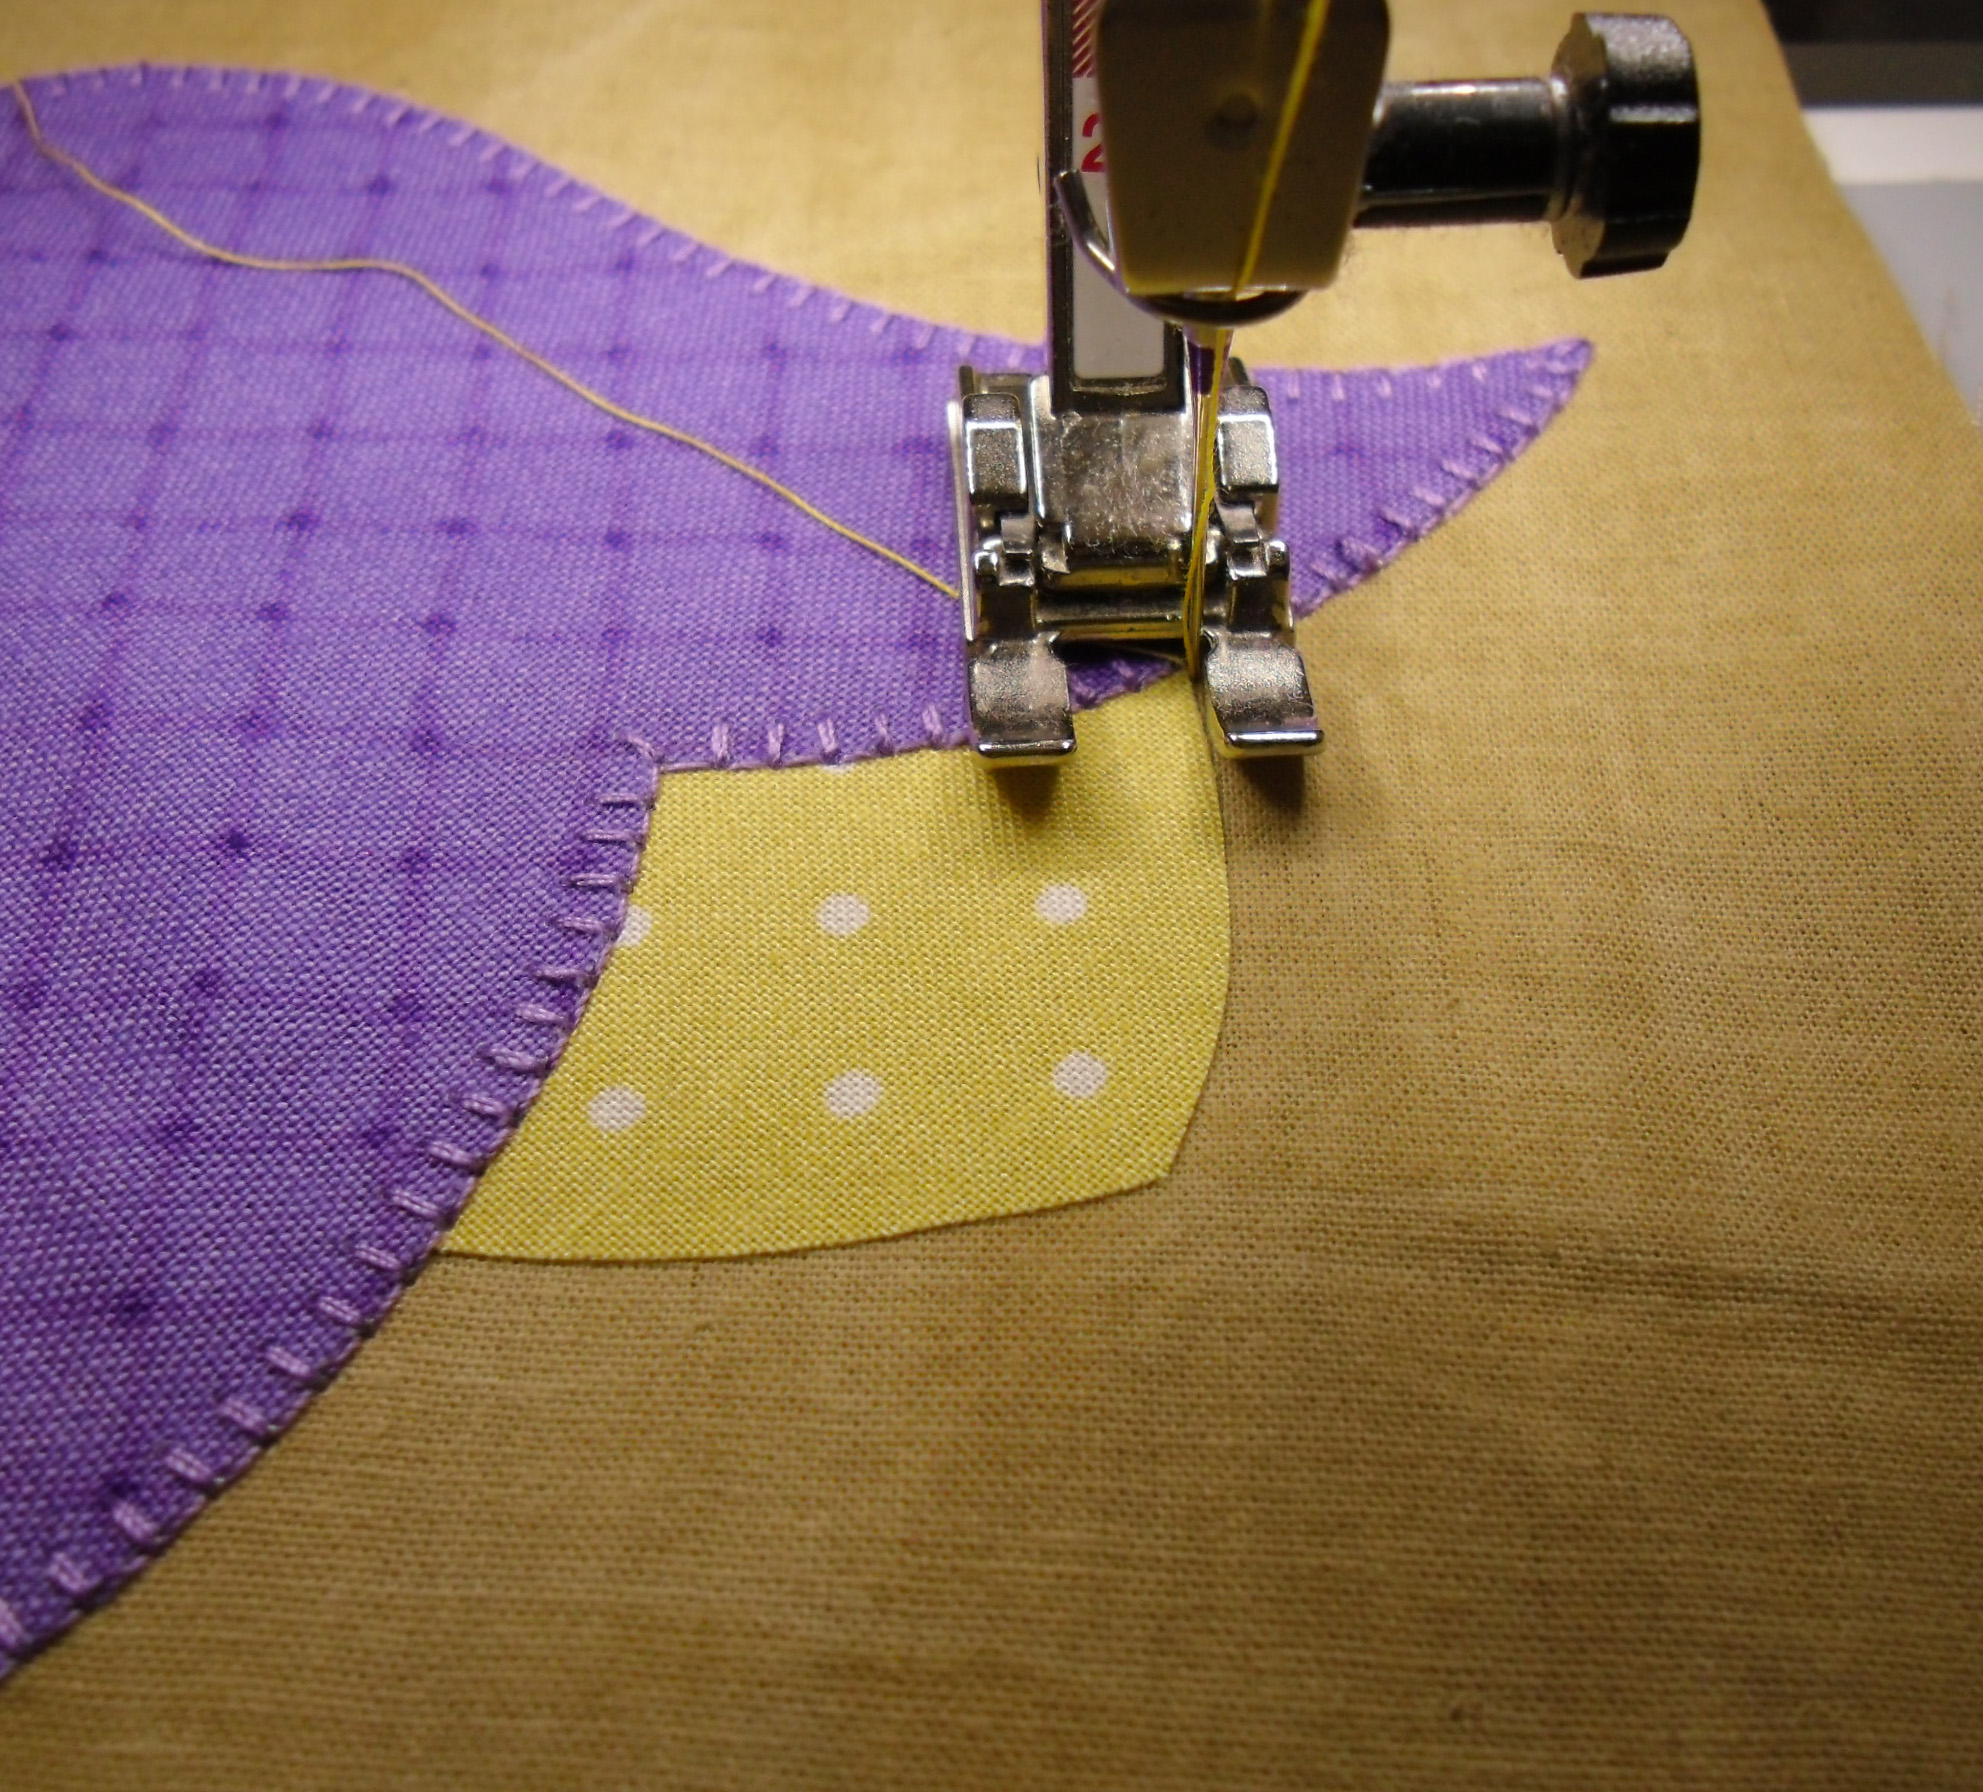
3. Open toe applique foot. This is a must for machine applique. If your sewing machine doesn’t come with this foot, you can probably purchase it from your dealer.
The foot has nothing in front of the needle to obstruct your view. It makes the placement of your stitches much more accurate and easy.
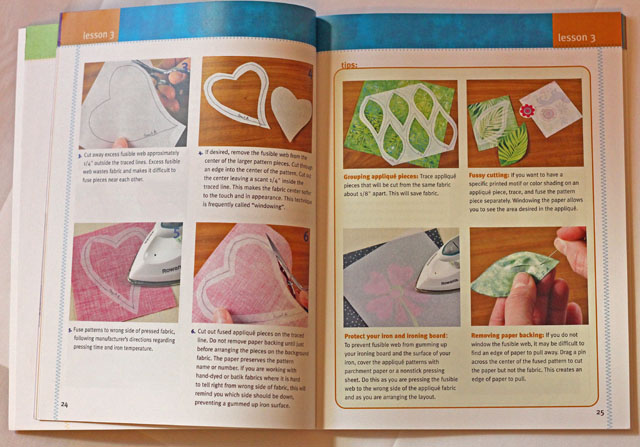
4. Thermoweb Heat N Bond Lite Iron on Adhesive. This is my favorite fusible web because it’s so easy to work with. It’s easy to tell which side to draw your applique shapes onto (the paper side) and the paper doesn’t peel away until you’re ready for it to. It’s light enough that my applique isn’t too stiff but it has a good bond that I feel will hold everything in place until I’m ready to stitch.
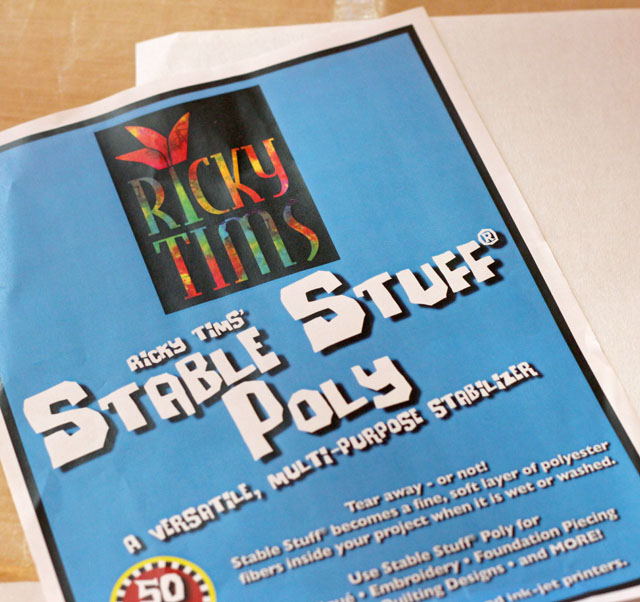
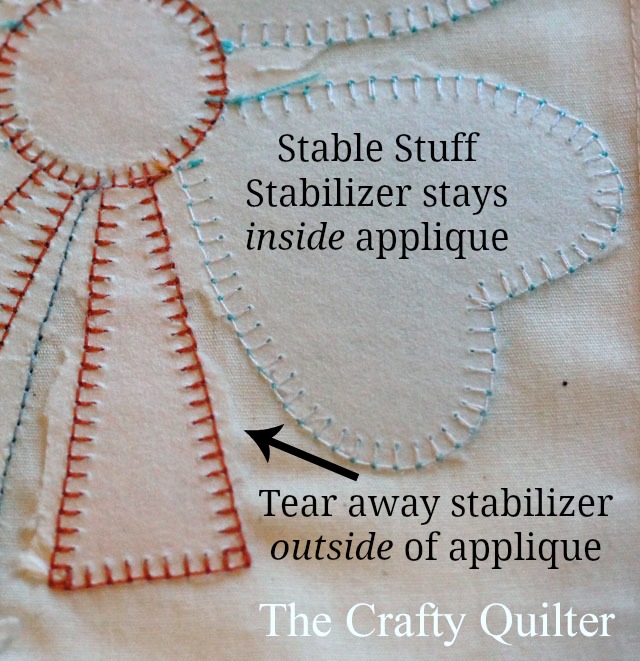
5. Ricky Tims Stable Stuff Poly. This is a stabilizer that I use on most all of my applique projects. Like the name says, it adds stability to my applique so that when I stitch around my applique shapes, everything lays flat.
If you’ve ever had skipped stitches or “tunneling”, this will get rid of that problem. When you’re through stitching, you tear away the stabilizer from the outside of the applique shape, but you can leave it on the inside of the shape. Eventually it softens to a thin, cotton-like layer that adds just a bit of lift to your applique.
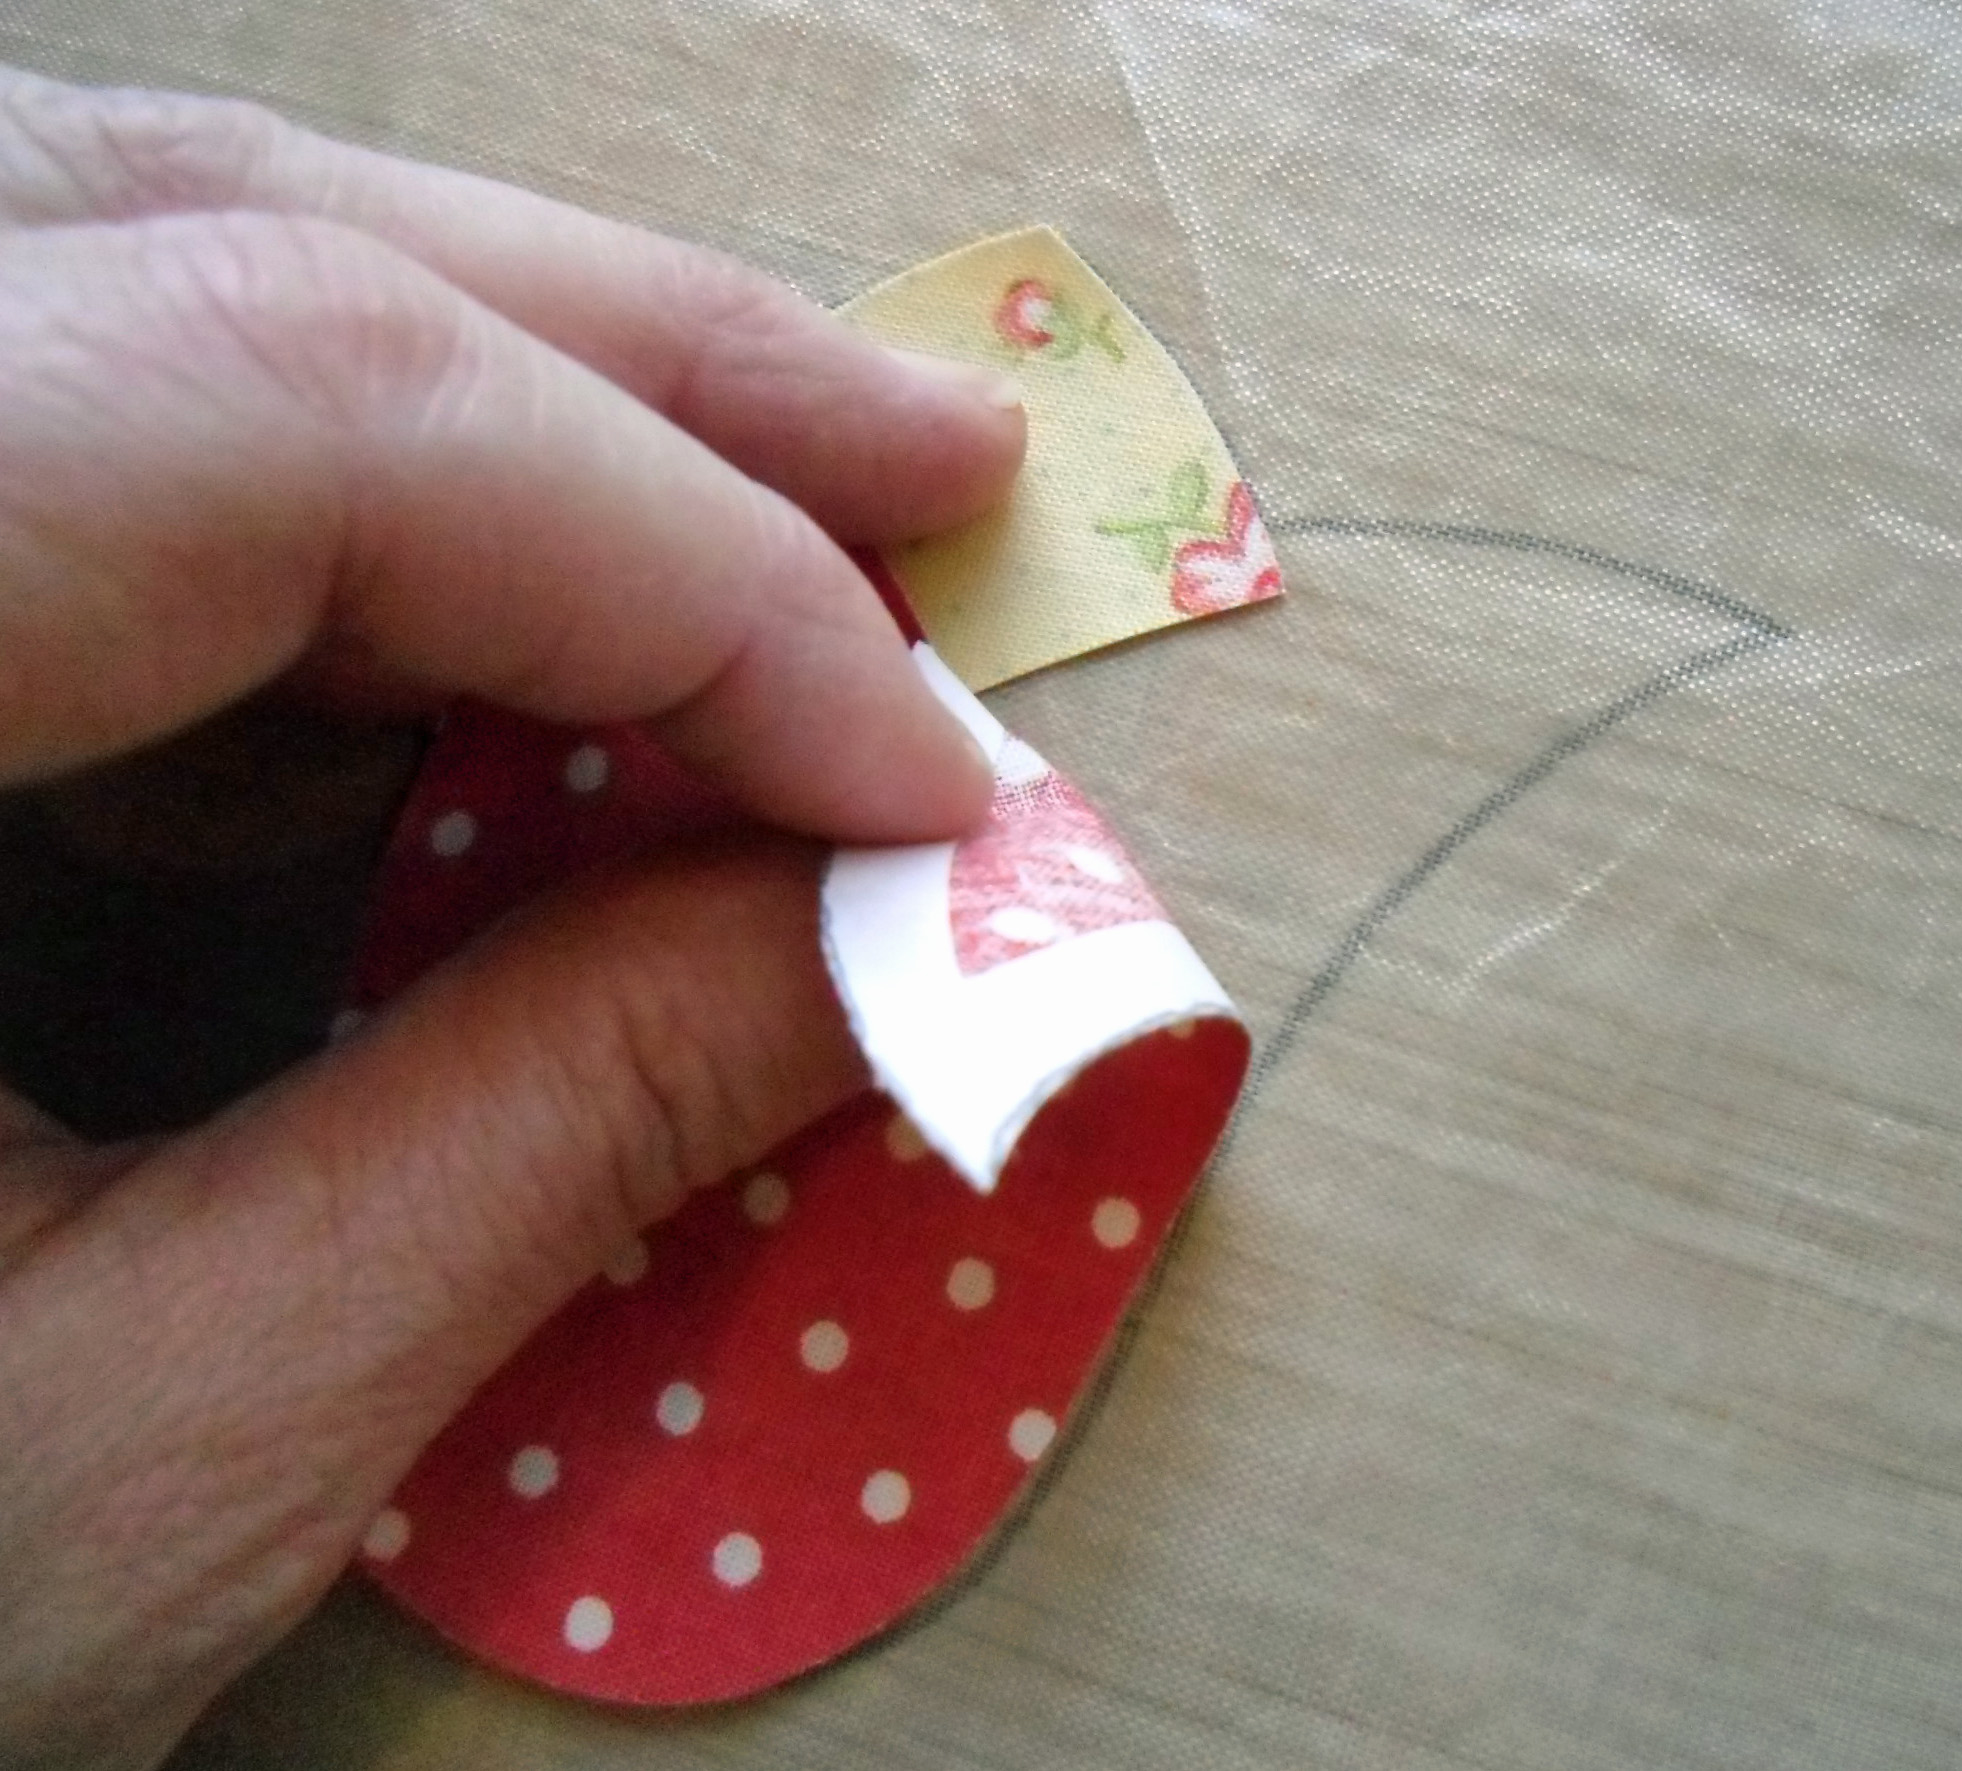
6. Applique Pressing Sheet. This is a handy tool for applique. It’s coated with a non-stick surface so nothing adheres to it and it can withstand high temperatures. Sometimes I use it between my iron and my applique shapes to keep any exposed fusible off of my iron. It’s also see-thru so you can use it on top of your applique template and build a complex shape onto the pressing sheet, peel the shape off, and then fuse the shape as a whole onto your background fabric. Any mistakes will happen on the pressing sheet and not on your background fabric.
7. Magnifico Thread and DMC Machine Embroidery Thread. These two products are my go-to threads for machine applique.
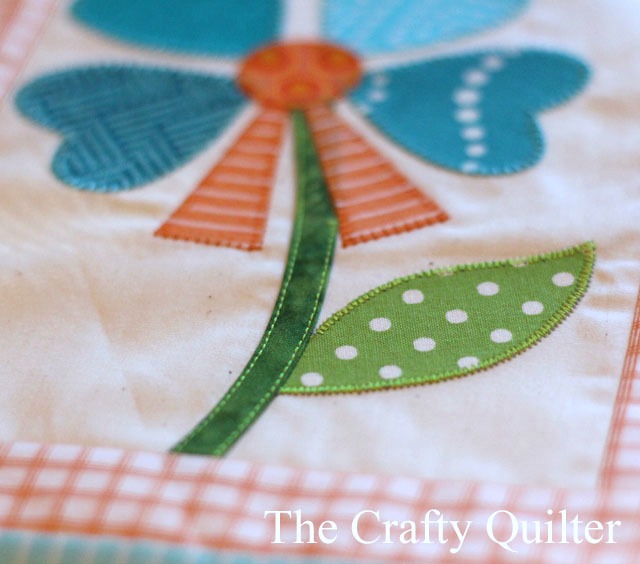
The Magnifico thread by Superior Threads is made of strong trilobal polyester and it has a beautiful sheen that really brightens an applique project. You can see it in the green thread used on the leaf and stem below:
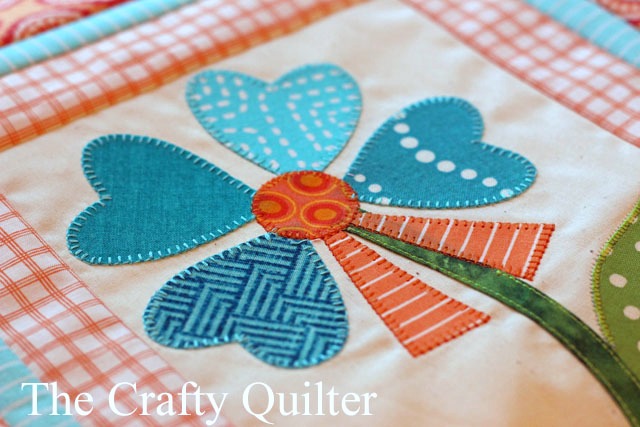
The DMC embroidery thread is 100% cotton and blends well with most fabrics, resulting in a smooth, beautiful stitch. I used this thread in the orange portion of the flower and I used Magnifico thread in the teal petals.
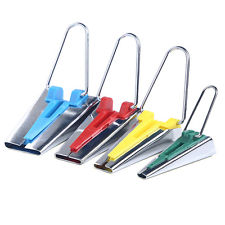
8. Clover bias tape maker. Whenever I need vines or stems, I use the Clover bias tape maker. It is the easiest and fastest way to get a bias strip with a turned edge. This allows you to bend and curve the strip gracefully with no frayed edges. I use the 1/4″ and 3/8″ tape makers most often. Tip: use a little spray starch on your bias strip BEFORE you run it through the bias tape maker. It will hold its shape much better.
These are my basic tools for machine applique. I use them just about every time I start a new project. If I could add one luxury item, it would be a sewing machine that can do a decent blanket stitch. My favorite machine for that is my Bernina 440 QE. It makes the best blanket stitch I have ever seen and it allows you to adjust the width and length of the stitch any way you want. In other words, there are no default settings that get in my way. I can make my blanket stitch .8 wide and 1.2 long if I want. These micro-adjustments are SO nice. Plus it has a 4 different blanket stitches to choose from. Many (if not most) of the Bernina machines come with these stitches.
If you’re new to applique, you’ll find my 3-part Applique Series very helpful. I’ve also got a tutorial for invisible machine applique (aka turned edge machine applique) that is worth looking at, too.
Do you have a favorite applique tool? Feel free to share in the comments. We’d love to hear about it!
Linking up with Late Night Quilter, Blossom Heart Quilts, Quilt Shop Gal and Freemotion by the River.




Julie, came across this and have a question. Do you use BOTH thermoweb and the Ricky Tims Stablizer together? I have some applique kits to work on, and would like some lift, as you say.
I do love your blogs 🙂
Primrose
Hi Julie,
Thankyou for this tutorial! Things like this are so helpful! I really enjoy ALL your tutorials! Although I do a lot of machine appliqué, it’s always so nice to see how others do it & share their tips! I also have the Bernina 440 QE. It’s is a beautiful machine. I agree!! It does have a beautiful blanket stitch. Oh how I agree! If you can get a machine that does a blanket stitch…I would! It makes machine appliqué so much easier! My husband bought me my B 790 for Christmas!!! That was a shock!!! But a nice one! Since it has black on the front of it…I named her “Black Beauty”! And a beauty she is! She also does a beautiful blanket stitch too! She’s so big she makes my 440 QE look like a dinky toy! Lol But so true! I love both of them! ❤️❤️
Your the best! And ever so kind to share all you do for us quilters out here! I look forward to your tutorials & all the time & effort you put in just doing these tutorials for us….I know it’s tons of work for you! It’s greatly appreciated! Thank you Julie!
Great tips. You do absolutely beautiful machine applique. Inspirational and packed with #CreativeGoodness.
QuiltShopGal
http://www.quiltshopgal.com
That was very informative. Thank you so much. I’ve yet to try machine applique. Whenever I do give it a try, this will be great reference.
I am not new to machine appliqué, but I certainly learned a lot from this delightful post! I look forward to my next project so much, I may even have to begin one this morning! That is, of course, after my first cup of coffee! Thanks so much for taking the time to so graciously share your knowledge with all of us.
Where do you purchase your DMC embroidery sewing machine thread????? Have looked all over the place for it here in S. California. Love your work and your posts.
Perfect timing for a week I’m needing to applique frog eyes! Thanks.
Great information! I would never have thought of using stablizer on my applique thinking that the fusible would take care of any shifting. Thank you so much 🙂
Such a thorough and pretty post, Julie. I am pinning this for sure!
Oh wow, this is an INVALUABLE post! I have wanted to do more and more applique lately, but I’ve been winging it. Oh, how I wish I could take a class with you! Thank you so much for linking up with my blog today for Tips and Tutorials Tuesday. You are awesome! Please feel free to link up some of your older tutorials too in the weeks to come.
Thank you for this. New at Applique and your article provides very helpful information.
Thanks so much for this really nice post. I’m trying to get up the nerve for my first machine applique project and this will really help. I’m going to check out your other applique posts as well.
Thank you for this post. I love to applique but by hand. Have wanted to applique using my machine and this is very good information.
This is a very informative post because I shy away from intricate appliqué, and my machine doesn’t do a blanket stitch. Thank you for taking the time to help your readers because we all sit in awe of your projects.
Julie, absolutely great blog. Thank you for your list – always helpful to hear what products/aids deserve a recommendation. To your list I would add freezer paper. In your assessment of fusibles, please include the new Steam-a Seam product. Thanks too for all the online research and sharing.
Very informative post. The threads you use and the types of fusibles are helpful for me. I do have one of Jane Pittman’s books (the large, spiral bound one) which is great. Thanks for all the information!
Julie, thank you so so much for sharing your favorite list for machine applique. I am a beginner and this list really helps me out on how to make my project looks nicer.
Great review. I was surprised not to see a stiletto — something I use (or substitute something in its place. Does the Misty Fuse eliminate all of the shifting and wiggling around some of those little pieces can sometimes do.
I do not do any machine applique at present however your tools and techniques make it looks quite possible to do. Creative Applique Bliss…