Arrow Stone QAL Week 5
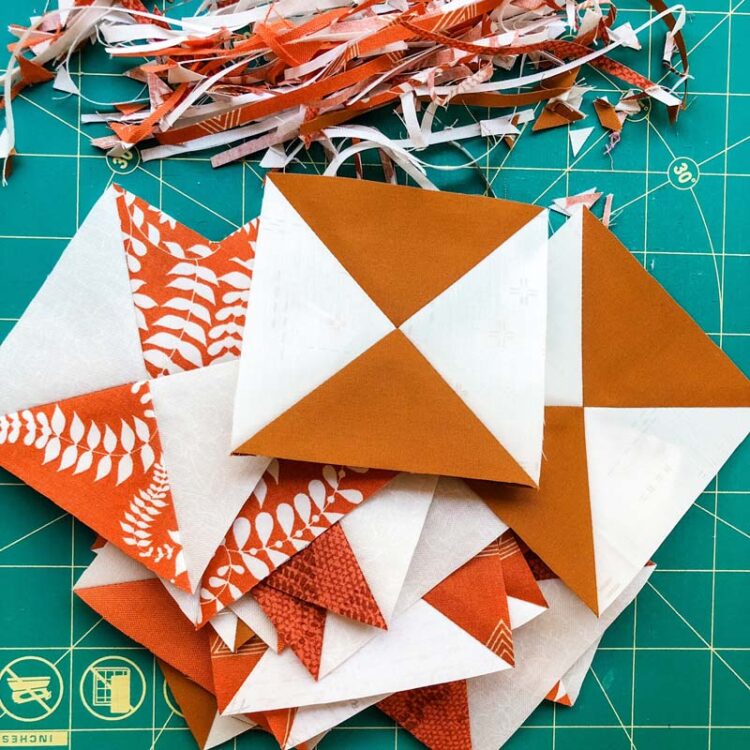
Can you believe it’s Week 5 of the Arrow Stone QAL? We’ve come a long way and we’re getting close to building our blocks. This week we’re going to make quarter-square triangles (QST’s), and then we’ll add them to our flying geese from last week. QST’s are easy to make with the right tools and knowledge. If you’re not participating in the QAL, keep reading because you’ll find some great tips here.
If you’re just now joining us, all of the past content for the Arrow Stone QAL can be found below:
- Introduction Post
- Week 1 – Choose fabric
- Week 2 – Cutting and organizing fabric
- Week 3 – Making HST’s and piecing tips
- Week 4 – Making flying geese units
Arrow Stone QAL Week 5
This week we are going to make quarter-square triangle units (QST’s). We will be following the instructions on page 4 of the Arrow Stone pattern. You’ll need your C and E fabric squares, a drawing tool and a trimming ruler.
Quarter-square Triangle Tips
The method I use to make QST’s is common for most quilters. I start with large squares and make half-square triangle units (HST’s) and then sew together two HST’s 1/4″ from both sides of the center diagonal line. This creates two QST units which are then trimmed down to the exact size. I have a few suggestions to make them turn out perfectly.
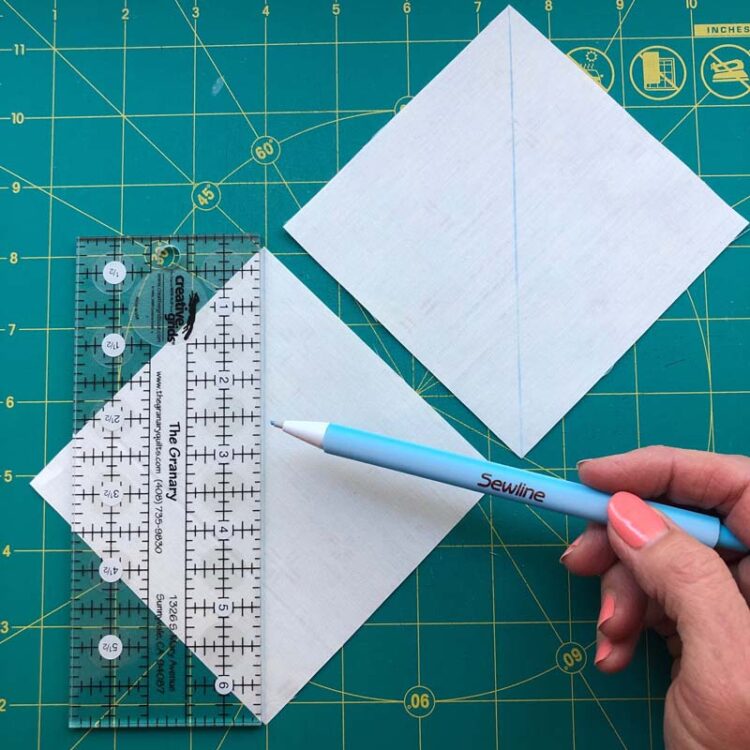
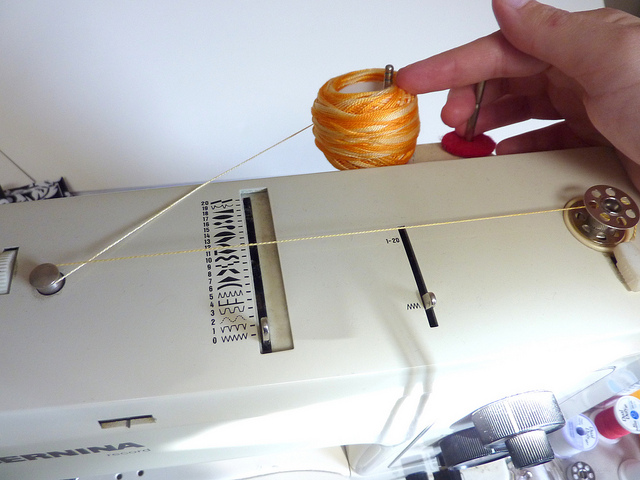
The first diagonal line you draw will be from corner to corner on the wrong side of the C squares. I just tried out a new marking pencil – Sewline Blue Tailor’s Click Fabric Pencil. For those of you that don’t like Frixion Pens, this might be something to consider. It draws on smoothly and it’s easy to see on most fabric colors (it also comes in white and pink). It can be removed with water or a polymer eraser. It has a nice rubberized grip so it’s comfortable to hold. This is not a refillable pencil, however Sewline makes a mechanical refillable version as well.
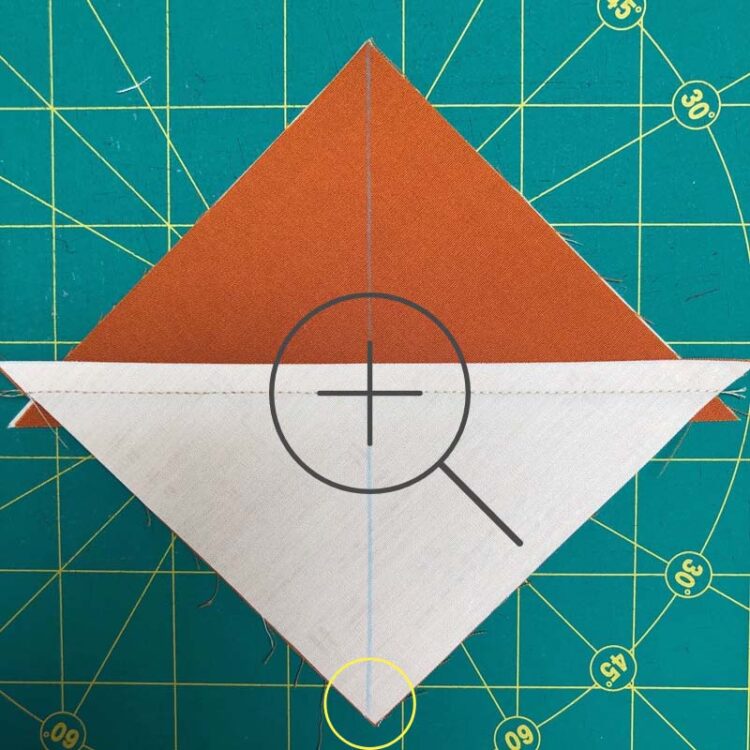
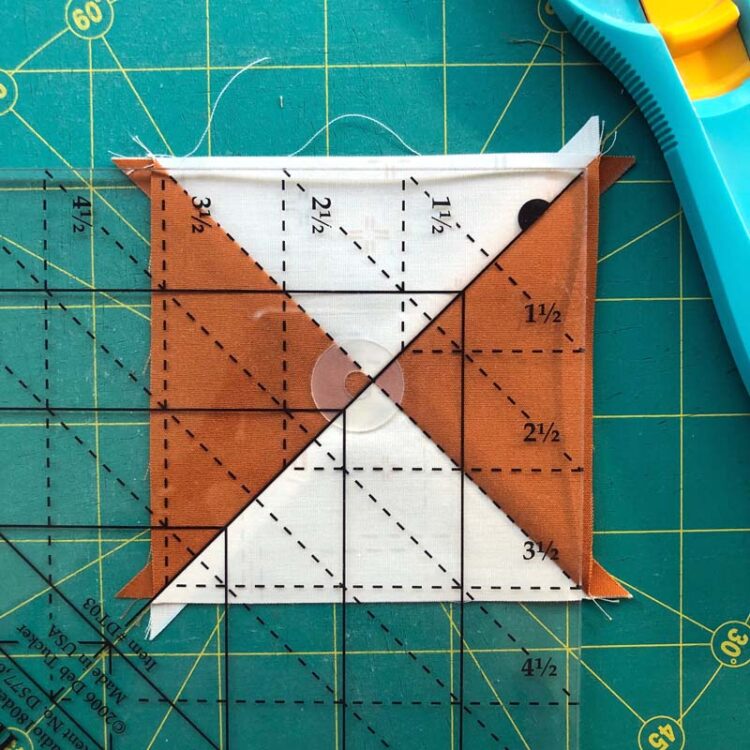
The most important tip for accurate QST’s is how you draw the second diagonal line. Once you make the HST units, you’ll be ready to draw a second diagonal line on the wrong side of one from each pair. Draw that line so it is PERPENDICULAR to the seam line. This may not line up from corner to corner and that’s okay. Because we have not trimmed these HST’s yet, the corners may not be perfectly aligned with the seam.
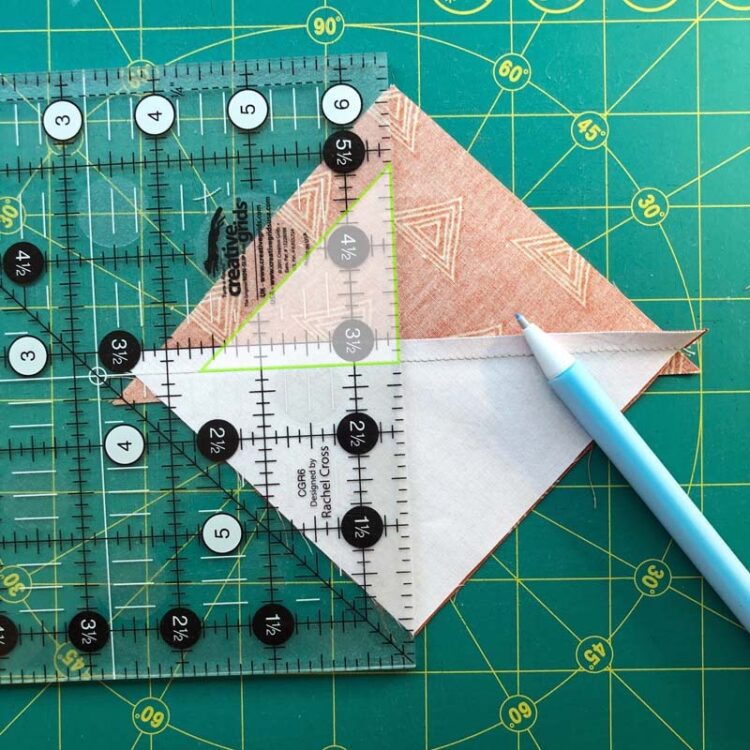
Now when you go to trim these units, the diagonal seams will land in the corners so you can trim them perfectly.
Trim the QST’s on all four sides. This will keep the middle intersection in the center of the square.
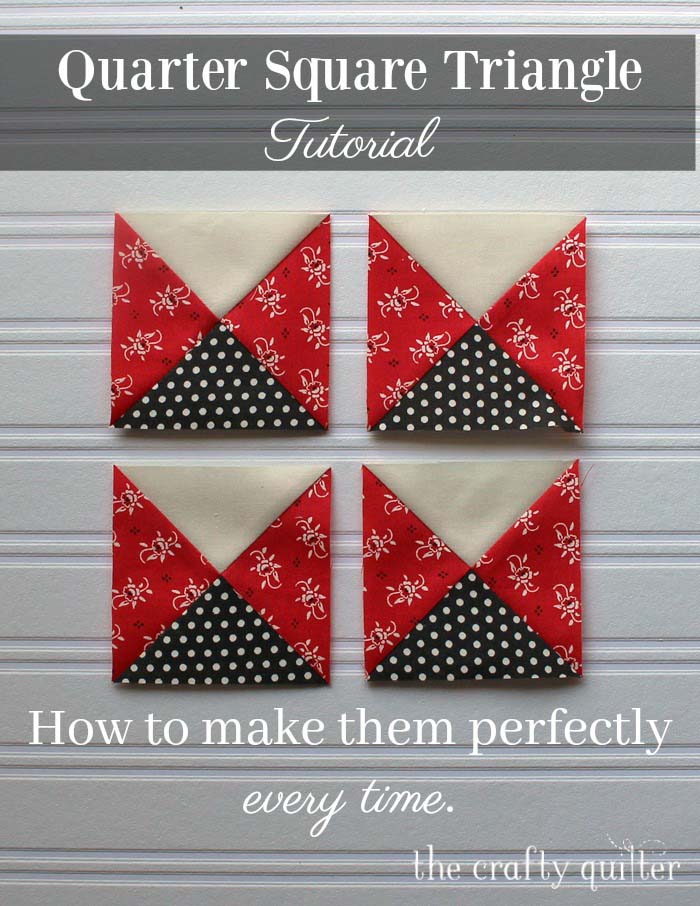
For additional information on QST’s, visit my Quarter-Square Triangle Tutorial blog post. It’s full of even more photos and information (and you thought I couldn’t say anything more).
Trimming Rulers
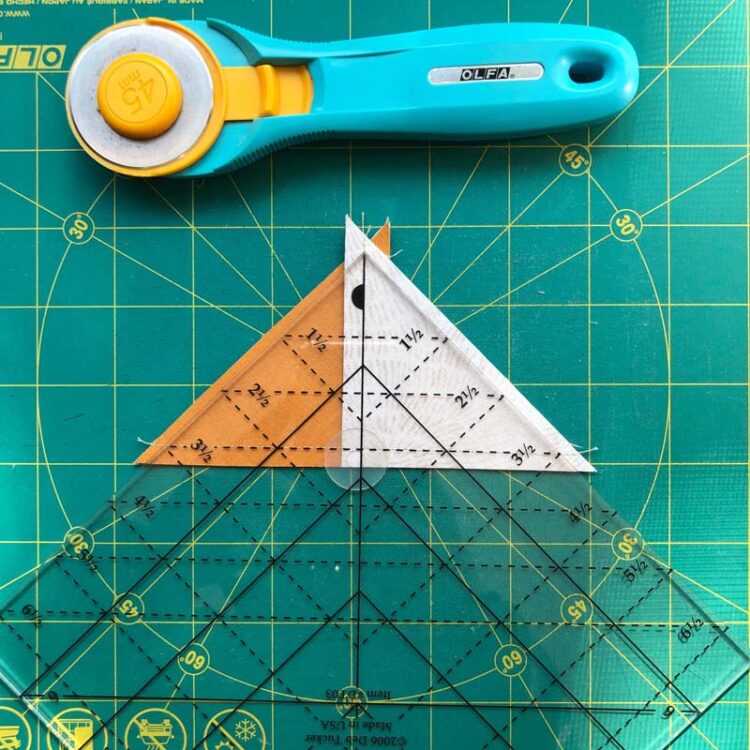
There are an abundance of rulers designed to trim HST’s and QST’s. One of my favorites is the Tucker Trimmer by Studio 180 Designs. It has diagonal markings in both directions that are easy to read and are perfect for QST’s (and HST’s).
I prefer to trim QST’s on all four sides, but some people like to trim two sides at once. This can be done by keeping the QST “closed” and aligning the line of the unfinished size on the long seam line (not the raw edge) and the solid diagonal line on the short seam line. This way you’re trimming through two layers at once.
Heather at Purple Hobbies has a clever tool that trims squares, rectangles, HST’s and QST’s. It’s the Multi-Size Block Trimmer and I’ve been using it to fussy cut my center block squares. It comes with 26 interlocking pieces which allows you to cut and trim hundreds of sizes of squares and rectangles. You can cut from both the inside and outside of the shape, too!
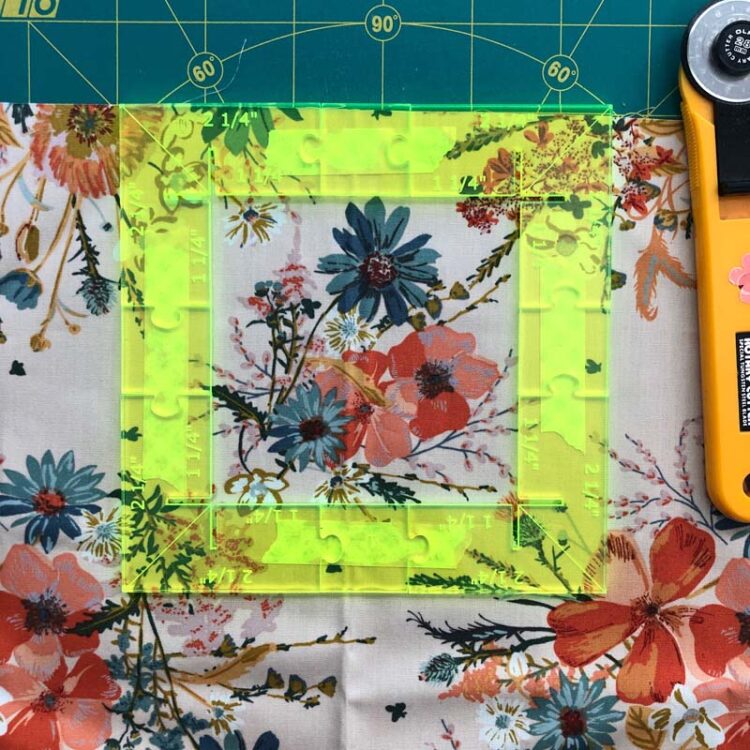
Lucky for us, Purple Hobbies is sponsoring our QAL this week and the Multi-Size Block Trimmer is one of the prizes! Not only that, you can save 20% on the Multi-Size Block Trimmer through March 31, 2022 (no coupon code required). I think the video demonstration below shows its versatility better than I can.
Looking Ahead
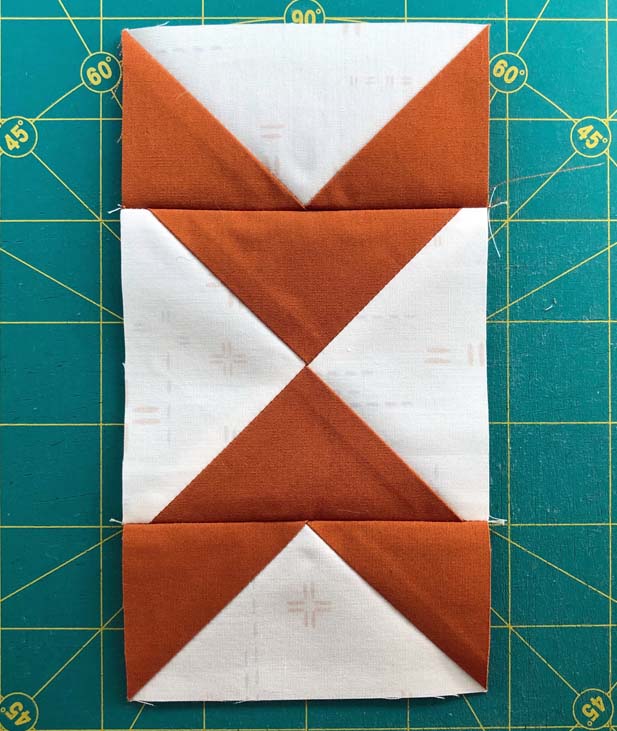
Once you have all of the QST’s made, you can make the Center Side Units (top of page 5).
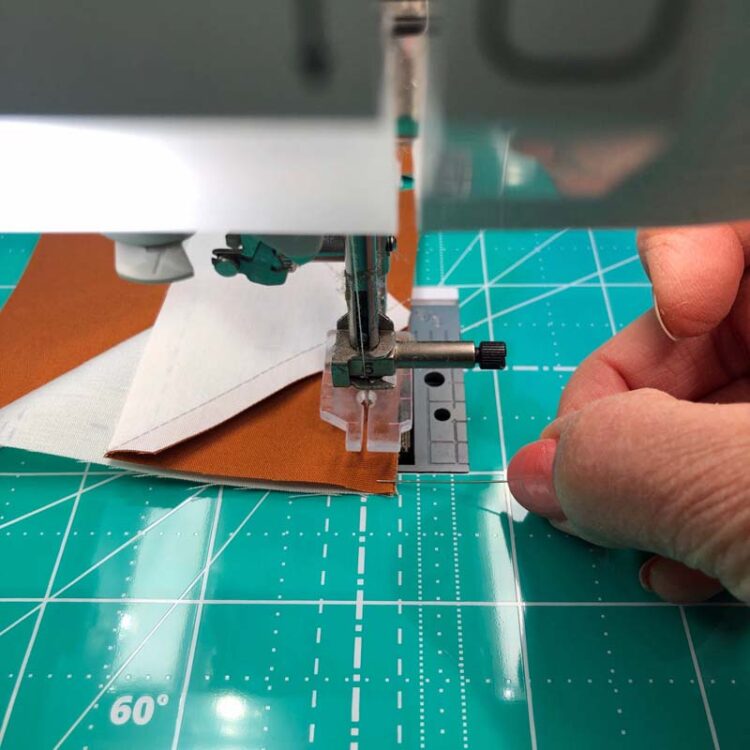
- Make sure to pin the FG to the QST before sewing the seam. This will keep the pieces from shifting at the beginning and end of your stitching line.
- Since this seam will be pressed open, I shorten my stitch length to 1.5.
- When chain piecing, lift the presser foot between pieces (love my automatic presser foot lift). This will prevent the presser foot from nudging the top layer down from the bottom piece.
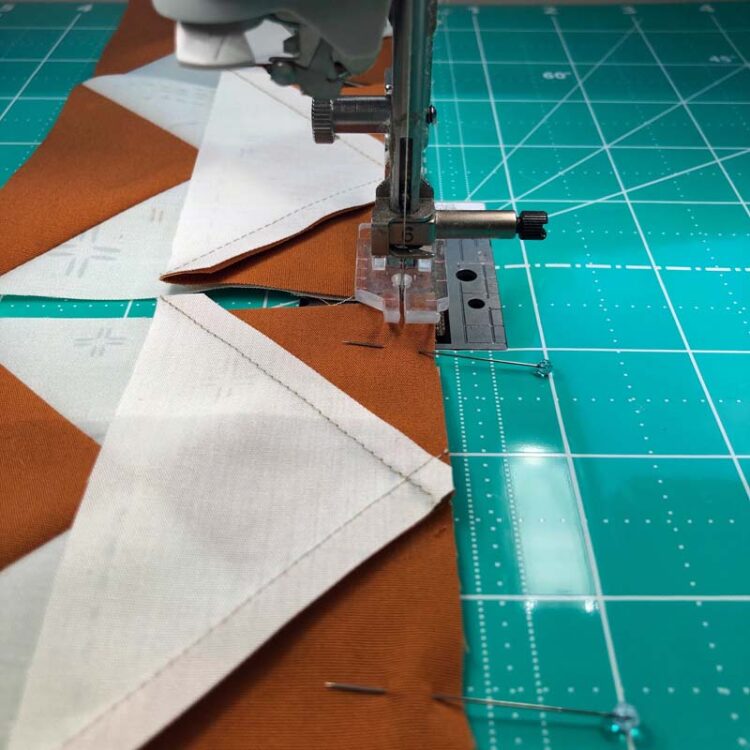
- One other thing I do is use the last pin as a stiletto. When I remove the bottom pin, I hold onto it and place it right at the bottom corner. This helps me control the edge as it moves under the presser foot and holds the two layers together!
Now we have all of the pieces ready to assemble our quilt blocks for next week! That’s where all of this exacting work we’ve been doing will pay off. Trust me!
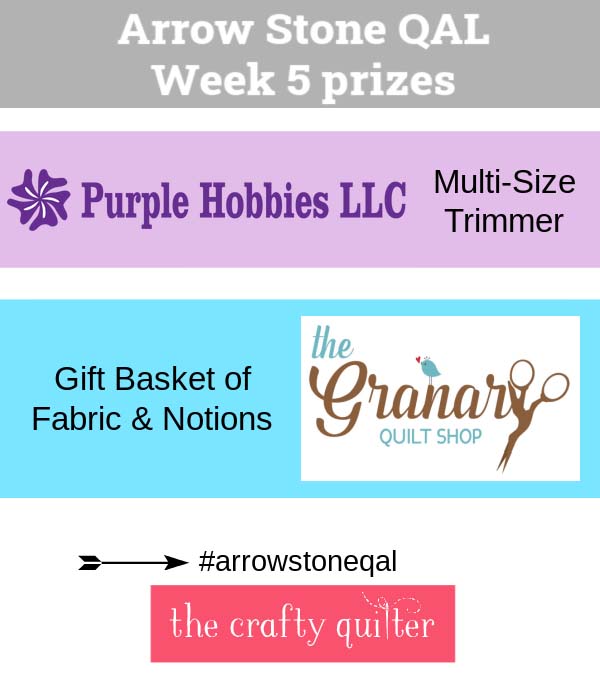
Week 5 Sponsors & Prizes
There are two prizes again this week! The first prize is a Multi-Size Block Trimmer from Purple Hobbies! The second prize is a Gift basket of fabric and notions from The Granary Quilt Shop! Thank you to both sponsors for your support!
Giveaway rules:
- Post a photo of your Quarter-Square Triangle units on Instagram using the hashtag #arrowstoneqal
- Deadline is Saturday, April 2, at midnight (PST).
- Your Instagram account must be public (otherwise I won’t be able to see it).
- Giveaway is open to all.
Week 4 Winners
The winner of the $50 Gift Certificate to Fat Quarter Shop is Ann Dunn @anndunn24.
The winner of the Bloc Loc Flying Geese Ruler is Carole Schmidt @ceschmidt12.
Congratulations to both winners!
If you didn’t receive my direct message, please send me an email so I can get you your prize!
Thank you to Fat Quarter Shop and to Bloc Loc for sponsoring our quilt along!
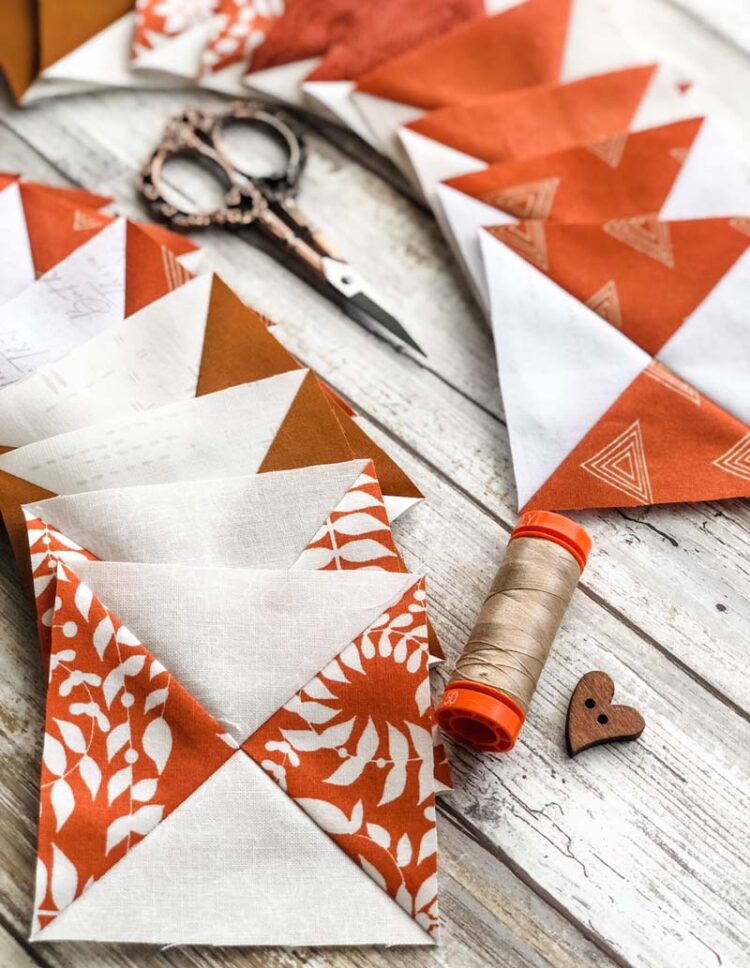
It makes me happy to know that so many of us are making this quilt together during the Arrow Stone QAL. I know it’s hard to keep up with a schedule, but you guys are doing great! I look forward to seeing your QST units on Instagram (#arrowstoneqal).
Remember for the final Arrow Stone QAL giveaway, you can email me a photo of your finished quilt (top only – it doesn’t need to be quilted) to be eligible for the prizes! I know many of you don’t use Instagram, so I hope this will give you added incentive to finish your quilt top.
See you next week!


Discover more from The Crafty Quilter
Subscribe to get the latest posts sent to your email.

Thank you for all the tips.