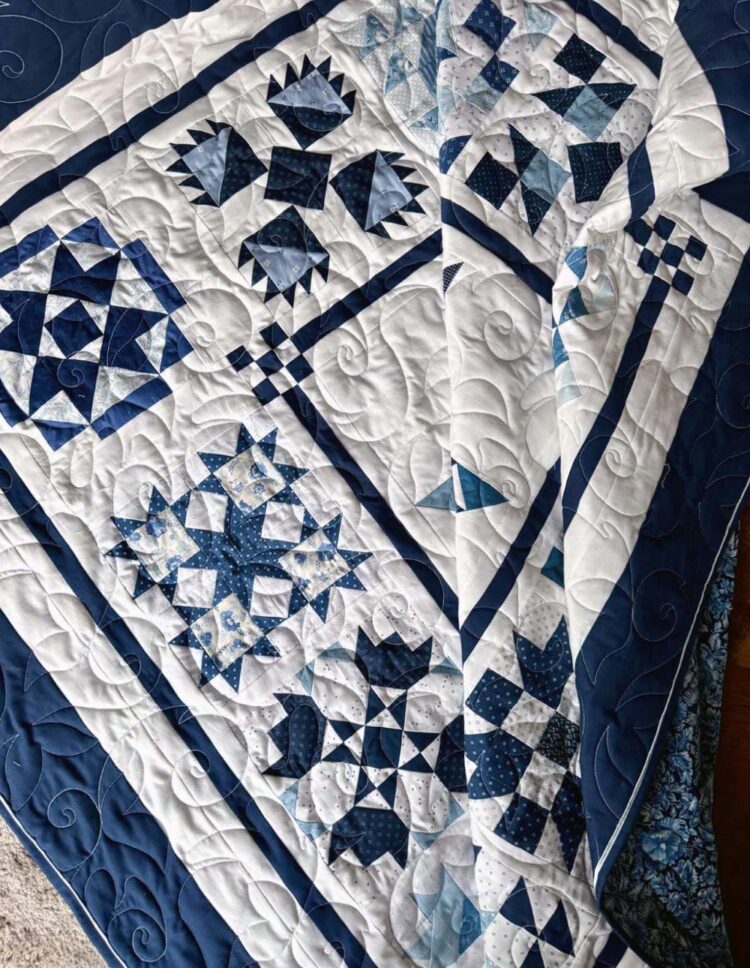
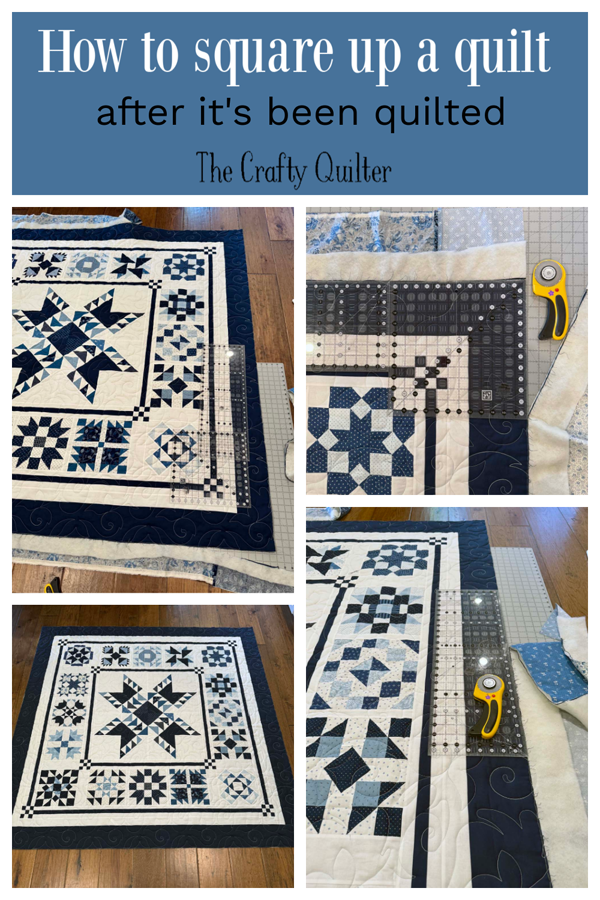
How to square up a quilt after quilting
After the quilt top is made and then quilted, there is another important step to take before adding binding. We need to trim the quilt! Today’s tutorial is all about how to square up a quilt after it’s been quilted. It’s a fairly straight forward process, but it’s always nice to see how someone else does it, right? I have some tips to share and lots of photos, as always!
What does it mean to square up a quilt?
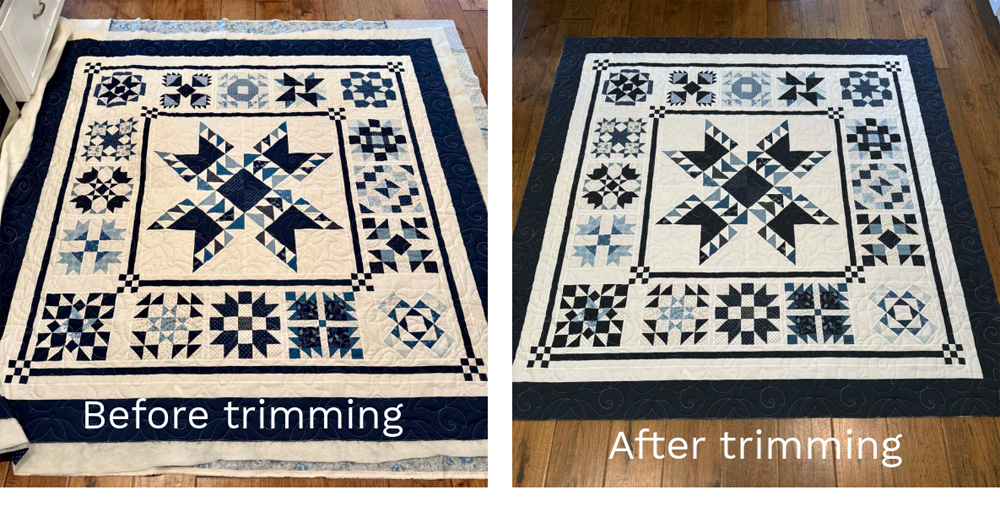
Squaring up a quilt simply means trimming the corners so they are at a right angle (90 degrees) and trimming the sides so they are straight. This assumes you have a quilt that is a square or rectangle shape. Most often, my quilts are rectangular in shape so the term “squaring up” refers to a shape that has 90 degree corners. I love this step because it reveals a beautiful quilt when it’s all trimmed and ready for binding!
For this blog post, I will be using my 2024 block of the month quilt, Red & Cream Sampler by Fig Tree & Co. as a demonstration sample.
Is squaring up necessary?
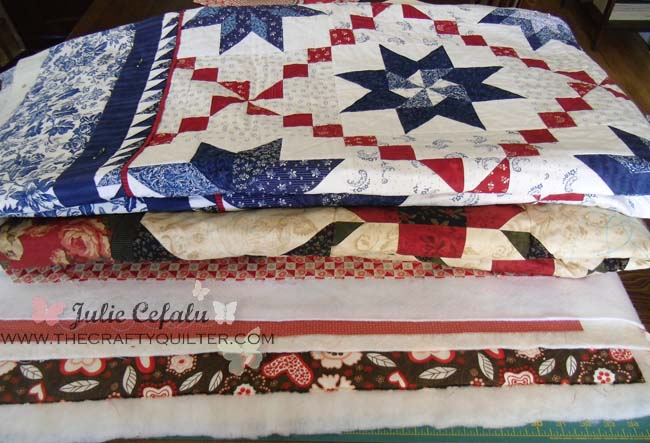
The short answer is YES! Squaring up a quilt accomplishes two things. First, you will be trimming away the excess batting and backing. When a quilt sandwich is made, there is usually an extra 2″-4″ of batting and backing beyond the quilt top edges. This accommodates longarm quilters (usually 3″-4″) and if you’re quilting it yourself, it gives you something to hold onto for control when quilting close to the edges. During the quilting process, there is often some shifting and warping of the quilt as it’s quilted. All of which will be corrected when squaring up the quilt.
Secondly, having corners that are square will result in binding with beautiful mitered corners that are pointy and full. This is much easier to achieve when you start with corners that are perfect right angles. For more information on binding, I have several tutorials and videos that you can find here.
Other times to square up a quilt
I want to mention that there are other times in the quilt-making process when it’s helpful to square up a quilt. I almost always square up the quilt top before I add borders. This helps to ensure my borders will be straight and the quilt has a better chance of laying flat.
Another time you may want to square up a quilt is before it’s quilted. Sometimes the edges of a quilt top can be wonky. Now is a good time to make any adjustments or corrections because after it’s quilted, it will be too late (or at least a huge effort to fix).
Helpful tools
You’ll most likely have all the tools needed to square up a quilt. Below is a list of tools I use along with alternatives.
- Rotary cutter, size 45mm or 60mm. If you have a 60mm rotary cutter, now is a good time to use it. Otherwise the standard 45mm works perfectly fine.
- Long ruler, 6″ (or wider) x 24″. This size is ideal for trimming the sides of a quilt. It can also be used for the corners if you don’t have a square ruler.
- Square ruler, 12.5″ or larger. I have a 16.5″ square ruler and it’s so nice for squaring up the corners of a quilt, but a smaller size works also. If you don’t have a square ruler (or just a smaller square), you can butt two rulers together to create a larger square or to expand the covered surface area of a corner.
- Rotary cutting mat, size 18″ x 24″ or 24″ x 36″. I use the 18″ x 24″ size just because I do a lot of trimming on the floor and it’s easier to move the smaller mat around.
I usually use the floor of my kitchen to square up a larger quilt. I like to have the entire quilt on a flat surface when I trim. For smaller quilts, I can often use our dining room table. If your knees or back are not in favor of working on the floor, then by all means use whatever table is available.
Steps for squaring up a quilt
There are a few basic steps to squaring up a quilt. Once you’ve completed them, you’ll be well on your way to the binding stage and a beautiful, finished quilt!
These steps assume you are working with a quilt that has plain borders. If you have a quilt with pieced borders or no borders, you may have points along the edges that you don’t want to lose when you square up the quilt. Make sure to read the section towards the end that addresses that.
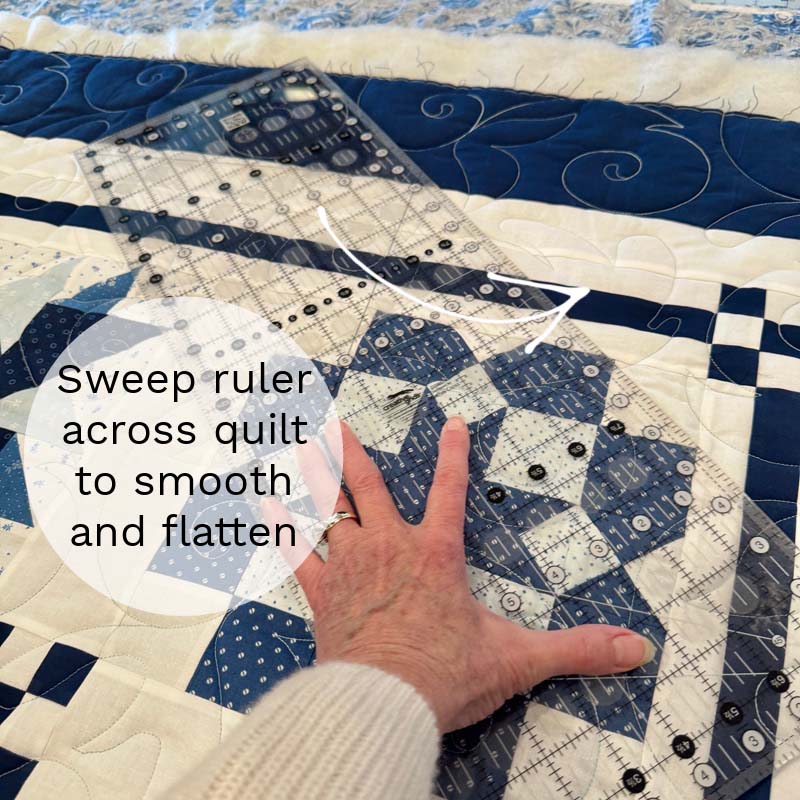
Step 1: Smooth out the quilt on a flat surface.
If you have a large enough space, lay the quilt down and smooth it out flat. Sometimes I’ll use my long ruler to sweep across the top of the quilt, from the center out to the edges. This gets it smooth and flat.
If you’re working on a table that is smaller than the quilt, it may be helpful to work in quadrants. Start by placing the upper right quadrant of the quilt on the table and smooth it out. You’ll square up this quadrant first and then work in a clockwise direction. Move the quilt so the lower right quadrant is flat on the table and trim that section before continuing to the lower left quadrant.
No matter what surface you’re using, make sure to place a cutting mat underneath the section of the quilt you’re working on.
Step 2: Square up the first corner
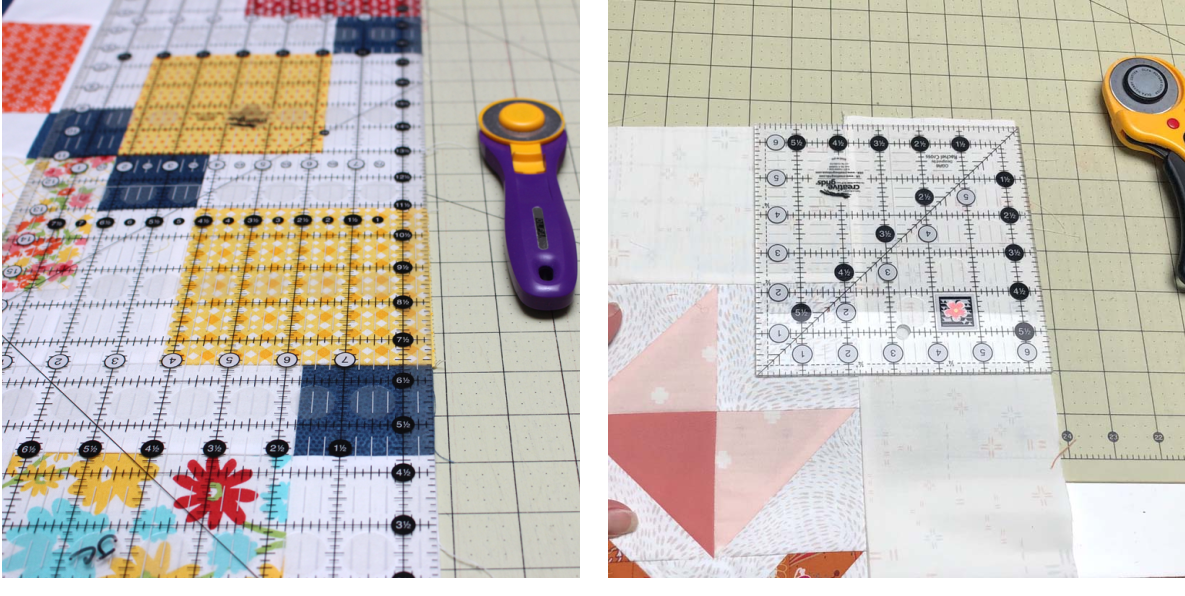
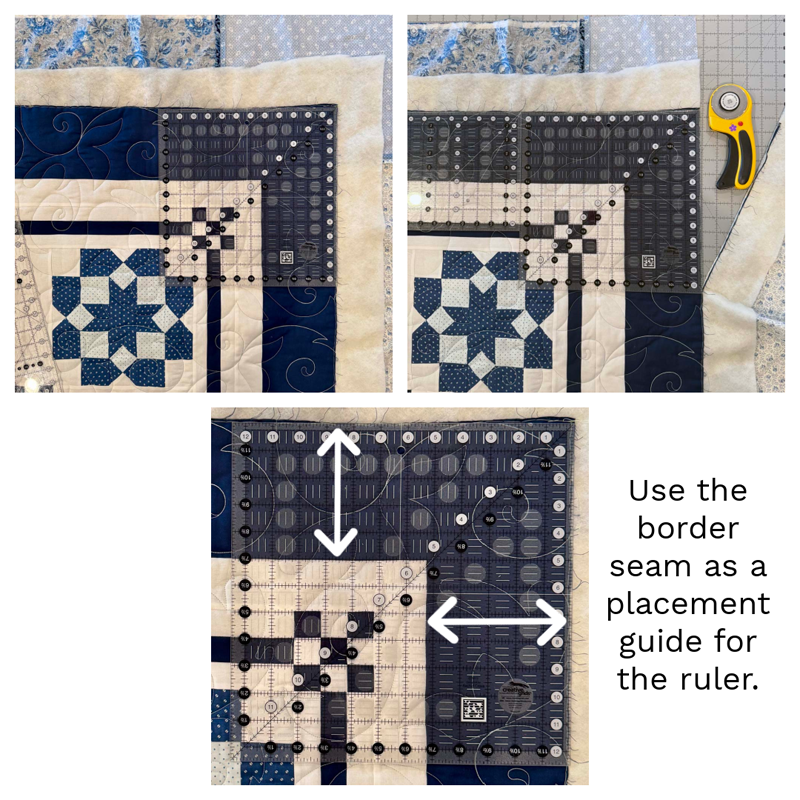
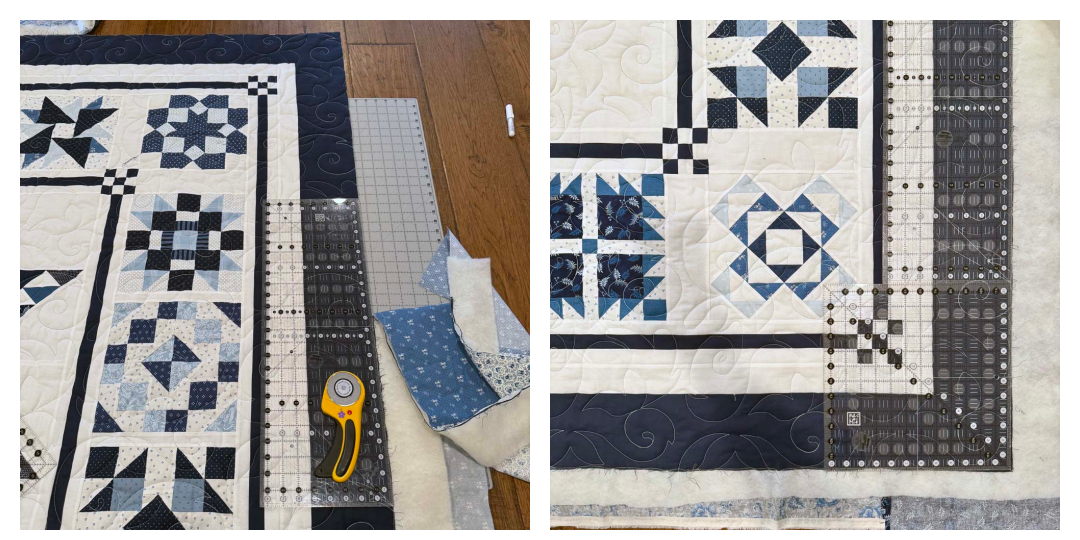
You can start in any corner, but I like to start in the upper right corner. Place a square ruler (or whatever ruler you have available) in the corner of the quilt so that the edges of the ruler are even with the edges of the quilt. If everything is aligned and square, you can go ahead and trim away the extra batting and backing.
Chances are the quilt corner is not going to be perfectly square, and that’s okay! We’re here to trim it into squareness. Sometimes it’s obvious which of the two sides isn’t square. If you’re not sure, you can try using the last border seam as a guide. You can see in the photos below that the upper edge is the one that needed to be trimmed.
You may find that both corner edges are off just a little bit. In this case, you can adjust the square ruler so that it’s distributing the discrepancy between the two sides evenly.
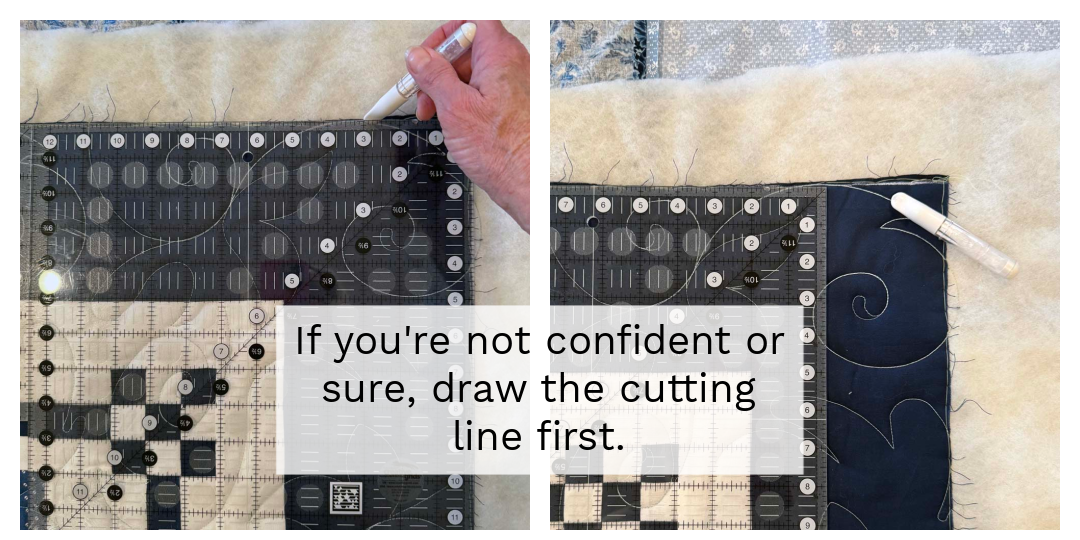
If you’re just not sure (or comfortable), you can draw a line of where you think the straight edge should be. Then move on to the next corner and see what’s happening. Come back to this corner when you’re confident about where to trim.
TIP: Keep in mind the binding will cover 1/4″ of the edge. If some batting is left exposed as you trim, it will be hidden in the binding’s seam allowance.

Step 3: Trim the adjacent side
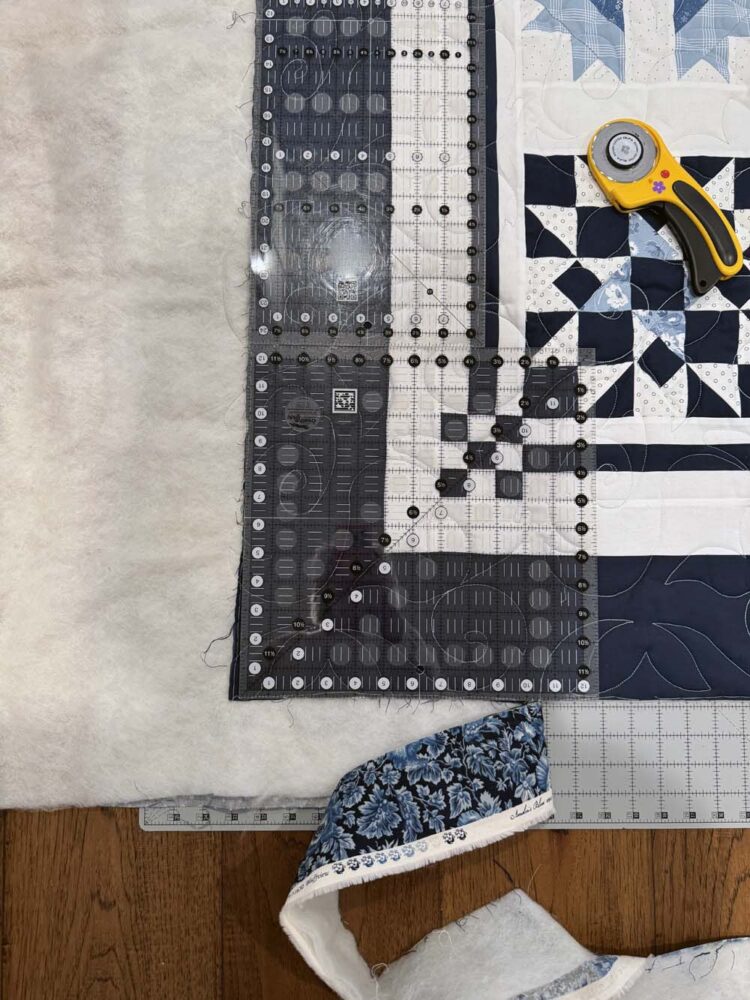
After the first corner is trimmed, continue along the adjacent side. I usually work clockwise. Place the long ruler so that it is even with the edge of the quilt and so it overlaps or meets the squared up corner. Trim away the extra batting and backing.
Depending on the size of your quilt, you can continue along this side until you get to the next corner. Often, I like to put a square ruler in the next corner and butt the long ruler next to it. This shows me what I have going on in the next corner and if my side cut is going to meet the corner cut. I can make adjustments, if necessary, before continuing on.
TIP: You can gently tug on the edge of the quilt backing to get it to straighten or come into alignment with the ruler.

Step 4: Continue around remaining sides and corners
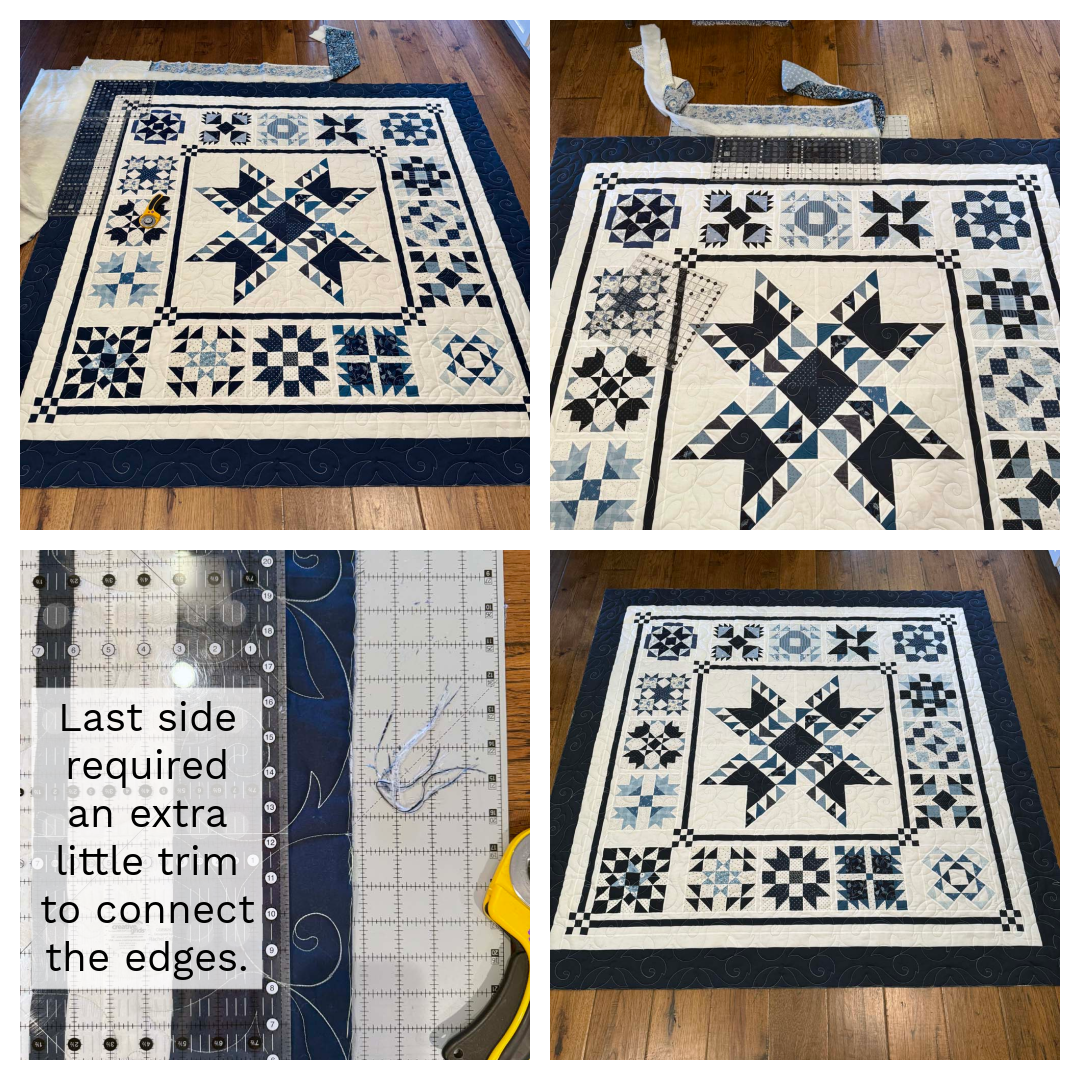
Just keep going in the same manner as you have been. You’ll eventually get down to one final side to trim. You may find that you need to angle the long ruler to get it to meet the next corner or side. That’s to be expected and part of our dynamic quilting world. I’m not a fan of the quilt police. 😉
Another option
Some people like to square and trim all of the corners first and then connect the corners and sides with the final side trimming. This methods works just as well, it’s just not my preference. I mention it here because I know it makes more sense to some quilters to do it that way. No judgements either way, just more options.
Quilts with pieced borders or no borders
Something to consider before you start trimming is the outside edges of the quilt. Does your quilt have a pieced border or no borders? If you have piecing that extends to the edge of your quilt, you don’t want to loose any triangle points while squaring up your quilt.
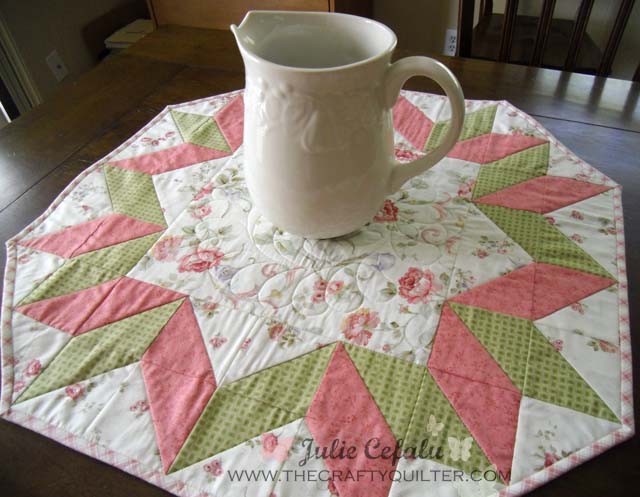
My Summer Fun Mini Quilt is a good example of piecing that reaches the edge of the quilt top. You can see in the photo, below right, how close that sunflower is to the edge of the quilt.
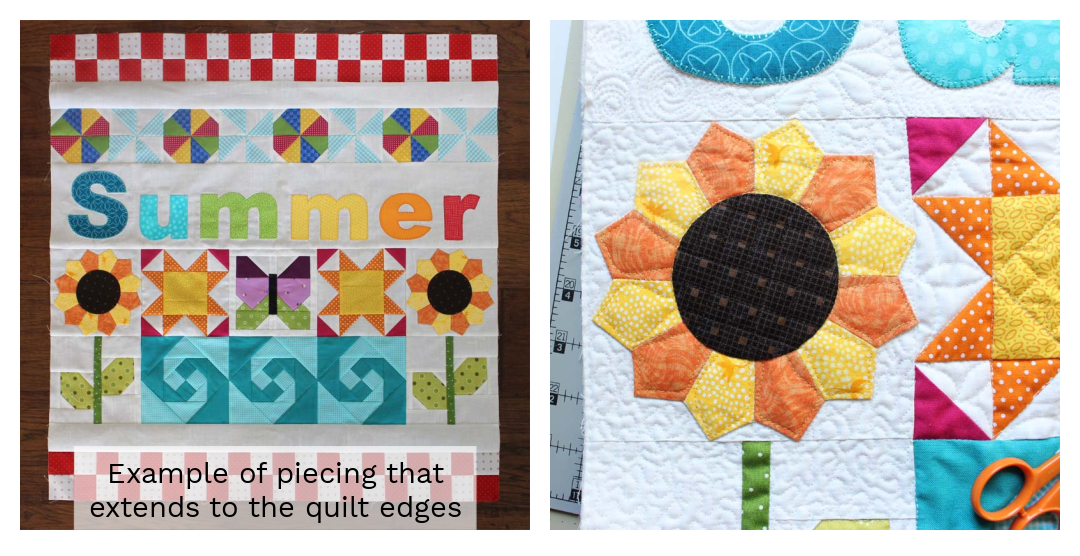
To avoid this from happening, consider leaving 1/8″ – 1/4″ of batting and backing beyond the edge of the quilt top. This will give you some wiggle room in case your trimmed edge gets close to the seam allowance of any points.
When you leave extra batting and backing around the quilt edges, you will need to use a wider binding and a wider seam allowance. This will accommodate the extra space around the quilt.
Final thoughts
Squaring up a quilt after it’s been quilted will reveal a beautiful quilt in the end. After all that hard work, you’re almost done!
Please, don’t get hung up on a quilt that’s not perfectly square. That’s hard to achieve and when everything is said and done, what really matters is a finished quilt. Most likely no one will notice if the corners aren’t perfect or one side is longer than the other. I’m here to give you guidelines not strict rules. 🙂 The joy is in the process and hopefully, a finished project!
Make sure to pin the image below for future reference! Happy quilting!

Discover more from The Crafty Quilter
Subscribe to get the latest posts sent to your email.


This is the best tutorial I’ve seen on how to square up your quilt. Thank you so much!
Thank you for this tutorial Julie; the timing was perfect as I have one to square up and at a quick glance, it seems it may be a challenge.
Lynnellen
Thank you Julie. I needed that reminder.
Thank you for another really helpful tutorial. Trimming before binding is a daunting task and this is so helpful.
GREAT article! You made the process so easy to understand. I tried to print but it would not show pictures. Is there a PDF with pictures that can be printed? I really enjoy your posts.
Nice tutorial. Thanks. I had never thought of doing the corners first and now I think I must try it.
Thanks for this easy to understand through the in practice pictures and descriptions of the process of getting a quilt squared to bind as always I learn something I need to learn or review
I don’t mean to sound egotistical, but I must tell you, these are the best instructions for squaring up a quilt that I have ever seen, other than what I have written for my quilting students. I have been teaching Quilting for many years and your instructions are fabulous! Kudos!!!
Great article. This is so much information and thorough. You have made the process very easy to understand. Thank you
Hugs and Blessings